crwdns2915892:0crwdne2915892:0
Use this guide to revive your iPhone 8’s battery life and performance with a new battery. If your battery is swollen, take appropriate precautions.
This guide instructs you to completely detach the display assembly. This is intended to prevent accidental damage to the display cables. If you feel comfortable removing the battery without putting undue strain on the display cables, you can skip the steps for detaching the display.
While it’s possible to remove the adhesive strips securing the battery as soon as you open the phone, the written guide strongly recommends first removing the Taptic Engine. Pull-stretch adhesives are designed to be pulled at a shallow angle. Doing so reduces the risk of breaking the lower adhesive strips accidentally, either by snagging them on the Taptic Engine, or by pulling the strips at too sharp of an angle.
For optimal performance, after completing this guide, calibrate your newly installed battery: Charge it to 100% and keep charging it for at least two more hours. Then use your iPhone until it shuts off due to low battery. Finally, charge it uninterrupted to 100%.
crwdns2942213:0crwdne2942213:0
crwdns2936621:0crwdne2936621:0
-
-
Remove the two 3.5 mm pentalobe screws on the bottom edge of the iPhone.
-
-
-
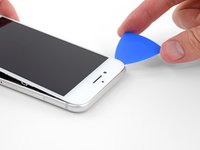
Measure 3 mm from the tip and mark the opening pick with a permanent marker.
How to break your phone more like i probably just buy another one its not worth the hassle geometry dash 2.2
Person who doesn’t know how to read a ruler.
-
-
crwdns2935267:0crwdne2935267:0Clampy - Anti-Clamp$24.95
-
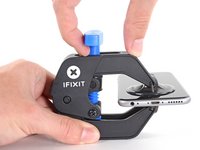
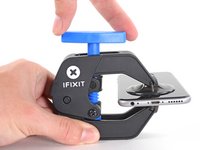
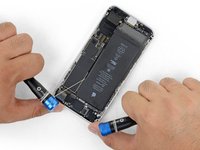
Pull the blue handle backwards to unlock the Anti-Clamp's arms.
-
Slide the arms over either the left or right edge of your iPhone.
-
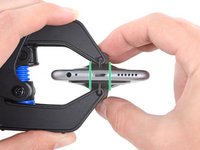
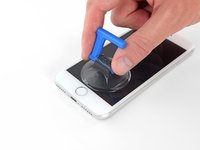
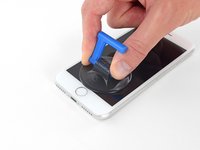
Position the suction cups near the bottom edge of the iPhone just above the home button—one on the front, and one on the back.
-
Squeeze the cups together to apply suction to the desired area.
Too bad that the instructions use equipment that are not sold with the repair kit that was supposed to be sufficient.
-
-
-
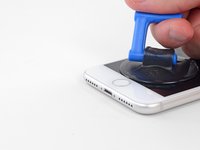
Pull the blue handle forwards to lock the arms.
-
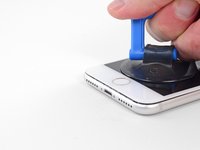
Turn the handle clockwise 360 degrees or until the cups start to stretch.
-
Make sure the suction cups remain aligned with each other. If they begin to slip out of alignment, loosen the suction cups slightly and realign the arms.
-
-
-
Heat an iOpener and thread it through the arms of the Anti-Clamp.
-
Fold the iOpener so it lays on the bottom edge of the iPhone.
-
Wait one minute to give the adhesive a chance to release and present an opening gap.
-
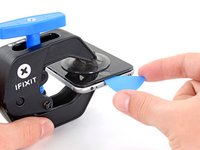
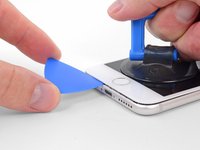
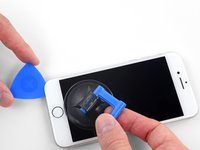
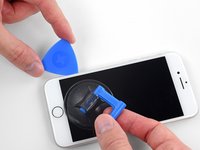
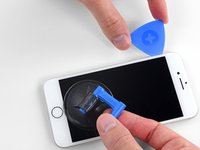
Insert an opening pick into the gap.
-
Skip the next three steps.
-
-
-
Heating the lower edge of the iPhone will help soften the adhesive securing the display, making it easier to open.
-
Use a hairdryer or prepare an iOpener and apply it to the lower edge of the phone for about 90 seconds in order to soften up the adhesive underneath.
-
-
-
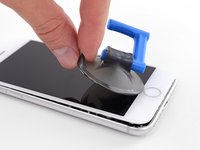
Apply a suction cup to the lower half of the front panel, just above the home button.
-
-
-
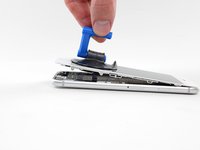
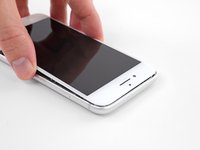
Pull up on the suction cup with firm, constant pressure to create a slight gap between the screen and the frame.
-
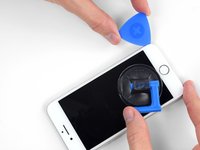
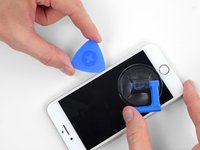
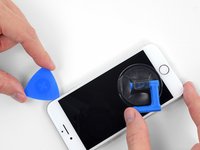
Insert an opening pick into the gap.
I bought a special tool from JerryRigEverything that is a thin, flat metal "knife." It easily made the first cut below the home button and then I used the blue plastic triangles with the 3mm marks to score around the rest of the edges. Careful, slow and patient wins the day here. Careful at the top. Don't just pull up on the screen, definitely push the screen down toward home button as there are a couple of "hooks" holding the screen to the body at the top of phone.
I used an electrician's heat gun for 90 seconds. Worked well. You don't have to pull up on the suction cup very much AT ALL. I bought a special tool from JerryRigEverything that is a thin, flat metal "knife." It easily made the first cut and then I used the blue plastic triangles with the 3mm marks to score around the rest of the edges. I did this in the exact order of the instructions and it worked well. Careful, slow and patient wins the day here. Careful at the top. Don't just lift up on the screen, definitely push the screen down toward home button as there are a couple of clips holding the screen to the body at the top of phone.
-
-
-
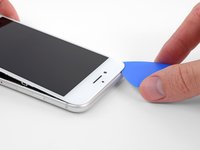
Slide the opening pick up the left edge of the phone starting at the lower edge and moving towards the volume control buttons and silent switch, breaking up the adhesive holding the display in place.
-
Stop near the top left corner of the display.
-
-
-
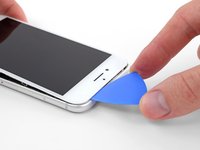
Re-insert your tool at the lower right corner of the iPhone, and slide it around the corner and up the right side of the phone to separate the adhesive.
-
-
-
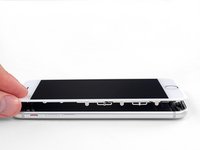
Gently pull up on the suction cup to lift up the bottom edge of the display.
-
Pull on the small nub on the suction cup to remove it from the front panel.
-
-
-
Slide an opening pick underneath the display around the top left corner and along the top edge of the phone to loosen the last of the adhesive.
-
-
-
-
Slide the display assembly slightly down (away from the top edge of the phone) to disengage the clips holding it to the rear case.
-
-
-
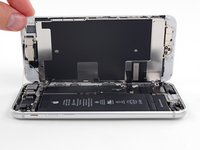
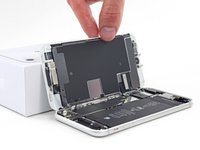
Open the iPhone by swinging the display up from the left side, like the back cover of a book.
-
Lean the display against something to keep it propped up while you're working on the phone.
-
-
crwdns2935267:0crwdne2935267:0Magnetic Project Mat$19.95
-
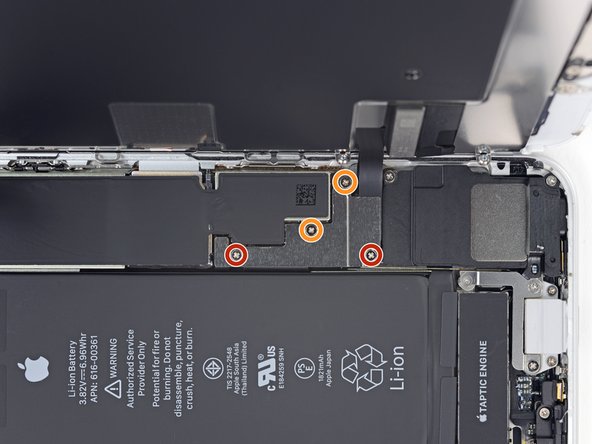
Remove four Phillips screws securing the lower display cable bracket to the logic board, of the following lengths:
-
Two 1.3 mm screws
-
Two 2.8 mm screws
-
Remove the bracket.
-
-
-
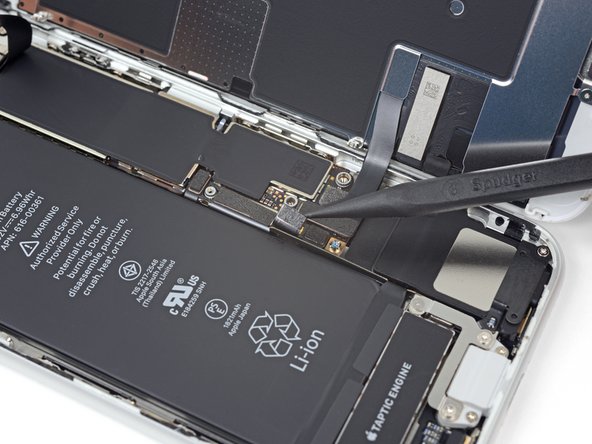
Use the point of a spudger to pry the battery connector out of its socket in the logic board.
-
Bend the battery connector cable slightly away from the logic board to prevent it from accidentally making contact with the socket and providing power to the phone during your repair.
-
-
-
Use the point of a spudger to pry the lower display connector out of its socket.
-
-
-
Use the point of a spudger to disconnect the second lower display cable.
-
-
-
Remove the three 1.3 mm Phillips screws securing the bracket over the front panel sensor assembly connector.
-
Remove the bracket.
The guide calls for a PH000, then the individual steps call for specific mm. Would be good to clarify at the beginning. I may also have missed it. :D
Habel -
-
-
-
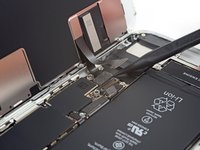
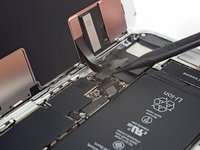
Use the point of a spudger to disconnect the front panel sensor assembly connector.
-
-
-
Remove the display assembly.
Definitely skip step 18-28 and all the risks. Battery tape is easily removable by the following method
- use a tweezer to pull up a corner of each tape. Then use fingers to peel back all the black tab on top of battery
- use 2 hands. Index and thumb on both. Pull about 1/4” with one hand, then hold the tension and pull 1/4” with the other hand. Alternate, go slow. I was able to pull out all 4 tapes completely and battery was loose after that. I think the pause after each 1/4” while holding the stretched tape firmly prevents the tape from over stretching to become too thin and break.
- Don’t apply heat, I would guess that makes tape softer and break easier.
Have tried other methods and failed in the past. Pulling too fast (tape will snap) or use a tweezer to twist/roll (sharp edges will cut tape) Anyway, just use index/thumb on both hands and alternately pull slowly
-
-
-
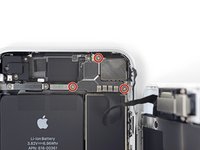
Remove the three screws securing the bracket next to the Taptic Engine:
-
One 1.3 mm Y000 screw
-
One 2.7 mm Phillips screw
-
One 2.9 mm Phillips screw
-
-
-
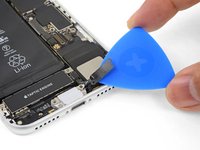
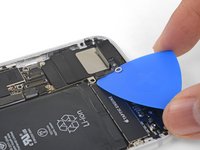
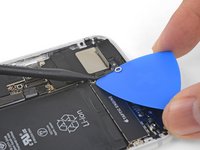
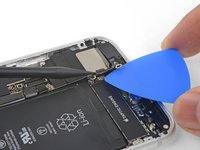
Gently slide an opening pick between the antenna flex cable and the top of the speaker.
-
-
-
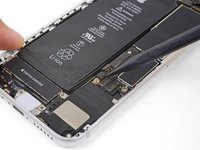
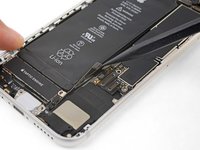
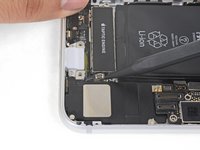
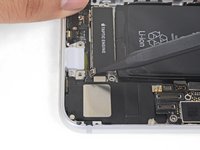
Use the point of a spudger to pry up and disconnect the diversity antenna flex cable from the logic board.
-
-
crwdns2935267:0crwdne2935267:0Tweezers$4.99
-
Slide an opening pick under the antenna flex cable to hold the socket down.
-
Use the point of your spudger to pry up and disconnect the antenna flex cable from its socket, using the opening pick to hold the socket down.
-
-
-
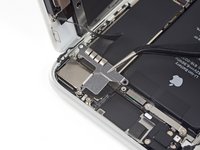
Remove the Wi-Fi diversity antenna.
Be aware of the little connector panel when reassembling--it is a little tough to reconnect.
-
-
crwdns2935267:0crwdne2935267:0Standoff Screwdriver for iPhones$5.49
-
Remove the two screws securing the Taptic Engine:
-
One 2.1 mm Phillips screw
-
One 2.1 mm standoff screw
-
-
-
Use the point of your spudger to pry the antenna cable socket up and away from the connector below it.
This little cable should have more notice for removing it from the old Lightening Connector Board and attaching it to the new one.
Funny enough but the microphone assembly flex has a single socket which is for the taptic connector. I do not have a socket for the diversity antenna connector that would sit onto that. I am curious whether i am dealing with a different A model than the one described?
-
-
-
Use the point of your spudger to pry up and disconnect the Taptic Engine flex cable.
-
-
-
Remove the Taptic Engine.
Where there is the 2,1mm philips srew holding the taptic engine, there is a tiny piece of metal under the srewhead. Note its orientation, take it out and dont't lose it taking out the taptic then reinstall it when reassembling.
Thanks for pointing this out. For me the tiny metal piece popped out and I wasn't sure where it came from.
Sam -
Found an extra screw on my iPhone which is not shown here. I had to pull the Taptic Engine to see that it was not coming out. The 2,1 mm orange screw from step 29 is screwed inside the screw I found.
-
-
-
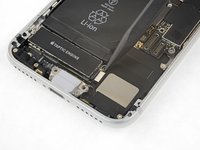
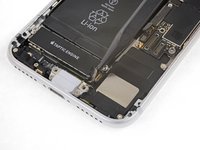
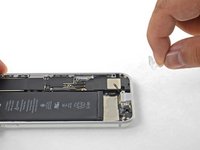
Each piece of adhesive has a black pull-tab at the end, which is lightly adhered to the front surface of the battery.
-
-
crwdns2935267:0crwdne2935267:0Tweezers$4.99
-
Peel back the first battery adhesive tab from the bottom right edge of the battery.
-
-
-
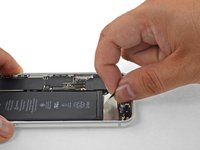
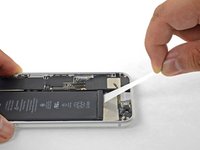
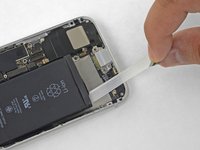
Slowly pull one battery adhesive tab away from the battery, towards the bottom of the iPhone.
-
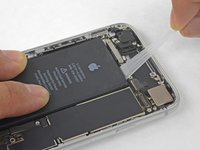
Pull steadily, maintaining constant tension on the strip until it slips out from between the battery and the rear case. For best results, pull the strip at as low an angle as possible, without snagging it on any of the iPhone's other components.
-
If the battery adhesive tabs break during the removal process, use your fingers or blunt tweezers to retrieve the remaining length of adhesive, and continue pulling.
-
-
-
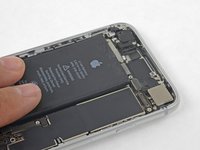
Repeat the above steps to remove the remaining three adhesive strips.
-
If you removed all of the adhesive strips successfully, skip the next step.
-
-
-
Pull the string from side to side in a sawing motion all along the length of the battery to separate the adhesive. Do not deform or damage the battery.
-
-
-
Remove the battery from the iPhone.
-
Adhere the battery, disconnect it, and continue reassembling your device.
I replaced my battery however the charge symbol there before isn’t there after the repair the phone recognizes the plug is on however in the menu the phone reads the battery cannot be identified and it doesn’t appear to be charging. Any ideas. Tried a hard reset still no luck did I get a bad battery?
Sweet jesus. looks like it worked. 7 hours later. That sucked - my neck hurts. Next time i'll pay someone to do it
-
To reassemble your device, follow these instructions in reverse order. Don't forget to reapply the display adhesive before reinstalling the display.
Take your e-waste to an R2 or e-Stewards certified recycler.
Repair didn’t go as planned? Check out our iPhone 8 Answers community for troubleshooting help.
crwdns2935221:0crwdne2935221:0
crwdns2935229:0372crwdne2935229:0
crwdns2947412:02crwdne2947412:0
Step 18-23 and 24-29 Antenna Flex are the same and double posted here
My phone turns on and appears to be fully functional however the display does not now work.
Connected to power, the phone vibrates and makes the chime sound. I even heard a notification come through. The home button also works.
The repair went smoothly apart from reassembling the cover that protects the display, battery and wifi cables. I got the screws mixed up (who knew orange and red were so similar?).
Is it possible this is the reason for my display not working?



















































This comment helped! It's the P2 bit.
Megolina -