crwdns2915892:0crwdne2915892:0
Follow this guide to replace the LCD screen on your Nintendo Game Boy Advance model AGB-001.
You may need to replace your Game Boy Advance screen if it's dead, unresponsive, discolored, has dead pixels or lines, or no longer displays an image.
If you think your screen is cracked, double-check that it’s not the plastic screen lens (the clear cover on the front shell). If it's just the lens that's cracked, follow this guide to replace it.
The Game Boy Advance uses JIS screws. If you use a non-iFixit Phillips driver in JIS screws, you'll risk stripping them. iFixit's Phillips bits are designed to be compatible with JIS screws.
Note: This guide only covers replacing the screen with an original LCD one, not an IPS upgrade. Most IPS upgrades require soldering, modifications, or using a new shell. If you're upgrading the screen, you may still find this guide helpful to get you to the point of soldering or modifications. From there, you can reference any instructions included with your upgraded screen, or find more help on the website you purchased from.
crwdns2942213:0crwdne2942213:0
-
-
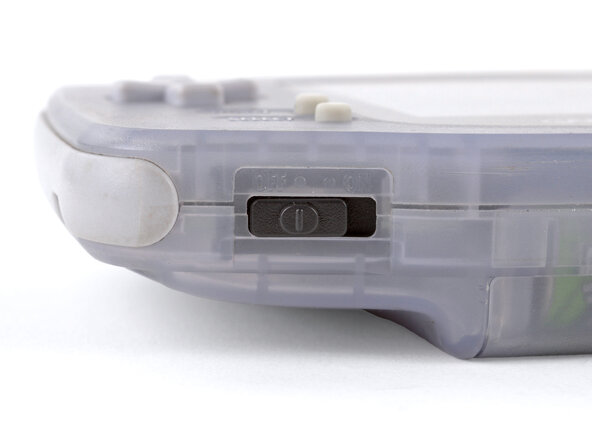
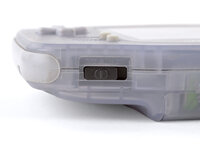
Before working on your Game Boy, turn the power switch to the OFF position and unplug any cables.
-
If you have a game cartridge installed, remove it.
 crwdns2952109:0crwdne2952109:0
-
-
-
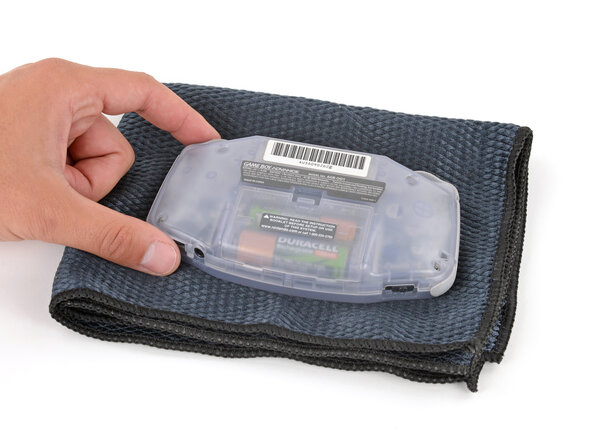
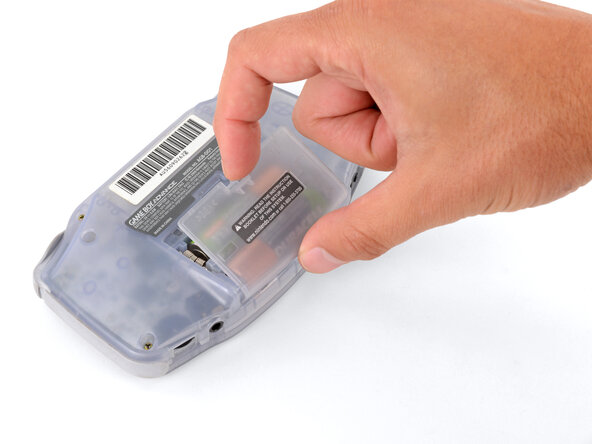
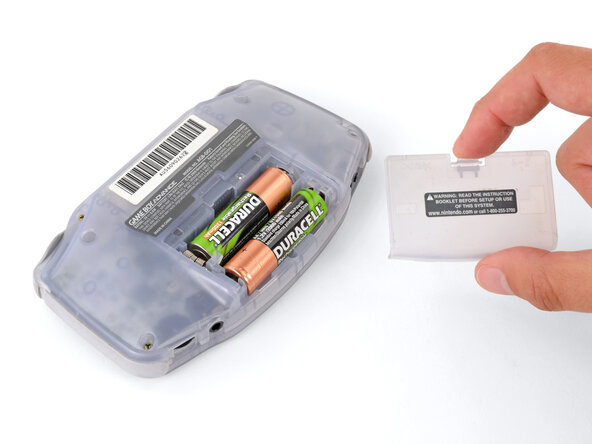
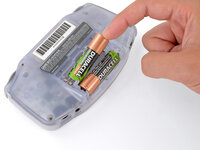
Release the battery cover tab with your finger and swing the cover away from your Game Boy to remove it.
-
-
-
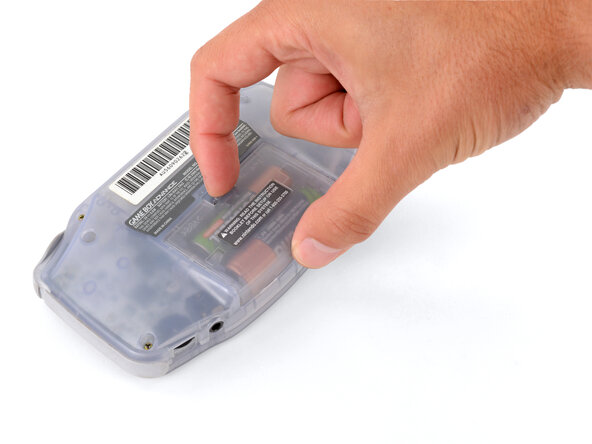
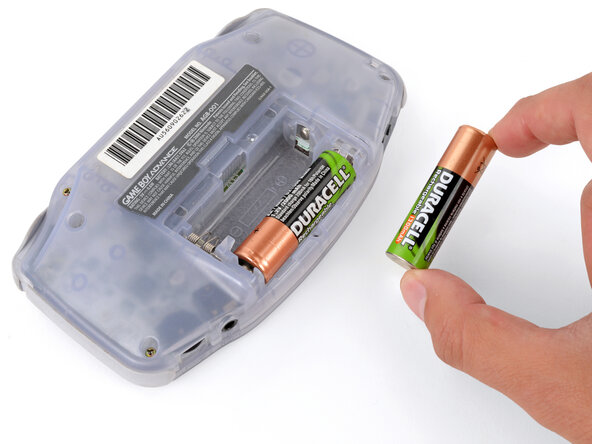
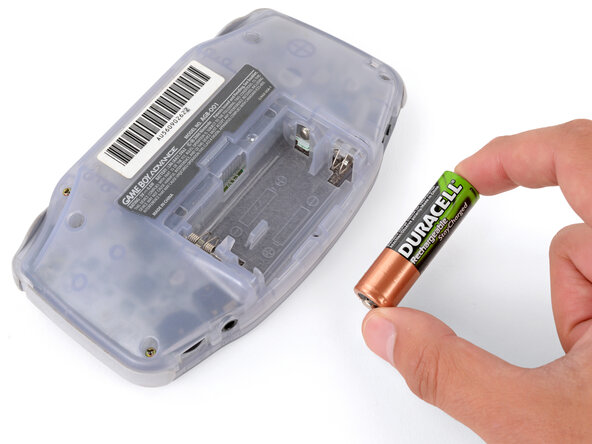
Remove the two AA batteries.
-
-
-
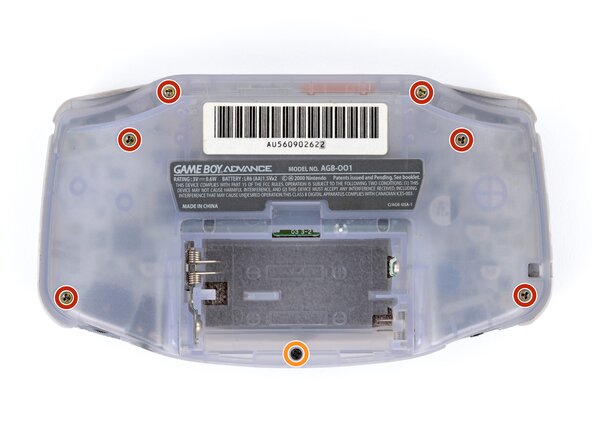
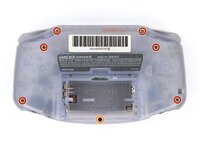
Remove the seven screws securing the back shell:
-
Six 9.4 mm‑long tri‑point Y0 screws
-
One 8.5 mm‑long JIS 1 screw
-
-
-
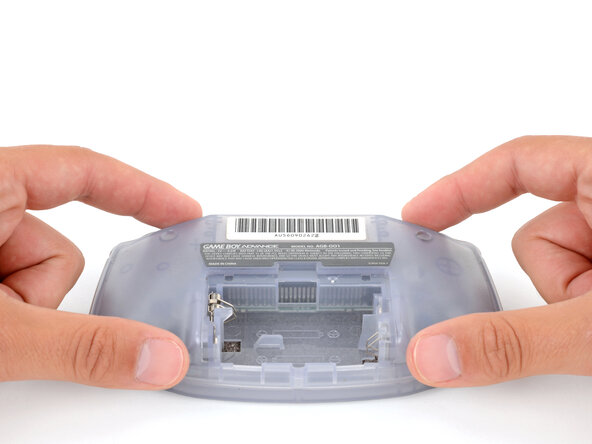
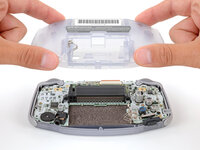
Lift the back shell straight up and remove it.
-
-
-
Lift the shoulder buttons (aka L and R buttons) straight up to remove them.
-
Slide the buttons into place, making sure the peg on the button goes into its circular cutout and the button itself is over the actual button mechanism.
-
Gently test the buttons to make sure they feel correct. If they don't, reposition them and make sure the metal arms aren't stuck in a weird position under the board.
-
-
-
-
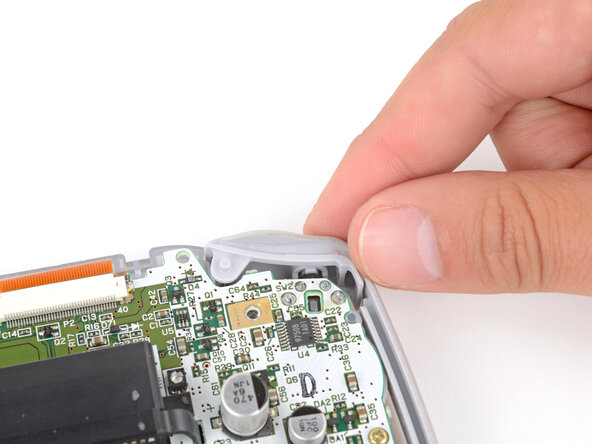
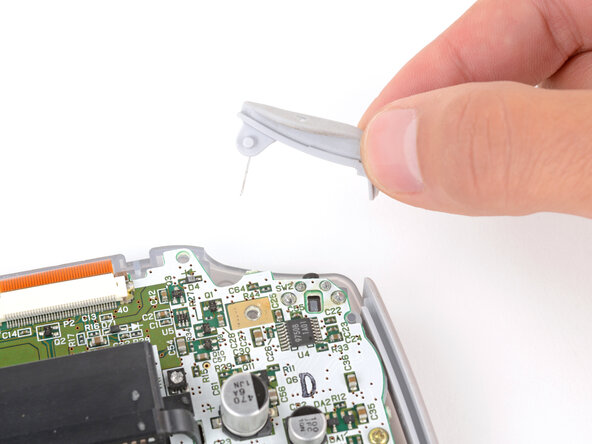
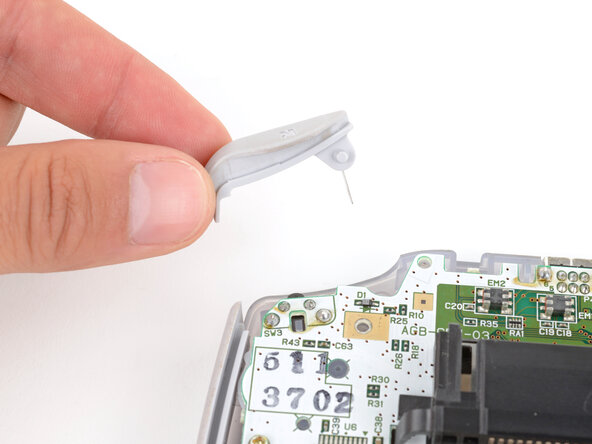
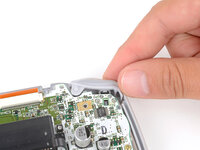
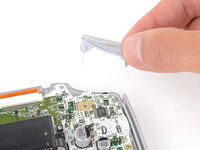
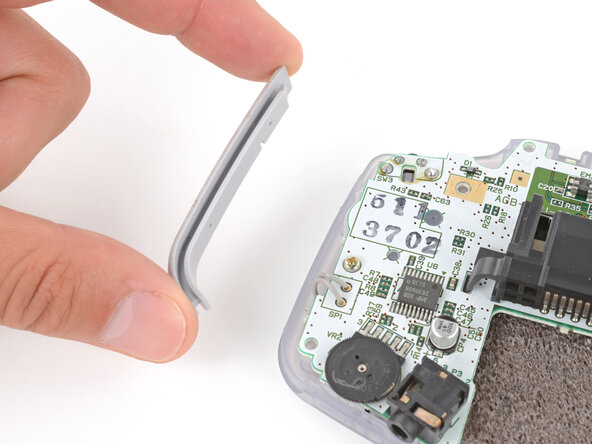
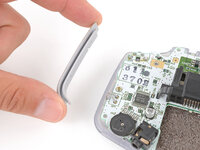
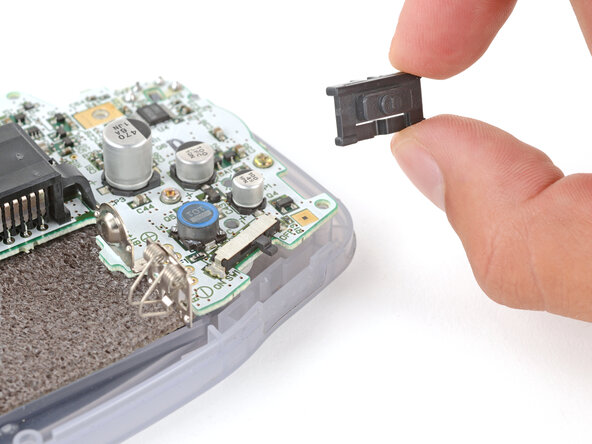
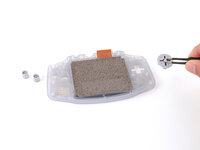
Remove the power switch cover.
-
-
-
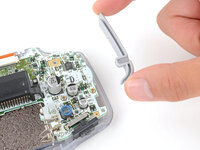
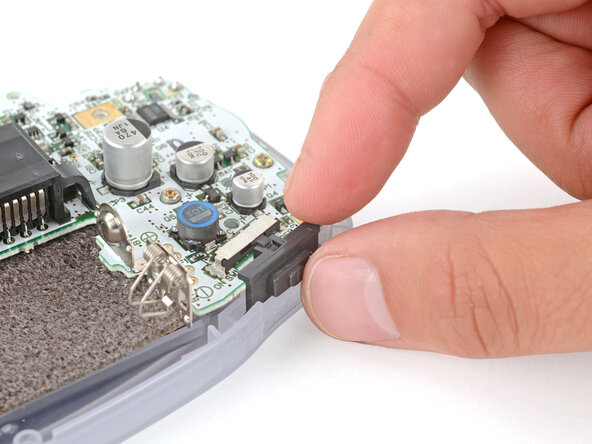
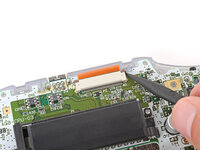
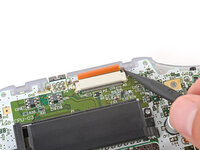
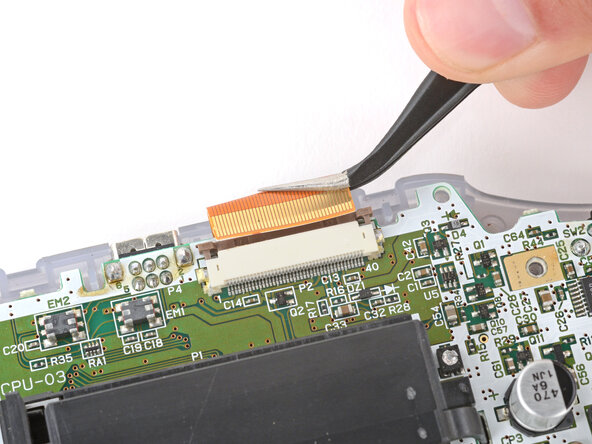
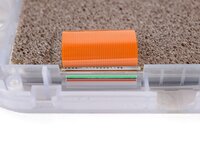
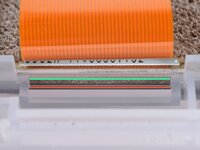
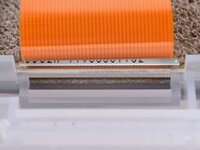
Use the point of a spudger to fully push up both locking tabs on either side of the screen cable connector.
-
-
-
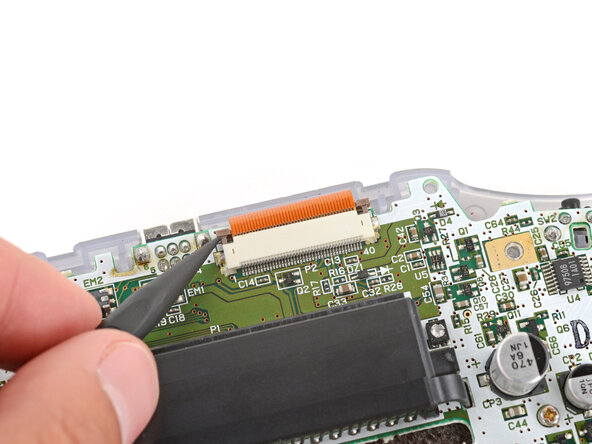
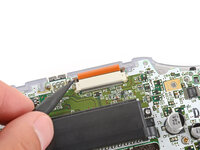
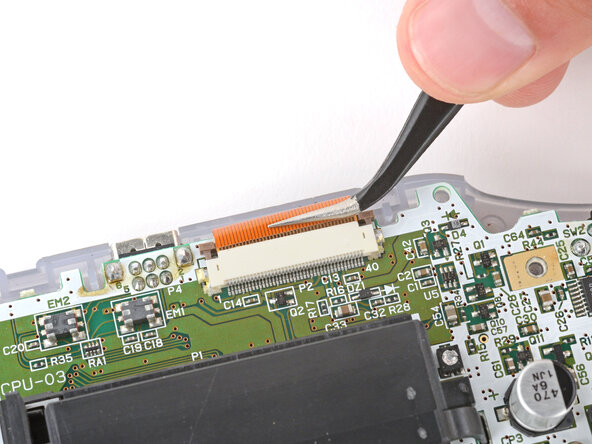
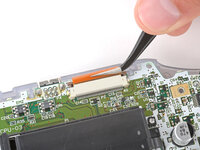
Use tweezers to slide the cable straight out of its socket.
-
-
-
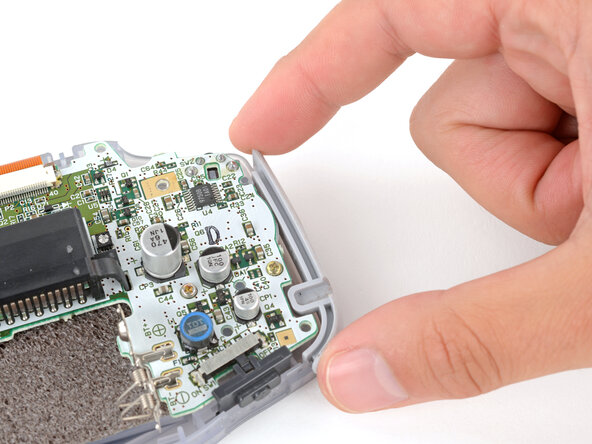
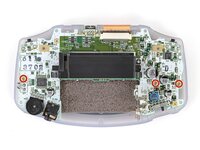
Use a JIS 1 screwdriver to remove the three 7 mm‑long screws securing the motherboard.
-
-
-
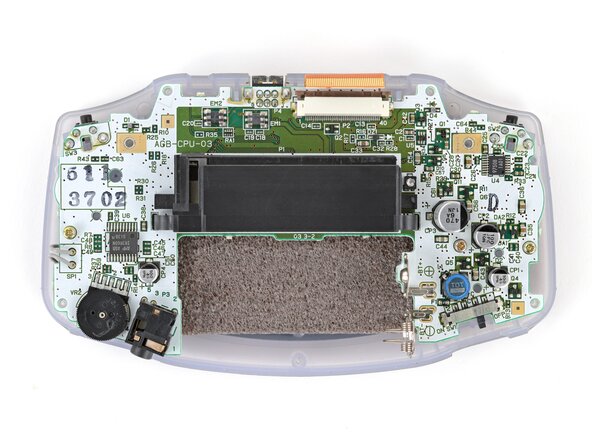
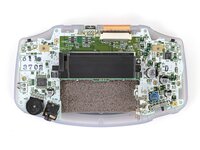
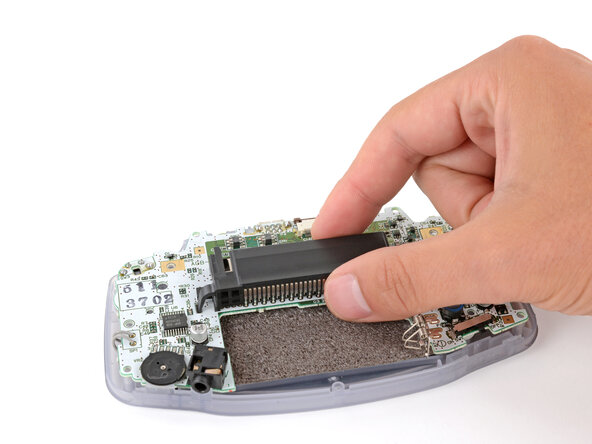
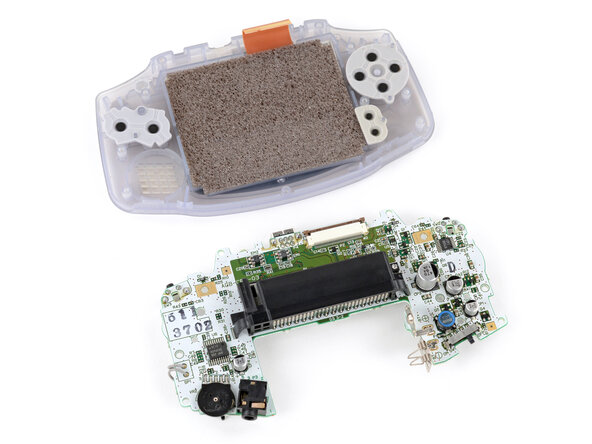
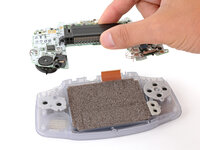
Use your fingers to grip the cartridge reader and lift the motherboard straight up to remove it.
-
-
-
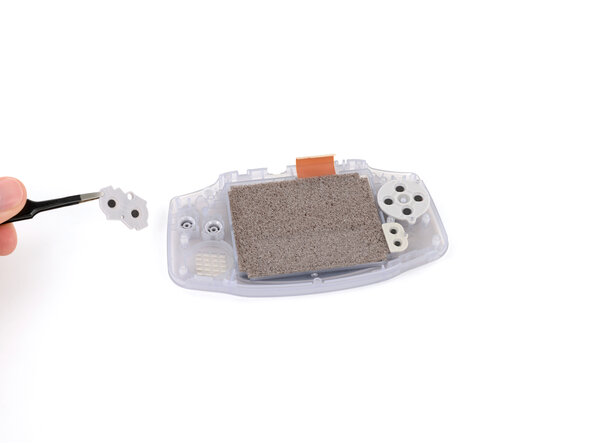
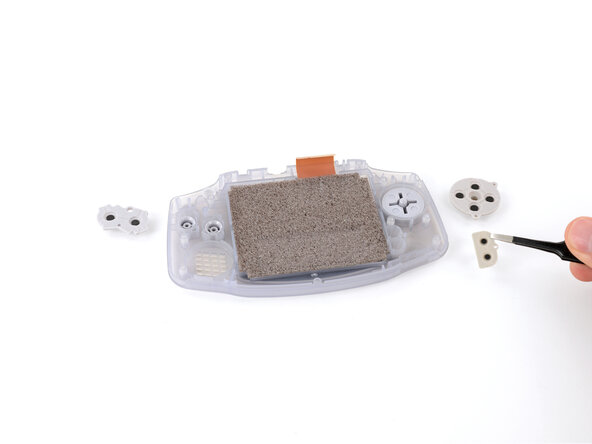
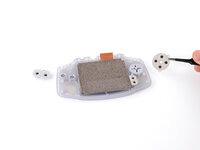
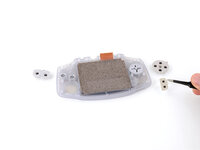
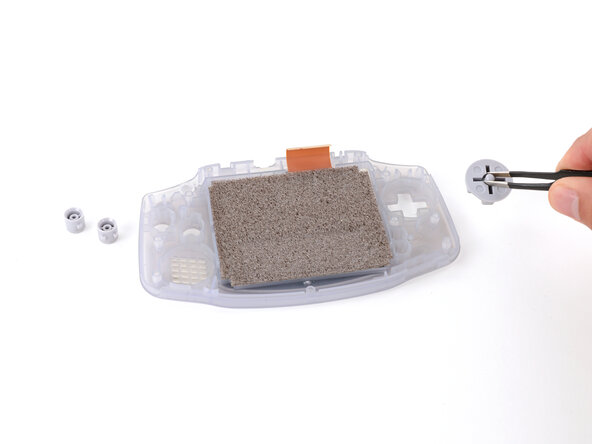
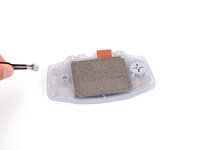
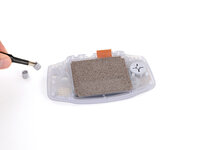
Use tweezers or your fingers to remove the three silicone pads covering the buttons (A and B, the D‑pad, and Start/Select ).
-
-
-
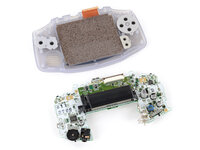
Use tweezers or your fingers to remove the buttons (A and B as well as the D‑pad).
-
-
-
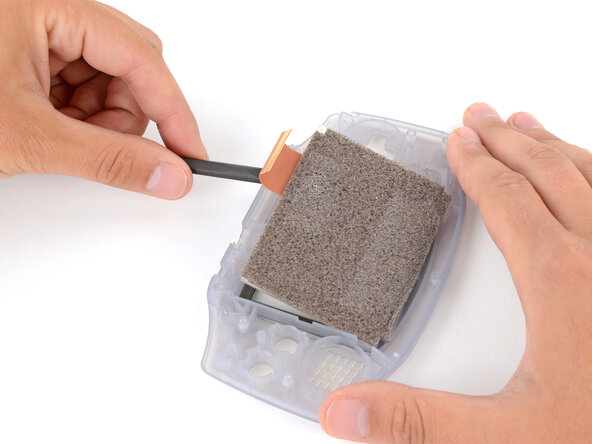
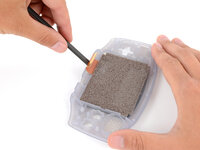
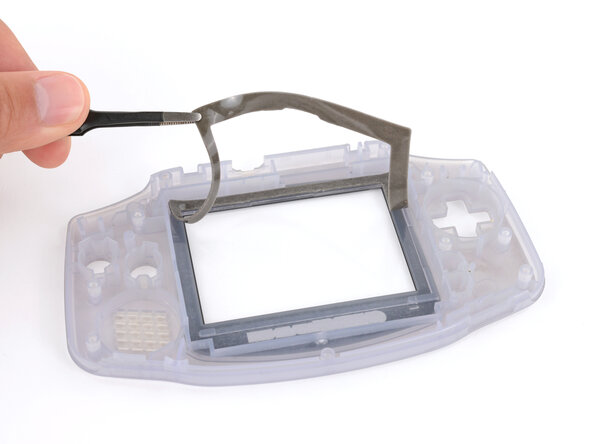
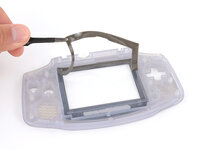
There's a seam between the screen and its gasket. Insert your tool here (under the screen) to give yourself the best chance of preserving the gasket.
-
There's a seam between the gasket and the shell. Don't insert your tool here, or you may damage the gasket.
-
-
-
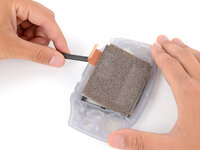
Insert the flat end of a spudger under the screen and pry the screen up. Apply constant, steady pressure to allow the adhesive to separate.
-
-
crwdns2935267:0crwdne2935267:0Tesa 61395 Tape$2.95
-
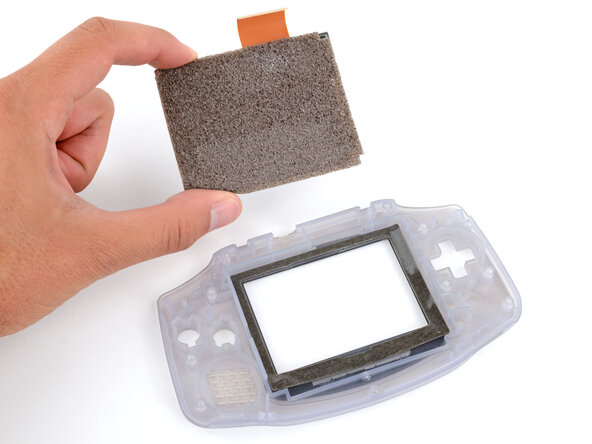
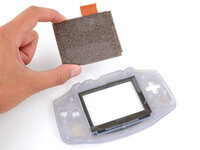
Remove the screen.
-
Compare your replacement screen to the original part—you may need to remove adhesive backings or protective liners from the new part before you install it.
-
If you damaged the gasket, remove all of it from the shell and use high‑concentration (>90%) isopropyl alcohol and coffee filters or a lint‑free cloth to remove any remaining residue. Then, replace the gasket with a new one, or apply strips of double‑sided tape where the old one was.
-


To reassemble your device, follow these instructions in reverse order.
Take your e-waste to an R2 or e-Stewards certified recycler.
Repair didn’t go as planned? Try some basic troubleshooting, or ask our Answers Community for troubleshooting help.
crwdns2935221:0crwdne2935221:0
crwdns2935229:025crwdne2935229:0

crwdns2947412:02crwdne2947412:0
Do this with the Game Boy Advance SP please!
Santi12008 - crwdns2934203:0crwdne2934203:0 crwdns2950251:0crwdne2950251:0
We got around to it. Better late than never I guess: Nintendo Game Boy Advance SP Screen Replacement
Evan Gattuso - crwdns2934203:0crwdne2934203:0 crwdns2950251:0crwdne2950251:0