crwdns2915892:0crwdne2915892:0
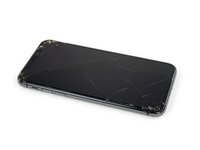
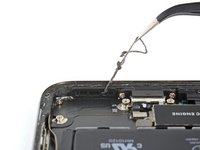
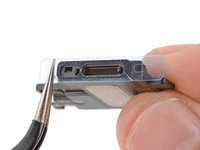
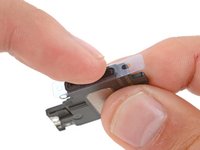
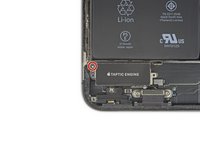
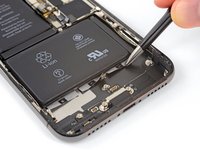
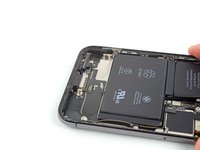
iPhone batteries degrade with use—over time, they lose their ability to hold a full charge. Apple's batteries are rated to hold 80% of their capacity for up to 500 charge cycles, which lasts roughly 18-24 months for most users. When your battery's chemistry is degraded, it may also cause your iPhone to run more slowly. Use this guide to replace your battery and restore your iPhone to full performance.
If your battery is swollen, take appropriate precautions.
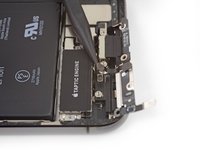
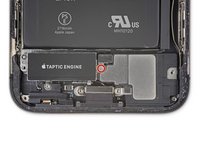
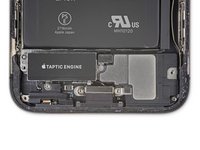
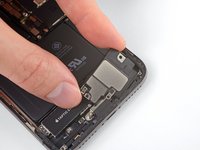
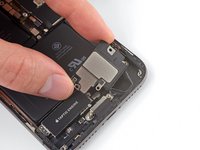
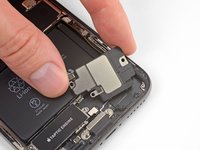
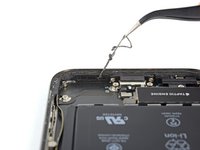
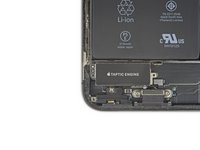
This guide instructs you to completely detach the display and remove the lower speaker and Taptic Engine for better access to the battery's adhesive strips.
For optimal performance, after completing this guide, calibrate your newly installed battery: Charge it to 100% and keep charging it for at least two more hours. Then use your iPhone until it shuts off due to low battery. Finally, charge it uninterrupted to 100%.
crwdns2942213:0crwdne2942213:0
crwdns2936621:0crwdne2936621:0
-
-
Power off your iPhone before beginning disassembly.
-
Remove the two 6.9 mm-long pentalobe screws at the bottom edge of the iPhone.
-
-
-
Measure 3 mm from the tip and mark the opening pick with a permanent marker.
-
-
-
Lay overlapping strips of clear packing tape over the iPhone's screen until the whole face is covered.
-
If you can't get the suction cup to stick in the next few steps, fold a strong piece of tape (such as duct tape) into a handle and lift the screen with that instead.
-
-
crwdns2935267:0crwdne2935267:0Clampy - Anti-Clamp$24.95
-
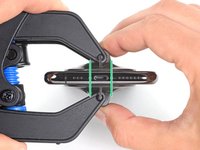
Pull the blue handle backwards to unlock the Anti-Clamp's arms.
-
Slide the arms over either the left or right edge of your iPhone.
-
Position the suction cups near the bottom edge of the iPhone—one on the front, and one on the back.
-
Squeeze the cups together to apply suction to the desired area.
-
-
-
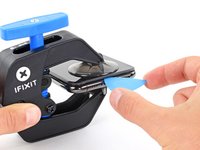
Pull the blue handle forward to lock the arms.
-
Turn the handle clockwise 360 degrees or until the cups start to stretch.
-
Make sure the suction cups remain aligned with each other. If they begin to slip out of alignment, loosen the suction cups slightly and realign the arms.
-
-
-
Heat an iOpener and thread it through the arms of the Anti-Clamp.
-
Fold the iOpener so it lays on the bottom edge of the iPhone.
-
Wait one minute to give the adhesive a chance to release and present an opening gap.
-
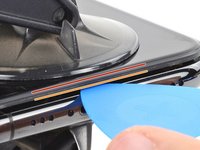
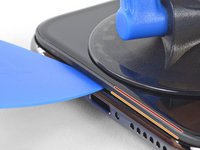
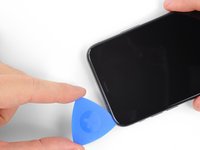
Insert an opening pick under the screen and the plastic bezel, not the screen itself.
-
Skip the next three steps.
-
-
-
Use a hairdryer or heat gun or prepare an iOpener and apply it to the lower edge of the iPhone for about a minute in order to soften up the adhesive underneath.
-
-
-
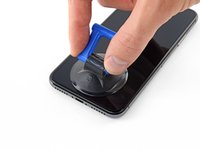
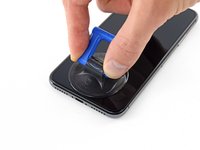
If using a single suction handle, apply it to the bottom edge of the phone, while avoiding the curved portion of the glass.
-
-
-
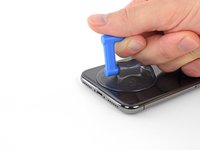
Pull up on the suction cup with firm, constant pressure to create a slight gap between the screen and the frame.
-
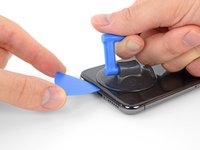
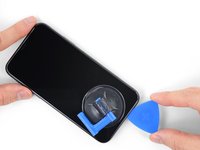
Insert an opening pick into the gap under the screen's plastic bezel, not the screen itself.
-
-
-
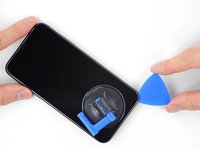
Slide the opening pick around the lower left corner and up the left edge of the iPhone, slicing through the adhesive holding the display in place.
-
-
-
Re-insert your pick at the bottom edge of the iPhone, and slide it up the right side to continue separating the adhesive.
-
-
-
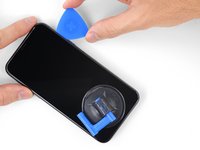
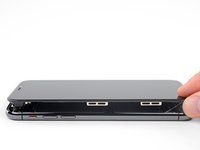
Slide the opening pick around the top corner of the display, while gently pulling or wiggling the display down in the direction of the Lightning port.
-
Slide the pick to the opposite corner and cut any remaining adhesive securing the display.
-
-
-
Pull on the small nub on the suction cup to remove it from the front panel.
-
-
-
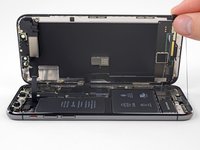
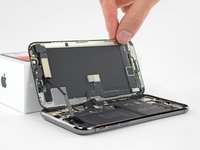
Open the iPhone by swinging the display up from the left side, like the back cover of a book.
-
Lean the display against something to keep it propped up while you're working on the phone.
-
-
crwdns2935267:0crwdne2935267:0Magnetic Project Mat$19.95
-
Remove five Y000 screws securing the logic board connector bracket, of the following lengths:
-
Three 1.1 mm screws
-
One 3.1 mm screw
-
One 3.7 mm screw
-
-
-
-
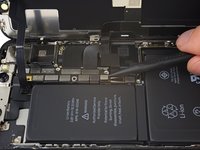
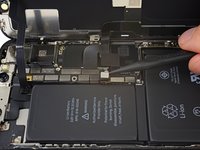
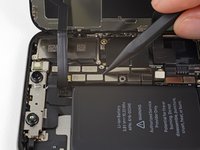
Use the point of a spudger or a clean fingernail to pry the battery connector up from its socket on the logic board.
-
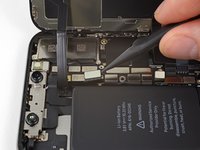
Bend the connector slightly away from the logic board to prevent it from accidentally making contact with the socket and providing power to the phone during your repair.
-
-
-
Use the point of a spudger or a fingernail to disconnect the front panel sensor assembly connector.
-
-
-
Use the point of a spudger or a fingernail to disconnect the OLED panel cable connector.
-
-
-
Use the point of a spudger to pry the digitizer cable connector up from its socket.
-
-
-
Carefully lift the cable until the adhesive separates.
-
-
-
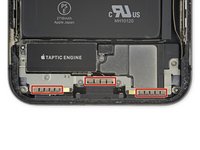
Remove the seven screws securing the bracket below the Taptic Engine and speaker:
-
Two Y000 1.9 mm screws
-
One Y000 1.2 mm screw
-
One Y000 1.6 mm screw
-
One Phillips 2.4 mm screw
-
One Phillips 1.7 mm screw
-
One Phillips 1.5 mm screw
-
-
-
Lift the bracket from the edge nearest the battery. Don't try to remove it fully, as it's still connected via a small flex cable.
-
-
-
While holding the bracket out of the way, use the point of a spudger to pry up and disconnect the flex cable underneath.
-
-
-
Remove the 2.1 mm Y000 screw securing the speaker connector cover.
-
-
-
Use the tip of a spudger to pry up and disconnect the speaker connector.
-
-
-
Insert a spudger under the top edge of the speaker near the edge of the iPhone's case.
-
Gently pry up and lift the top edge of the speaker.
-
-
-
Hold the speaker by its side edges and rock it side-to-side, separating the adhesive securing it to the bottom edge of the iPhone.
-
Pull the speaker away from the bottom edge of the iPhone until the adhesive gasket separates.
-
-
-
Use tweezers to peel off and remove all the old gasket from the frame and speaker.
-
Use a microfiber cloth and isopropyl alcohol to clean all the gasket's adhesive residue from the frame and speaker.
-
Before installing the speaker gasket, find its proper orientation on the bottom of the speaker—the large cutout on the gasket should go around the speaker grille mesh.
-
Remove the larger, clear liner from the gasket and use tweezers to carefully put the gasket into place on the bottom of the speaker.
-
Use your fingers or a spudger to firmly press the gasket into place to secure it with the adhesive.
-
Remove the remaining liner and put the speaker into place, making sure the speaker connector doesn't get stuck underneath.
-
-
-
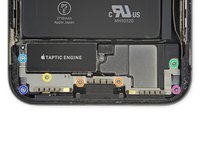
Remove the 2.3 mm Phillips screw securing the Taptic Engine.
-
-
-
Use a spudger to disconnect the Taptic Engine flex cable by prying it straight up from its socket.
-
-
-
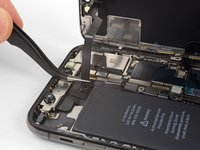
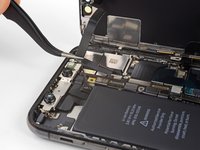
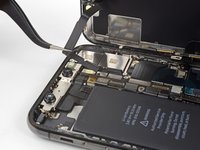
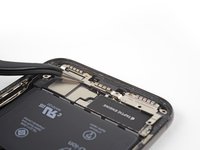
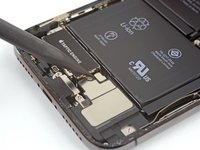
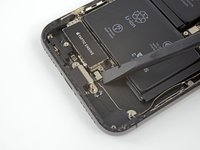
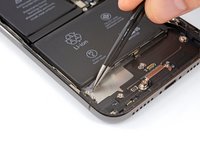
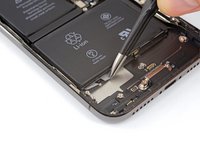
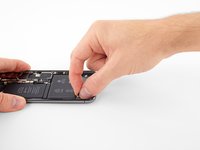
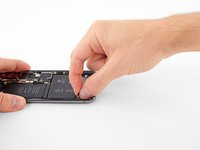
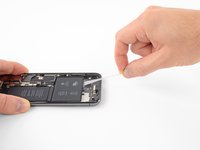
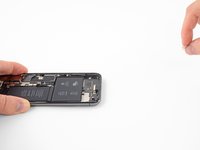
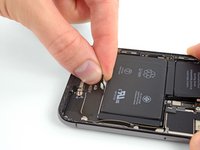
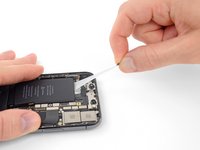
Each piece of adhesive has a black pull-tab at the end, which is lightly adhered to the side edge of the battery.
-
-
-
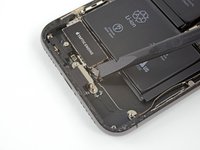
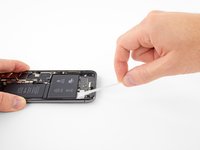
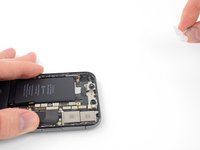
Separate the first battery adhesive tab from the bottom edge of the battery.
-
-
-
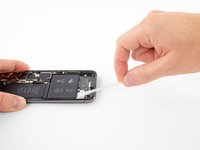
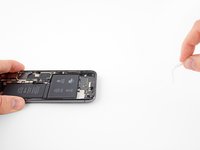
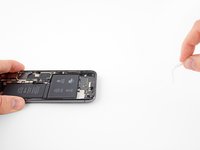
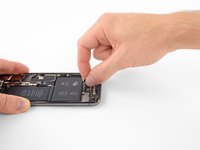
Repeat the above step to separate the remaining two adhesive tabs from the bottom edge of the battery.
-
-
-
To increase your odds of success:
-
Don't press down on the battery. Hold the iPhone firmly by its sides.
-
Keep the strips flat and unwrinkled as you pull.
-
Pull very slowly, giving the strip time to stretch and separate. It takes around 15-30 seconds of stretching to remove each strip.
-
Pull at a low angle so the strip doesn't snag along the bottom edge of the battery.
-
If a strip does break off underneath the battery and cannot be retrieved, move on to the other strips and then continue with the additional steps below.
-
-
crwdns2935267:0crwdne2935267:0Tweezers$4.99
-
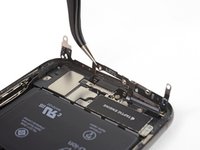
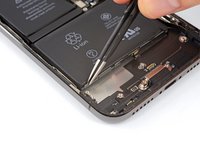
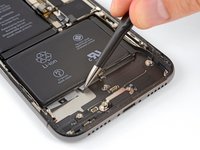
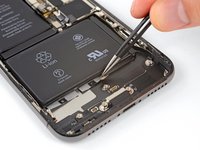
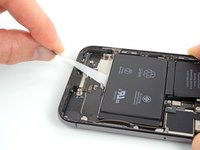
Grab one of the outer battery adhesive tabs and slowly pull it away from the battery, toward the bottom of the iPhone.
-
Pull steadily, maintaining constant tension on the strip until it slips out from between the battery and the rear case.
-
-
-
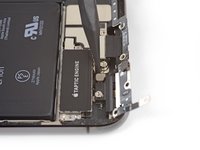
Repeat the previous step to remove the strip on the opposite side, leaving the center strip for last.
-
-
-
Remove the center strip, being careful not to snag it on the speaker flex cable.
-
-
-
Peel and separate the pull tab on the final adhesive strip, on the top edge of the upper battery cell.
-
-
-
Pull and remove the final adhesive strip.
-
If you removed all four adhesive strips successfully, skip the next step.
-
Wait about one minute for the alcohol solution to weaken the adhesive. Use the flat end of a spudger to gently lift the battery.
-
-
-
If any of the adhesive strips broke off and the battery remains stuck to the rear case, prepare an iOpener or use a hair dryer to heat the rear case directly behind the battery.
-
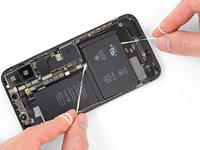
Flip the iPhone back over and thread a strong piece of string (such as dental floss or a length of thin guitar string) underneath the battery.
-
Wrap the ends of the string around a cloth (or wear gloves) to protect your fingers.
-
Pull the string from side to side in a sawing motion all along the length of the battery to separate the adhesive. This can take some time since the adhesive is slow to deform, but with patience it will come free. Do not deform or damage the battery.
-
-
-
Grasp the battery from the bottom edge and remove it from the iPhone.
-
Adhere the battery, disconnect it, and continue reassembling your device.
-
Compare your new replacement part to the original part—you may need to transfer remaining components or remove adhesive backings from the new part before installing.
To reassemble your device, follow the above steps in reverse order.
Take your e-waste to an R2 or e-Stewards certified recycler.
Repair didn’t go as planned? Check out our Answers community for troubleshooting help.
crwdns2935221:0crwdne2935221:0
crwdns2935229:0432crwdne2935229:0
crwdns2947412:059crwdne2947412:0
In the store it says the iSlack is only for iPhone 5 and 6. In this review the iSlack is used (without tray). Does that mean it can be used on the iPhone X as well?
@rvdm The little bracket in the middle of the iSclack is sized for iPhone 5, but that bracket is optional and very easy to detach. At that point you have a really great general-purpose suction tool that works for all kinds of devices (even bigger ones like tablets). I’ll see about updating the description on the store page to reflect that fact. ;)
Have you all ever had a problem of the phone staying stuck on a percentage and takes so long to charge plz let me know because I just got my iPhone X and it take so long to charge and I got it brand new from AT&T
bonne continuation
choukri “samourai dz” mouloud - crwdns2934203:0crwdne2934203:0
Esta solucionado el tema del Chip Texas instrument para baterias no reemplazadas en Apple, gracias.


