crwdns2915892:0crwdne2915892:0
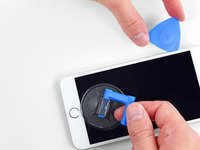
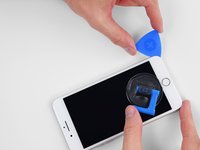
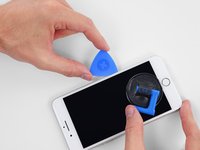
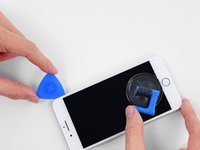
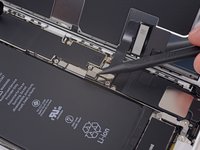
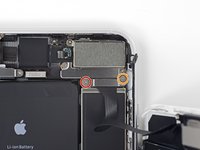
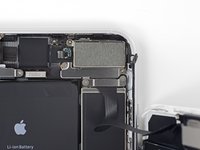
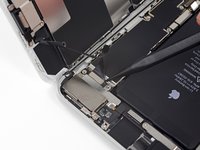
Learn how to replace your iPhone 8 Plus screen. This part comes with the front facing camera, earpiece speaker, and EMI shield already installed, making for an easier repair. If your screen did not come with those things pre-installed, follow this guide instead.
All you need to do is remove the old screen and transfer the home button to the new screen, in order for Touch ID to function.
Note: If your iPhone’s auto brightness feature does not work properly after your screen repair, make sure your iPhone is updated to iOS 12. True Tone functionality is disabled after a screen replacement, even when using an original Apple screen.
crwdns2942213:0crwdne2942213:0
crwdns2936621:0crwdne2936621:0
-
-
Power off your iPhone before beginning disassembly.
-
Remove the two 3.5 mm pentalobe screws from the bottom edge of the iPhone.
-
-
-
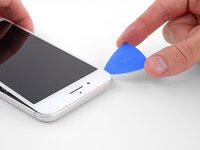
Measure 3 mm from the tip and mark the opening pick with a permanent marker.
-
-
-
Lay overlapping strips of clear packing tape over the iPhone's screen until the whole face is covered.
-
If you can't get the suction cup to stick in the next few steps, fold a strong piece of tape (such as duct tape) into a handle and lift the screen with that instead.
-
-
crwdns2935267:0crwdne2935267:0Clampy - Anti-Clamp$24.95
-
Pull the blue handle backwards to unlock the Anti-Clamp's arms.
-
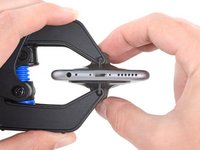
Slide the arms over either the left or right edge of your iPhone.
-
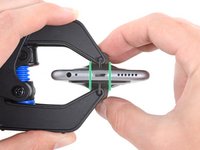
Position the suction cups near the bottom edge of the iPhone just above the home button—one on the front, and one on the back.
-
Squeeze the cups together to apply suction to the desired area.
-
-
-
Pull the blue handle forwards to lock the arms.
-
Turn the handle clockwise 360 degrees or until the cups start to stretch.
-
Make sure the suction cups remain aligned with each other. If they begin to slip out of alignment, loosen the suction cups slightly and realign the arms.
-
-
-
Heat an iOpener and thread it through the arms of the Anti-Clamp.
-
Fold the iOpener so it lays on the bottom edge of the iPhone.
-
Wait one minute to give the adhesive a chance to release and present an opening gap.
-
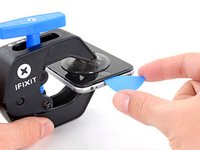
Insert an opening pick under the screen when the Anti-Clamp creates a large enough gap.
-
Skip the next three steps.
-
-
-
Use a hairdryer or prepare an iOpener and apply it to the lower edge of the iPhone for about 90 seconds in order to soften up the adhesive underneath.
-
-
-
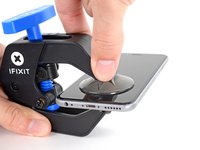
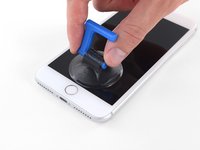
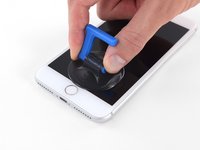
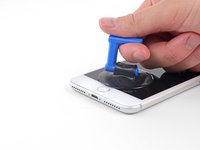
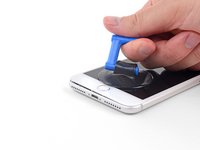
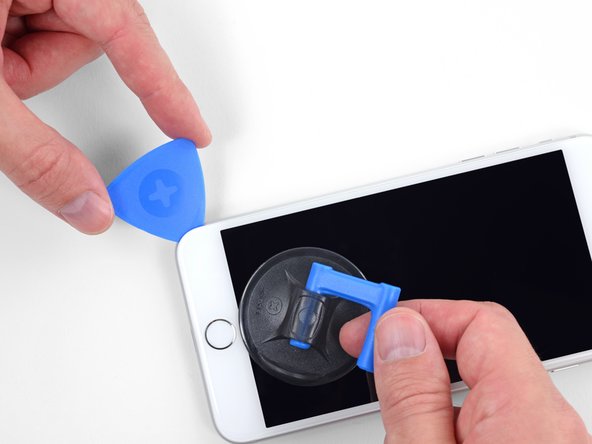
Apply a suction cup to the lower half of the front panel, just above the home button.
-
-
-
Pull up on the suction cup with firm, constant pressure to create a slight gap between the front panel and rear case.
-
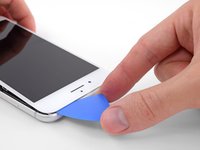
Insert an opening pick or other thin pry tool a few millimeters into the gap.
-
-
-
Slide your pick around the corner and up the left edge of the phone, moving towards the volume control buttons and silent switch, breaking up the adhesive holding the display in place.
-
Stop near the top left corner of the display.
-
-
-
-
Re-insert your tool at the lower right corner of the iPhone, and slide it around the corner and up the right side of the phone to separate the adhesive.
-
-
-
Gently pull up on the suction cup to lift up the bottom edge of the display.
-
-
-
Pull on the small nub on the suction cup to remove it from the front panel.
-
-
-
Slide an opening pick underneath the display along the top edge of the phone to loosen the last of the adhesive.
-
-
-
Slide the display assembly slightly down (away from the top edge of the phone) to disengage the clips holding it to the rear case.
-
-
-
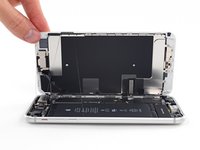
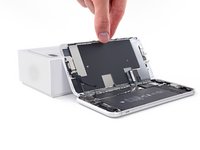
Open the iPhone by swinging the display up from the left side, like the back cover of a book.
-
Lean the display against something to keep it propped up while you're working on the phone.
-
-
crwdns2935267:0crwdne2935267:0Magnetic Project Mat$19.95
-
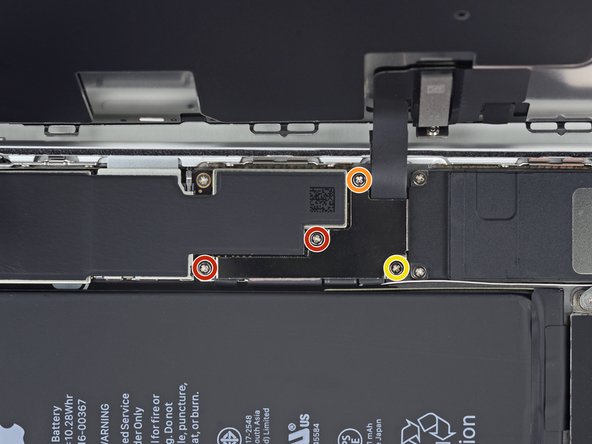
Remove four Phillips (JIS) screws securing the lower display cable bracket to the logic board, of the following lengths:
-
Two 1.3 mm screws
-
One 1.4 mm screw
-
One 2.7 mm screw
-
-
-
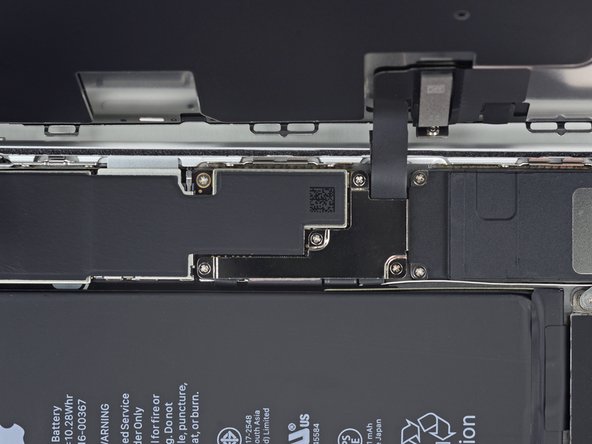
Remove the lower display cable bracket.
-
-
-
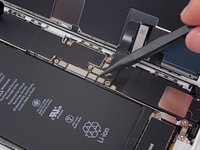
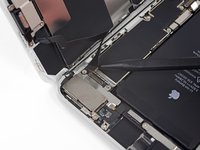
Use the point of a spudger to pry the battery connector up from its socket on the logic board.
-
Bend the connector cable up slightly to prevent it from accidentally making contact with the socket and providing power to the phone during your repair.
-
-
-
Use the tip of a spudger or a fingernail to disconnect the large lower display connector by prying it straight up from its socket.
-
-
-
Disconnect the second lower display cable connector, directly behind the one you disconnected in the previous step.
-
-
-
Remove the two tri-point Y000 screws securing the bracket over the front panel sensor assembly connector:
-
One 1.0 mm screw
-
One 1.2 mm screw
-
-
-
Remove the bracket covering the front panel sensor assembly connector.
-
-
-
Use the tip of a spudger or a fingernail to disconnect the front panel sensor assembly connector from its socket.
-
-
-
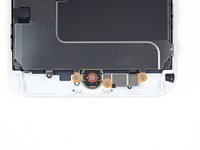
Remove the four Y000 screws securing the bracket over the home/Touch ID sensor:
-
One 1.2 mm screw
-
Three 1.3 mm screws
-
-
-
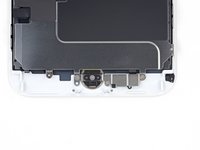
Remove the bracket that secures the home/Touch ID sensor.
-
-
-
Pry under the left edge of the home button cable connector to disconnect it from its socket.
-
-
-
Flip the display assembly over. Use a hairdryer or prepare an iOpener and apply it to the lower edge of the display for about 90 seconds in order to soften up the adhesive underneath.
-
-
-
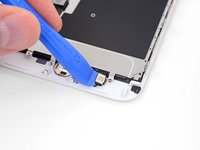
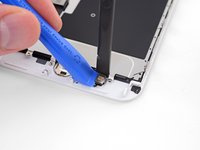
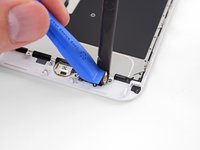
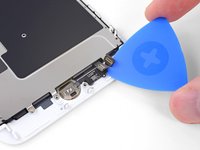
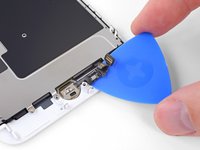
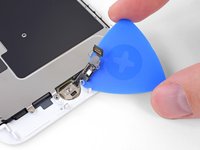
Use an opening pick to gently separate the adhesive holding the home/Touch ID sensor cable to the back side of the display panel.
-
-
-
Remove the home/Touch ID sensor assembly by lifting it through the front side of the display.
-
Compare your new replacement part to the original part—you may need to transfer remaining components or remove adhesive backings from the new part before installing.
To reassemble your device, follow the above steps in reverse order.
Take your e-waste to an R2 or e-Stewards certified recycler.
Repair didn’t go as planned? Check out our Answers community for troubleshooting help.
crwdns2935221:0crwdne2935221:0
crwdns2935229:0321crwdne2935229:0
crwdns2947412:037crwdne2947412:0
Very useful information…
Has anyone found out any info about replacing the Apple iPhone 8 Front glass. Last I checked Apple had made it that if you install a non OEM screen and updates their phone, it will brick there phone. I have not been fixing any iPhone 8’s or iPhone x’s due to this. I So if someone knows if this has been resolved or if this still holds true can you please let me know. Also, Fixing back glass. From what I have seen they use some crazy glue. Does anyone have any methods on a easy way to replace back glass on the iPhone 8’s ? do you still basically have to gut the phone ? what kind of glue is used to glue it back on? Any help with these issues would greatly be appreciated I have been repairing phones for over 8 years + and turning away customers because apple is so dumb with these things upsets me greatly. I loved repairing iPhone up until this point. Help please.
Replacing the screen will not Brick the iPhone, although the 8/8Plus & iPhone X all have an issue with the Ambient Sensor when a new screen is fitted. Although a way around this is to use a EEPROM device to copy the firmware from the original screen. It is also rumored that Apple are fixing the Ambient Sensor issue in iOS 12.
Donald -
Why don't you just throw an oem replica decal over the back glass and call it good. Any more time spent on something that is designed to break & devalue your device into a state beyond reasonable repair efforts, to inevitably promote purchase of a newer model, should be treated with scorn and covered with cheap adhesive decals from China.
Anyone know if the ambient sensor is fixed?


