crwdns2915892:0crwdne2915892:0
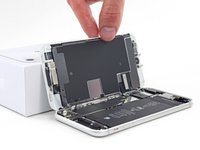
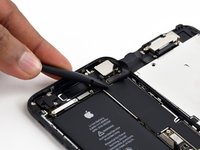
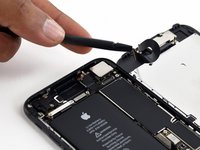
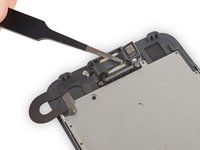
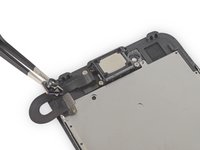
Are you having trouble hearing the other end of the phone line? It may be time to replace the earpiece speaker. Follow the steps in this guide to replace the earpiece speaker, which also functions as a secondary loudspeaker, in an iPhone 7.
crwdns2942213:0crwdne2942213:0
crwdns2936621:0crwdne2936621:0
-
-
Power off your iPhone before beginning disassembly.
-
Remove the two 3.4 mm pentalobe screws on the bottom edge of the iPhone.
-
-
-
Measure 3 mm from the tip and mark the opening pick with a permanent marker.
-
-
crwdns2935267:0crwdne2935267:0Clampy - Anti-Clamp$24.95
-
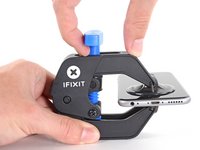
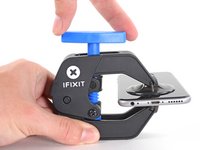
Pull the blue handle backwards to unlock the Anti-Clamp's arms.
-
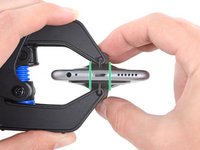
Slide the arms over either the left or right edge of your iPhone.
-
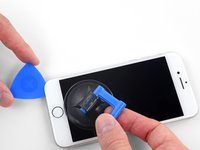
Position the suction cups near the bottom edge of the iPhone just above the home button—one on the front, and one on the back.
-
Squeeze the cups together to apply suction to the desired area.
-
-
-
Pull the blue handle forwards to lock the arms.
-
Turn the handle clockwise 360 degrees or until the cups start to stretch.
-
Make sure the suction cups remain aligned with each other. If they begin to slip out of alignment, loosen the suction cups slightly and realign the arms.
-
-
-
Heat an iOpener and thread it through the arms of the Anti-Clamp.
-
Fold the iOpener so it lays on the bottom edge of the iPhone.
-
Wait one minute to give the adhesive a chance to release and present an opening gap.
-
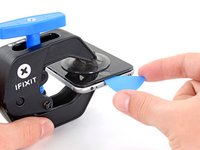
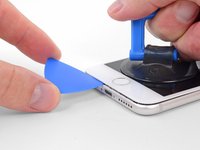
Insert an opening pick into the gap.
-
Skip the next three steps.
-
-
-
Heating the lower edge of the iPhone will help soften the adhesive securing the display, making it easier to open.
-
Use a hairdryer or prepare an iOpener and apply it to the lower edge of the phone for about 90 seconds in order to soften up the adhesive underneath.
-
-
-
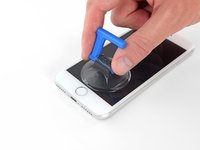
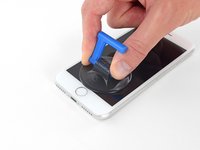
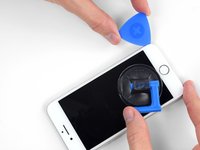
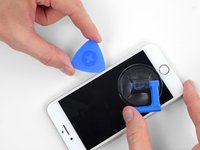
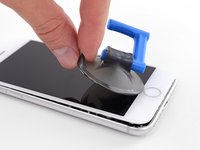
Apply a suction cup to the lower half of the front panel, just above the home button.
-
-
-
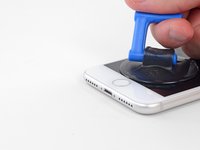
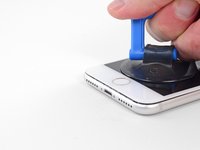
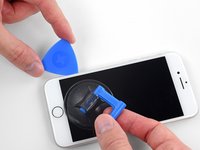
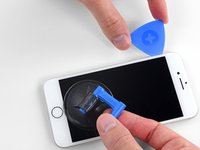
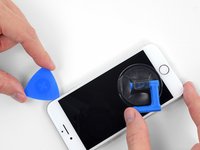
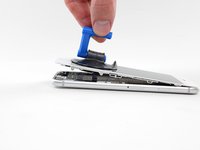
Pull up on the suction cup with firm, constant pressure to create a slight gap between the screen and the frame.
-
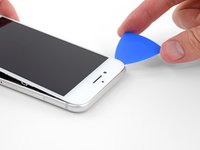
Insert an opening pick into the gap.
-
-
-
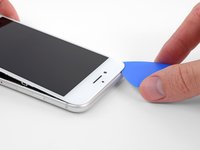
Slide the opening pick up the left edge of the phone starting at the lower edge and moving towards the volume control buttons and silent switch, breaking up the adhesive holding the display in place.
-
Stop near the top left corner of the display.
-
-
-
-
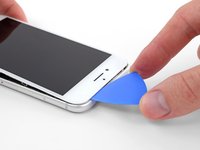
Re-insert your tool at the lower right corner of the iPhone, and slide it around the corner and up the right side of the phone to separate the adhesive.
-
-
-
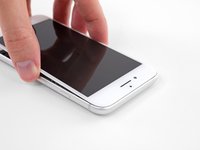
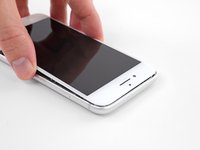
Gently pull up on the suction cup to lift up the bottom edge of the display.
-
Pull on the small nub on the suction cup to remove it from the front panel.
-
-
-
Slide an opening pick underneath the display around the top left corner and along the top edge of the phone to loosen the last of the adhesive.
-
-
-
Slide the display assembly slightly down (away from the top edge of the phone) to disengage the clips holding it to the rear case.
-
-
-
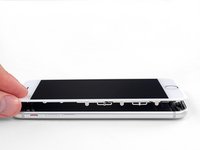
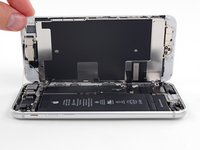
Open the iPhone by swinging the display up from the left side, like the back cover of a book.
-
Lean the display against something to keep it propped up while you're working on the phone.
-
-
crwdns2935267:0crwdne2935267:0Tri-point Y000 Screwdriver$5.99
-
Remove four tri-point Y000 screws securing the lower connector bracket, of the following lengths:
-
Three 1.2 mm screws
-
One 2.4 mm screw
-
-
-
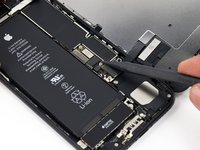
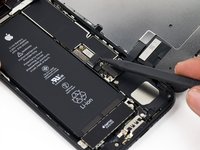
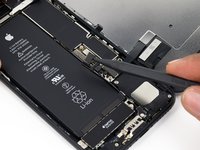
Use the point of a spudger to lift the battery connector out of its socket on the logic board.
-
-
-
Use a spudger or a fingernail to disconnect the two lower display connectors by prying them straight up from their sockets on the logic board.
-
-
-
Remove the two 1.3 mm Phillips #000 screws securing the bracket over the front panel sensor assembly connector.
-
-
-
Disconnect the front panel sensor assembly connector from its socket on the logic board.
-
-
-
Remove the three Phillips screws securing the earpiece bracket to the front panel:
-
Two 2.6 mm screws
-
One 1.7 mm screw
-
-
-
Remove the earpiece speaker bracket.
-
-
-
Lift the front facing camera out of the way to access the earpiece speaker.
-
-
-
Remove the two Phillips screws securing the earpiece speaker to the front panel:
-
One 1.9 mm screw
-
One 2.5 mm screw
-
To reassemble your device, follow these instructions in reverse order.
To reassemble your device, follow these instructions in reverse order.
crwdns2935221:0crwdne2935221:0
crwdns2935229:0152crwdne2935229:0
crwdns2947412:011crwdne2947412:0
how to remove sensor
I successfully replaced the earpiece but after completing everything the iphone stopped charging ,what could be the reason?
please help.
Thanks in advance:)
Check your battery cable. Make sure it is seated properly to the motherboard.
Hello,
instructions were great and easy to follow. I have managed to replace my ear speaker which i bought from your store, but the problem with distorted sound still exists.
Is there maybe some kind of failure on my motherboard on device or something else?
Hi I have a question- what is the speaker attached to that is making it work? From the video it looks like it isn’t attached to any wires that connect to the rest of the phone, but maybe I am not looking closely. I am wondering because I broke the front camera ribbon and would like to know if that should affect my speaker?
Thanks


