crwdns2915892:0crwdne2915892:0
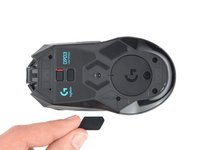
Use this guide to open a Logitech G903 for cleaning or repair.
crwdns2942213:0crwdne2942213:0
-
-
Before you begin, flip the mouse's power switch into the red OFF position.
-
Unplug all cables from your mouse.
-
-
-
Heat an iOpener and lay it on the mouse feet for one minute to heat the adhesive.
-
-
-
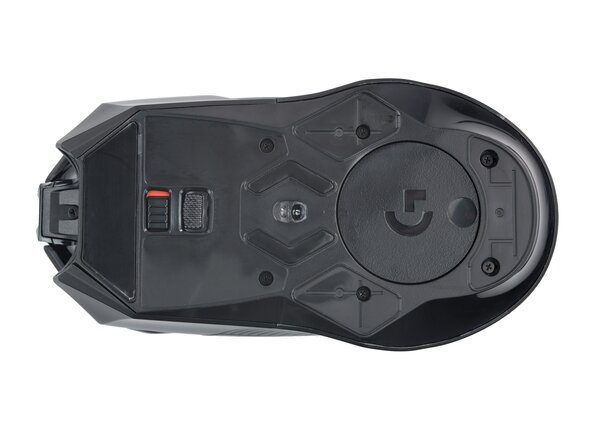
Slide the tip of an opening pick under an edge of the bottom mouse foot, making sure it goes under both the foot and its adhesive pad.
-
Gently slide your pick farther under the foot and lift until you can grip it with your fingers.
-
Use your fingers to peel up and remove the foot.
-
-
-
Slide the flat end of a spudger under an edge of the adhesive. If the adhesive seems stuck, you may need to heat it further.
-
Peel the adhesive off.
-
If any of the feet got damaged during removal or separated from their adhesive pads, replace them.
-
Use a spudger to carefully scrape up and remove any remaining adhesive bits.
-
Use isopropyl alcohol and a microfiber cloth to thoroughly clean all adhesive residue from the foot recesses. Allow the surface to completely dry.
-
Remove the feet from their backing and firmly press them into place.
-
-
-
Repeat the process to remove the two pentagonal mouse feet on the left and right sides.
-
-
-
-
Heat an iOpener and apply it to the Logitech sticker for one minute to soften its adhesive.
-
-
-
Slide the tip of an opening pick under an edge of the Logitech sticker.
-
Gently slide your pick farther under the sticker and lift until you can grip it with your fingers.
-
Use your fingers to peel up and remove the sticker.
-
-
-
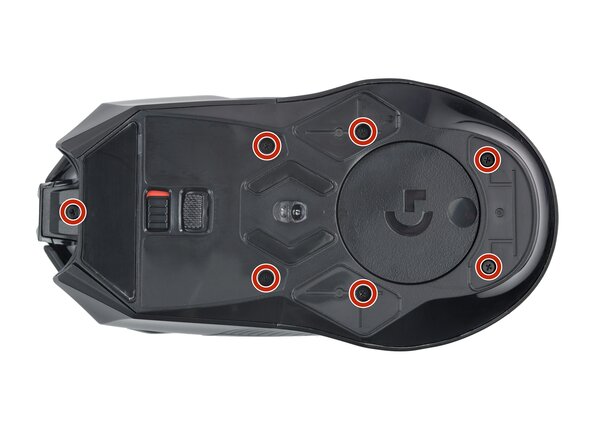
Use a Phillips screwdriver to remove the seven 4.5 mm screws securing the two halves of the mouse together.
-
-
-
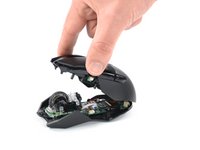
Swing the top case towards the rear of your mouse to access the internals.
-
Keep the top case lifted with one hand, or use something heavy to support it while you work.
-
-
-
Use a spudger or clean fingernail to flip up the hinged locking flap on the interconnect cable ZIF connector.
-
-
-
Use tweezers or your fingers to grip the interconnect cable by its pull tab and slide it out of the socket.
-
-
-
Use a pair of tweezers to firmly grasp the sides of the battery connector.
-
Pull the connector up and out of its socket, gently rocking it back and forth to loosen it.
-
-
-
Remove the top half of the mouse.
-
Compare your new replacement part to the original part—you may need to transfer remaining components or remove adhesive backings from the new part before installing.
To reassemble your device, follow the above steps in reverse order.
Take your e-waste to an R2 or e-Stewards certified recycler.
Repair didn’t go as planned? Check out our Answers community for troubleshooting help.
crwdns2935221:0crwdne2935221:0
crwdns2935229:020crwdne2935229:0
crwdns2947410:01crwdne2947410:0
Would this let me remove the left and right buttons to clean under? Because if there's an easier way to clean this godforsaken design I'd rather start there ;P


