crwdns2915892:0crwdne2915892:0
This repair guide was authored by the iFixit staff and hasn’t been endorsed by Google. Learn more about our repair guides here.
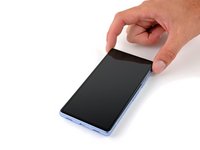
Follow this guide to remove or replace a broken or malfunctioning screen on your Google Pixel 7a.
To calibrate the display’s fingerprint reader, follow this guide. Genuine Google replacement screens come with the fingerprint reader already attached. If your replacement screen doesn’t have a pre-installed fingerprint reader, you’ll need to transfer the original fingerprint reader to your new screen and recalibrate it to retain functionality.
You'll need replacement screen adhesive in order to complete this repair.
Note: Any repair can compromise the water resistance of your phone. Retaining water resistance after the repair will depend on how well you reapply the adhesive.
crwdns2942213:0crwdne2942213:0
-
-
Unplug any cables from your phone and fully power it down.
-
-
-
Apply overlapping strips of packing tape to the cracked glass until the whole screen is covered.
-
-
-
Use a hair dryer, heat gun, or hot plate to heat the top edge of the screen until it's almost too hot to touch.
-
-
crwdns2935267:0crwdne2935267:0Jimmy$7.95
-
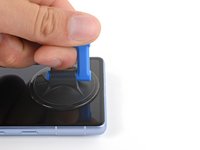
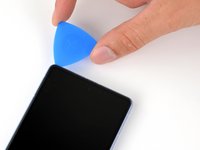
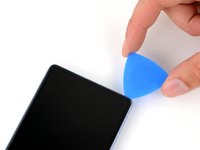
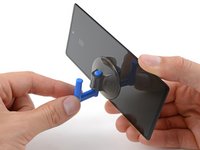
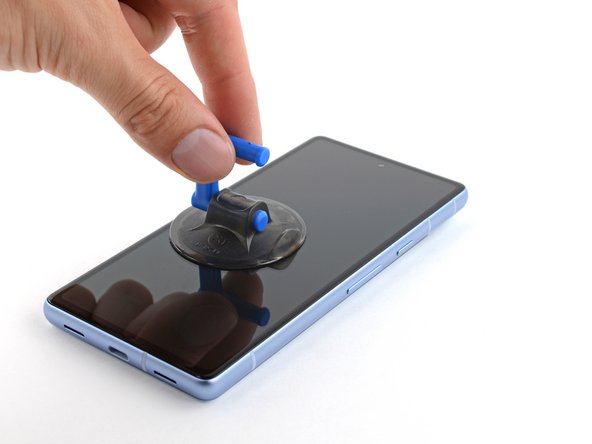
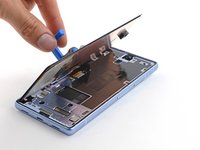
Apply a suction handle to the center of the top edge of the screen.
-
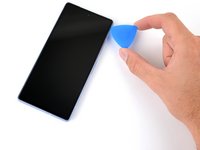
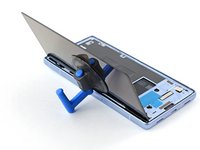
Pull up on the suction handle with a strong, steady force.
-
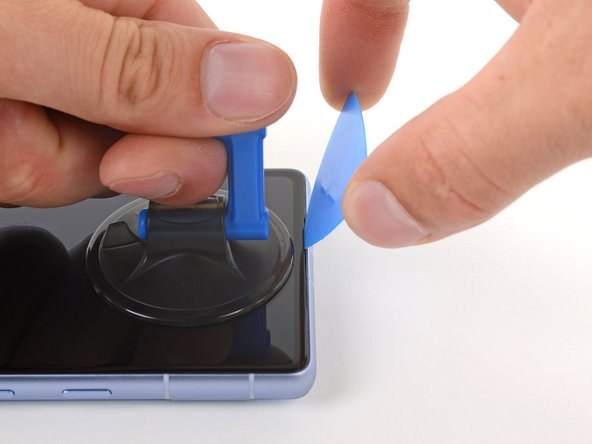
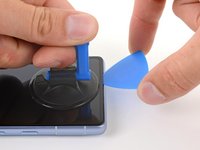
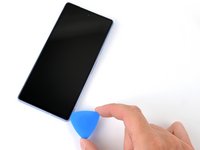
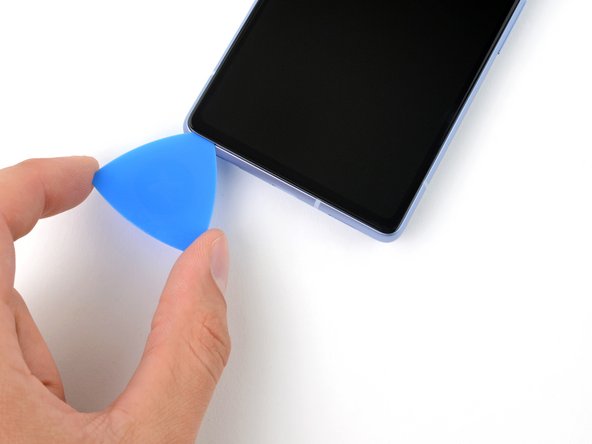
Insert the tip of an opening pick into the left side of the earpiece speaker cutout.
-
Firmly press the pick into the cutout and lower it flat to the screen until it slides under the glass.
-
-
-
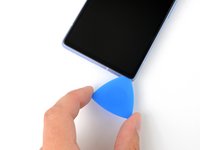
Slide your pick back and forth across the top edge of the screen to separate the adhesive.
-
-
-
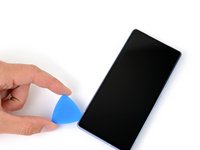
Slide your pick down the right edge to separate the adhesive.
-
-
-
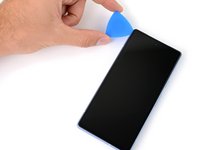
Slide your pick to the bottom left corner to separate the bottom edge adhesive.
-
-
-
Slide your pick to the top left corner to separate the left edge adhesive.
-
-
-
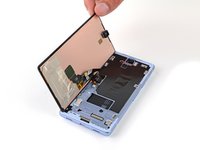
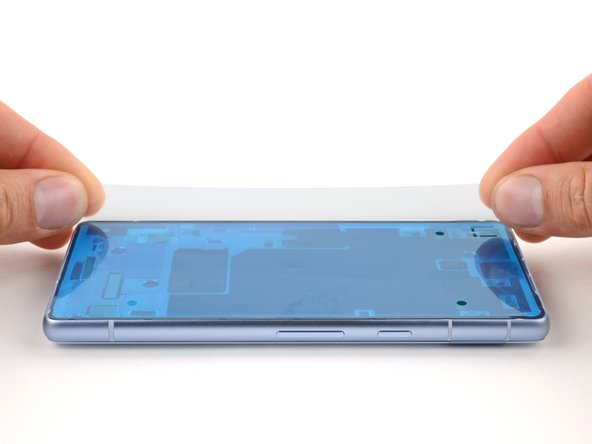
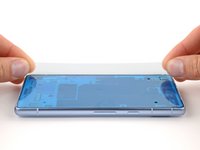
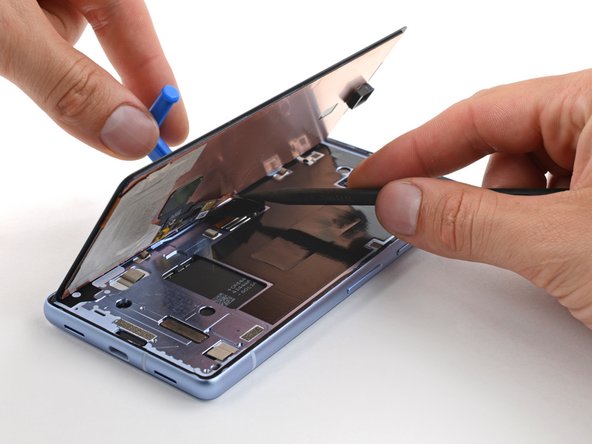
Swing the right edge of the screen open, like turning the page of a book.
-
Lay the screen over the left edge of the frame.
-
-
-
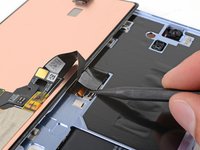
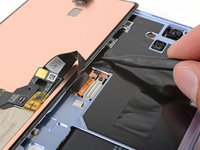
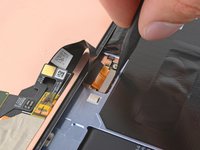
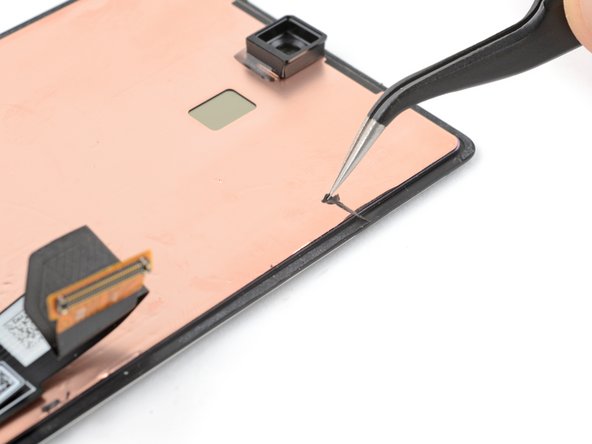
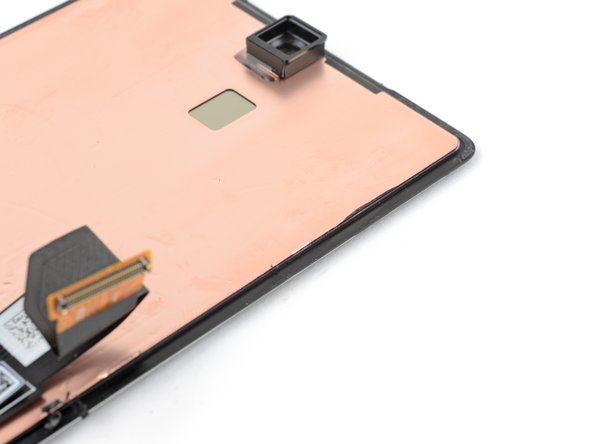
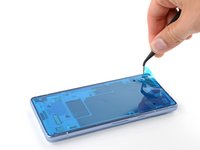
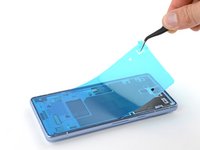
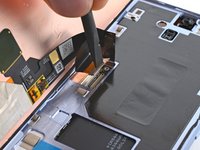
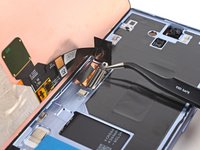
Move the flap of graphite film away from the screen connector.
-
-
-
-
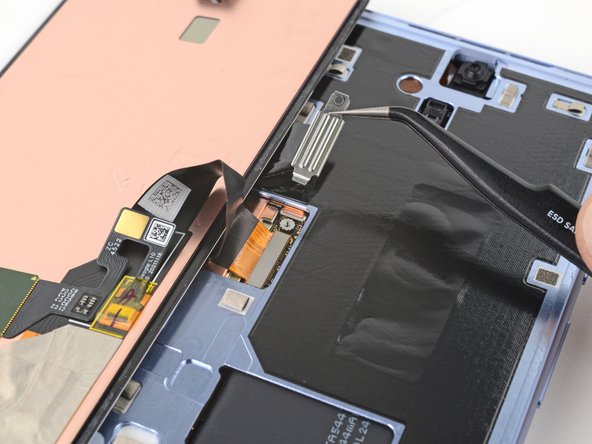
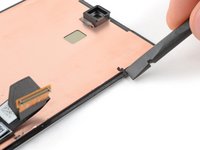
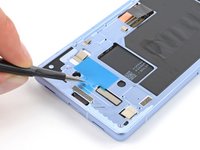
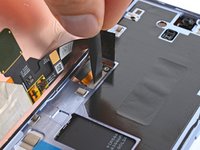
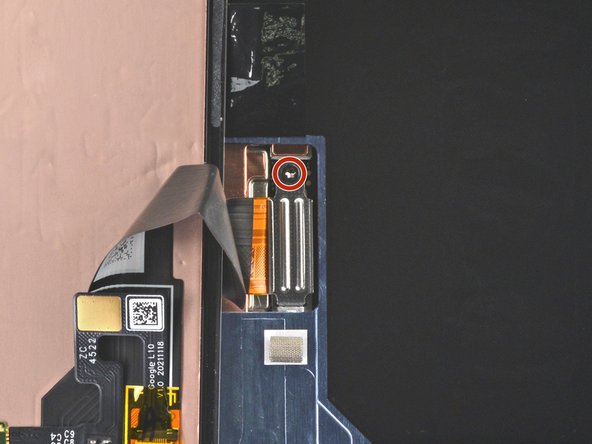
Use your 3IP Torx Plus driver to remove the single 2 mm screw securing the screen connector cover.
-
Remove the cover.
-
-
-
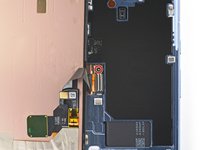
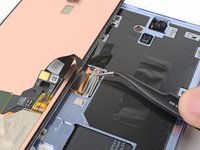
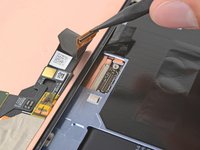
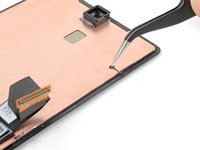
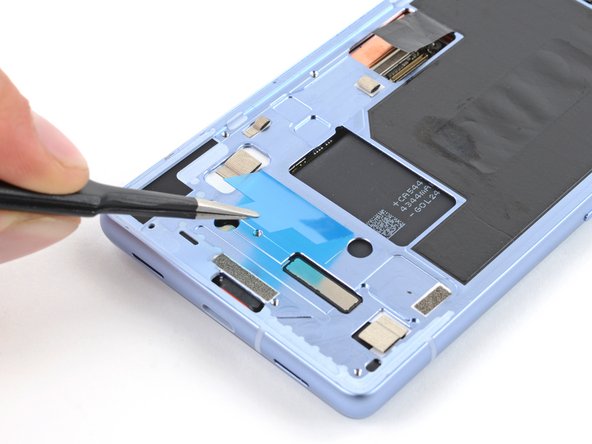
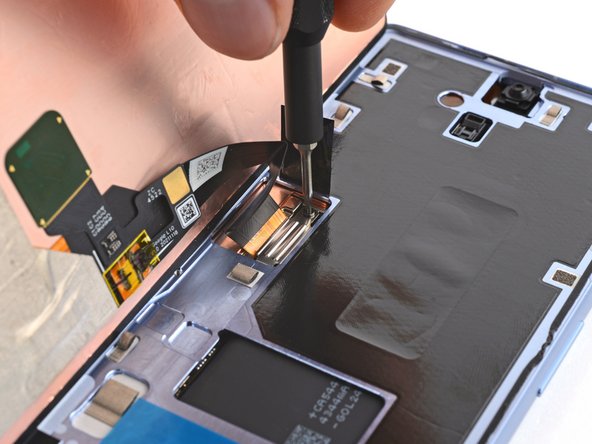
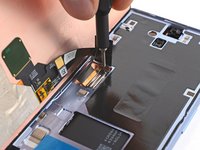
Use the point of your spudger or a fingernail to pry up and disconnect the screen press connector.
-
-
-
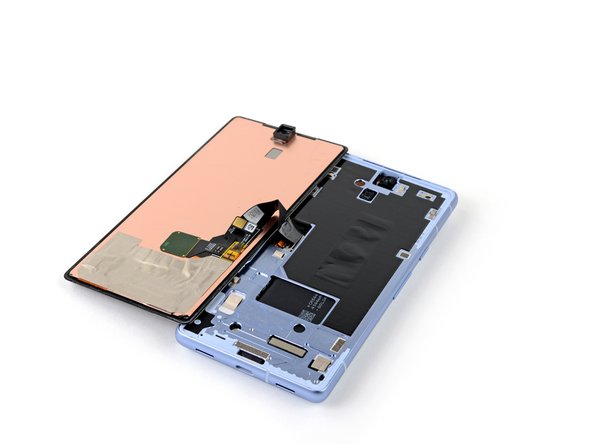
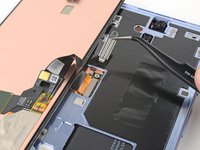
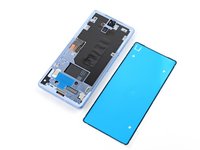
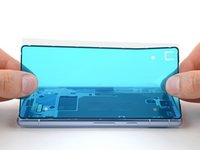
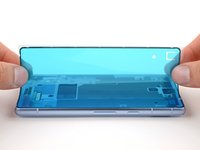
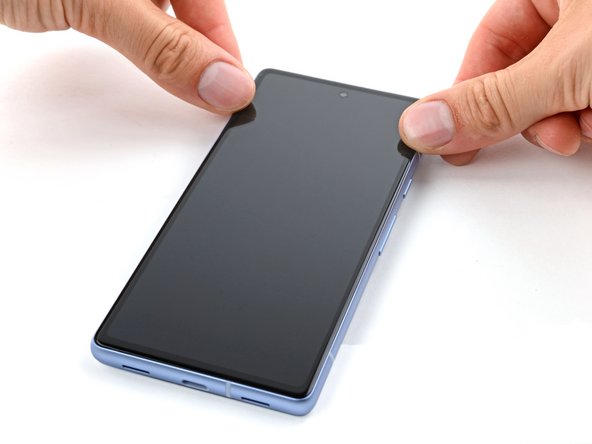
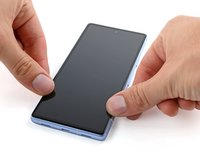
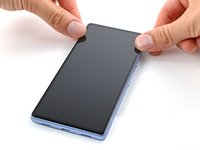
Remove the screen.
-
When handling your screen, grip it by its edges.
-
When placing the screen on your work area, make sure nothing is touching the bottom of the screen. Consider placing it on a soft, lint-free cloth.
-
-
crwdns2935267:0crwdne2935267:0Tweezers$4.99
-
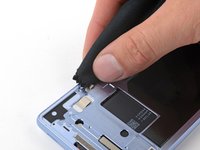
Use blunt nose tweezers or your fingers to peel and remove the square piece of adhesive near the battery cutout.
-
-
-
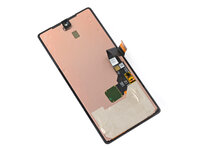
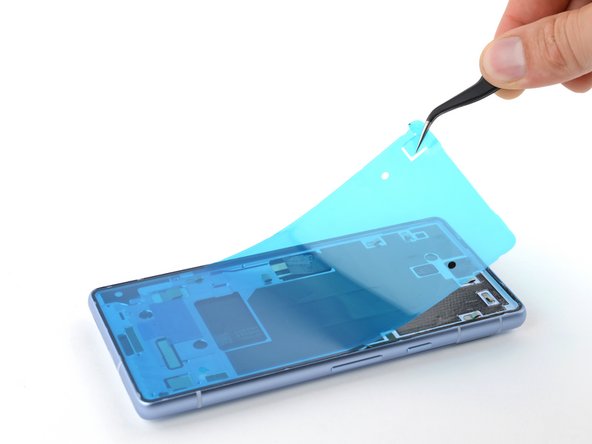
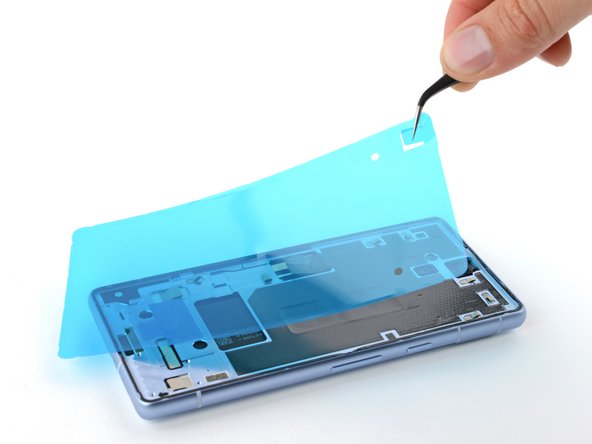
If you're reusing your original screen, peel and remove the old adhesive from the perimeter of the screen.
-
-
crwdns2935267:0crwdne2935267:0Microfiber Cleaning Cloths$3.99
-
Use a pipette or syringe to apply a few drops of highly-concentrated isopropyl alcohol (over 90%) to the perimeter of the frame.
-
Wipe the residue away using a lint-free or microfiber cloth.
-
-
-
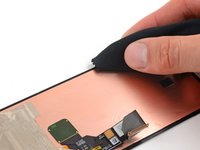
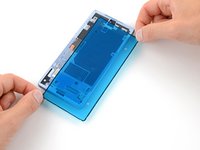
Peel the square piece of screen adhesive from its large liner.
-
Apply the adhesive to the frame in the same location as the old adhesive, just below the battery cutout.
-
-
-
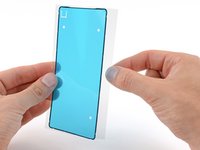
Before removing any liners from the screen adhesive, hold it over the frame to make sure it's oriented correctly.
-
-
-
Peel up the right half of the large adhesive liner. Don't remove the whole liner, yet.
-
Hold the adhesive by its short edges, with the right long edge of the liner folded back to expose the adhesive.
-
Lay the right long edge of the adhesive onto the frame.
-
-
-
Slowly lay the rest of the adhesive onto the frame, peeling away the large liner as you go.
-
-
-
Use the flat end of your spudger to press along the perimeter of the adhesive and secure it to the frame.
-
-
-
Grab the blue liner pull tab in the upper left corner.
-
Slowly peel and remove the liner.
-
-
-
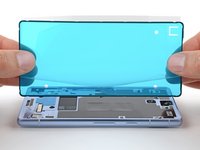
Apply a suction handle to the left side of the replacement screen, with the handle facing left.
-
Prop up your screen on the left side of the frame.
-
-
-
Connect the screen cable by aligning it over the socket and pressing on one side until it clicks into place before fully pressing it down.
-
-
-
Insert the screen connector cover into its slot in the logic board.
-
Use your T3 Torx driver to install the 2 mm 3IP Torx Plus screw and secure the screen connector cover.
-
-
-
Peel and remove the blue liner from the square adhesive on the frame.
-
Your replacement screen may have extra protective liners covering the front camera or sensors. Check the entire screen and remove any remaining liners.
-
-
-
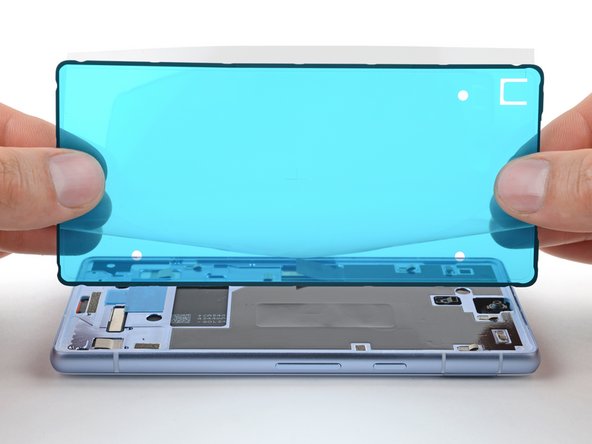
Hold the screen just above the frame by the suction handle.
-
Use a spudger to fold the flap of graphite film back over the screen cable.
-
Press the screen into place.
-
-
-
Remove the suction handle.
-
Firmly press around the perimeter of the screen to secure it to the frame.
-


To calibrate the display’s fingerprint reader, use Google’s Pixel Update and Software Repair tool.
Take your e-waste to an R2 or e-Stewards certified recycler.
To run a diagnostics test with the built-in Pixel Diagnostic tool, click here.
Repair didn’t go as planned? Try some basic troubleshooting, or ask our Answers community for help.
crwdns2935221:0crwdne2935221:0
crwdns2935229:079crwdne2935229:0

crwdns2915084:0crwdne2915084:0

Guide Team crwdns2935289:0Guide Teamcrwdne2935289:0
Staff
crwdns2931471:010crwdne2931471:0
crwdns2935297:015,315crwdne2935297:0
crwdns2947412:029crwdne2947412:0
This guide worked well for me and I was able to replace my screen despite it being severely cracked - expect a lot of screen breakage and glass pieces if that's the case! I set everything in a tray to minimize glass fragments going all over.
Once the screen was installed, the wrapper for the iFixit provided screen has a label that says "UDFPS calibration required" with a QR code.
This takes you to a Google site that tells you how to set up fingerprints on your phone. I don't think that link is helpful.
I needed to go to https://pixelrepair.withgoogle.com/udfps where Google has a tool that allows easy updating of the fingerprint sensor software on your phone, which is a requirement after a new screen is installed. Open that site on a computer (PC or Mac, no ChromeOS, no tablets) and follow the instructions, which include connecting your phone via USB cable.
I had trouble with the calibration step. I ended up having to install the Google USB driver. I downloaded it here and followed this guide, using the Windows 10 instructions for Windows 11
the link worked for me, thank you so much @hanschun.
I was going to flash my phone, but I just checked this guide again, and I scrolled past the iFixit link, and stumbled at your comment
Thank you again
The guide worked very well. Although it was very hard to remove the old display (I have two left hands, all thumbs), I was able to exchange it. Thank you very much!
Just replaced my phone 7a screen using the available kit. It was next to impossible to get the old screen off using the heat and pry tools. Would definitely recommend getting their jimmy tool. I ended up shattering the old screen on purpose using a punch tool and peeling the glass off the digitizer and frame. This was easiest for me without ordering another tool. Would NOT recommend doing it this way! The other deviation from these instructions is that the screen replacement version sent to me (10/2023) had the screen adhesive already applied to the screen. Made it much easier to install since there was no human error applying the screen adhesive to the phone frame first then lining up the screen. Definitely an improvement! Overall, took me way too long to complete, closer to 2+ hours due to the issues getting the old screen off. But certainly manageable by any DIYer. Would definitely buy from iFixIt again in the future if needed.