crwdns2915892:0crwdne2915892:0
This repair guide was authored by the iFixit staff and hasn’t been endorsed by Google. Learn more about our repair guides here.
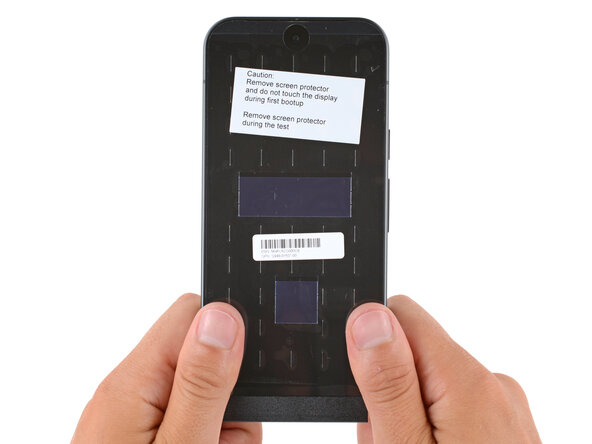
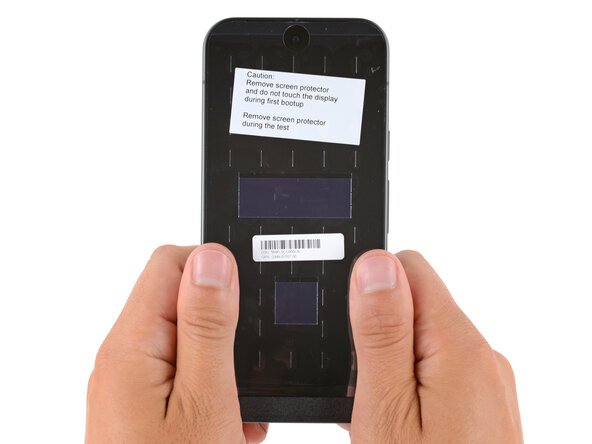
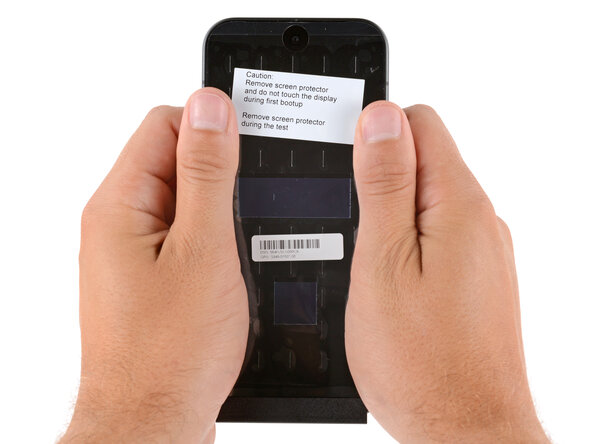
Follow this guide to replace a cracked, broken, or non‑responsive screen on your Google Pixel 10.
If your screen doesn't come with adhesive pre‑installed, you'll need replacement screen adhesive to complete this repair.
Note: Any repair can compromise the water resistance of your phone. Retaining water resistance after the repair depends on how accurately the new adhesives are applied and how clean the mating surfaces are.
crwdns2942213:0crwdne2942213:0
-
-
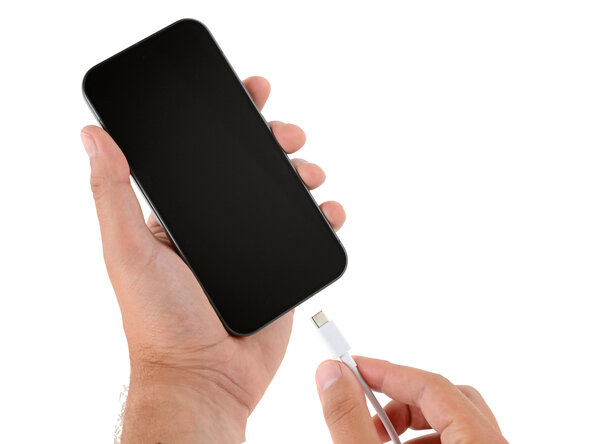
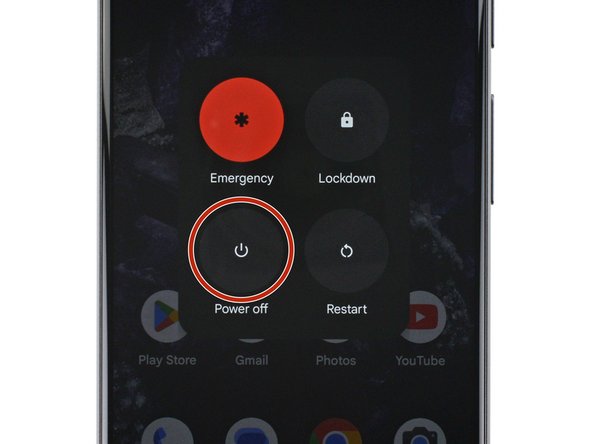
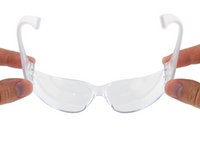
Unplug all cables and completely power down your phone.
-
-
-
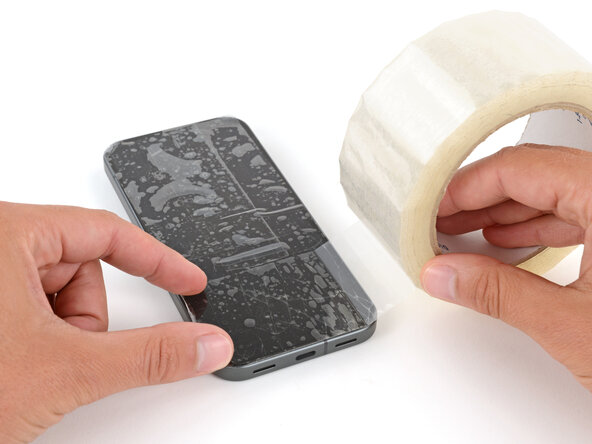
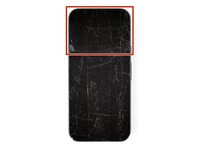
Apply strips of packing tape to the cracked glass until the whole screen is covered—this will help keep the glass contained and allow the suction cup to stick to the screen.
-
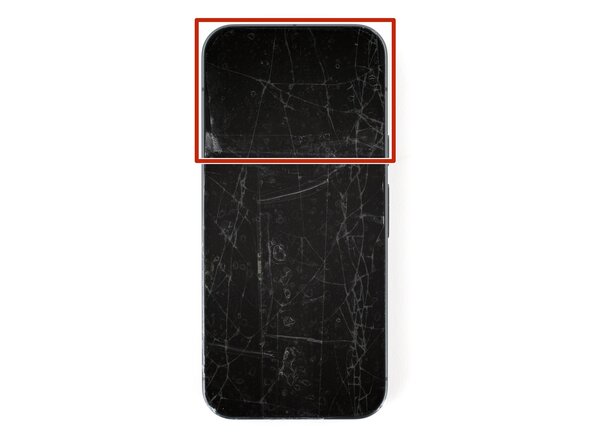
Make sure there's a single strip (not overlapping) of tape across the top edge, big enough for a suction cup to fit on.
-
-
-
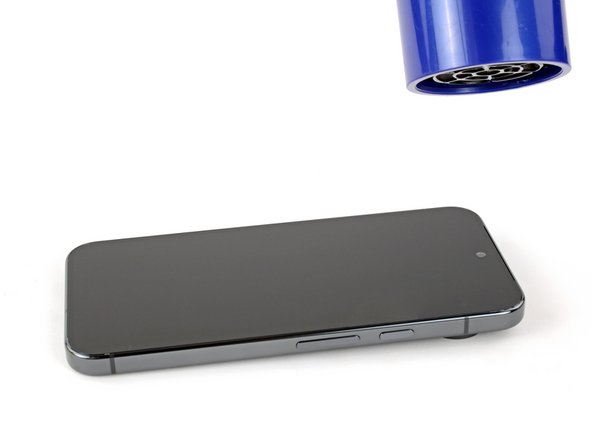
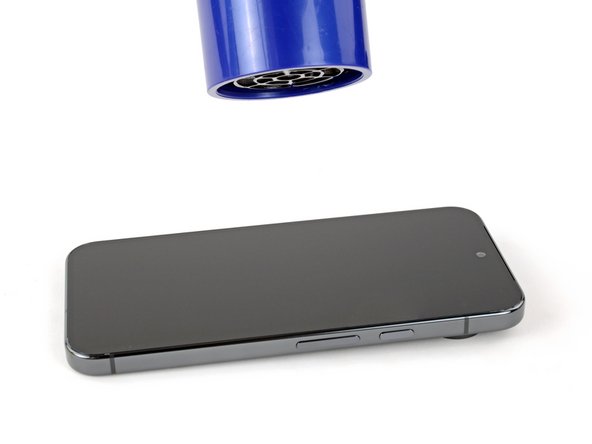
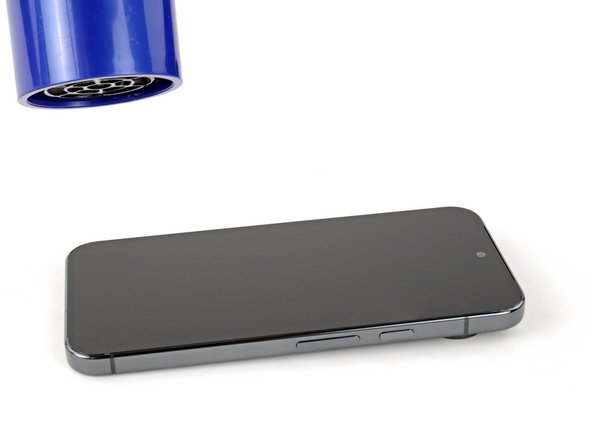
Use a hair dryer, heat gun, or hot mat to heat the entire screen until it's almost too hot to touch.
-
-
-
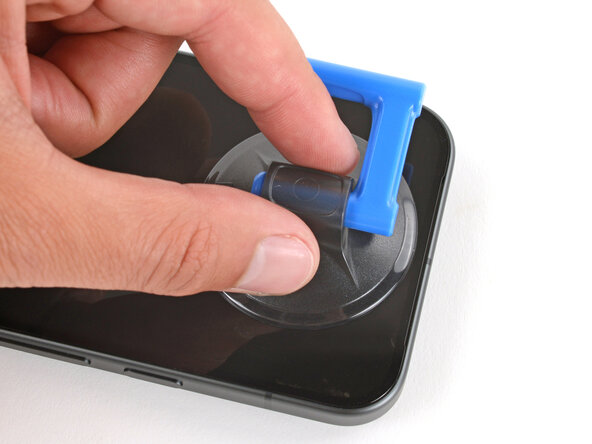
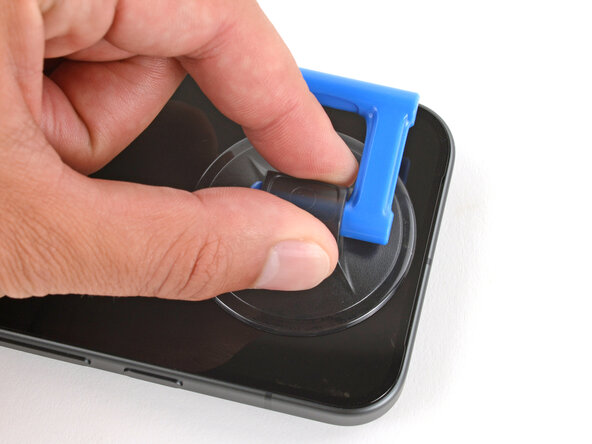
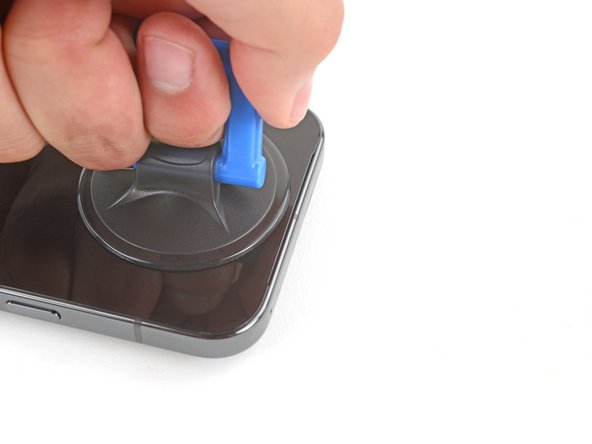
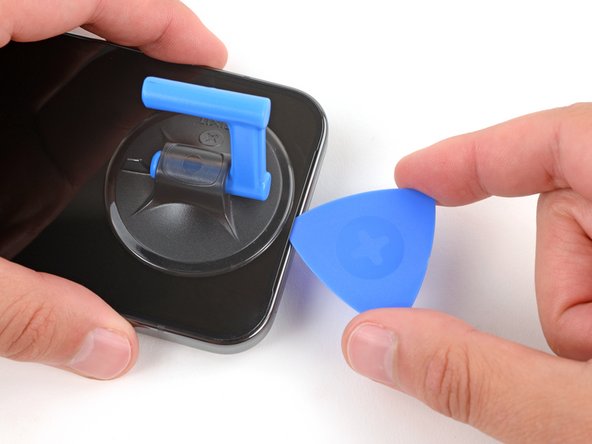
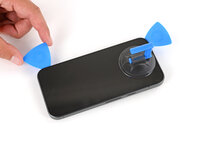
Apply a suction handle to the center of the screen's top edge, as close to the edge as possible.
-
-
-
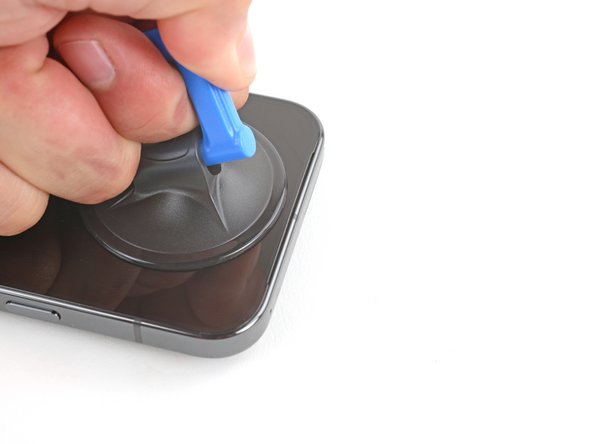
Pull up on the suction handle with strong, steady force to create a gap between the screen and frame.
-
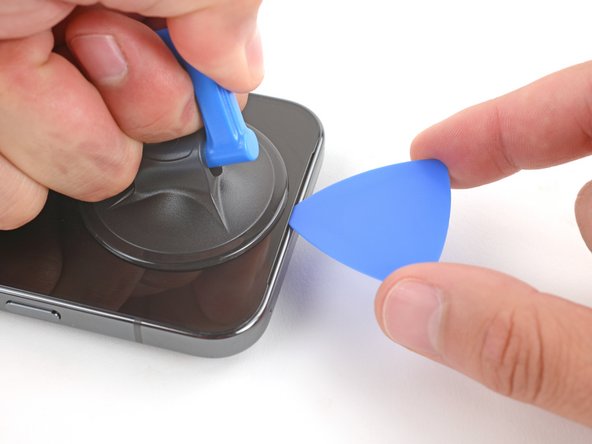
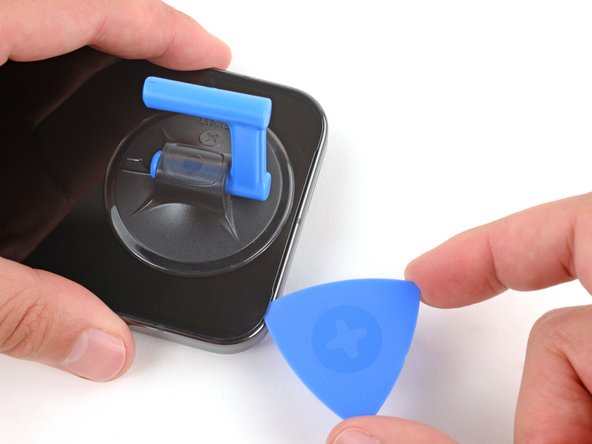
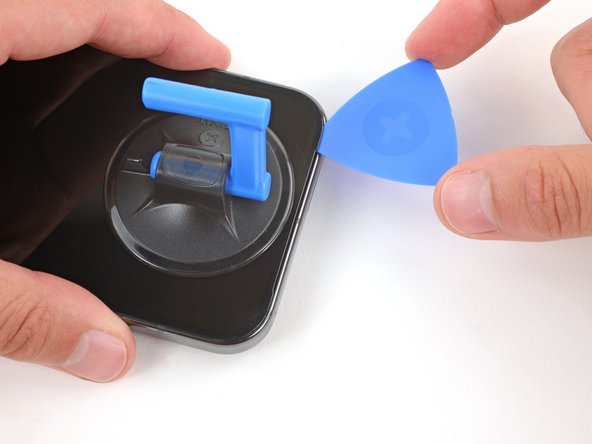
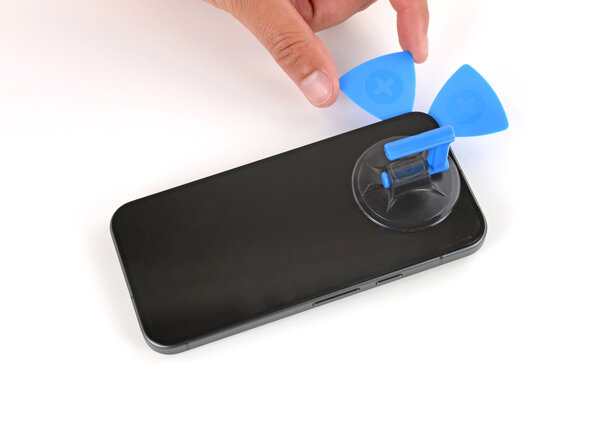
Insert the tip of an opening pick under the screen.
-
-
-
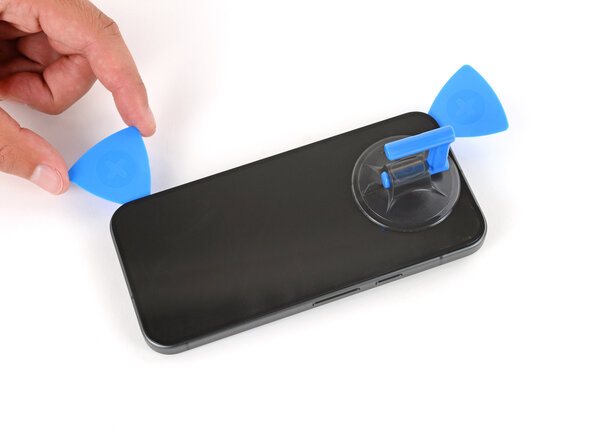
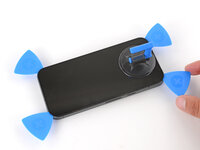
Slide the opening pick along the top edge to separate the adhesive.
-
-
-
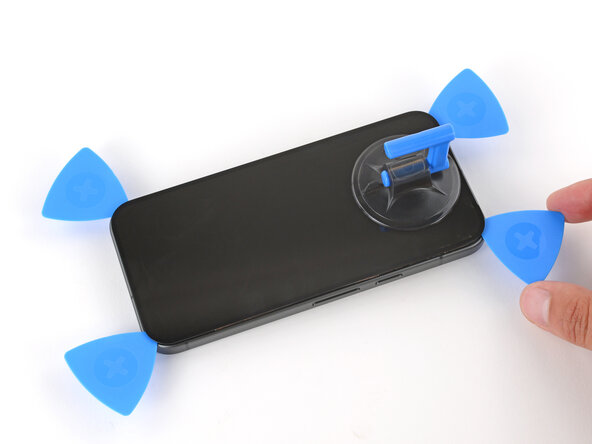
Continue sliding the pick around the perimeter of the screen until all the adhesive has been separated, leaving picks inserted at the corners to prevent the adhesive from re‑sealing.
-
-
-
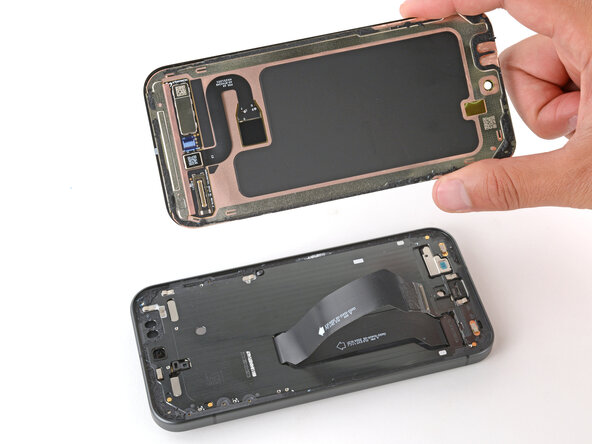
Flip the top edge of the screen over the bottom edge and use the suction handle (or a sturdy object) to prop it up, so you have access to the screen cable connector.
-
-
-
Use the flat end of a spudger to push in the clip on the screen cable bracket until it releases.
-
Remove the bracket.
-
-
-
Use a spudger to pry up and disconnect the screen cable press connector.
-
-
-
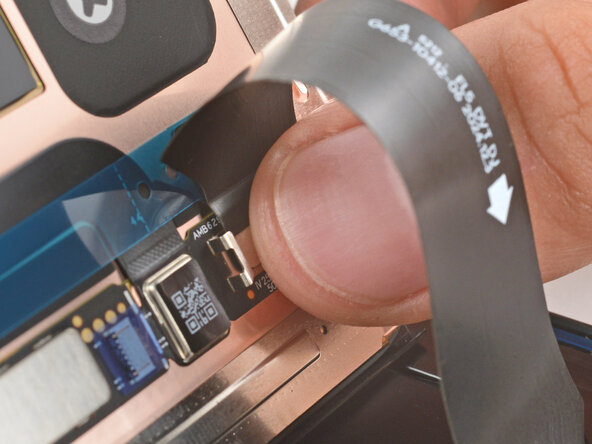
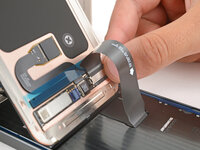
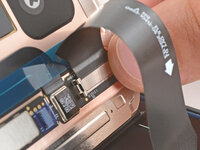
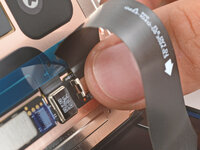
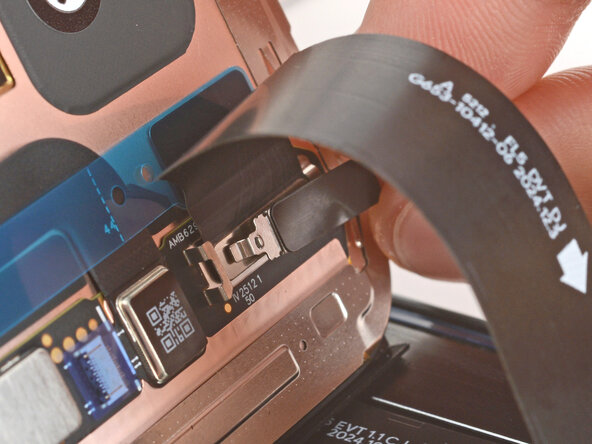
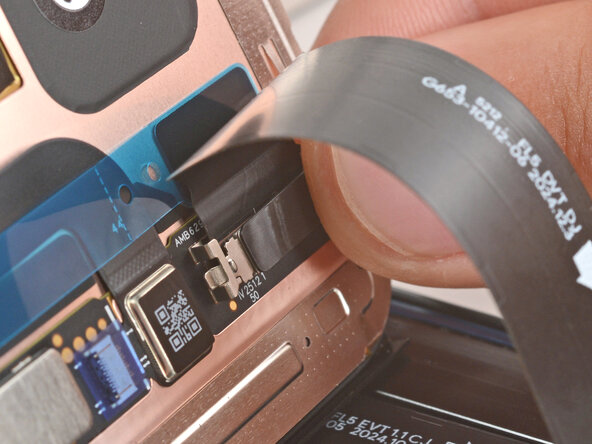
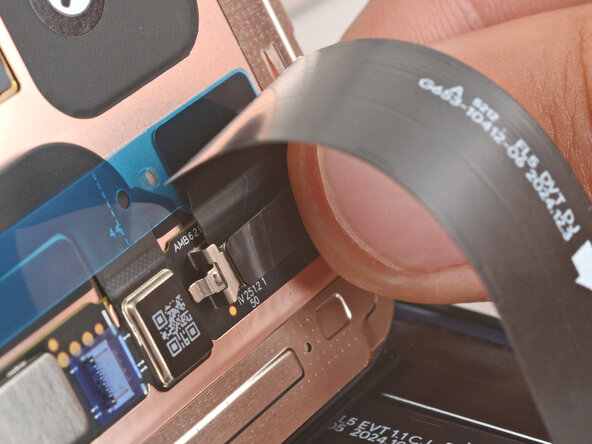
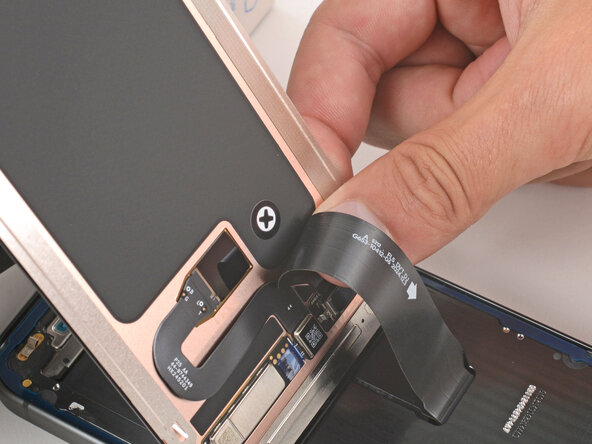
Grip the screen cable just above its connector and gently peel it up.
-
-
-
Remove the screen.
-
-
-
-
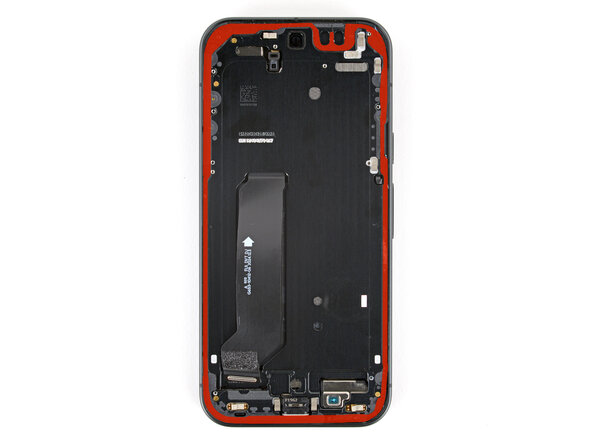
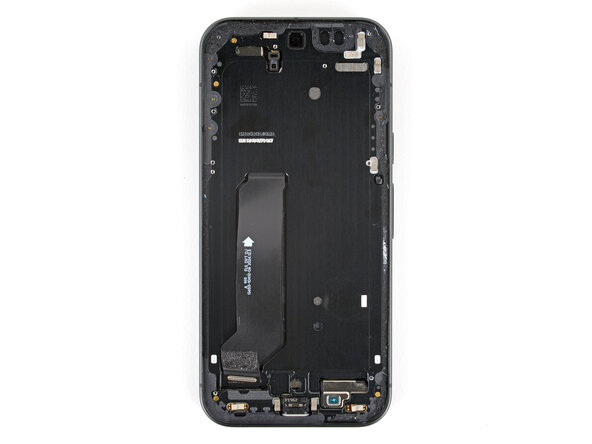
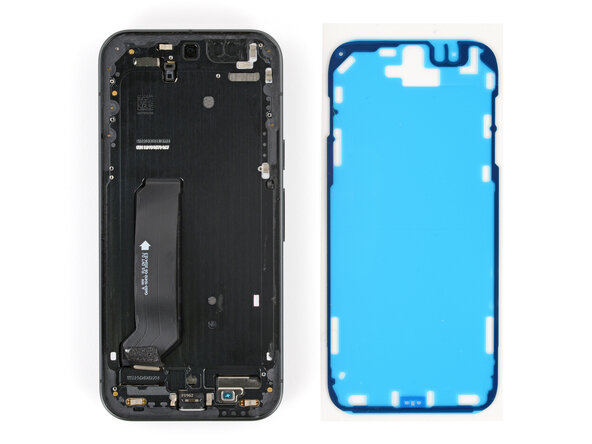
Before installing adhesive, all the old adhesive must be completely removed from the frame.
-
-
-
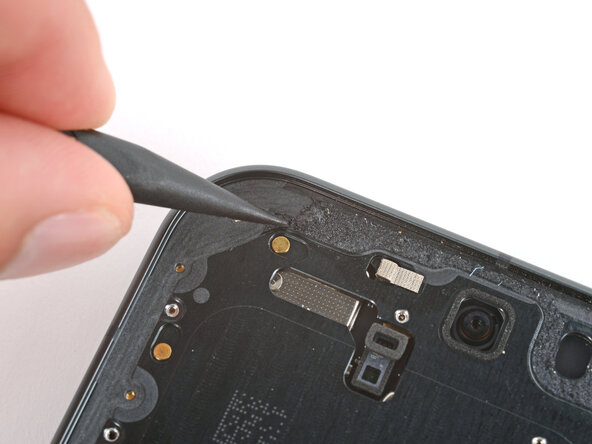
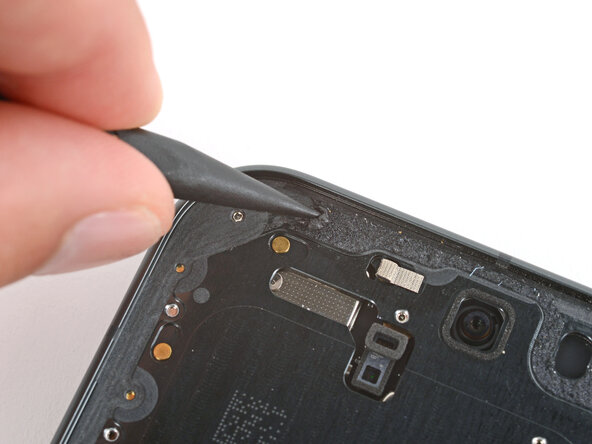
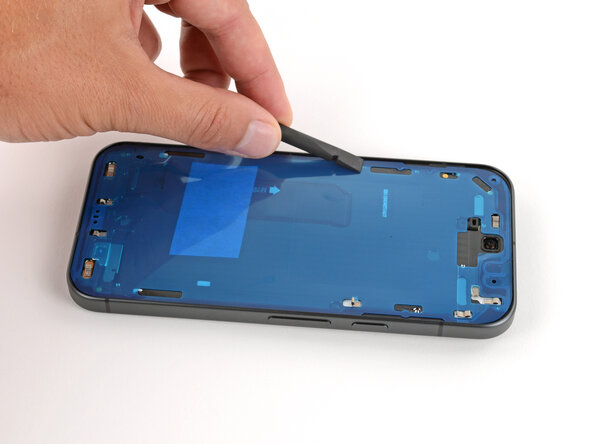
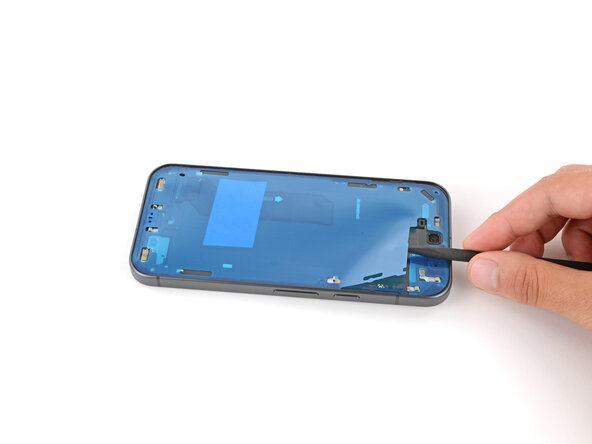
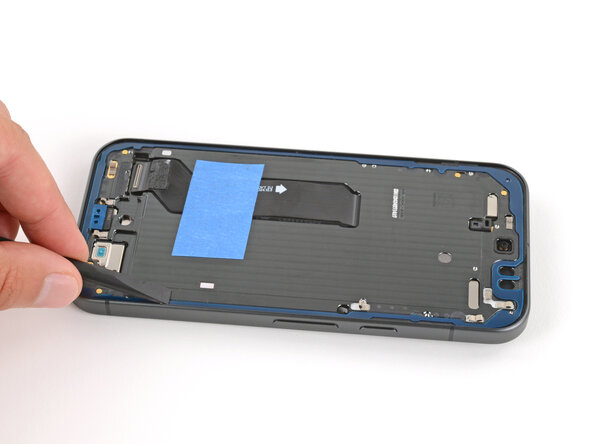
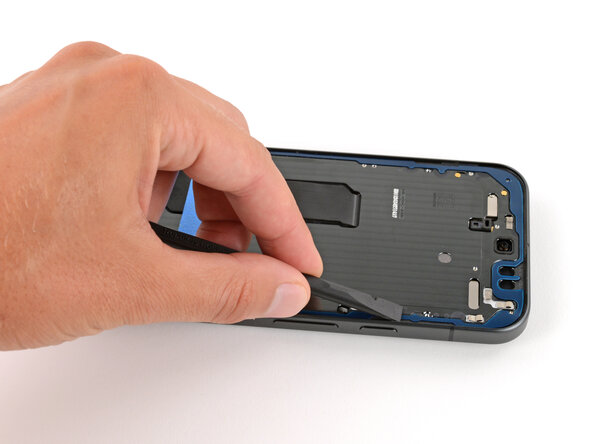
Use the point of a spudger to remove all the old screen adhesive from the frame. Try to "roll" the adhesive onto itself so it balls up, making it easier to remove.
-
-
-
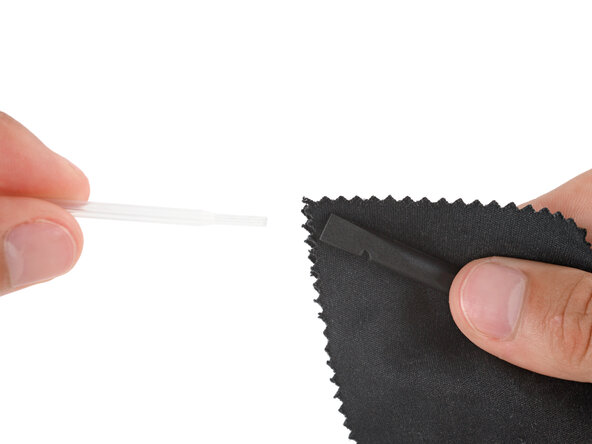
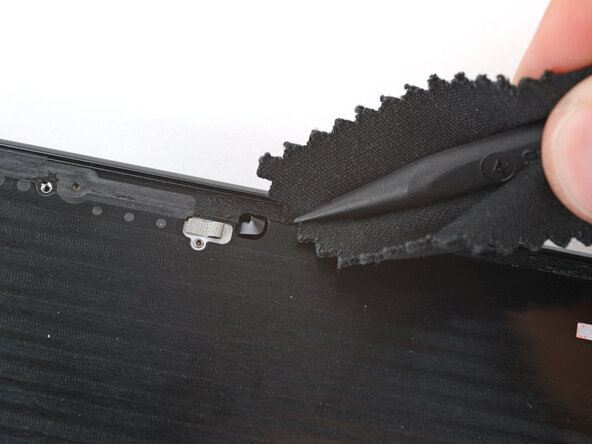
Wrap a microfiber or lint‑free cloth around a spudger and apply a single drop of high‑concentration (>90%) isopropyl alcohol to the end.
-
Use the spudger to clean up all the remaining adhesive residue from the frame, applying more drops of alcohol as necessary.
-
-
-
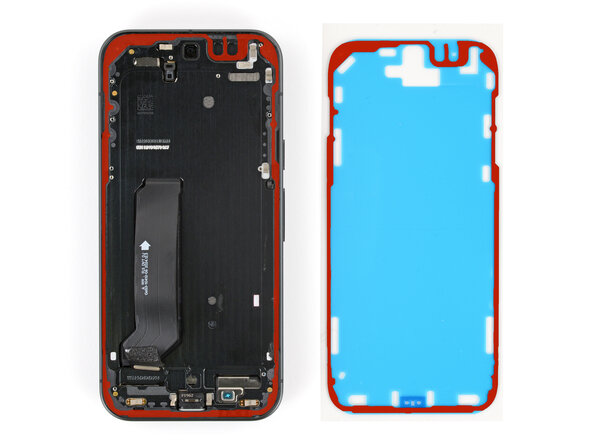
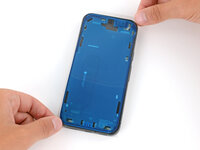
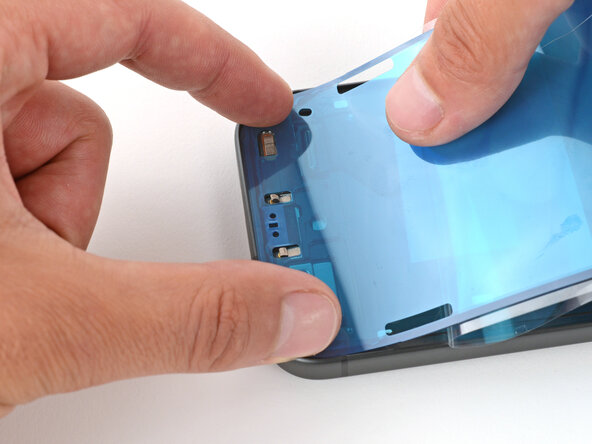
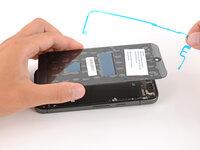
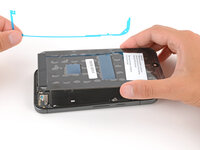
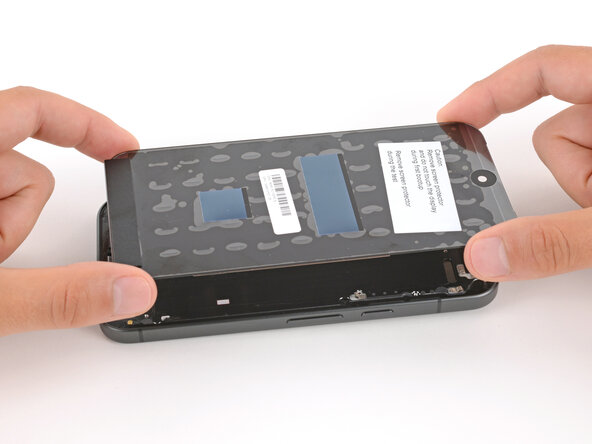
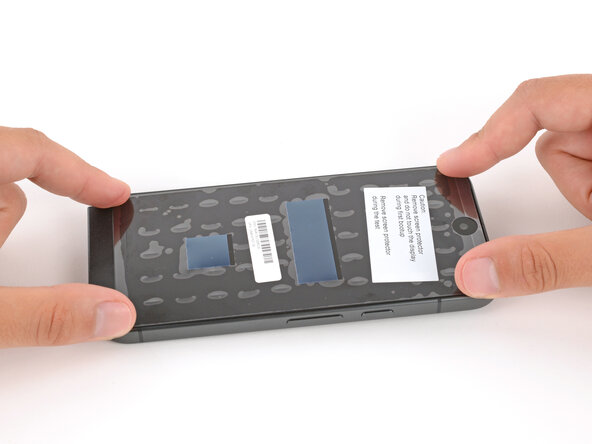
Hold the adhesive above the frame to find its orientation. Use cutouts in the liner and the contours of the adhesive to help visualize how it will lay in the frame.
-
-
-
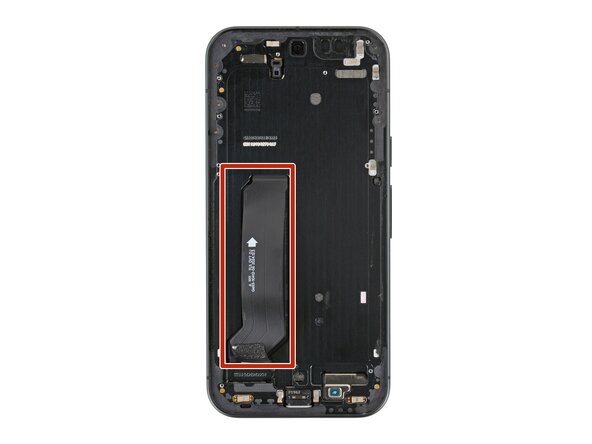
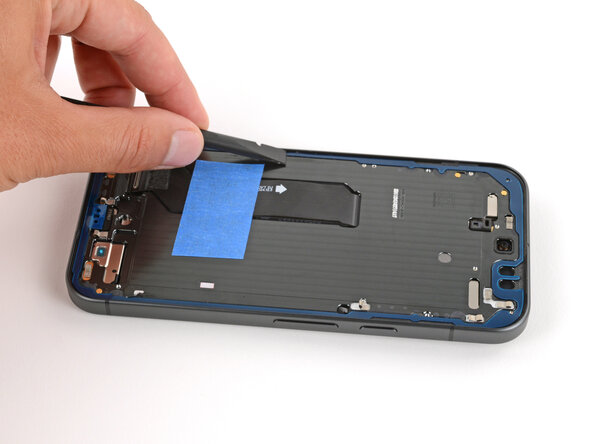
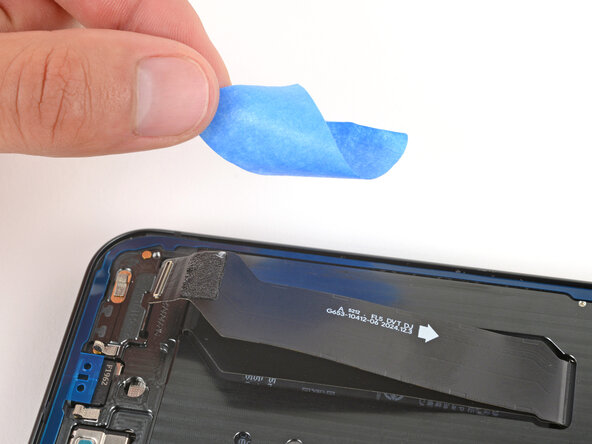
The screen cable sticks up off the frame, making it difficult to apply new screen adhesive.
-
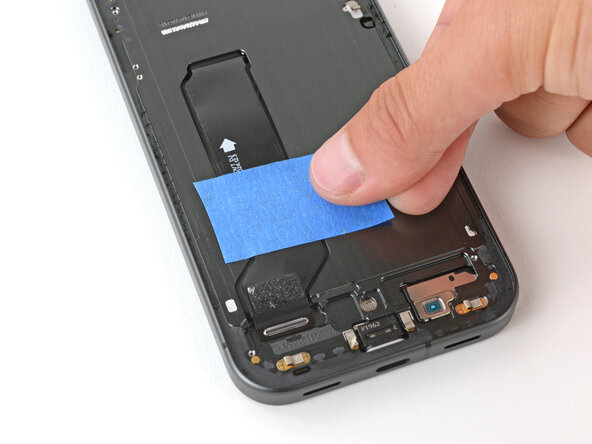
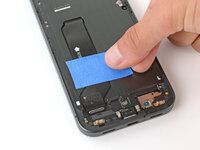
Tape the middle of the cable down to the frame, making sure the tape isn't covering anywhere the new adhesive will go.
-
-
-
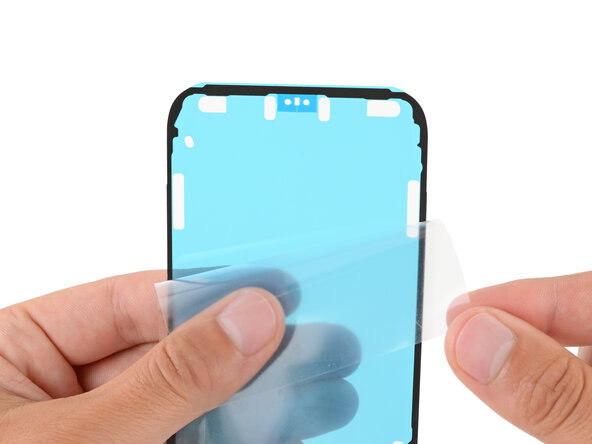
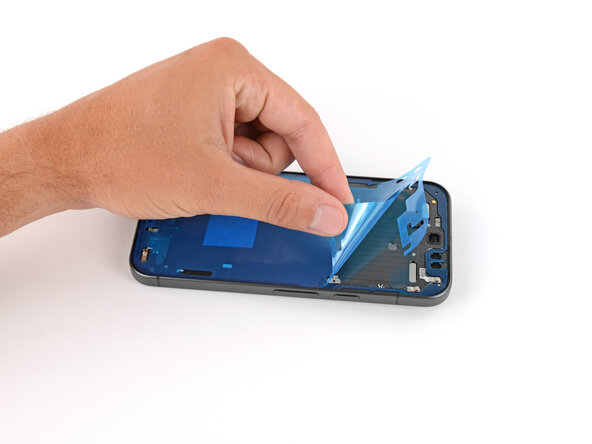
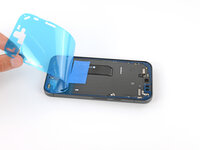
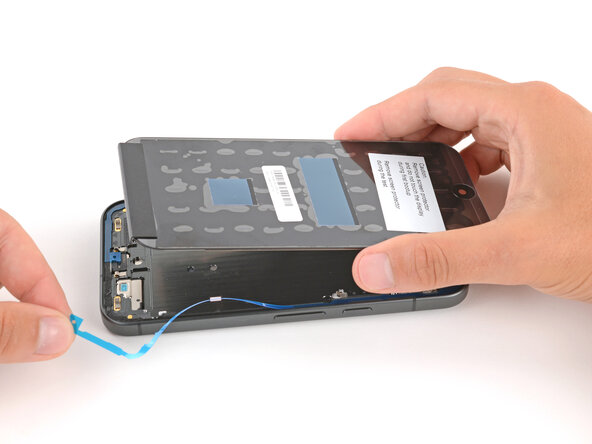
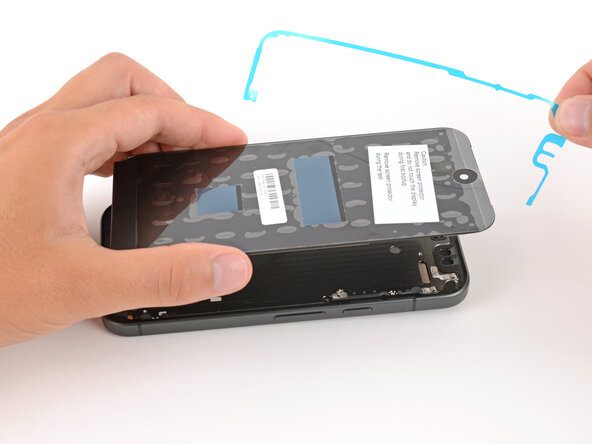
Peel down the bottom half of the large, clear liner to expose the adhesive—don't fully remove the liner yet.
-
-
-
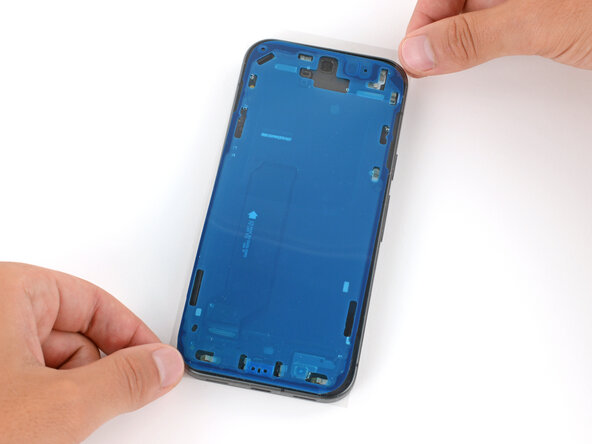
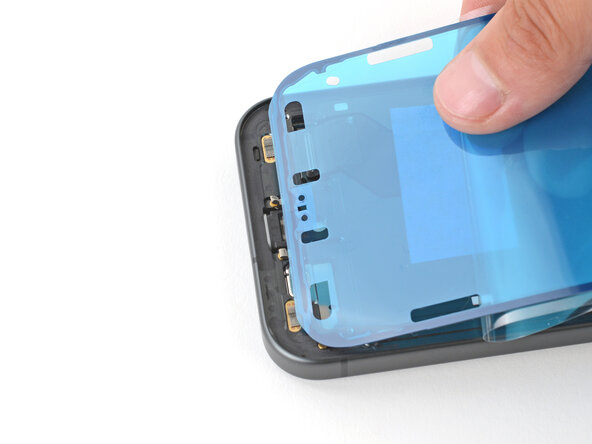
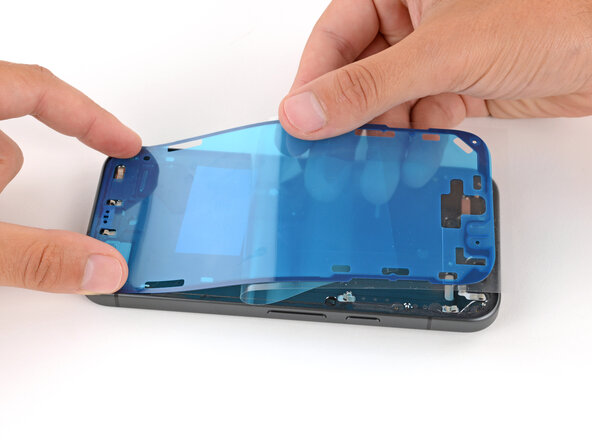
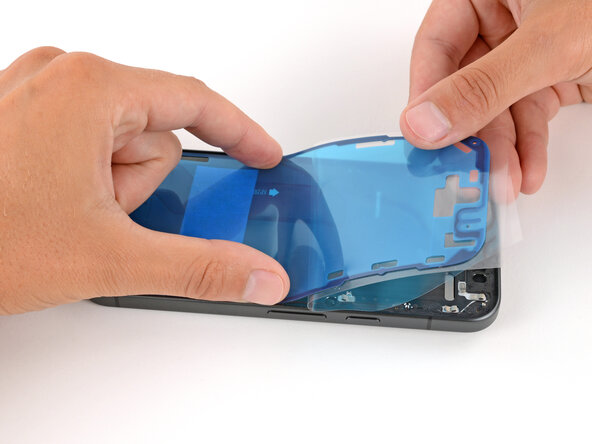
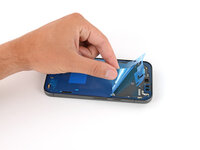
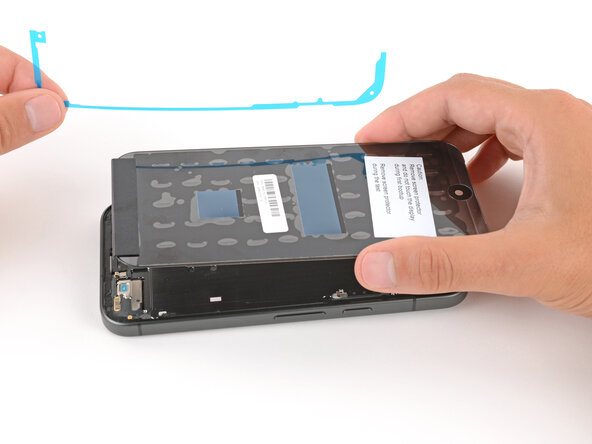
With the larger, clear liner folded towards the top of the phone, lay the exposed bottom edge of the adhesive onto the frame.
-
Once the top edge is properly aligned, gently press down on the top corners to secure the adhesive.
-
-
-
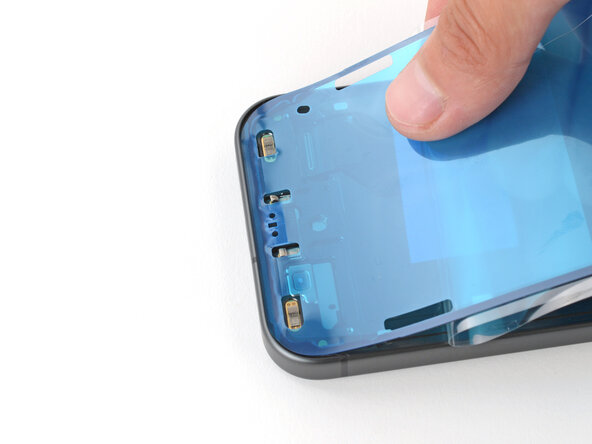
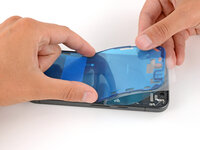
Slowly lay the rest of the adhesive onto the frame, pressing it into place and peeling away the larger liner as you go.
-
-
-
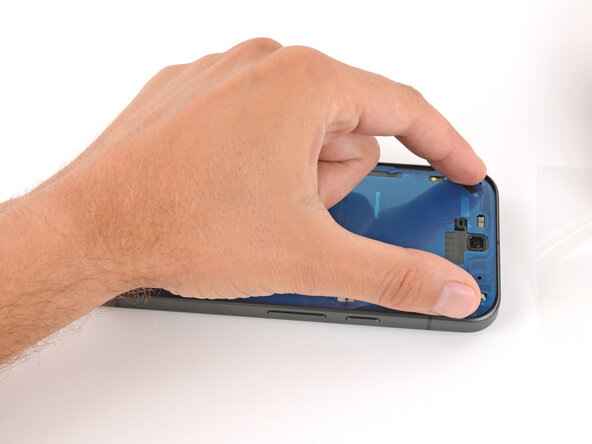
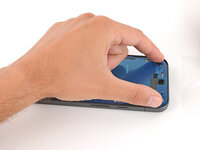
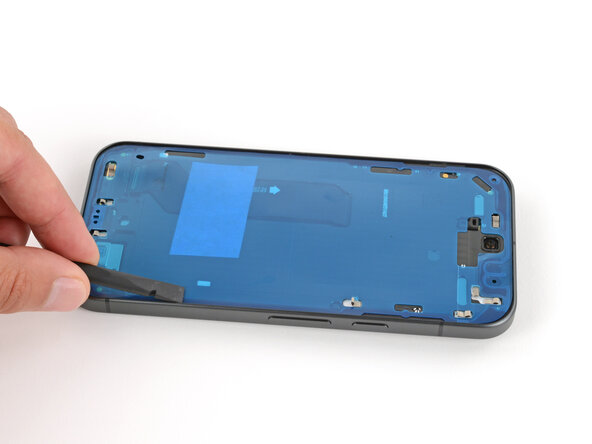
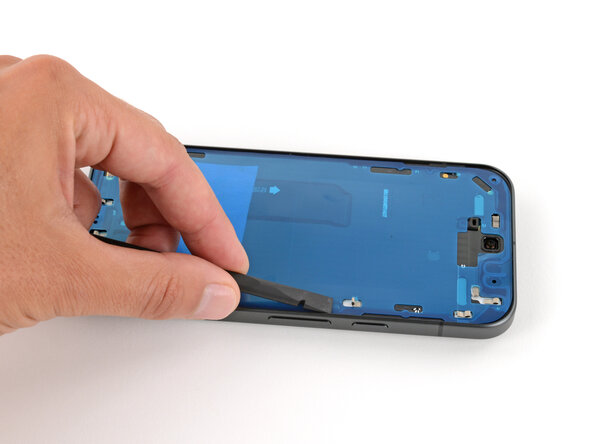
Use a spudger to press down firmly on the screen adhesive to secure it to the frame.
-
-
-
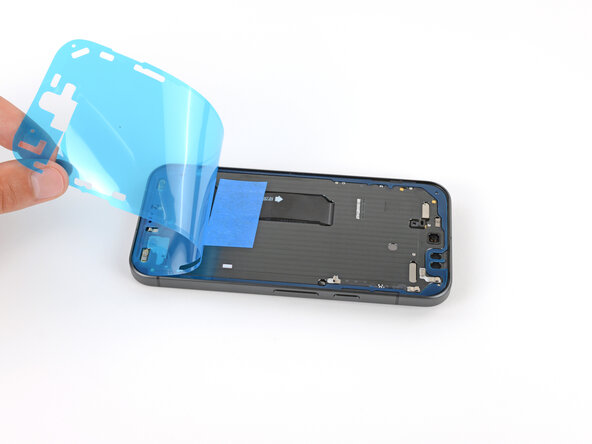
Slowly peel up and remove the large colored liner, peeling from the cutout near the top edge.
-
-
-
Use a spudger to press down firmly on the screen adhesive to secure it to the frame.
-
-
-
Remove the tape securing the screen cable.
-
-
-
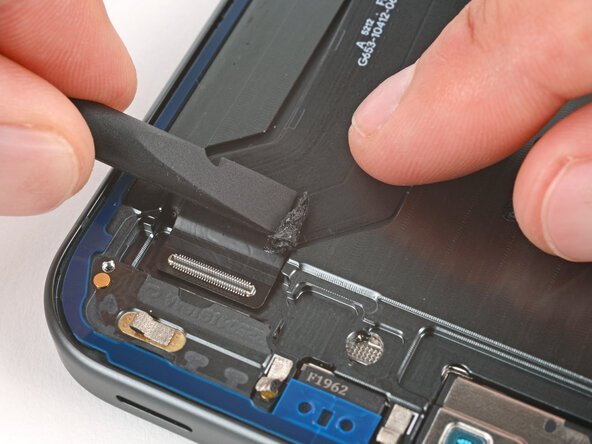
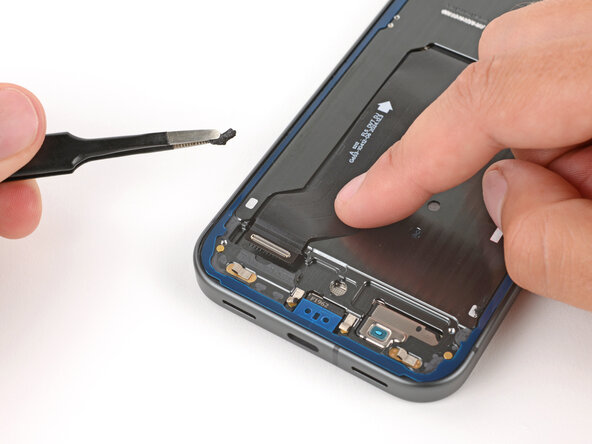
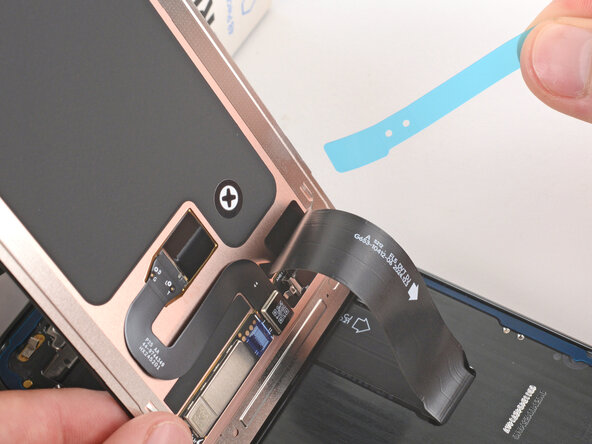
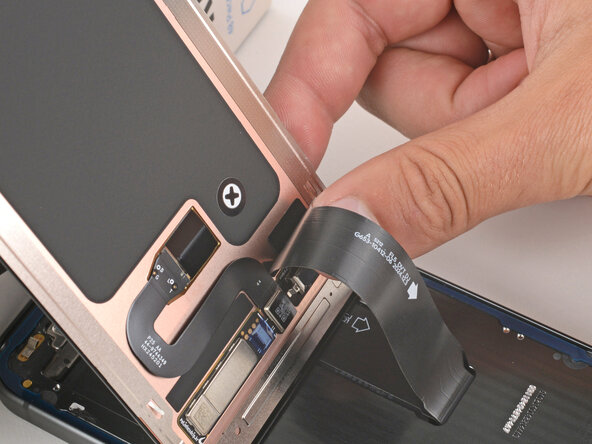
Use a spudger to gently scrape up and remove the piece of adhesive on the screen cable, near the connector.
-
-
-
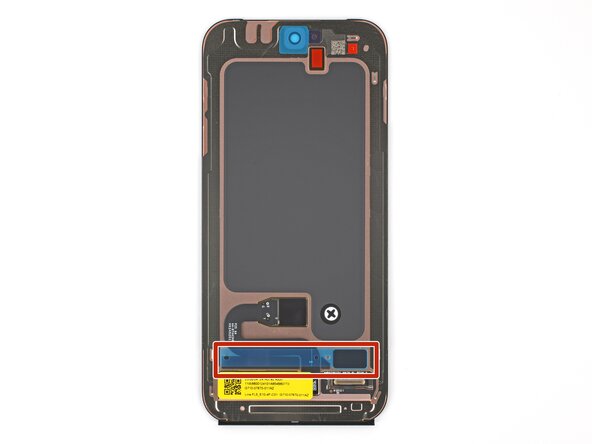
Don't remove the screen cable adhesive liner near the bottom of the screen yet—you'll do so after reconnecting the cable.
-
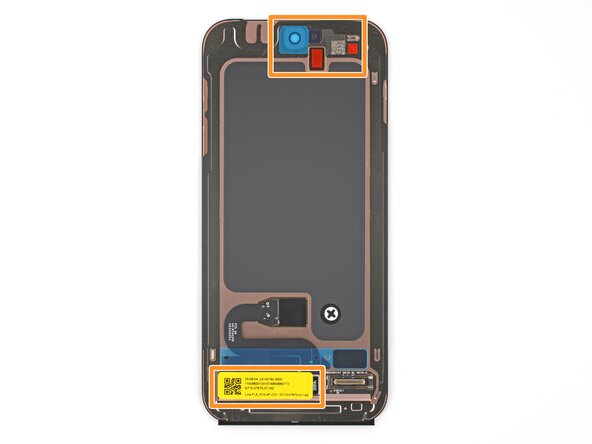
Check around the front facing camera cutout, and near the bottom edge of the screen.
-
-
-
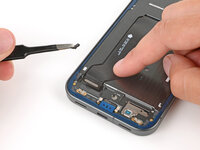
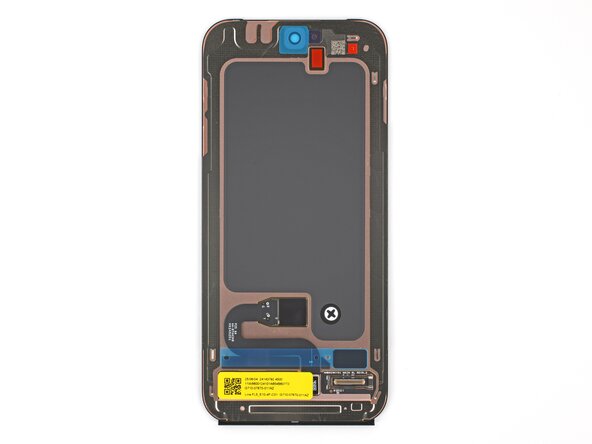
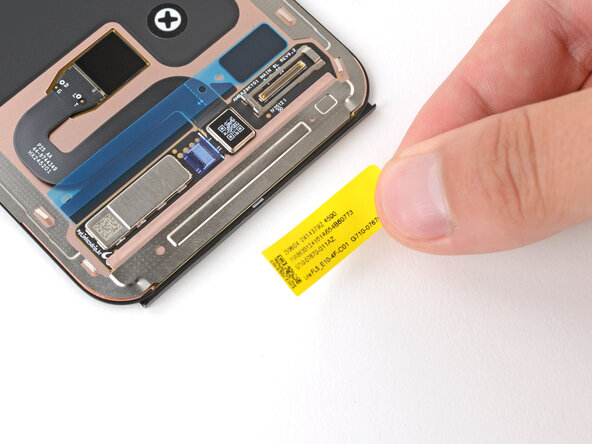
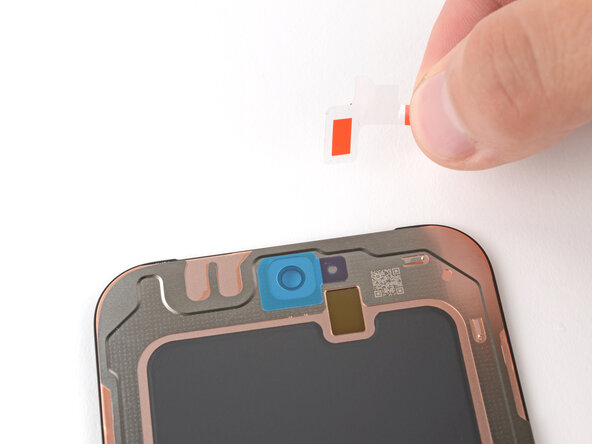
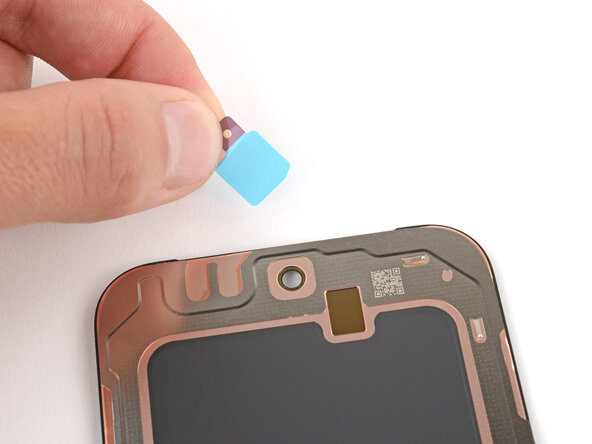
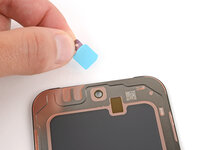
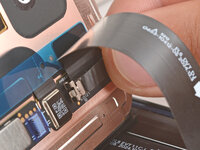
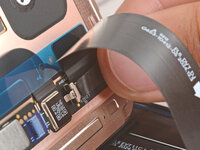
Use your fingers or tweezers to remove the plastic liners and tape from the back of the screen.
-
-
-
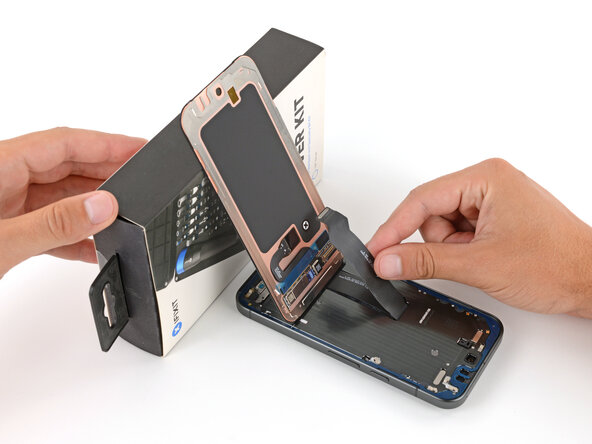
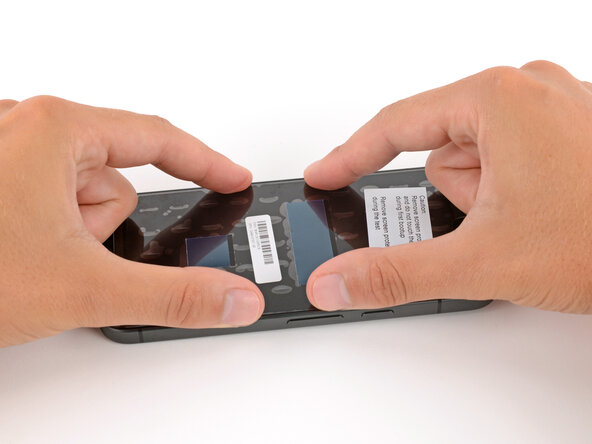
Use a sturdy object to prop up the screen so you can reconnect its cable.
-
-
-
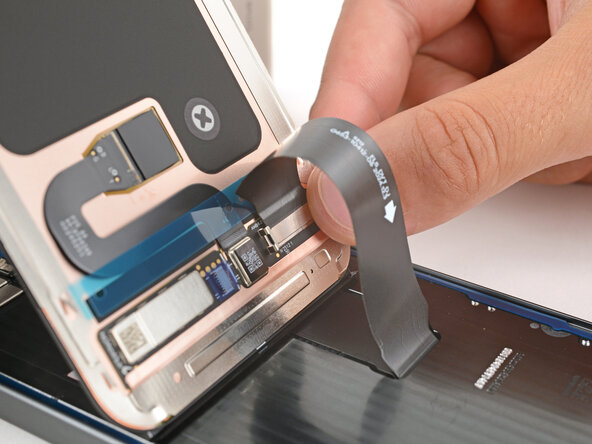
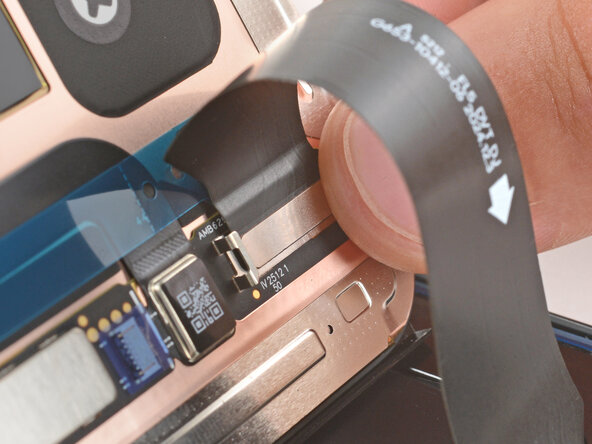
Loop the screen cable around and use your fingers to reconnect the press connector, pressing on one side first and then the other.
-
-
-
Insert the small arm of the screen cable bracket into its slot next to the connector.
-
Press down on the bracket and slide it into place until it clicks, making sure the outer edge hooks into place.
-
-
-
If your screen has screen cable adhesive pre‑installed, remove the plastic liner.
-
Press the cable into place above the connector to secure it to the screen.
-
-
-
Flip the screen down and hold it above the frame.
-
Remove all remaining liners from the adhesive (either on the frame, or from the underside of the screen).
-
-
-
Firmly push the screen into place on the frame.
-
-
-
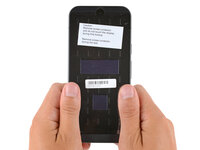
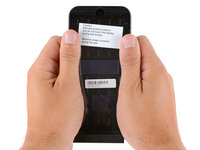
Hold your phone up and squeeze firmly around the perimeter to strengthen the adhesive bond.
-
Congratulations on completing your repair!
To calibrate your display’s fingerprint reader, use Google’s Pixel Update and Software Repair tool.
To run a diagnostics test with the built-in Pixel Diagnostic tool, click here.
Take your e-waste to an R2 or e-Stewards certified recycler.
Repair didn’t go as planned? Try some basic troubleshooting, or ask our Answers community for help.
