crwdns2933423:0crwdne2933423:0

Google Pixel 7aのリアカバー接着剤の貼り方

crwdns2936315:0crwdne2936315:0
crwdns2936323:0crwdne2936323:0
crwdns2931653:07crwdne2931653:0
How to Apply Rear Cover Adhesive in Your Google Pixel 7a, Apply the perimeter adhesive: crwdns2935265:00crwdnd2935265:01crwdnd2935265:03crwdne2935265:0 How to Apply Rear Cover Adhesive in Your Google Pixel 7a, Apply the perimeter adhesive: crwdns2935265:00crwdnd2935265:02crwdnd2935265:03crwdne2935265:0 How to Apply Rear Cover Adhesive in Your Google Pixel 7a, Apply the perimeter adhesive: crwdns2935265:00crwdnd2935265:03crwdnd2935265:03crwdne2935265:0
Apply the perimeter adhesive
  • The perimeter adhesive is difficult to align and can't be adjusted after it adheres. Work slowly and make sure the edges stay lined up with the frame as you go.

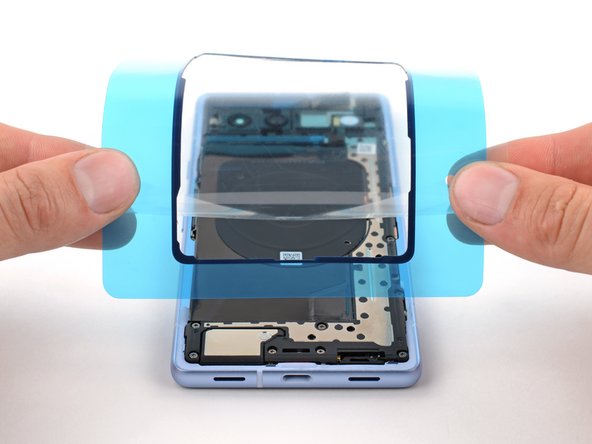
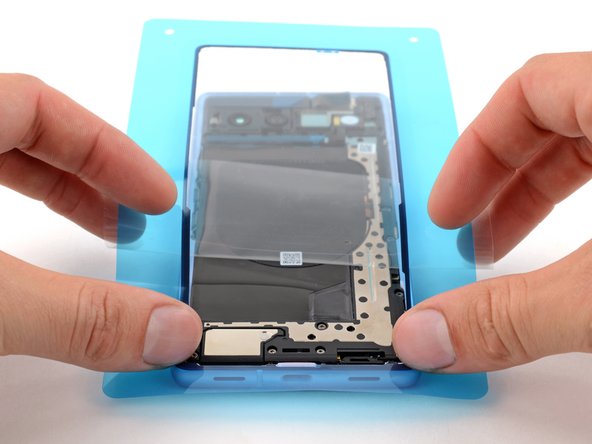
  • Peel the bottom edge of the rear cover perimeter adhesive from its liner. Leave the rest of the liner in place to protect it while you lay the adhesive down.

  • Hold the large liner out of the way and align the bottom edge of the adhesive with the frame.

  • Press the bottom edge of the adhesive into place.

周囲の接着剤は位置合わせが難しく、一度取り付けてしまうと、後に調整することはできません。ゆっくりと作業しながら、接着剤の端とフレームが一直線になるようにします。

リアカバー周囲の接着剤の下端をライナーから剥がします。ライナーの残りは、接着剤を装着する間、保護するためにそのままにしておきます。

邪魔にならないように、大きなライナーを持ちながら、接着剤の下端とフレームを重ね合わせます。

接着剤の下端を所定の位置に押し込みます。

crwdns2944171:0crwdnd2944171:0crwdnd2944171:0crwdnd2944171:0crwdne2944171:0