crwdns2915892:0crwdne2915892:0
This repair guide was authored by the iFixit staff and hasn’t been endorsed by Google. Learn more about our repair guides here.
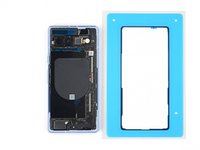
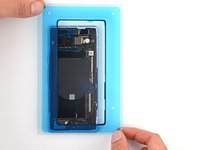
Follow this guide to apply new adhesive in your Google Pixel 7a following a repair.
Follow this guide to remove the rear cover, if you haven't done so already.
crwdns2942213:0crwdne2942213:0
-
crwdns2935267:0crwdne2935267:0Tweezers$4.99
-
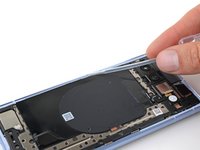
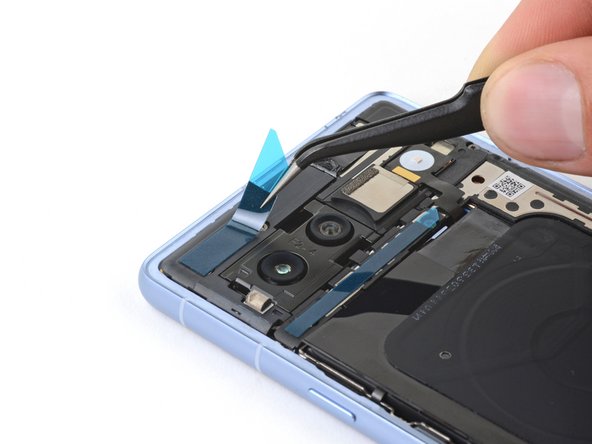
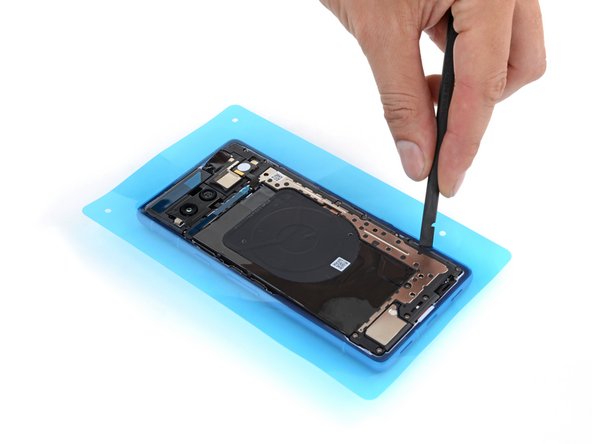
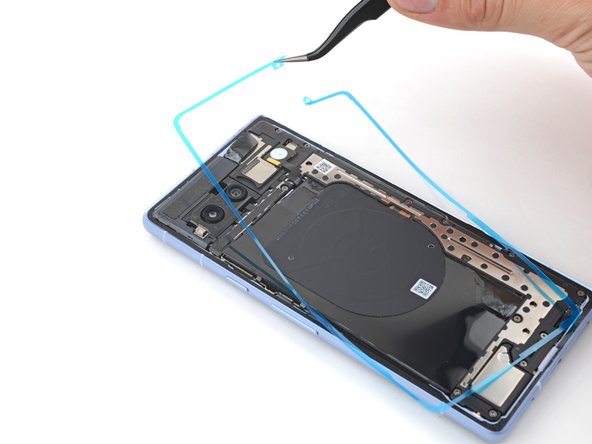
Use the point of a spudger to scrape up an edge of the rear cover adhesive from the frame until you have a large enough clump to grab on to.
-
Use tweezers or your fingers to peel the adhesive from the entire perimeter of the frame.
-
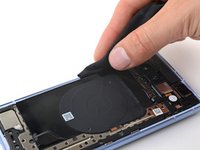
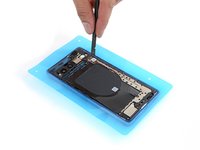
Remove the adhesive from the antenna housing.
-
-
-
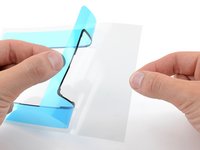
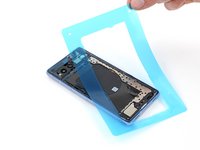
If you're reusing your rear cover, remove any old adhesive:
-
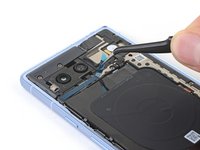
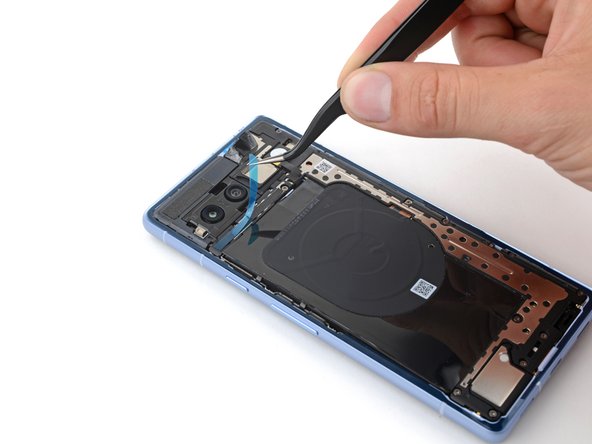
If necessary, soften the adhesive near the camera bar with a heated iOpener or hair dryer.
-
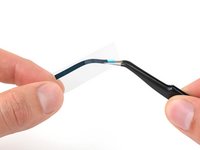
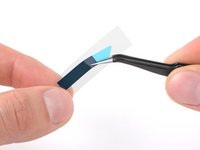
Use your finger to roll the adhesive strips until you can grab them.
-
Peel the adhesive strips from the rear cover.
-
-
-
Use a pipette or syringe to apply a few drops of highly-concentrated isopropyl alcohol (over 90%) to the perimeter of the frame and the antenna housing.
-
Wipe any adhesive residue away using a microfiber or lint-free cloth.
-
-
-
Remove the long, thin strip of rear cover adhesive from its liner.
-
Place the adhesive onto the logic board cover, just below the rear cameras.
-
-
-
-
Peel the short, wide strip of rear cover adhesive from its liner.
-
Place the adhesive onto the antenna housing, just above the rear cameras.
-
-
-
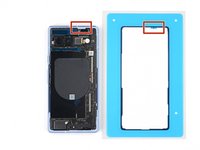
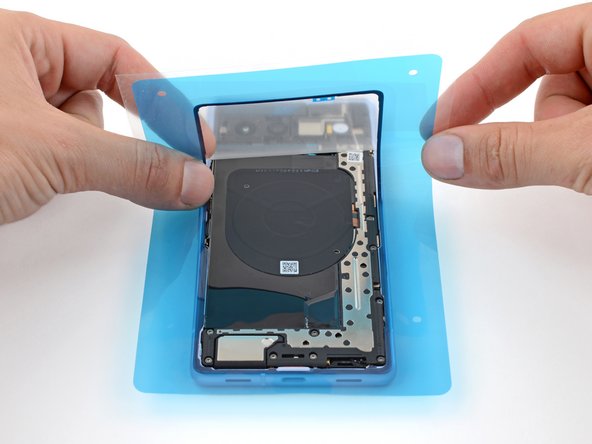
Orient your replacement adhesive over the frame so that its pull tabs are in the upper right corner.
-
-
-
Peel the bottom edge of the rear cover perimeter adhesive from its liner. Leave the rest of the liner in place to protect it while you lay the adhesive down.
-
Hold the large liner out of the way and align the bottom edge of the adhesive with the frame.
-
Press the bottom edge of the adhesive into place.
-
-
-
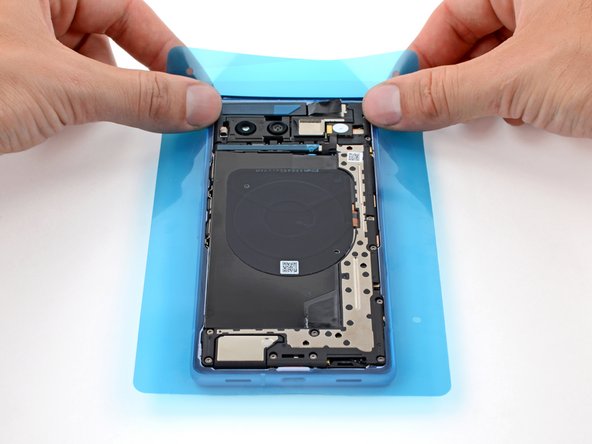
Slowly peel the large liner from the adhesive and work up the frame, laying the long edges of the adhesive into place as you go.
-
Before placing the top edge of the adhesive, fully remove the liner.
-
Press the top edge of the adhesive into place.
-
-
-
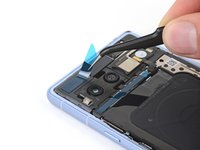
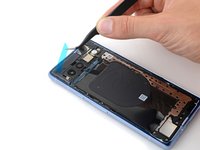
Use the flat end of your spudger to press around the entire perimeter of the adhesive to strengthen its bond to the frame.
-
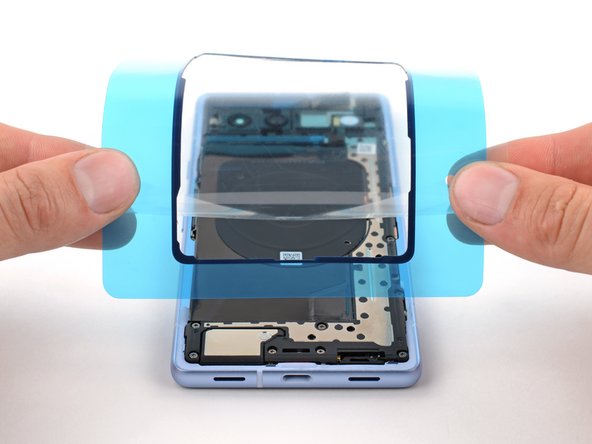
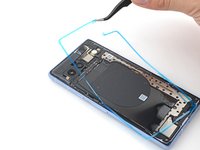
Peel the large blue adhesive liner from the frame.
-
-
-
Use tweezers or your fingers to grab the pull tabs and remove all three liners from the adhesives on the frame:
-
The strip above the rear cameras
-
The strip below the rear cameras
-
The thin perimeter adhesive
-
-
-
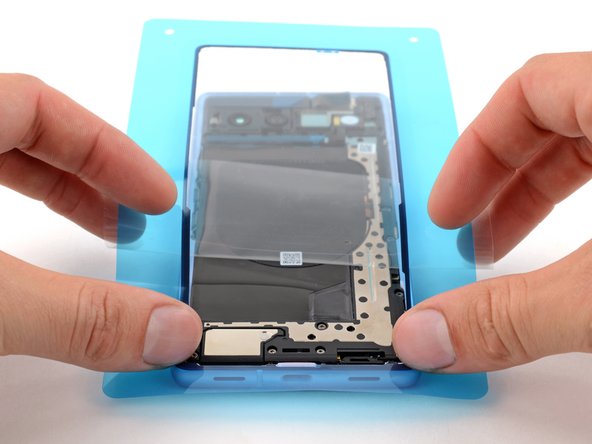
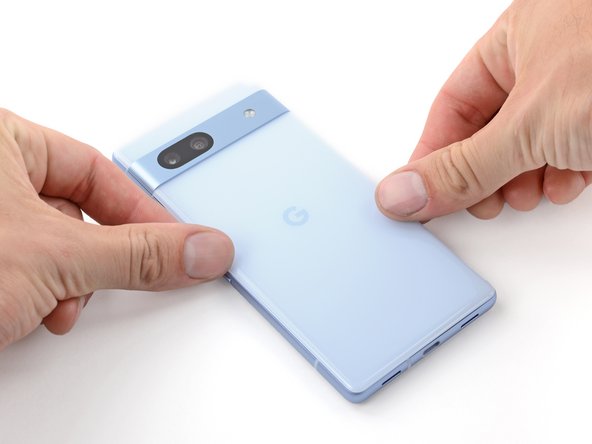
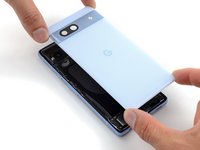
Align the rear cover over the frame and press it into place.
-
Firmly press around the perimeter of the rear cover to secure it.
-


Repair didn’t go as planned? Try some basic troubleshooting, or ask our Answers community for help.
crwdns2935221:0crwdne2935221:0
crwdns2935229:023crwdne2935229:0

crwdns2935287:0crwdne2935287:0

Guide Team crwdns2935289:0Guide Teamcrwdne2935289:0
Staff
crwdns2931471:010crwdne2931471:0
crwdns2935297:015,885crwdne2935297:0
crwdns2947412:03crwdne2947412:0
Everything went smoothly thanks to this clear, comprehensive guide- thank you!
How does the kit does'nt come with the torx 1 bit? it is really unnaceptable, fortunately I had one but what happens to people that buys the kit to then realize it is incomplete?
I made the rear screen clear as a mod. but to do this I had to completly remove the metalic camera as not to scratch it.
How is this part called? And where can I find the adhesive to attach that to the rear cover again?
There was extra adhesive wich was glueing it to the rear cover.