crwdns2933423:0crwdne2933423:0

Google Pixel 7aのリアカバー接着剤の貼り方

crwdns2936315:0crwdne2936315:0
crwdns2936323:0crwdne2936323:0
crwdns2931653:08crwdne2931653:0
How to Apply Rear Cover Adhesive in Your Google Pixel 7a: crwdns2935265:00crwdnd2935265:01crwdnd2935265:03crwdne2935265:0 How to Apply Rear Cover Adhesive in Your Google Pixel 7a: crwdns2935265:00crwdnd2935265:02crwdnd2935265:03crwdne2935265:0 How to Apply Rear Cover Adhesive in Your Google Pixel 7a: crwdns2935265:00crwdnd2935265:03crwdnd2935265:03crwdne2935265:0
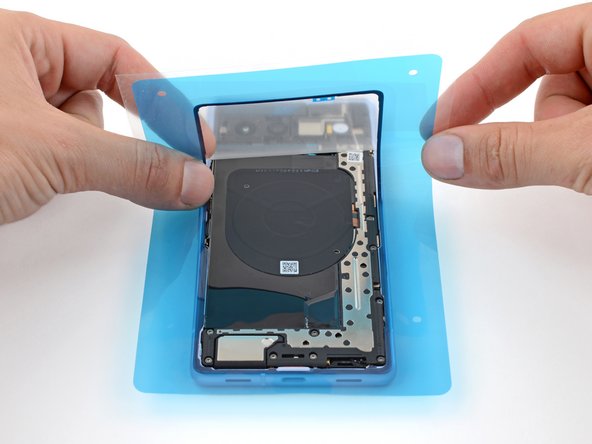
  • Slowly peel the large liner from the adhesive and work up the frame, laying the long edges of the adhesive into place as you go.

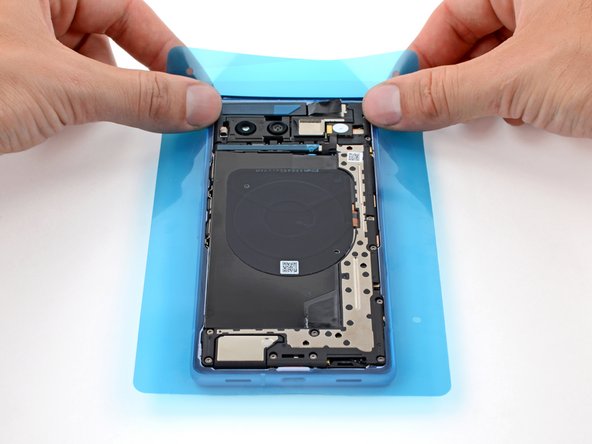
  • Before placing the top edge of the adhesive, fully remove the liner.

  • The adhesive may stretch or compress before reaching the top edge. Adjust it to fit the top edge if it comes out of alignment.

  • Press the top edge of the adhesive into place.

大きい方のライナーを接着剤からゆっくりと剥がし、接着剤の長い端を所定の位置に合わせながらフレームに装着します。

接着剤の上端をフレームに貼る前に、ライナーを完全に剥がしてください。

接着剤が上端に達する前に伸びたり縮んだりすることがあります。ズレてきた場合は、上端に合わせて調整してください。

接着剤の上端を所定の位置に押し込みます。

crwdns2944171:0crwdnd2944171:0crwdnd2944171:0crwdnd2944171:0crwdne2944171:0