crwdns2915892:0crwdne2915892:0
Use this guide to replace a dead or degraded battery in an iPhone Air.
iPhone batteries are rated to hold 80% of their capacity for up to 500 charge cycles, or roughly 18–24 months. If your iPhone needs to be charged more often or runs slower, it might be time to replace the battery.
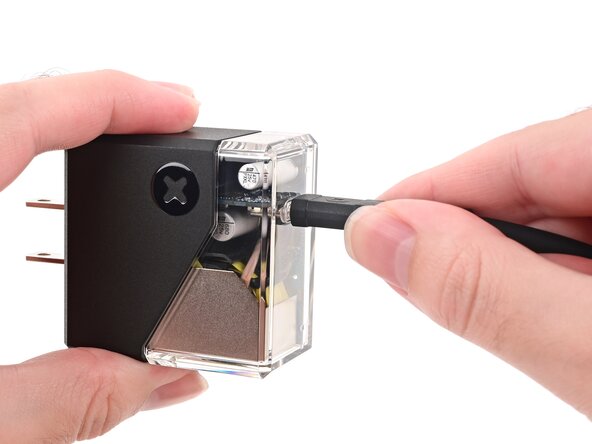
This iPhone uses a battery adhesive that requires an electrical charge to loosen it. Apple's repair manual recommends connecting a 9V battery for 90 seconds, but you can use a power supply or a power bank at a 5–20V output instead—the time required to loosen the adhesive will vary.
The guide uses the VoltClip to release the adhesive. If you're using a different method, such as a 9V battery, follow the guide normally and supplement your power source's operating procedures during the necessary steps.
After completing this repair, run Repair Assistant to reset the battery metrics. As of iOS 26, battery health works with both genuine and aftermarket replacement batteries.
You'll need replacement back glass and battery adhesive to complete this repair.
crwdns2942213:0crwdne2942213:0
-
-
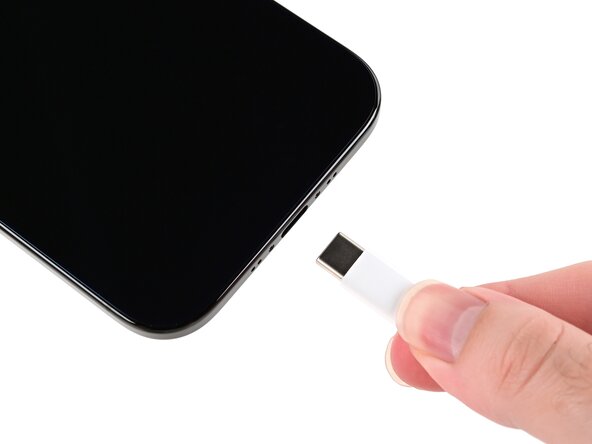
Unplug any cables from your phone.
-
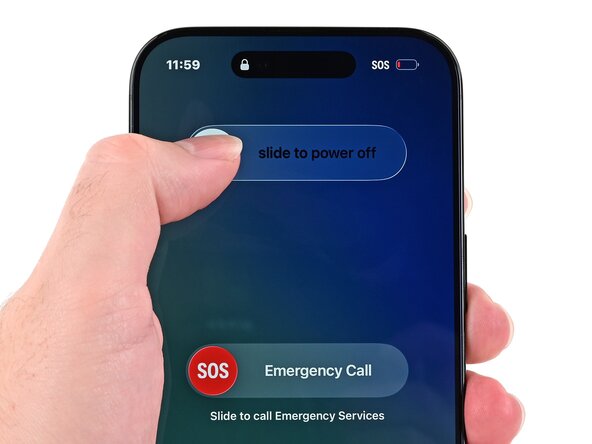
Hold the power and either volume button and slide to power off your phone.
-
-
-
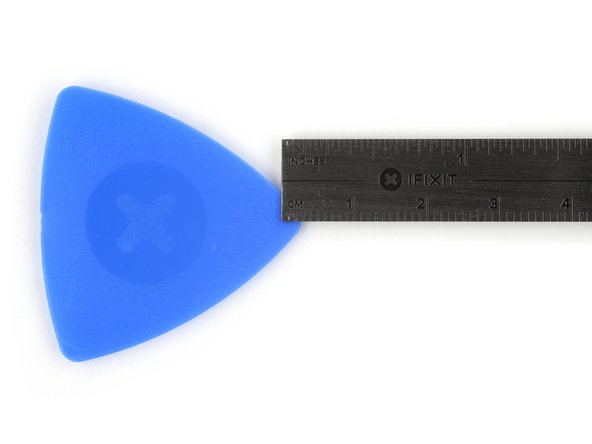
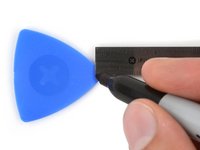
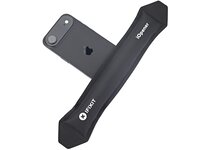
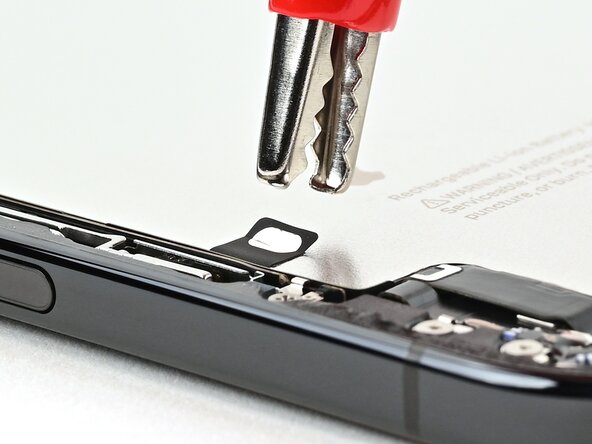
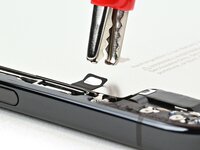
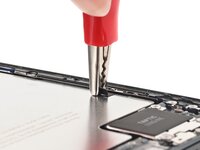
Measure 3 mm from the tip and mark the opening pick with a permanent marker.
-
-
-
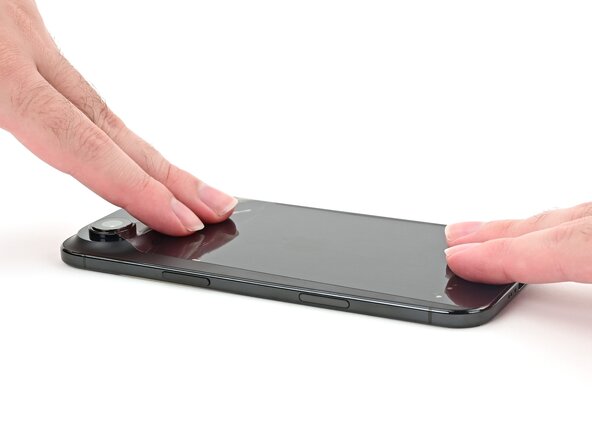
Apply packing tape to the cracked glass until it's completely covered—this will help keep the glass contained and allow the suction cup to stick.
-
-
-
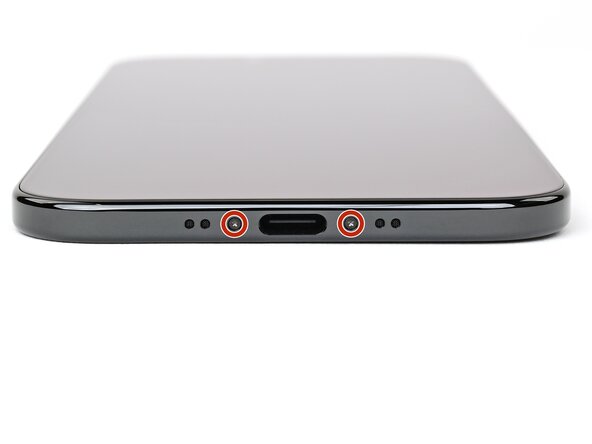
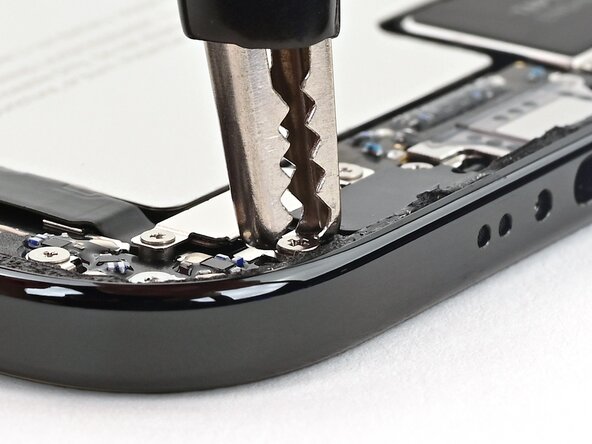
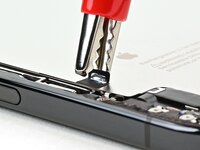
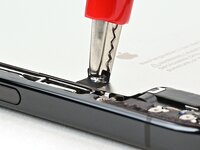
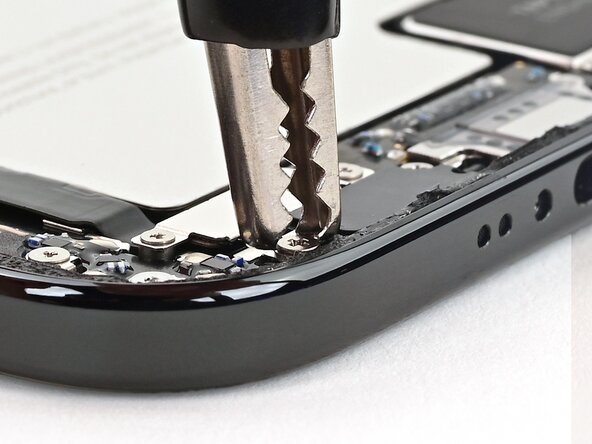
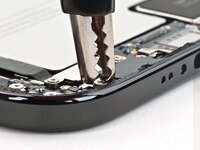
Use a P2 pentalobe driver to remove the two 4.9 mm-long screws on either side of the USB-C port.
-
-
-
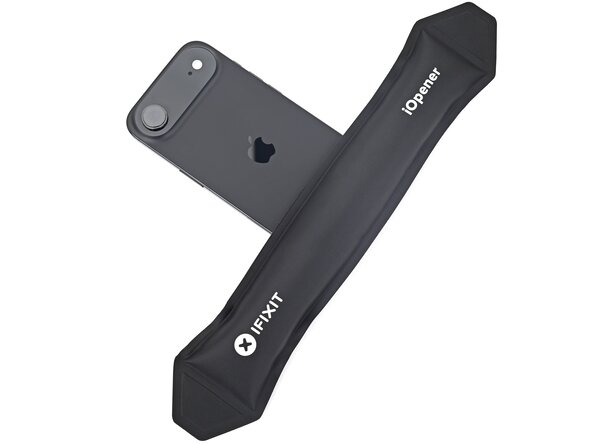
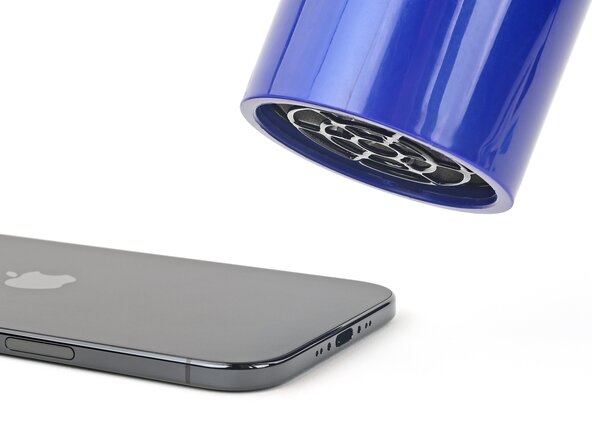
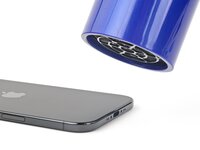
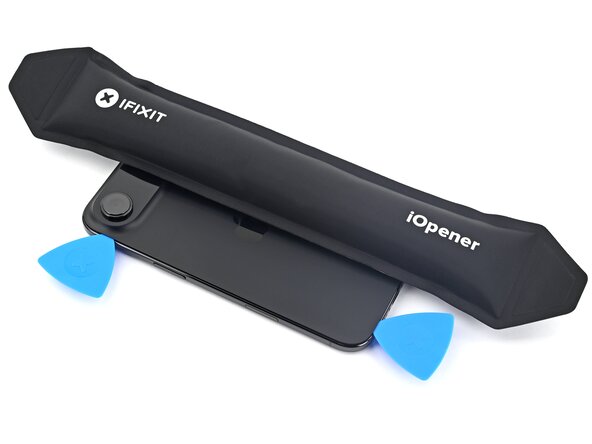
Apply a heated iOpener to the bottom edge of the back glass for two minutes.
-
-
-
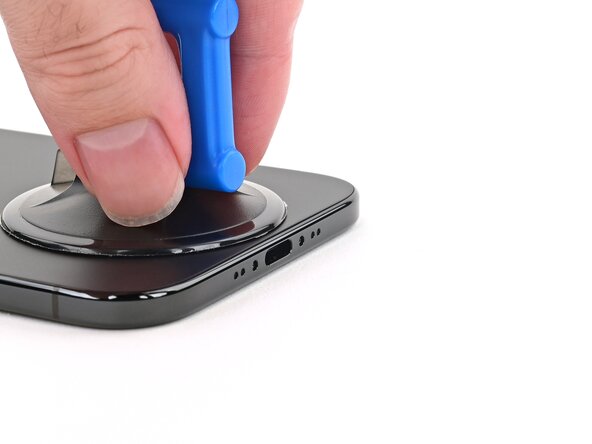
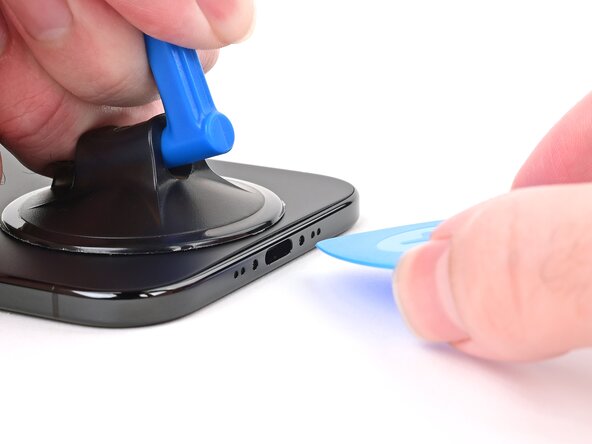
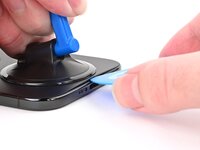
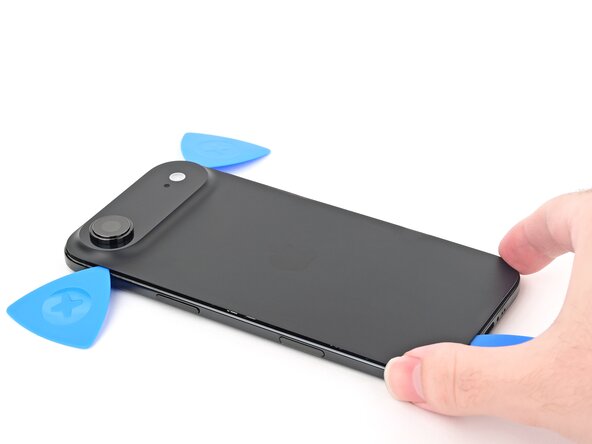
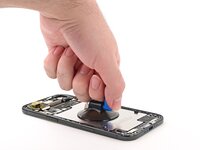
Apply a suction handle to the bottom edge of the back glass, as close to the edge as possible.
-
Pull up on the handle with strong, steady force to create a gap between the back glass and the frame.
-
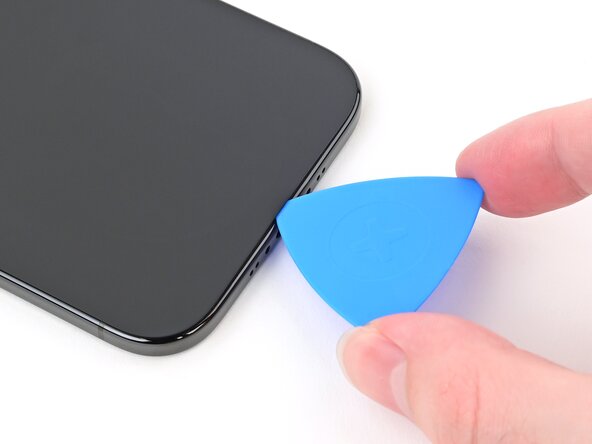
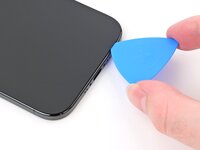
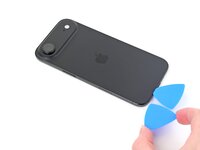
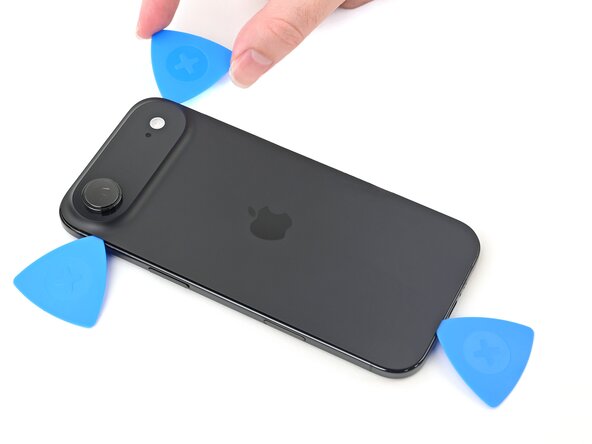
Insert the tip of an opening pick into the gap.
-
-
-
There's a delicate cable connecting the back glass to the phone, right next to the volume up button.
-
There are multiple spring contacts along the top edge of the phone. Be extra careful not to insert your pick deeper than instructed in each step to avoid bending these contacts.
-
-
-
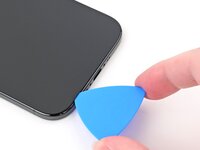
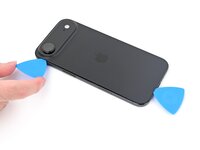
Slide your pick back and forth along the bottom edge to separate the adhesive.
-
Leave your pick inserted in the bottom left corner to prevent the adhesive from resealing.
-
-
-
Apply a heated iOpener to the left edge of the back glass for two minutes.
-
-
-
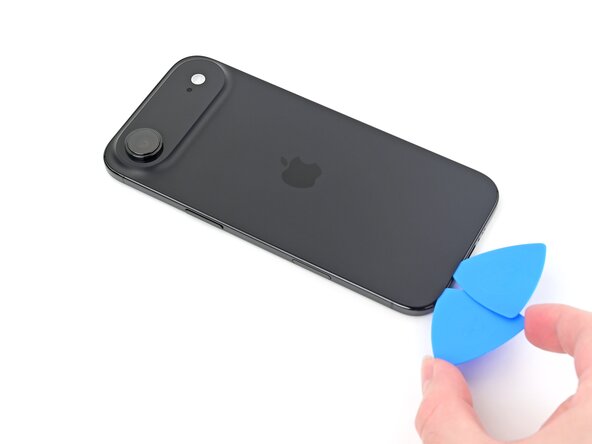
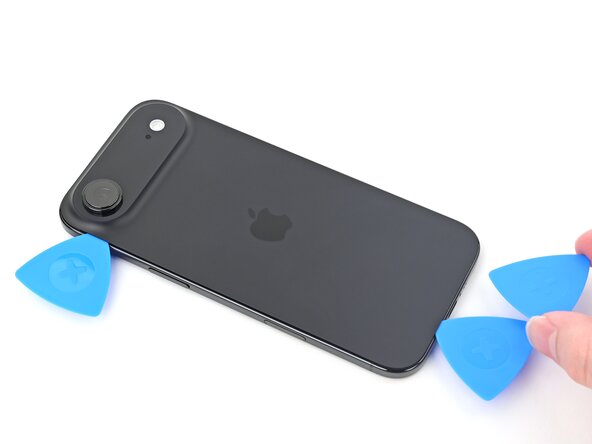
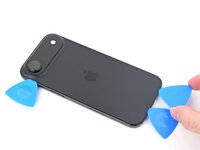
Insert a second opening pick to the left of the original.
-
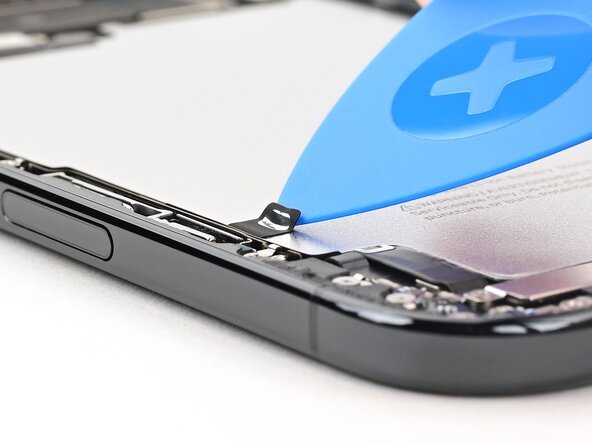
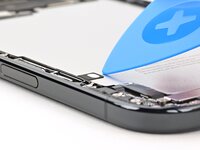
Slide the second pick around the bottom left corner and along the left edge of the back glass to separate the adhesive and release the metal clip.
-
Leave this pick inserted at the top left corner to prevent the adhesive from resealing.
-
-
-
-
Apply a heated iOpener to the right edge of the back glass for two minutes.
-
-
-
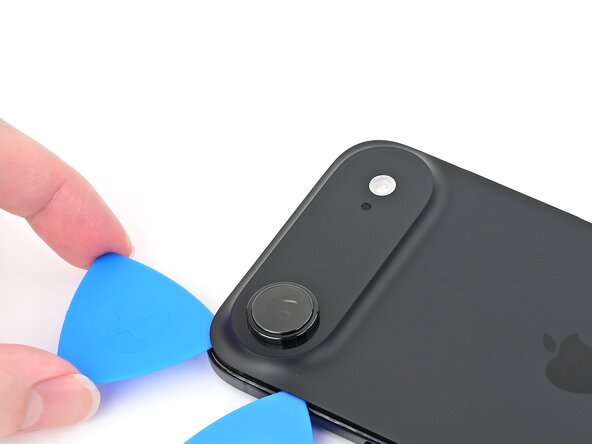
Insert a third opening pick to the right of the original at the bottom edge.
-
Slide this pick around the bottom right corner and along the right edge of the back glass to separate the adhesive and release the metal clip.
-
Leave this pick inserted at the top right corner to prevent the adhesive from resealing.
-
-
-
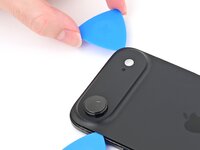
Repeat the heating and sliding process along the top edge of the back glass to separate the adhesive and release the metal clips.
-
-
-
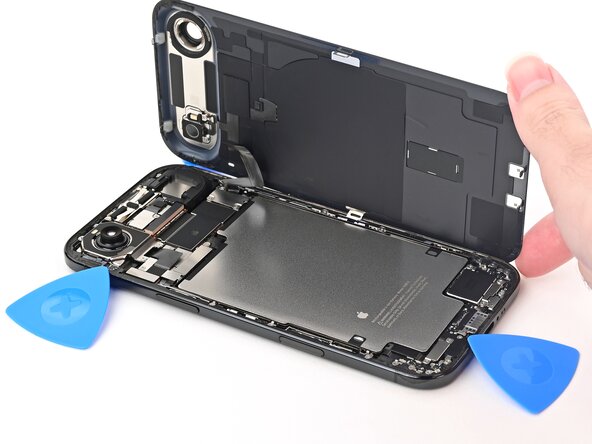
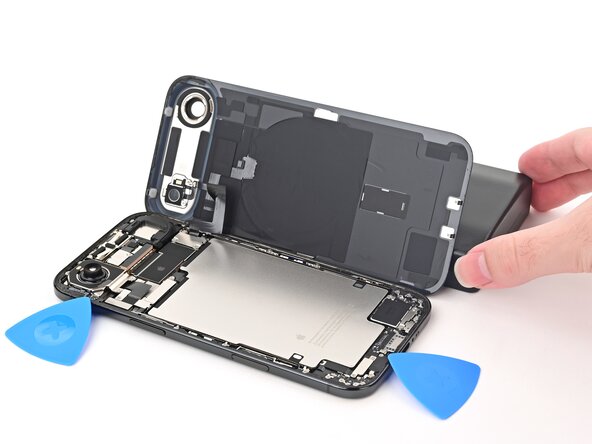
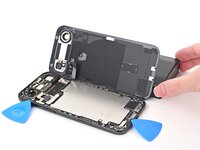
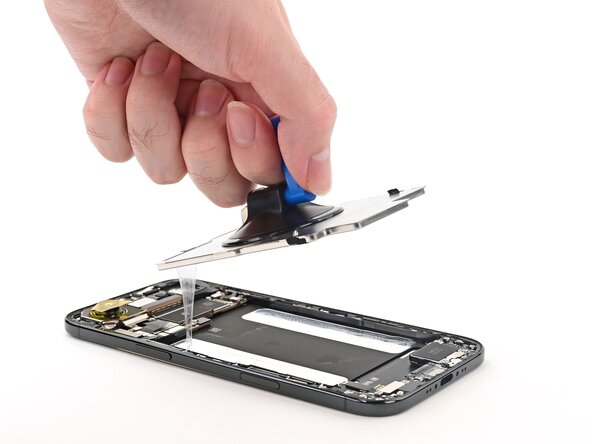
Gently lift the back glass and swing it open towards the volume buttons.
-
Support the back glass with a clean, sturdy object like a small box to avoid straining the cable.
-
-
-
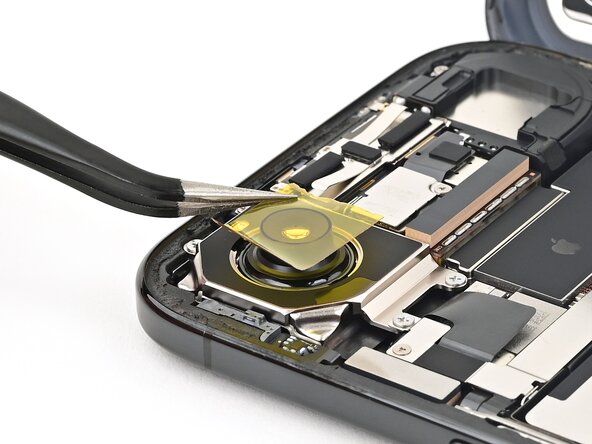
Set a piece of polyimide tape over the rear camera lens.
-
-
-
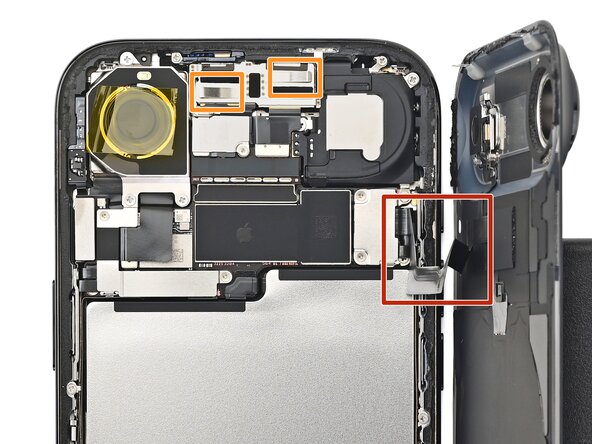
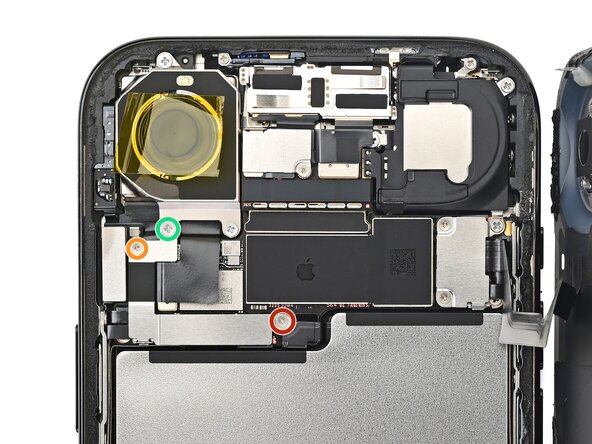
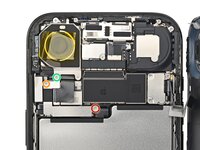
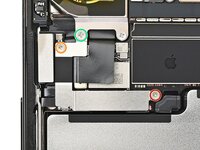
Remove the three screws securing the left connector cover, located below the rear camera:
-
One 1.1 mm-long tri-point Y000 screw
-
One 1.0 mm-long tri-point Y000 screw
-
One 3.2 mm-long JIS 00 screw
-
-
-
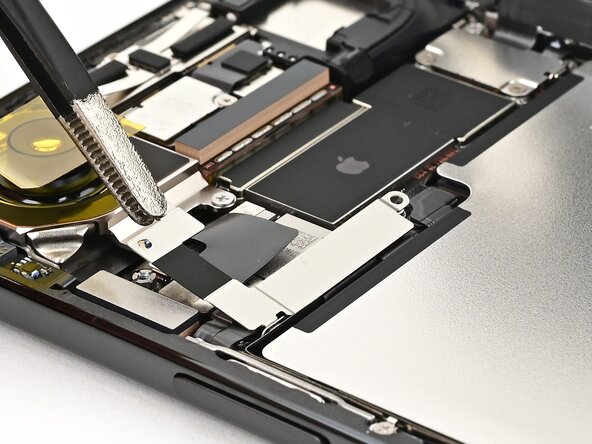
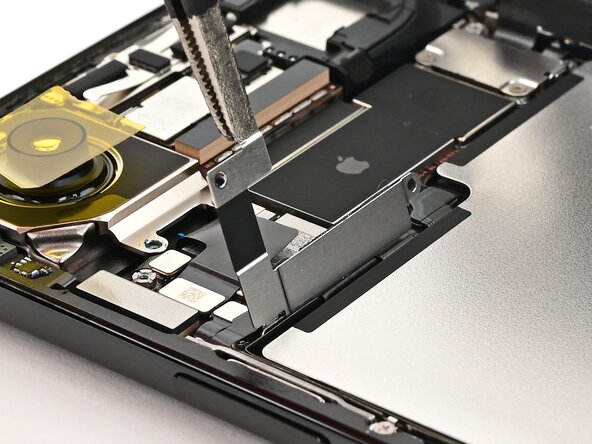
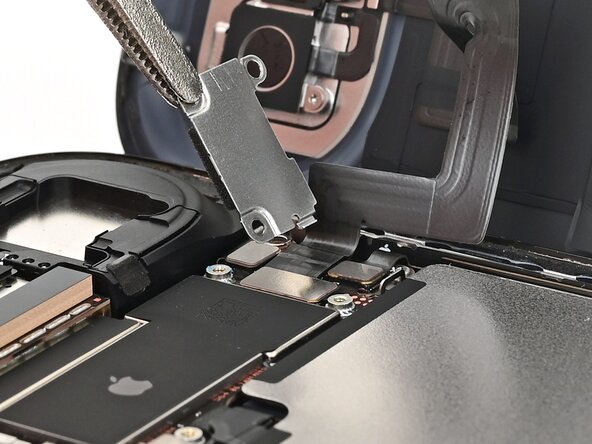
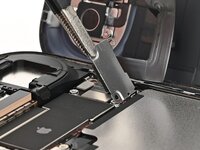
Use tweezers or your fingers to lift the cover to release its hook and remove it.
-
-
-
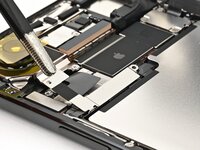
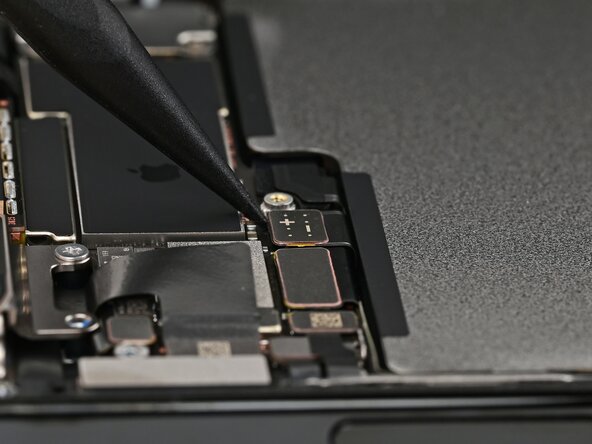
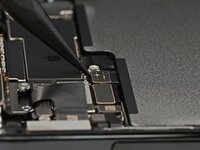
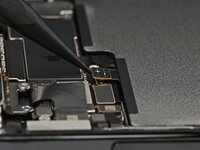
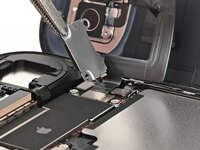
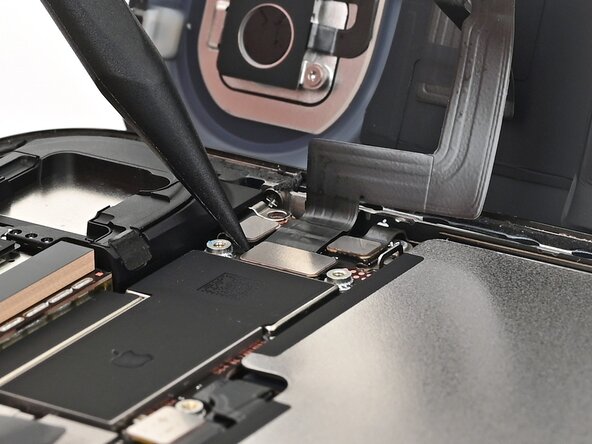
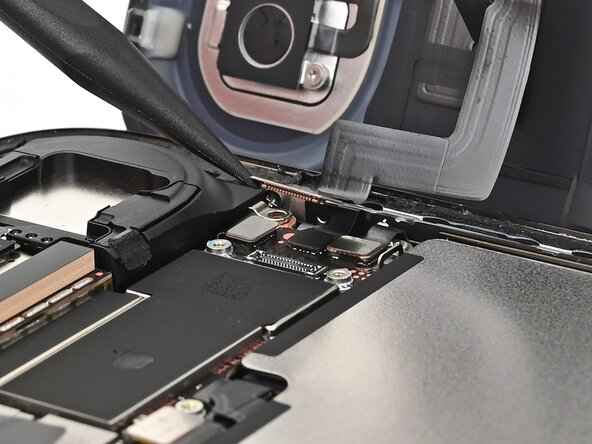
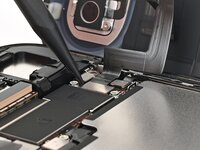
Use the point of a spudger to pry up and disconnect the battery press connector.
-
-
-
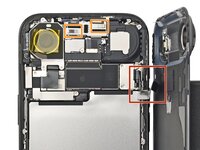
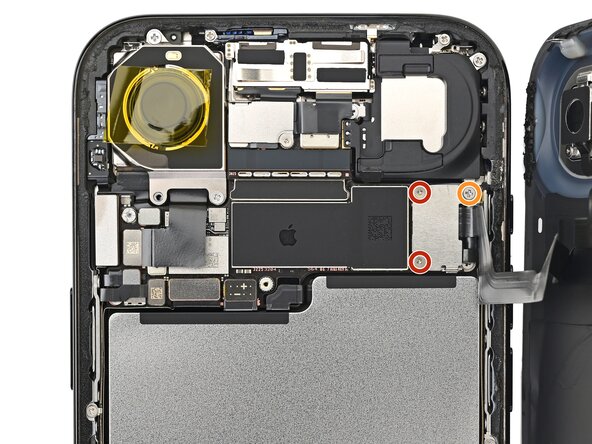
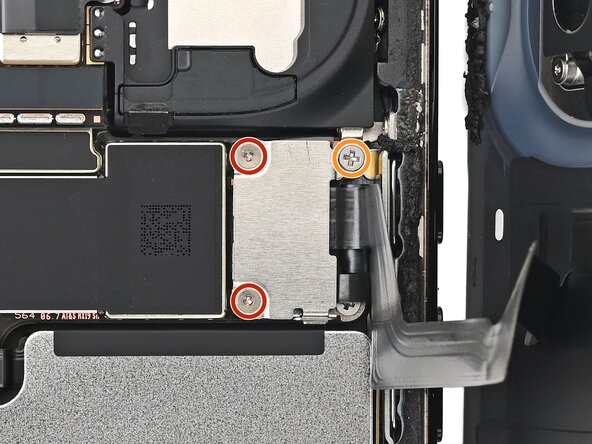
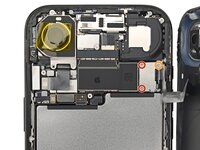
Remove the three screws securing the right connector cover:
-
Two 1.1 mm-long tri-point Y000 screws
-
One 2.8 mm-long JIS 00 screw
-
-
-
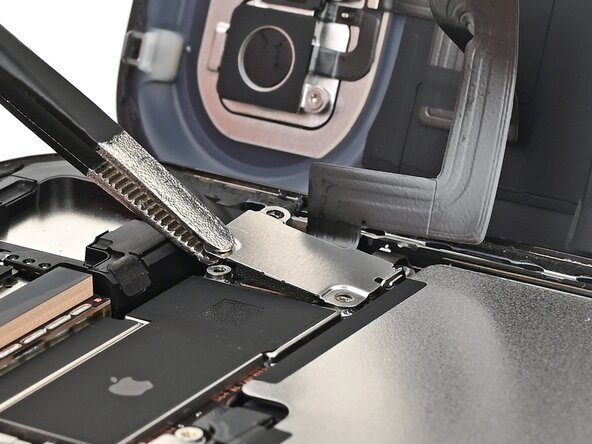
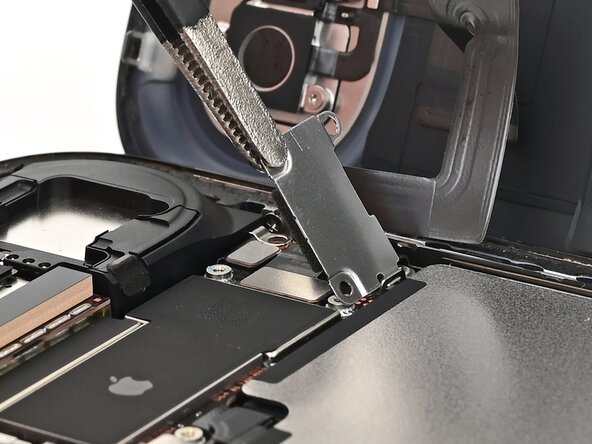
Use tweezers or your fingers to lift the cover to release its hook and remove it.
-
-
-
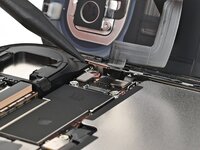
Use the point of a spudger to pry up and disconnect the flash and wireless charging coil press connector.
-
-
-
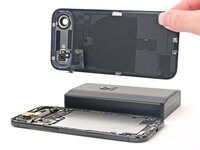
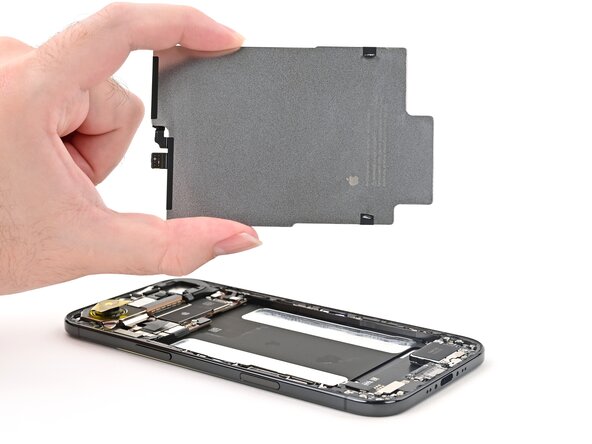
Remove the back glass.
-
-
crwdns2935267:0crwdne2935267:0VoltClip$10.95
-
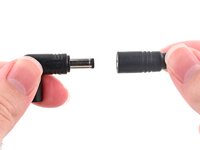
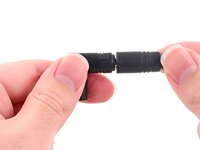
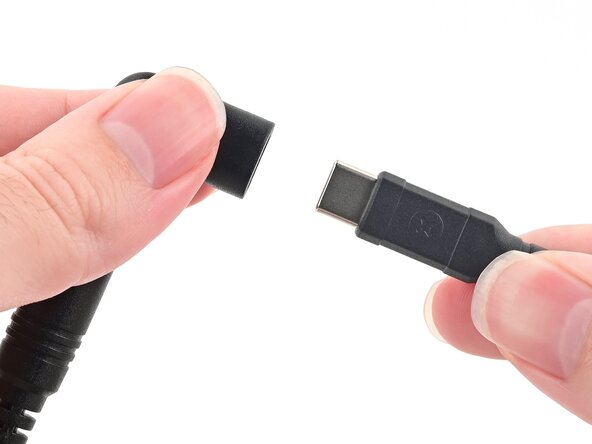
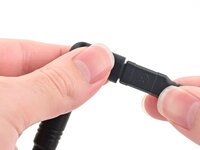
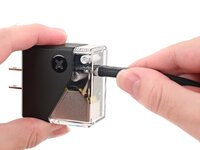
Plug the VoltClip's barrel connector into the USB-C elbow.
-
-
-
Use a clean fingernail or an opening pick to peel up one of the silver tabs on the battery.
-
-
-
Attach the red alligator clip to the lifted silver tab on the battery.
-
Attach the black alligator clip to the grounding screw located on the left side of the bottom edge.
-
-
-
Make sure the red alligator clip is secured. If the black alligator clip pops off its screw, disconnect the USB-C cable, reseat the clip, and try again.
-
Connect the USB‑C elbow to a power source (via a USB‑C cable) and wait 90 seconds for the adhesive to loosen.
-
-
-
Disconnect the USB-C cable from the elbow, then disconnect the alligator clips.
-
-
-
Repeat this procedure on the other silver tab to loosen the second adhesive strip.
-
-
-
Apply a suction handle to the center of the battery and lift it out with slow, steady force to remove it.
-


After your repair, run Apple's Repair Assistant. Navigate to Settings → General → About → Parts & Service History, tap Restart & Finish Repair, and follow the onscreen prompts.
Calibrate your newly installed battery after completing this guide.
Take your e-waste to an R2 or e-Stewards certified recycler.
Repair didn’t go as planned? Try some basic troubleshooting, or ask our iPhone Air Answers Community for help.

crwdns2947412:02crwdne2947412:0
but where do I buy a genuine battery
They aren't available yet. Apple's Self Service Repair store will likely start carrying them in a month or so, and is the best place to get genuine iPhone batteries. We plan to stock aftermarket ones as soon as we can, but that won't be until later.