crwdns2915892:0crwdne2915892:0
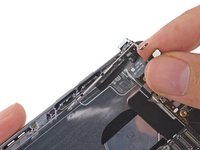
Use this guide to replace a malfunctioning volume control cable—this includes the electronic switches responsible for volume up and down, and the ring/silent control.
If you're looking to replace the physical button covers, we have a guide for that too: iPhone 6 Volume Control Buttons Replacement
crwdns2942213:0crwdne2942213:0
-
-
Power off your iPhone before beginning disassembly.
-
Remove the two 3.6 mm-long P2 Pentalobe screws next to the Lightning connector.
-
-
crwdns2935267:0crwdne2935267:0Clampy - Anti-Clamp$24.95
-
Pull the blue handle backwards to unlock the Anti-Clamp's arms.
-
Slide the arms over either the left or right edge of your iPhone.
-
Position the suction cups near the bottom edge of the iPhone just above the home button—one on the front, and one on the back.
-
Squeeze the cups together to apply suction to the desired area.
-
-
-
Pull the blue handle forwards to lock the arms.
-
Turn the handle clockwise 360 degrees or until the cups start to stretch.
-
Insert an opening pick under the screen when the Anti-Clamp creates a large enough gap.
-
Skip the next three steps.
-
-
crwdns2935267:0crwdne2935267:0Clampy - Anti-Clamp$24.95
-
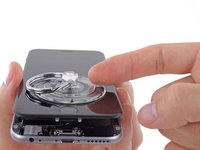
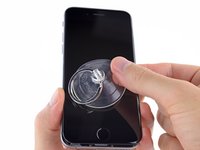
If you don't have an Anti-Clamp, use a single suction cup to lift the front panel:
-
Press a suction cup onto the screen, just above the home button.
-
-
-
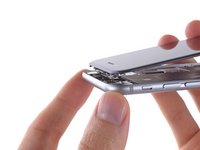
While holding the iPhone down with one hand, pull up on the suction cup to slightly separate the front panel assembly from the rear case.
-
Using a plastic opening tool, begin to gently pry the rear case down, away from the display assembly, while continuing to pull up with the suction cup.
-
-
-
Pull the plastic nub to release the vacuum seal on the suction cup.
-
Remove the suction cup from the display assembly.
-
-
-
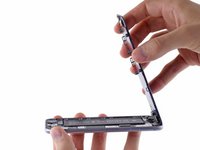
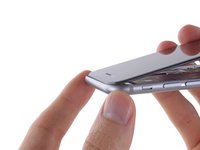
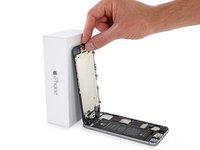
Open the iPhone by swinging the home button end of the front panel assembly away from the rear case, using the top of the phone as a hinge.
-
-
-
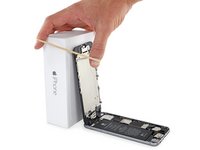
Open the display to about a 90º angle, and lean it against something to keep it propped up while you're working on the phone.
-
Add a rubber band to keep the display securely in place while you work. This prevents undue strain on the display cables.
-
-
crwdns2935267:0crwdne2935267:0Magnetic Project Mat$19.95
-
Remove the following Phillips screws from the battery connector bracket:
-
One 2.2 mm screw
-
One 3.2 mm screw
-
-
-
Remove the metal battery connector bracket from the iPhone.
-
-
-
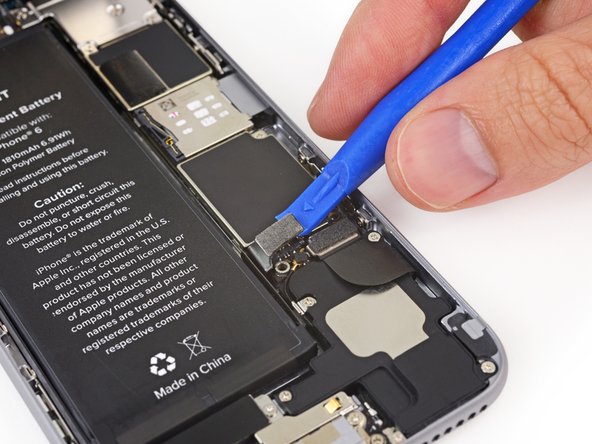
Use a plastic opening tool to gently pry the battery connector up from its socket on the logic board.
-
-
-
-
Remove the following five Phillips screws securing the front panel assembly cable bracket:
-
Three 1.2 mm screws
-
One 1.7 mm screw
-
One 3.1 mm screw
-
-
-
Remove the front panel assembly cable bracket from the logic board.
-
-
-
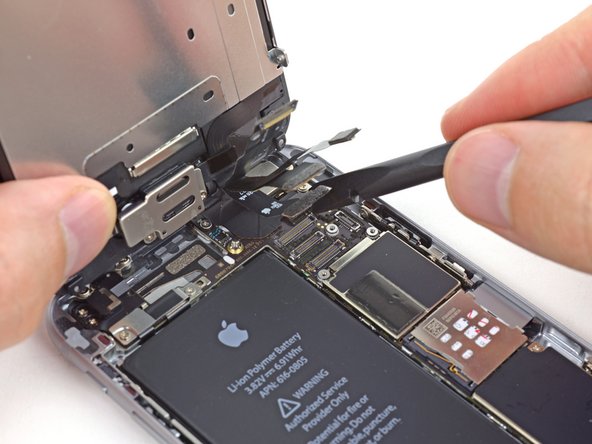
Use a spudger or a fingernail to disconnect the front-facing camera and sensor cable connector.
-
-
-
Use a spudger or a fingernail to disconnect the home button cable connector.
-
-
-
Use a spudger or a fingernail to disconnect the display data cable connector.
-
-
-
Use the flat end of a spudger to disconnect the digitizer cable connector.
-
-
-
Remove the front panel assembly from the rear case.
-
-
crwdns2935267:0crwdne2935267:0Tweezers$4.99
-
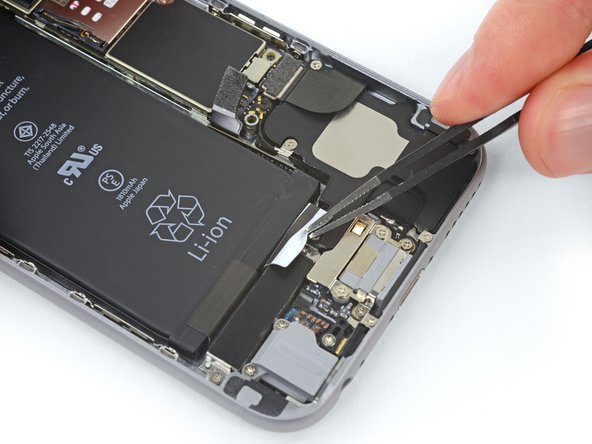
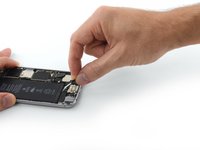
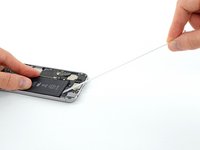
Peel back the first battery adhesive tab from the bottom right edge of the battery.
-
-
-
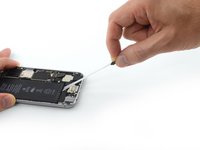
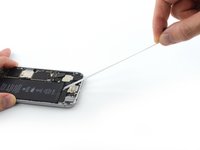
Slowly pull the adhesive tab away from the battery, toward the bottom of the iPhone.
-
Pull steadily, maintaining constant tension on the strip until it slips out from between the battery and the rear case. For best results, pull the strip at a 60º angle or less.
-
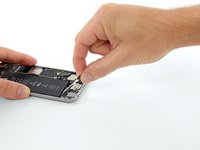
If the strip breaks, carefully try to retrieve it with your tweezers (without damaging the battery) and continue pulling. If the strip breaks off underneath the battery and can't be retrieved, continue with the steps below.
-
-
-
Repeat for the second strip.
-
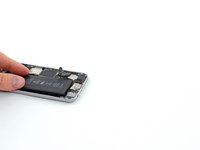
Wait about one minute for the alcohol solution to weaken the adhesive. Use the flat end of a spudger to gently lift the battery.
-
-
-
If the battery remains stuck to the rear case, prepare an iOpener or use a hair dryer to heat the rear case directly behind the battery. It should be slightly too hot to touch comfortably.
-
Then, use a plastic opening tool to gently lift the battery.
-
A stronger alternative to floss is an unwound guitar string, such as a 0.009 E string from a 12-string set.
-
-
-
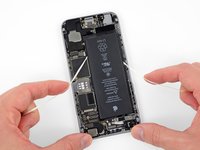
Remove the battery from the iPhone.
-
Before you adhere the replacement battery, temporarily reconnect the battery connector to the logic board socket. This ensures that the battery is properly aligned in its recess.
-
Adhere the battery, disconnect it, and continue reassembling your device.
-
-
-
Remove the following Phillips #00 screws from the upper cable bracket:
-
One 2.9 mm screw
-
One 2.2 mm screw
-
-
-
Remove the upper cable bracket from the iPhone.
-
-
-
Remove the following four Phillips #00 screws from the contact bracket:
-
One 1.5 mm screw
-
One 1.4 mm screw
-
Two 2.1 mm screws
-
-
-
Remove the contact bracket from the iPhone.
-
-
-
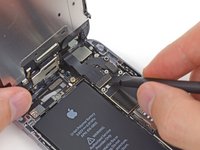
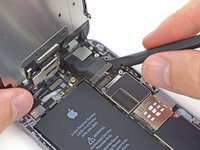
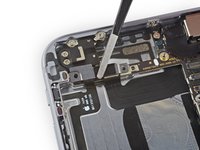
Use the flat end of a spudger to lift the volume control cable connector up off of its socket.
-
-
-
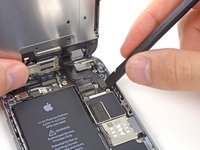
Remove the following Phillips #00 screws from the volume control cable brackets:
-
Two 2.3 mm screws
-
One 1.8 mm scew
-
-
-
Pull the hold switch and volume control button brackets away from the rear case to allow access to the button covers.
-
-
-
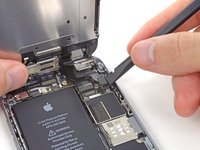
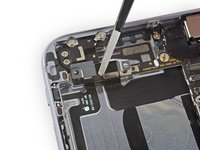
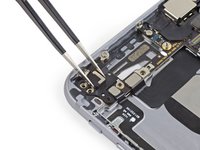
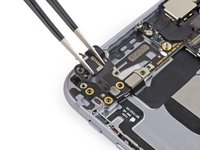
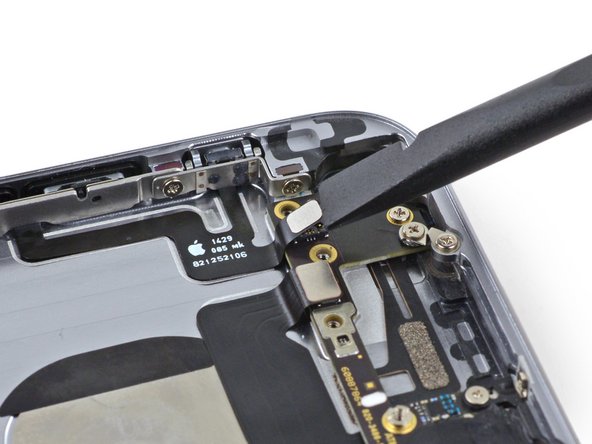
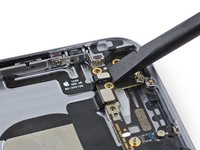
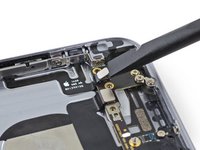
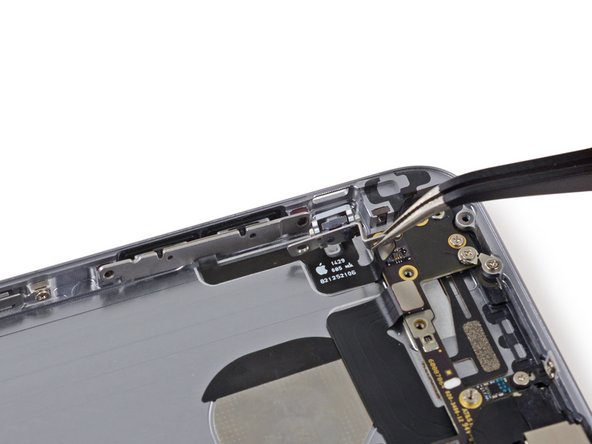
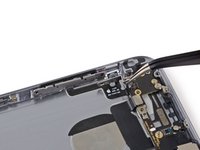
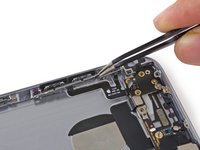
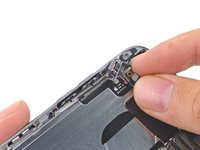
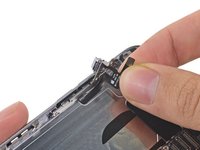
Begin to peel the volume control button cable up from the rear case starting from the connector end.
-
Be gentle when peeling the thin portions of the cable up from the case.
-
Remove the volume control button cable from the rear case.
-
To reassemble your device, follow these instructions in reverse order.
To reassemble your device, follow these instructions in reverse order.
crwdns2935221:0crwdne2935221:0
crwdns2935229:059crwdne2935229:0
crwdns2947412:02crwdne2947412:0
These instructions are so AWESOME to be able to reference! That last 1.8mm screw was a pain to get out of my phone. Step-by-Step, worked EXCELLENT. Thanks for posting these!
TRICKY BITS: replacing the mute switch lever onto the cable assembly is a bit…interesting. It was only when I used the Head Magnifier that I was able to see the mechanics of the switch and fit it on. There needs to be a seriously microscopic shot of that mechanical fit!
But, get the magnifier, it’s great for digging out splinters from your fingers.
SUGGESTION: Once you get the switch and the bracket situated, but before you stick the control cable to the case, make sure the switch functions. I had to loosen the three screws and place pressure on the assembly, holding the switch firmly in place, before it made a solid fit-then I tightened the three screws. Voila, the switch works!
Only then should did I bond the cable to the case
And now my phone rings again! Yay, no more missed calls!


