crwdns2915892:0crwdne2915892:0
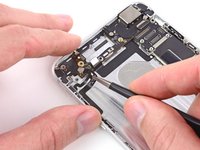
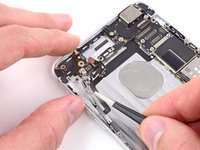
Use this guide to replace the audio control and rocker switch cable.
crwdns2942213:0crwdne2942213:0
-
-
Power off your iPhone before beginning disassembly.
-
Remove the two 3.6 mm P2 Pentalobe screws next to the Lightning connector.
-
-
crwdns2935267:0crwdne2935267:0Clampy - Anti-Clamp$24.95
-
Pull the blue handle backwards to unlock the Anti-Clamp's arms.
-
Slide the arms over either the left or right edge of your iPhone.
-
Position the suction cups near the bottom edge of the iPhone just above the home button—one on the front, and one on the back.
-
Squeeze the cups together to apply suction to the desired area.
-
-
-
Pull the blue handle forwards to lock the arms.
-
Turn the handle clockwise 360 degrees or until the cups start to stretch.
-
Insert an opening pick or tool under the screen when the Anti-Clamp creates a large enough gap.
-
Skip the next three steps.
-
-
-
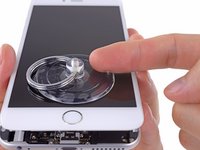
Use a single suction cup to lift the front panel:
-
Press a suction cup onto the screen, just above the home button.
-
-
-
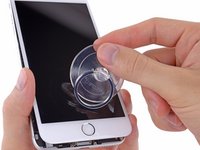
While holding the iPhone down with one hand, pull up on the suction cup to slightly separate the front panel assembly from the rear case.
-
Using a plastic opening tool, begin to gently pry the rear case down, away from the display assembly, while continuing to pull up with the suction cup.
-
-
-
Pull the plastic nub to release the vacuum seal on the suction cup.
-
Remove the suction cup from the display assembly.
-
-
-
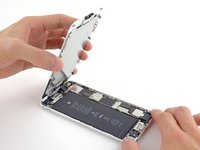
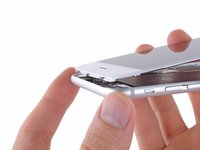
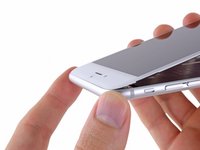
Pull the home button end of the front panel assembly away from the rear case, using the top of the phone as a hinge.
-
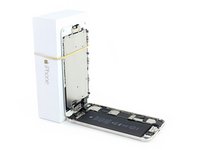
Open the display to about a 90º angle, and lean it against something to keep it propped up while you're working on the phone.
-
Add a rubber band to keep the display securely in place while you work. This prevents undue strain on the display cables.
-
-
-
Remove the following Phillips screws from the battery connector bracket:
-
One 2.3 mm screw
-
One 3.1 mm screw
-
-
-
Remove the metal battery connector bracket from the iPhone.
-
-
-
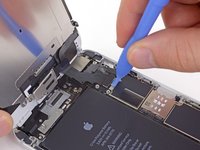
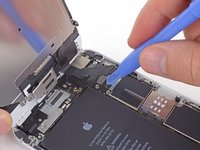
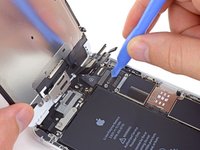
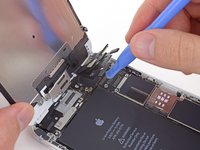
Use a clean fingernail or the edge of an opening tool to gently pry the battery connector up from its socket on the logic board.
-
-
-
Remove the following Phillips screws securing the front panel assembly cable bracket:
-
Three 1.2 mm screws
-
One 1.5 mm screw
-
One 2.9 mm screw
-
-
-
-
Remove the front panel assembly cable bracket from the logic board.
-
-
-
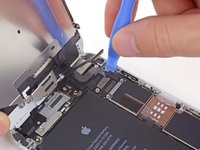
While still supporting the front panel, use a fingernail or the edge of an opening tool to disconnect the front-facing camera and earpiece speaker connector.
-
-
-
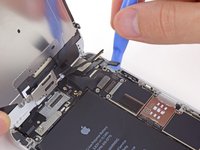
Disconnect the home button cable connector.
-
-
-
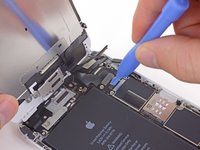
Use a plastic opening tool to disconnect the display data cable connector.
-
-
-
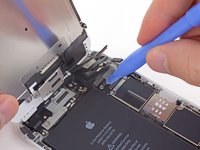
Finally, disconnect the digitizer cable connector.
-
-
-
Remove the front panel assembly from the rear case.
-
-
crwdns2935267:0crwdne2935267:0Tweezers$4.99
-
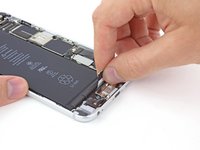
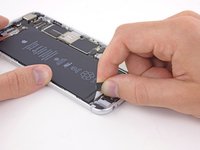
Peel back the first battery adhesive tab from the bottom right edge of the battery.
-
-
-
Very slowly, pull and stretch one adhesive strip away from the battery, toward the bottom of the iPhone.
-
Pull at as low of an angle as you can without snagging the adhesive strip on any of the components along the lower edge of the phone.
-
Don't press down on the battery as you pull the strip.
-
-
-
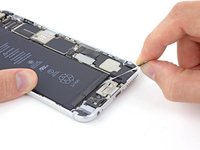
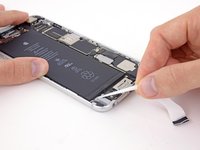
Peel back the second battery adhesive tab from the other side of the battery.
-
Again, pull and slowly stretch the adhesive tab to slide it out from between the battery and the rear case.
-
Continue pulling the adhesive tab until it releases completely from the battery. If it breaks, try to retrieve the remaining length and continue pulling, or proceed as instructed below.
-
-
-
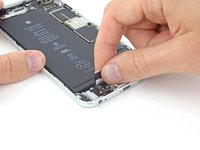
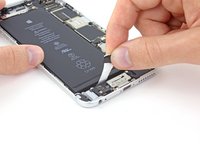
Peel back the final battery adhesive tab from the bottom edge of the battery. Gently pull the battery adhesive tab upward and away from the battery, allowing the adhesive strip to slowly slide out from between the battery and the rear case.
-
Continue pulling until the final strip comes free from the iPhone.
-
Wait about one minute for the alcohol solution to weaken the adhesive. Use the flat end of a spudger to gently lift the battery.
-
-
-
If the battery remains stuck to the rear case, prepare an iOpener or use a hair dryer to heat the rear case directly behind the battery.
-
Then, use a plastic opening tool to gently lift the battery.
-
Thread the floss or string underneath one end of the battery and pull side to side in a sawing motion to separate the adhesive.
-
-
-
Remove the battery from the iPhone.
-
Adhere the battery, disconnect it, and continue reassembling your device.
-
-
-
Remove the following screws securing the antenna bracket to the rear case:
-
One 1.5 mm Phillips #00 screw
-
One 2.8 mm Phillips #00 screw
-
-
crwdns2935267:0crwdne2935267:0Tweezers$4.99
-
Grasp the antenna bracket with a pair of tweezers and lift it off the iPhone.
-
-
-
Carefully pry the antenna connector up off the logic board with a plastic opening tool.
-
-
-
Grasp the antenna connector with a pair of tweezers and gently lift it from its retaining clip on the logic board.
-
-
-
Disconnect the power button cable and audio control cable connectors from their respective sockets on the logic board.
-
-
-
Remove the following screws securing the top cellular antenna to the rear case:
-
One 2.8 mm Phillips #00 screw
-
Two 1.6 mm Phillips #00 screws
-
-
-
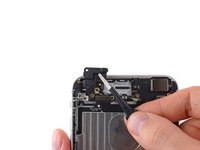
Use a pair of tweezers to grasp and remove the top cellular antenna out of the iPhone.
-
-
crwdns2935267:0crwdne2935267:0Tweezers$4.99
-
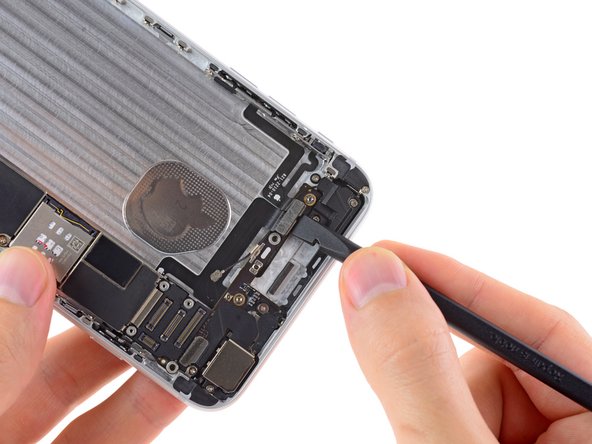
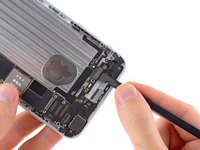
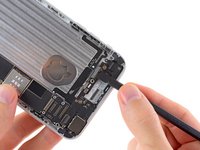
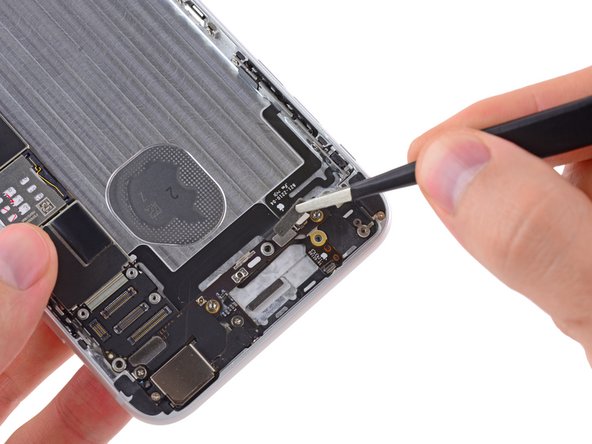
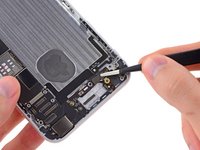
Use a pair of tweezers to peel the single adhesive tab that resides on top of both the power button and audio control/rocker switch cable connectors.
-
-
-
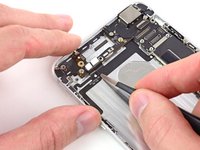
Remove the following screws securing the audio control and rocker switch cable to the rear case:
-
Two 2.0 mm Phillips #00 screws
-
One 2.5 mm Phillips #00 screw
-
-
-
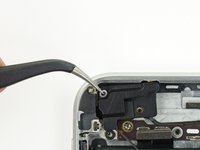
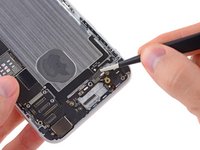
Grasp the audio control and rocker switch cable with a pair of tweezers.
-
Slowly peel the audio control and rocker switch cable off the rear case.
-
To reassemble your device, follow these instructions in reverse order.
To reassemble your device, follow these instructions in reverse order.
crwdns2935221:0crwdne2935221:0
crwdns2935229:021crwdne2935229:0
crwdns2947410:01crwdne2947410:0
I had removed the rocker switch cable but can't get the mute switch back in properly on reassembling the device.
I have put the mute switch back on the flex cable correctly but when screwed in the switch doesn't 'flick' all the way to click into the mute position. It gets stuck and flicks back the the unmuted position.
Any help would be appreciated


