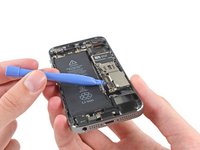
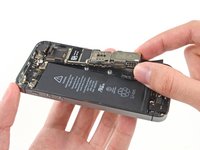
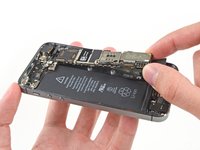
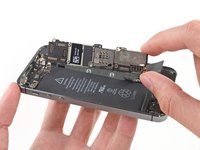
crwdns2915892:0crwdne2915892:0
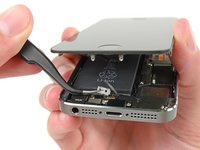
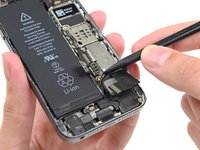
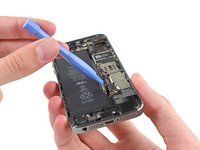
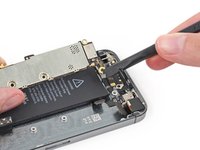
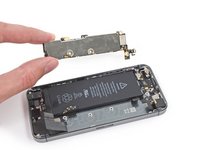
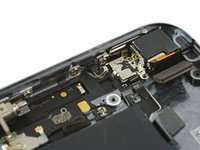
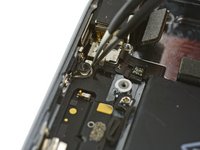
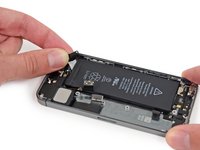
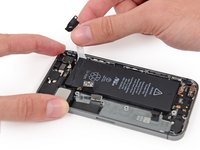
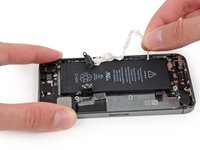
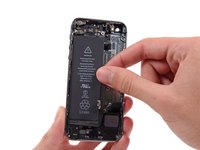
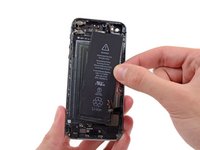
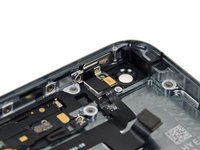
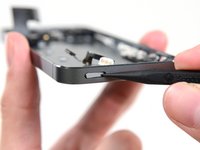
Use this guide to remove the power/sleep button from your iPhone 5s.
This guide requires removing the battery. The adhesive strips securing the battery are not re-usable, so you'll want to have a supply of replacement adhesive strips on hand before you begin. Alternatively, you can secure the battery using a piece of double-sided tape. The battery is pretty tightly secured in the device, but the tape will keep it from rattling.
crwdns2942213:0crwdne2942213:0
-
-
Power off your iPhone before beginning disassembly.
-
Remove the two 3.9 mm Pentalobe screws from either side of Lightning connector.
-
-
-
If your display glass is cracked, keep further breakage contained and prevent bodily harm during your repair by taping the glass.
-
Lay overlapping strips of clear packing tape over the iPhone's display until the whole face is covered.
-
-
-
Regardless of the tool you use, you need to be sure you pull up the entire display.
-
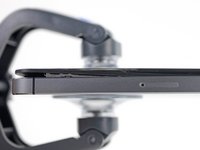
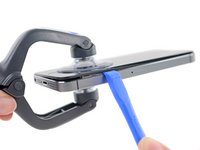
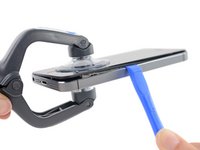
If the glass begins to separate from the plastic, as shown in the first image, slide a plastic opening tool between the plastic frame and the metal phone body to pry the metal clips out of the case.
-
-
crwdns2935267:0crwdne2935267:0Clampy - Anti-Clamp$24.95
-
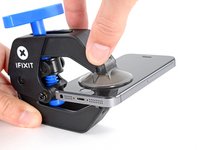
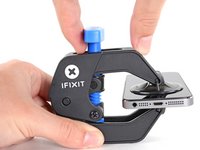
Pull the blue handle backwards to unlock the Anti-Clamp's arms.
-
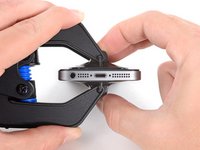
Slide the arms over either the left or right edge of your iPhone.
-
Position the suction cups near the bottom edge of the iPhone just above the home button—one on the front, and one on the back.
-
Squeeze the cups together to apply suction to the desired area.
-
-
-
Pull the blue handle forwards to lock the arms.
-
Turn the handle clockwise 360 degrees or until the cups start to stretch.
-
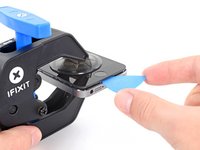
Insert an opening pick under the screen when the Anti-Clamp creates a large enough gap.
-
Skip the next two steps.
-
-
-
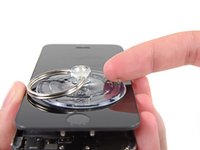
If you don't have an Anti-Clamp, use a single suction cup to lift the front panel:
-
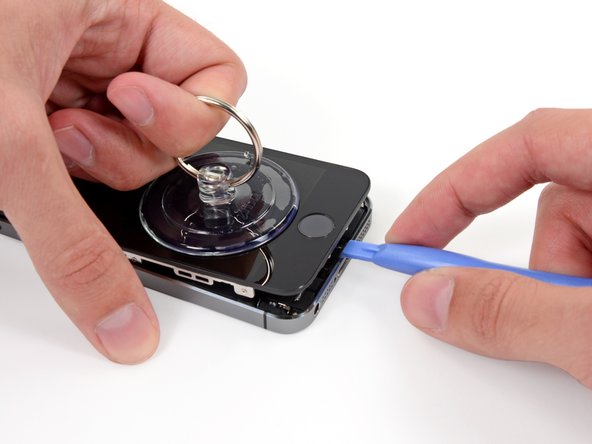
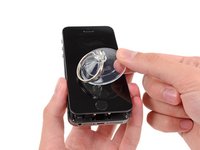
Press a suction cup onto the screen, just above the home button.
-
-
-
While holding the iPhone down with one hand, pull up on the suction cup to slightly separate the home button end of the front panel from the rear case.
-
With a plastic opening tool, gently pry the edges of the rear case down, away from the front panel assembly, while you pull up with the suction cup.
-
-
-
Pull the plastic nub to release the vacuum seal on the suction cup.
-
Remove the suction cup from the screen.
-
-
crwdns2935267:0crwdne2935267:0Tweezers$4.99
-
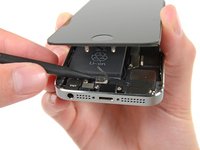
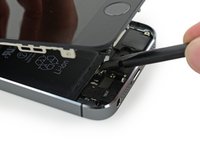
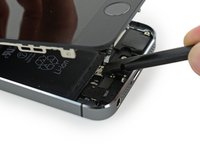
Open the phone just enough to reveal the metal bracket covering the home button cable.
-
Only the phone's original home button assembly will be capable of using the Touch ID functionality. If you rip the cable, installing a new home button will only restore ordinary home button functions, not the Touch ID features.
-
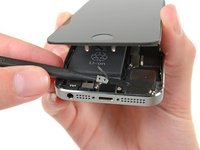
Use the tip of a spudger to push the bracket free and remove it with tweezers.
-
-
-
Use the tip of a spudger to pry the home button cable connector up out of its socket.
-
-
-
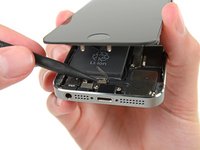
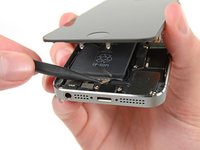
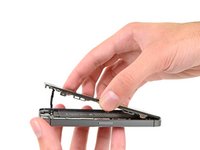
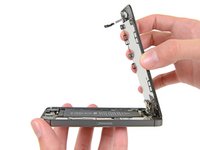
Once the connector has been released, pull the home button end of the assembly away from the rear case, using the top of the phone as a hinge.
-
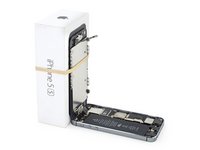
Open the display to about a 90º angle, and lean it against something to keep it propped up while you're working on the phone.
-
Add a rubber band to keep the display securely in place while you work. This prevents undue strain on the display cables.
-
-
-
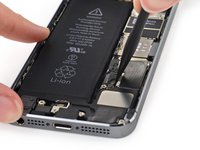
Remove the two 1.6 mm Phillips #000 screws securing the metal battery connector bracket to the logic board.
-
-
-
Remove the metal battery connector bracket from the iPhone.
-
-
-
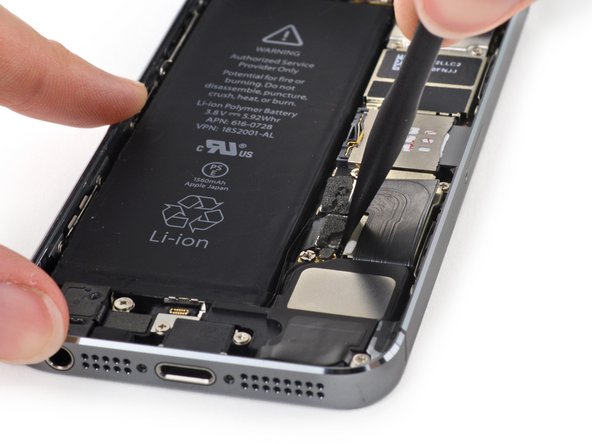
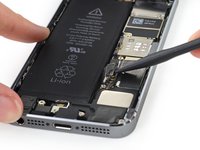
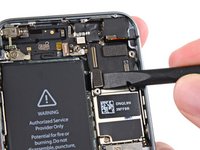
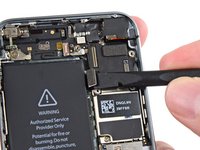
Use the flat end of a spudger to gently pry the battery connector up from its socket on the logic board.
-
-
-
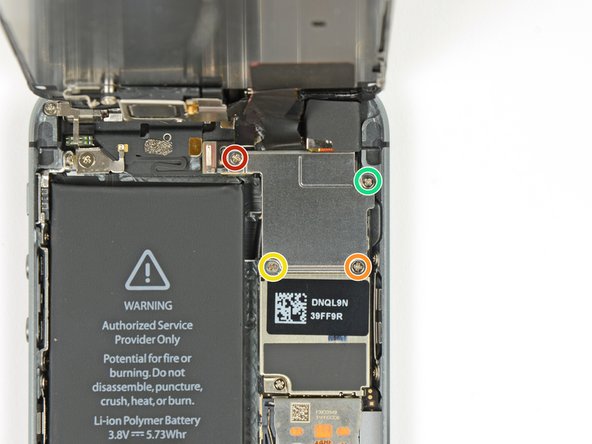
Remove the following screws securing the front panel assembly cable bracket to the logic board:
-
One 1.7 mm Phillips #000 screw
-
One 1.2 mm Phillips #000 screw
-
One 1.3 mm Phillips #000 screw
-
One more 1.7 mm Phillips #000 screw
-
-
-
Remove the front panel assembly cable bracket from the logic board.
-
-
-
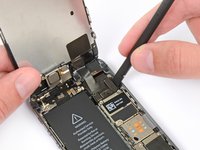
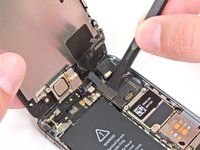
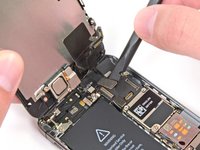
Use a spudger or a fingernail to disconnect the front-facing camera and sensor cable.
-
-
-
-
Finally, disconnect the digitizer cable connector.
-
-
-
Remove the front panel assembly from the rear case.
-
-
-
Insert a SIM card eject tool or a paperclip into the small hole in the SIM card tray.
-
Press to eject the tray. This may require a significant amount of force.
-
-
-
Remove the SIM Card tray assembly from the iPhone.
-
-
-
Use a spudger to gently pry the button assembly cable up from its socket on the logic board.
-
-
-
Use a spudger to pry the Lightning connector cable up from its socket on the logic board.
-
Fold the Lightning connector cable out of the way of the logic board.
-
-
-
Use the tip of a spudger to pry the antenna cable up from its socket on the logic board.
-
-
-
Use the flat end of a spudger to disconnect the rear-facing camera cable from its socket on the logic board.
-
-
-
Remove any tape covering the camera flash bracket.
-
-
crwdns2935267:0crwdne2935267:0Standoff Screwdriver for iPhones$5.49
-
Remove the following screws from the logic board:
-
One 2.4 mm Phillips #000 screw
-
Two 2.3 mm Phillips #000 screws
-
Three 2.8 mm standoff screws
-
One 2.9 mm non-magnetic standoff screw
-
-
-
Use a plastic opening tool to lift the logic board up enough to grab with your fingers.
-
-
-
Pull the logic board slightly away from the rear facing camera.
-
Flip the logic board toward the battery, as if you are turning the page in a book.
-
-
-
Use the flat end of a spudger to disconnect the antenna cable on the back of the logic board.
-
Remove the logic board from the iPhone.
-
-
crwdns2935267:0crwdne2935267:0Tweezers$4.99
-
At this point, a small metal plate near the rear facing camera is loose and may come free from its recess.
-
Use tweezers to remove the plate from beneath the bracket to the left of the rear-facing camera.
-
-
crwdns2935267:0crwdne2935267:0Tweezers$4.99
-
Using a pair of tweezers, flip the rubber camera cover out of its clip and toward the outside of the rear case.
-
-
-
Remove the rear-facing camera from the rear case.
-
-
-
Remove the two 1.6 mm Phillips #000 screws securing the rear-facing camera bracket.
-
-
-
Remove the rear-facing camera bracket from the rear case.
-
-
-
Remove the rubber camera bumper from the case.
-
-
-
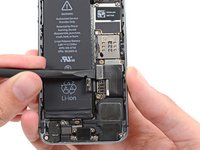
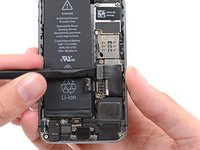
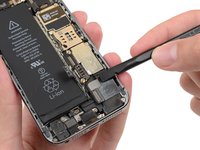
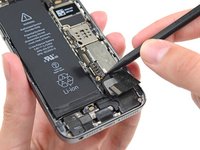
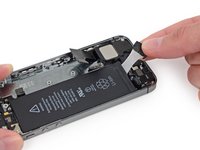
Insert the tip of a spudger into the hole in the battery adhesive tab near the headphone jack.
-
Lift the tab up slightly and use the spudger to unfold the tab from its recess.
-
-
-
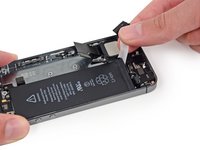
Pull the battery adhesive tab straight up from the phone.
-
Cut the black battery adhesive tab between the two white adhesive strips, separating them.
-
-
-
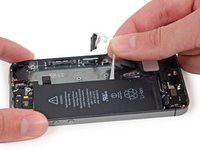
Slowly pull one of the battery adhesive strips away from the battery, toward the bottom of the iPhone.
-
Pull steadily, maintaining constant tension on the strip as it slips out from between the battery and the rear case. For best results, pull the strip at a 60º angle or less.
-
-
-
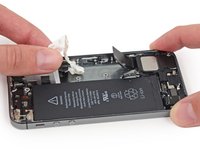
Guide the strip carefully around the corner and up the side of the battery.
-
-
-
Repeat to remove the second adhesive strip.
-
If you removed both strips successfully, skip the next two steps.
-
-
-
If any of the adhesive strips broke off and the battery remains stuck to the rear case, prepare an iOpener or use a hair dryer to heat the rear case directly behind the battery.
-
-
crwdns2935267:0crwdne2935267:0Plastic Cards$2.99
-
Flip the iPhone back over and insert a plastic card between the case side of the battery and the rear case.
-
Press the card in farther to break up the adhesive behind the battery.
-
-
-
Remove the battery from the rear case.
-
-
-
Remove the following Phillips #000 screws from the vibrator bracket:
-
One 1.7 mm screw
-
One 2.5 mm screw
-
-
crwdns2935267:0crwdne2935267:0Tweezers$4.99
-
With a set of tweezers, remove the vibrator bracket.
-
-
-
Remove the 1.7 mm Phillips #000 screw securing the vibrator to the rear case.
-
-
-
Use a set of tweezers to remove the vibrator from the rear case.
-
-
-
Remove the 1.3 mm Phillips #000 screw securing the logic board grounding bracket to the rear case.
-
-
-
Remove the logic board grounding bracket.
-
-
-
Remove the 2.1 mm Phillips #000 screw securing the contact clip and power/sleep button bracket.
-
-
-
Remove the contact clip from the iPhone.
-
-
-
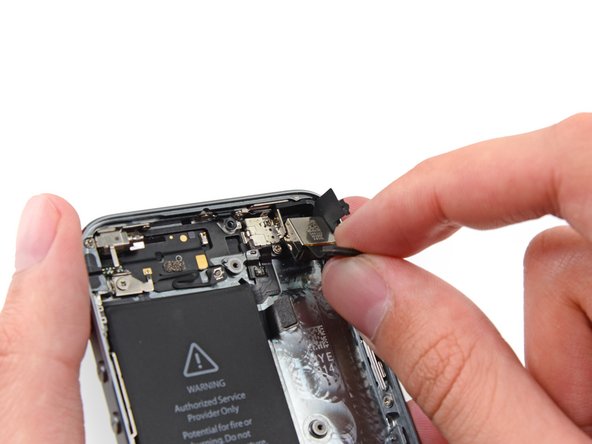
Slide the flat end of a spudger under the upper component assembly cable to free it from the rear case.
-
-
-
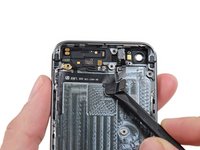
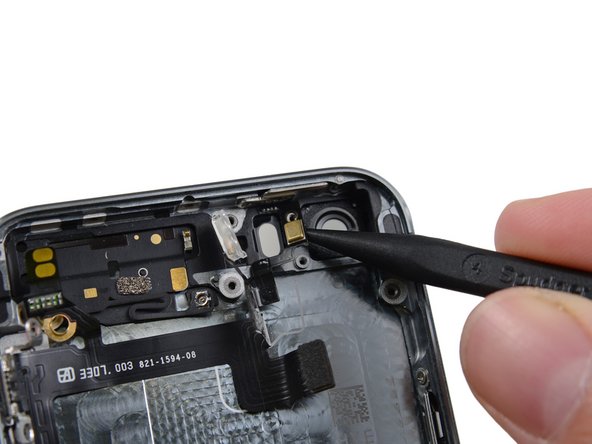
Use the tip of a spudger to free the microphone portion of the assembly from the case.
-
-
crwdns2935267:0crwdne2935267:0Tweezers$4.99
-
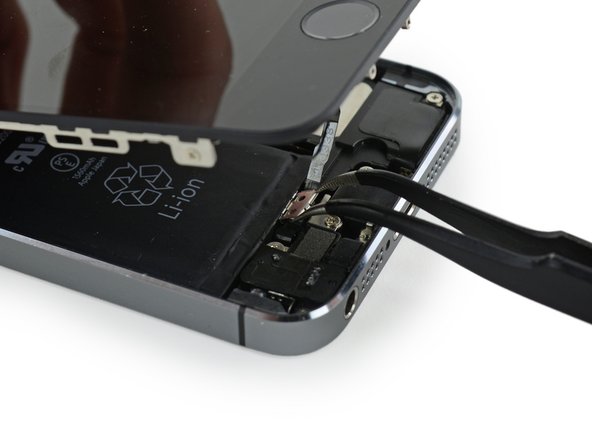
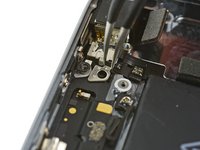
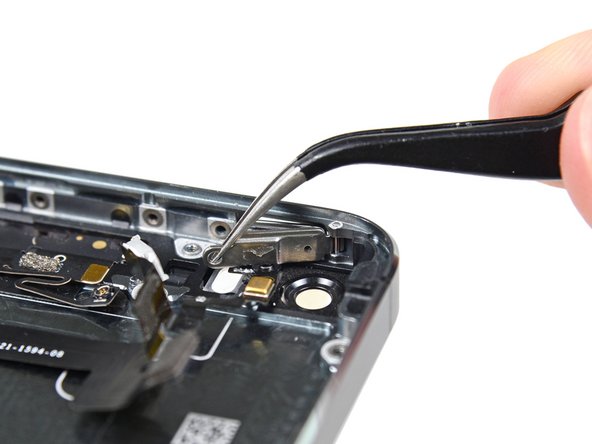
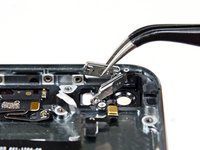
Use a set of tweezers to swing the power/sleep button bracket away from the case.
-
-
-
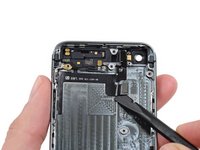
Use the tip of a spudger to push the power/sleep button into the phone slightly.
-
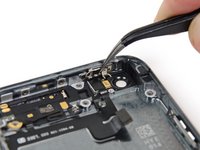
Use a set of tweezers to remove the button.
-
To reassemble your device, follow these instructions in reverse order.
crwdns2935221:0crwdne2935221:0
crwdns2935229:0108crwdne2935229:0
crwdns2947412:012crwdne2947412:0
In this disassembly for the power button, did you guys figure out how to silence the button rattle that we hear when shooting video or just shaking the phone? It is believed to be coming from the power button.
How do you re connect the new button to the Hinge part of the power button assembly?
Nice write up. Thanks!
there are several screws and their size missing from this guide. the 3 on the left side once you remove the battery, the ones that hold the volume and vibrate brackets in place. what size are those? i've been working on this phone 8 hours straight and lost track of where some of the screws go and what size they should be. i was stuck with a power button that wouldnt fit properly and i was at it so long i dont know where some of the screws go. i would really like a detailed guide/chart with screw sizes on it. and using calipers, are the sizes listed referring to the length of these screws? thank you
Sounds like you might be looking for a different guide? Those three screws you reference are detailed here. To answer your question, yes, the measurements are the screw lengths in mm as measured with a caliper.


