crwdns2915892:0crwdne2915892:0
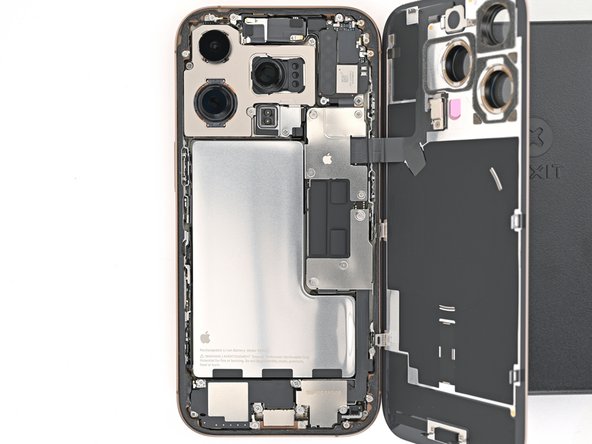
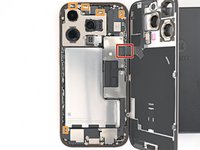
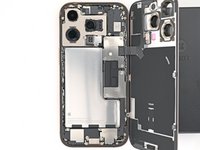
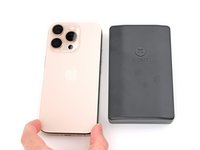
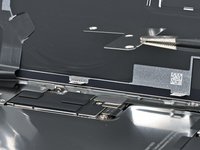
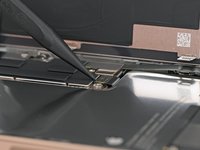
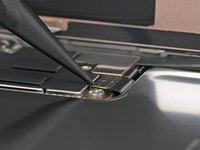
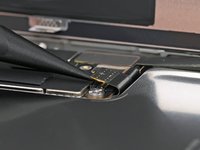
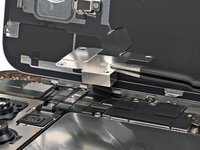
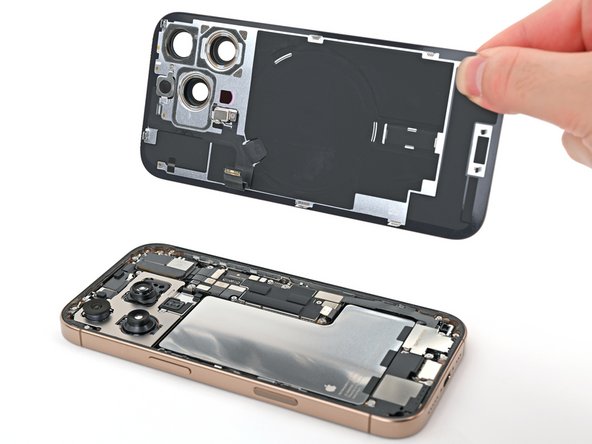
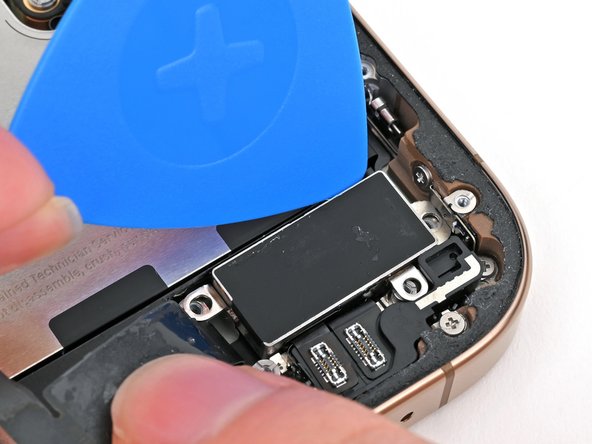
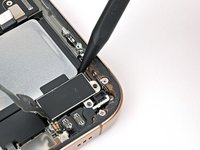
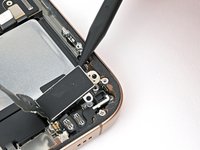
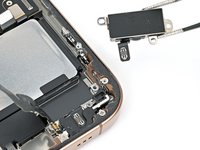
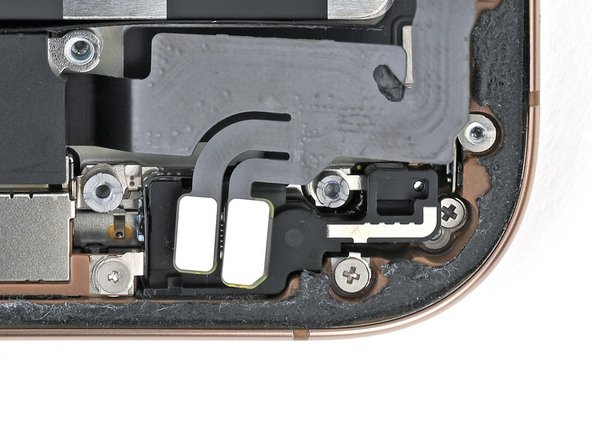
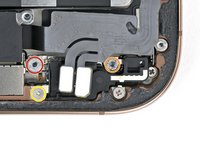
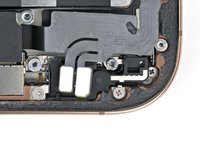
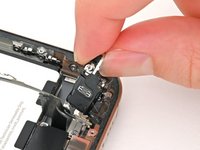
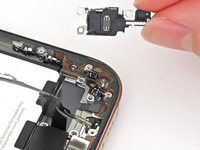
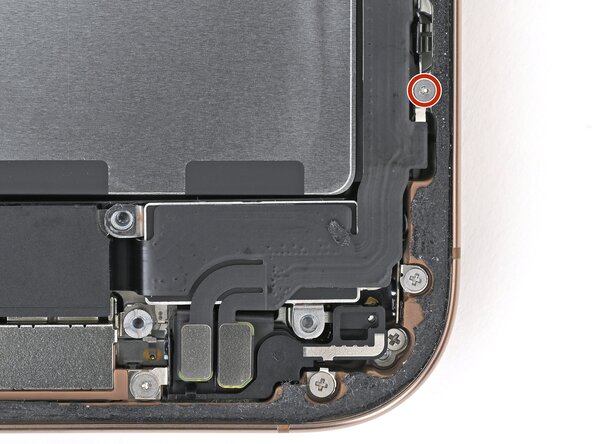
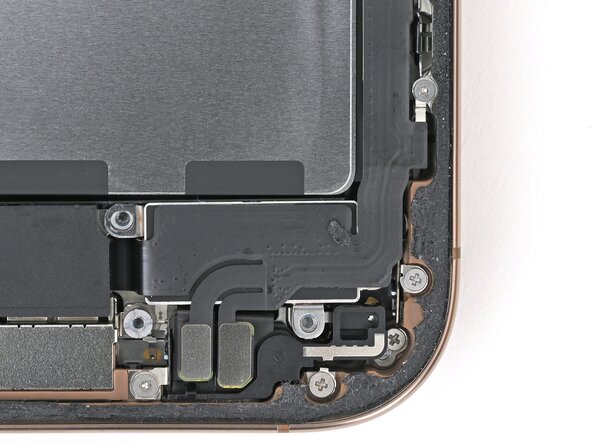
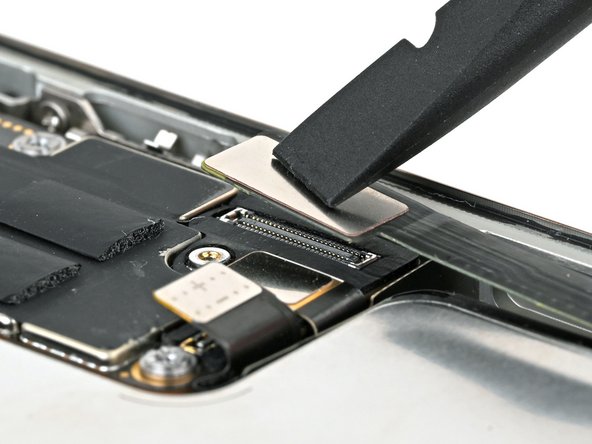
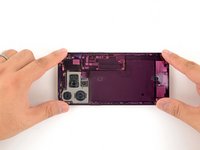
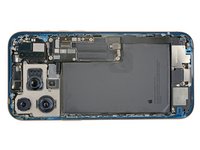
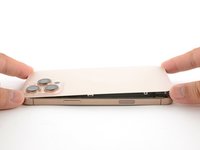
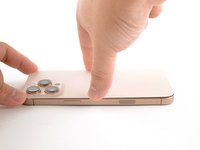
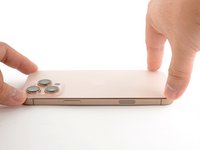
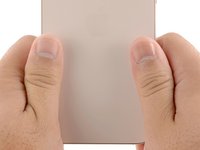
Follow this guide to replace the microphone in your iPhone 16 Pro.
You may need to replace your microphone if your iPhone's having a hard time picking up your voice or has intermittent issues.
You'll need replacement back glass and microphone adhesive to complete this repair.
crwdns2942213:0crwdne2942213:0
-
-
Unplug any cables from the phone.
-
Hold the power and either volume buttons and slide to power off the phone.
-
-
-
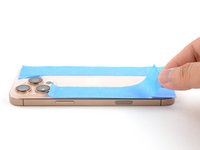
If the screen or back glass is badly cracked, lay overlapping strips of packing tape over the glass to protect yourself and make disassembly easier.
-
-
-
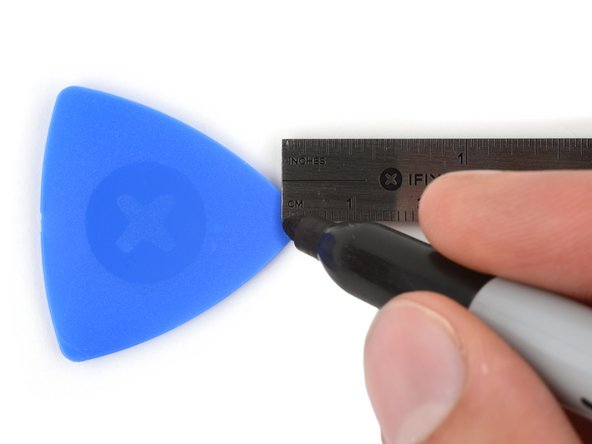
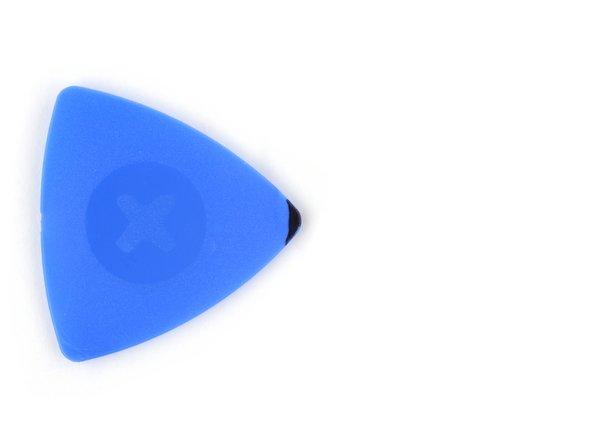
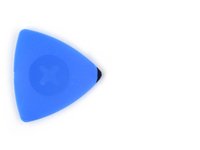
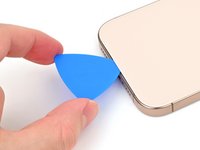
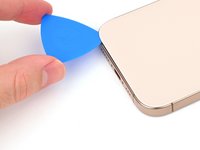
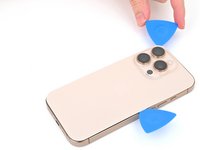
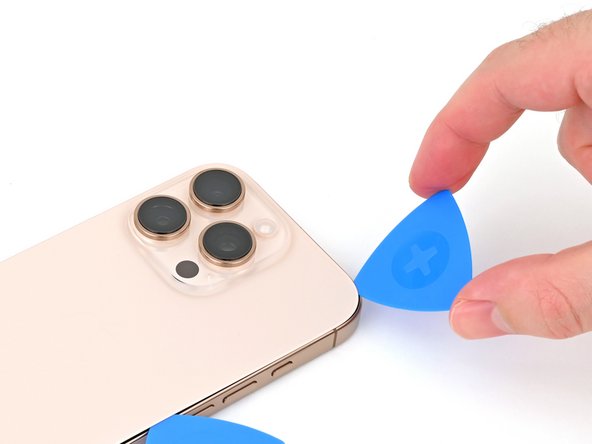
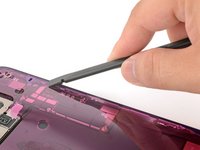
Measure 3 mm from the tip and mark the opening pick with a permanent marker.
-
-
-
Use a P2 pentalobe screwdriver to remove the two 7.4 mm‑long screws on either side of the USB-C port.
-
-
-
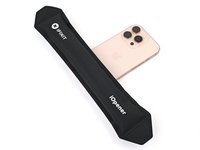
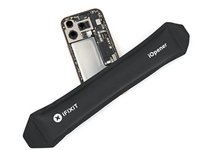
Apply a heated iOpener to the bottom edge of the back glass for two minutes.
-
-
-
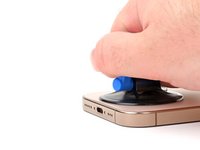
Apply a suction handle to the bottom edge of the back glass, above the USB-C port.
-
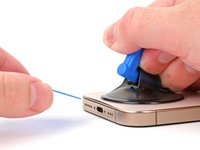
Pull up on the handle with a strong, steady force to create a gap between the back glass and the frame.
-
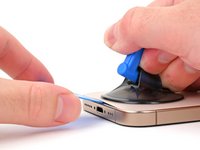
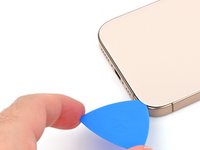
Insert the tip of an opening pick into the gap.
-
-
-
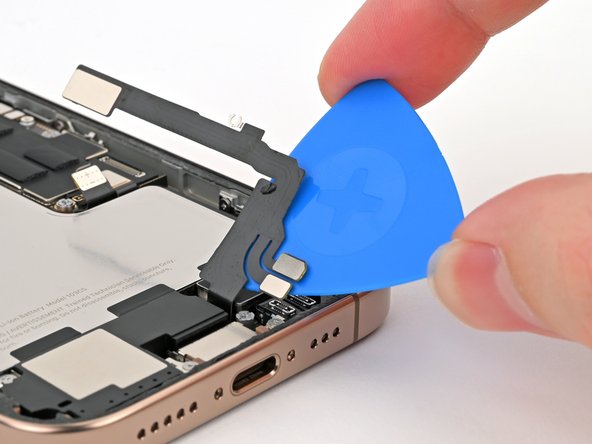
There's a delicate cable connecting the back glass to the phone, right next to the volume up button. Don't insert your pick here to avoid slicing the cable.
-
There are multiple spring contacts around the perimeter of the phone. Be extra careful not to insert your pick deeper than suggested in each step to avoid bending these contacts.
-
-
-
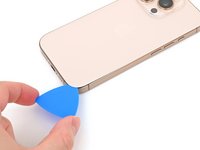
Slide your pick back and forth along the bottom edge to separate the adhesive.
-
Leave your pick inserted in the bottom right corner to prevent the adhesive from resealing.
-
-
-
Heat the right edge of the back glass until it's hot to the touch.
-
-
-
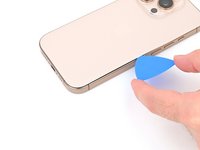
Slide your pick around the bottom right corner and halfway up the right edge, or until you feel a hard stop at a clip securing the back glass.
-
Leave this pick inserted to prevent the adhesive from resealing.
-
-
-
Heat the left edge of the back glass until it's hot to the touch.
-
-
-
Insert a second opening pick at the bottom edge.
-
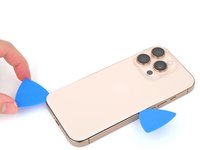
Slide the second pick around the bottom left corner and along the left edge of the screen to separate the adhesive and release the metal clips.
-
Leave this pick inserted at the top left corner to prevent the adhesive from resealing.
-
-
-
Heat the top edge of the back glass, including the area around the volume buttons, until it's hot to the touch.
-
-
-
Slide your opening pick across the top edge and around the top right corner to the volume up button to separate the adhesive.
-
-
-
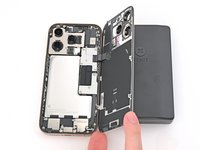
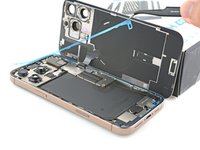
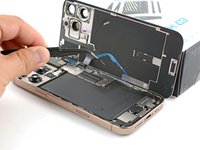
Gently swing open the back glass towards the volume buttons.
-
Support the back glass with a clean, sturdy object like a small box to avoid straining the cable.
-
Remove the opening picks.
-
-
-
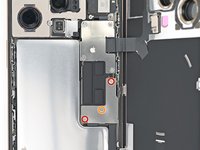
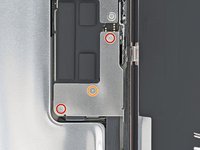
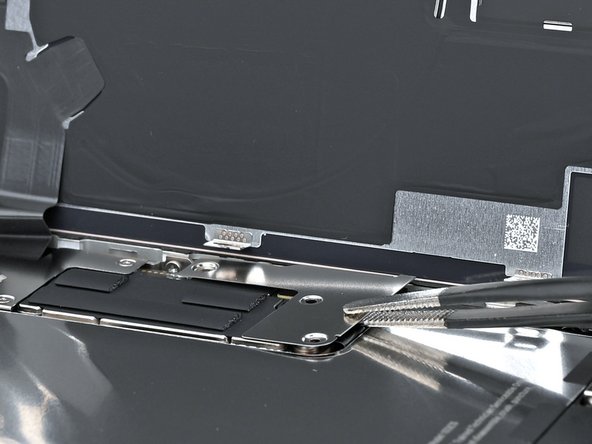
Use a tri-point Y000 screwdriver to remove the three screws securing the lower connector cover:
-
Two 1.2 mm‑long screws
-
One 1.0 mm‑long screw
-
-
-
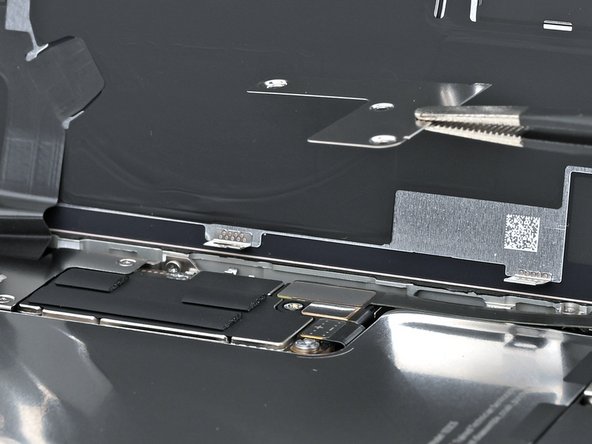
Use tweezers or your fingers to pick up and remove the lower connector cover.
-
-
-
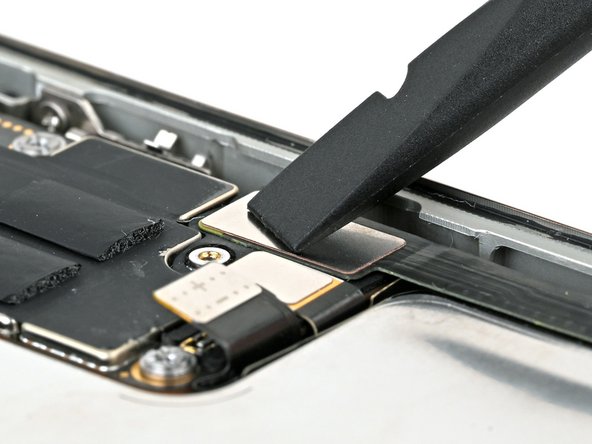
Use the point of a spudger to pry up and disconnect the battery press connector.
-
-
-
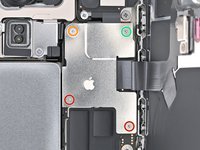
Use a tri-point Y000 screwdriver to remove the four screws securing the upper connector cover:
-
Two 1.0 mm‑long screws
-
One 1.2 mm‑long screw
-
One 1.6 mm‑long screw
-
-
-
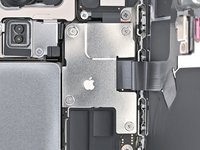
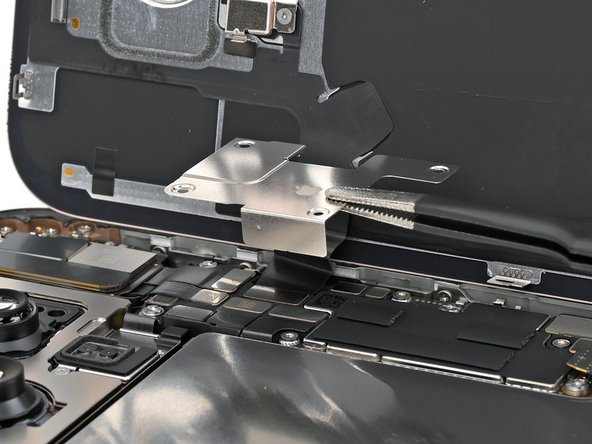
Use tweezers or your fingers to pick up and remove the upper connector cover.
-
-
-
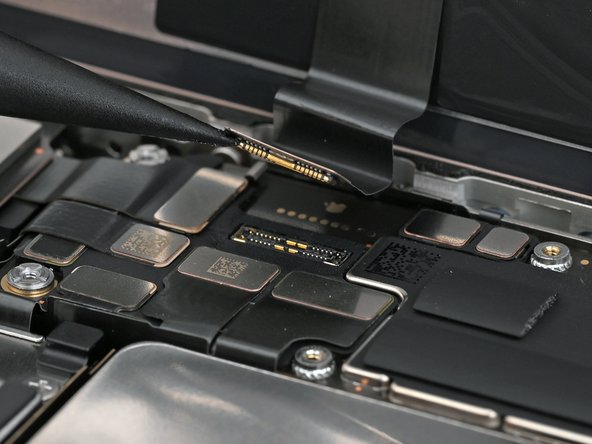
Use the point of a spudger to pry up and disconnect the back glass press connector.
-
-
-
Lift the back glass off the frame and remove it.
-
-
-
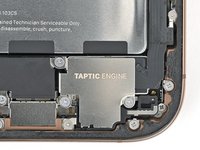
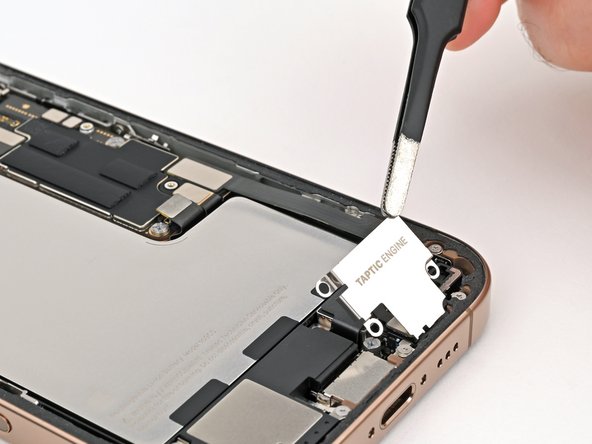
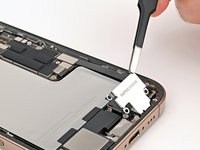
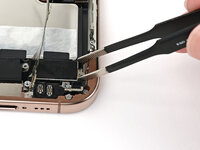
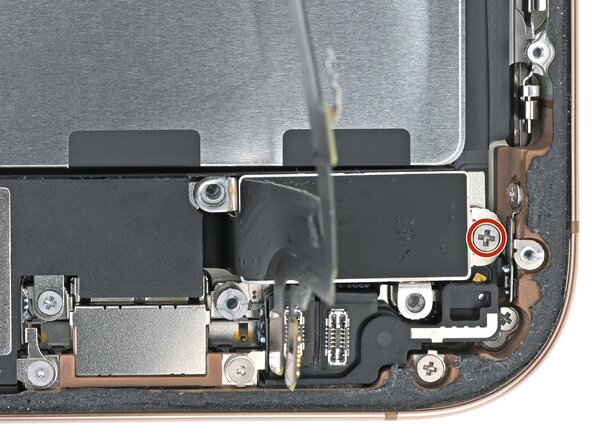
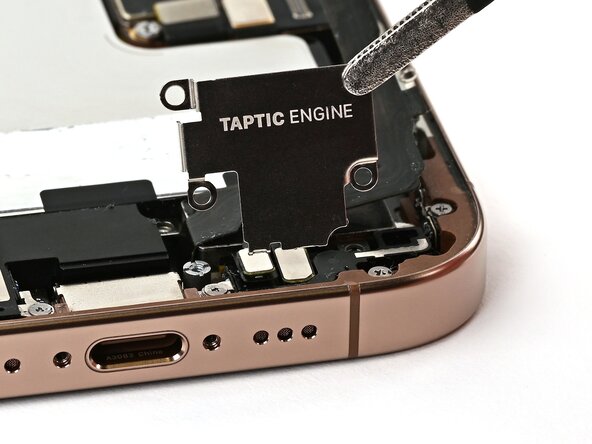
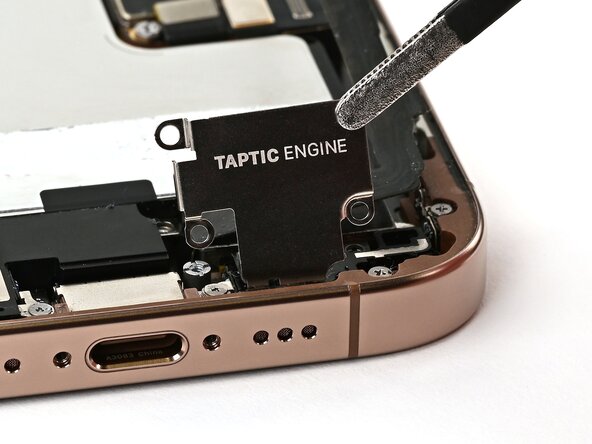
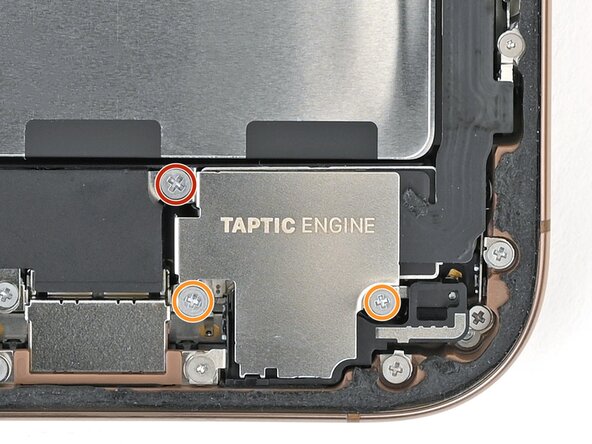
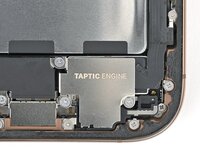
Use a Phillips screwdriver to remove the three screws securing the Taptic Engine cover:
-
One 3.0 mm‑long screw
-
Two 1.7 mm‑long screws
-
-
-
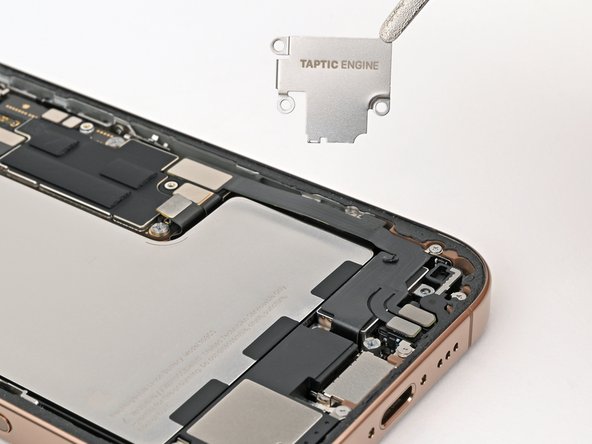
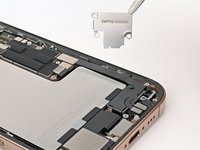
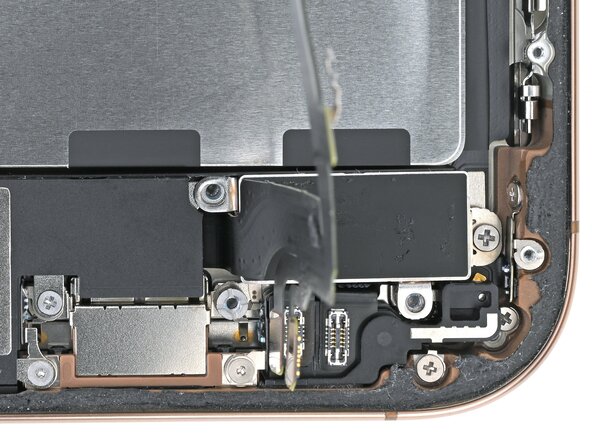
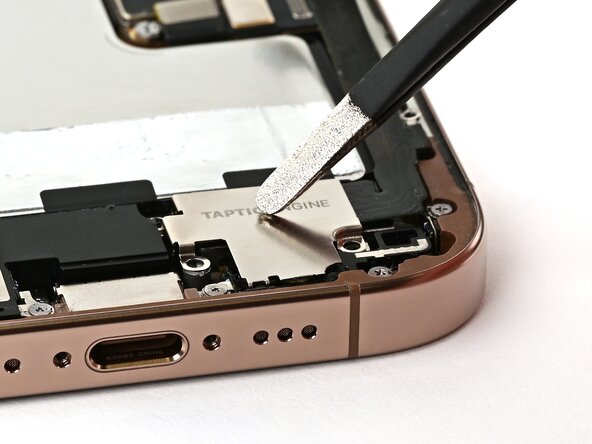
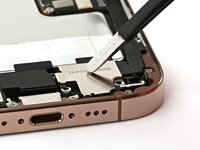
Use tweezers or your fingers to lift the top edge of the Taptic Engine cover.
-
Once the bottom edge unlatches from the frame, remove the Taptic Engine cover.
-
-
-
-
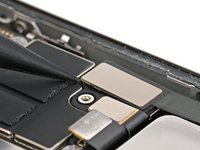
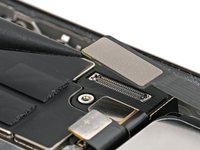
Use the point of a spudger to pry up and disconnect the lower assembly cable press connector from the logic board.
-
-
-
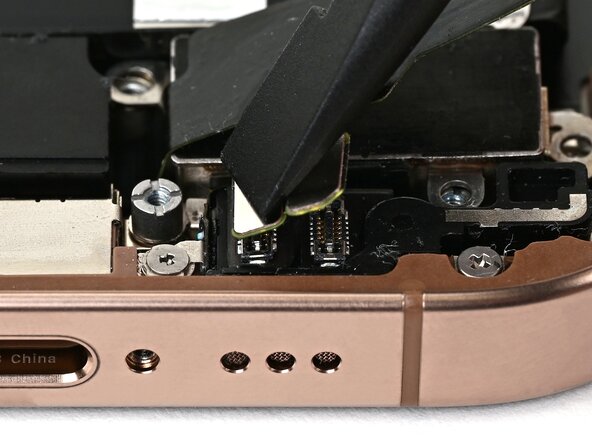
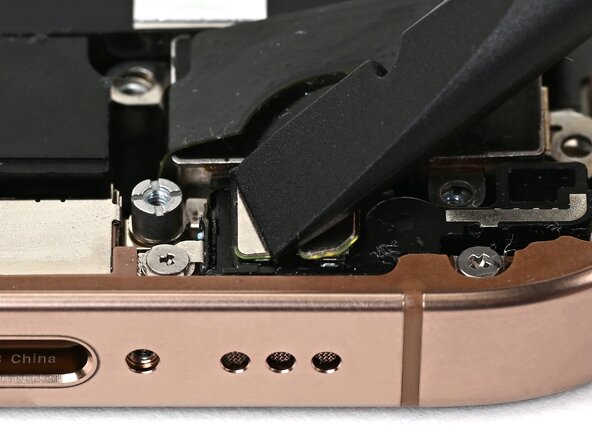
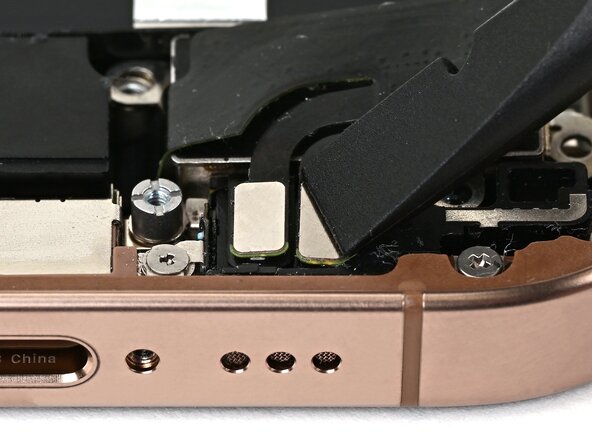
Use the point of a spudger to pry up and disconnect the two press connectors near the bottom right edge of the frame.
-
-
-
Use a tri-point Y000 screwdriver to remove the 1.0 mm‑long screw securing the lower assembly cable.
-
-
-
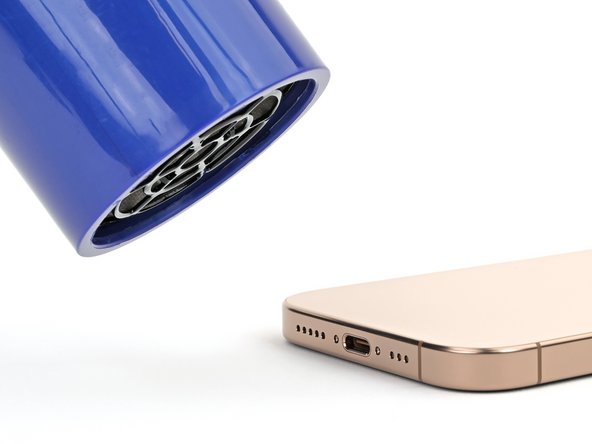
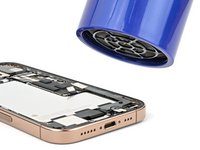
Use an iOpener or hair dryer to heat up the lower assembly cable section on top of the Taptic Engine until it's hot to the touch.
-
-
-
Slide an opening pick under the lower assembly cable to separate it from the Taptic Engine.
-
Carefully bend the cable out of the way so you can access the Taptic Engine.
-
-
-
Use a Phillips screwdriver to remove the 1.9 mm‑long screw securing the Taptic Engine.
-
-
-
Slide the tip of an opening pick along the top edge of the Taptic Engine to separate the plastic buffer strip adhered to it.
-
-
-
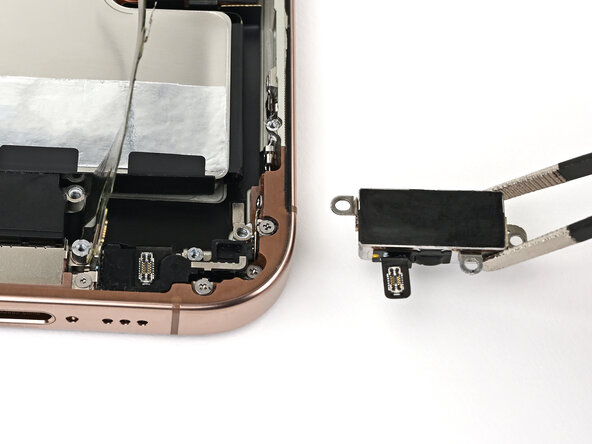
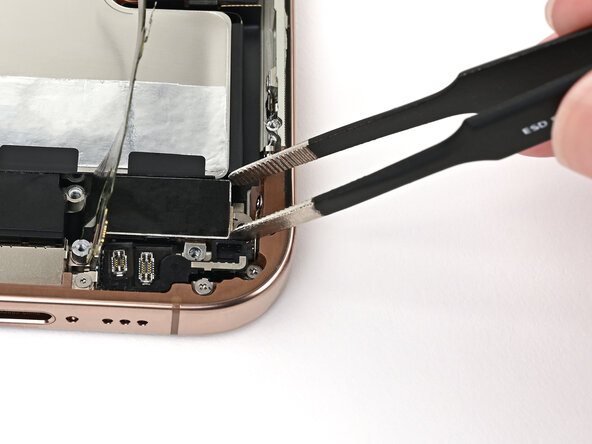
Use the point of a spudger to pry up the Taptic Engine from its top-right corner.
-
Remove the Taptic Engine.
-
-
-
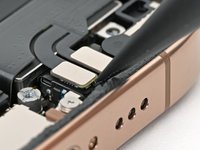
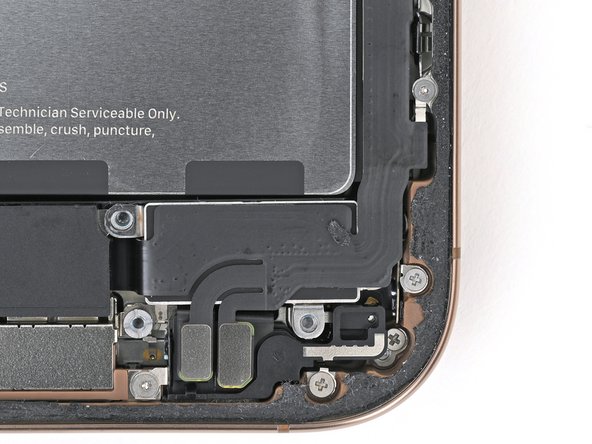
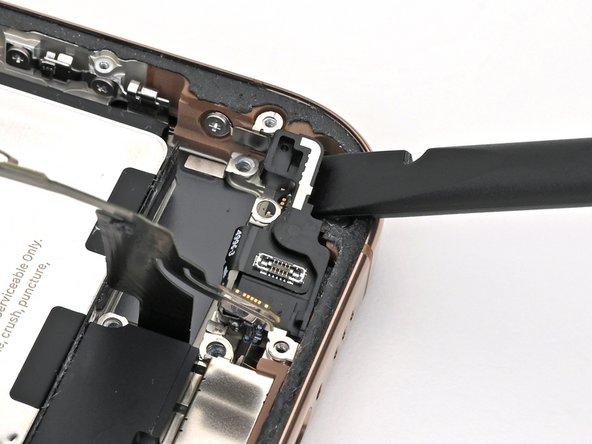
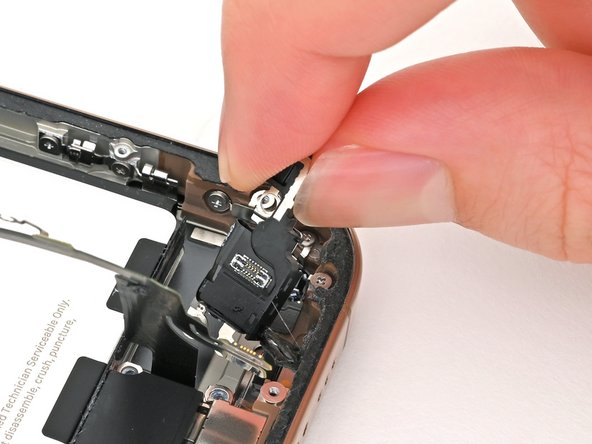
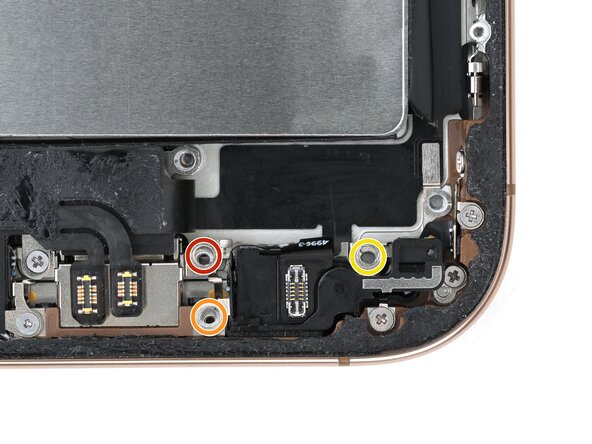
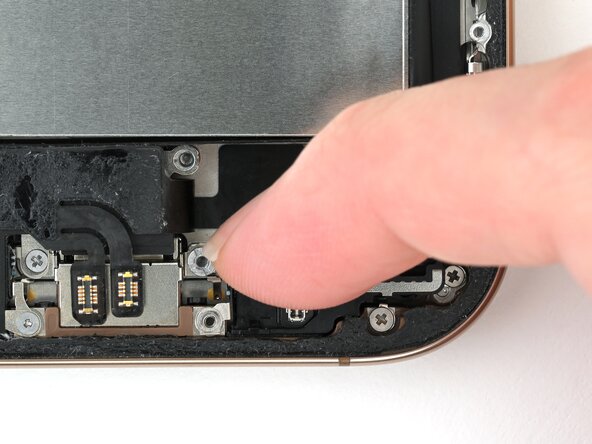
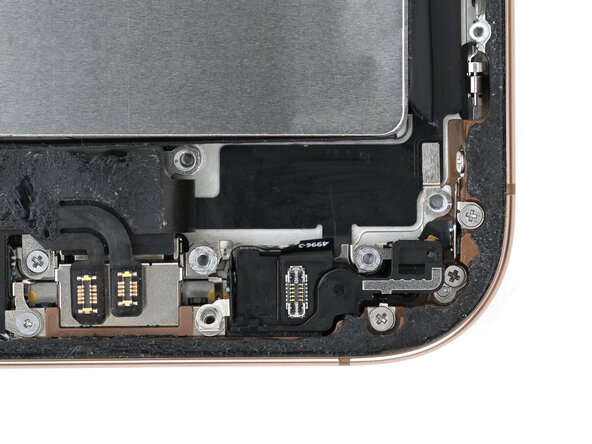
Remove the three screws securing the microphone:
-
One 3.6 mm‑long standoff screw
-
One 2.9 mm‑long standoff screw
-
One 1.3 mm‑long tri-point Y000 screw
-
-
-
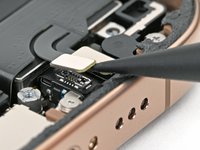
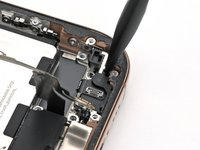
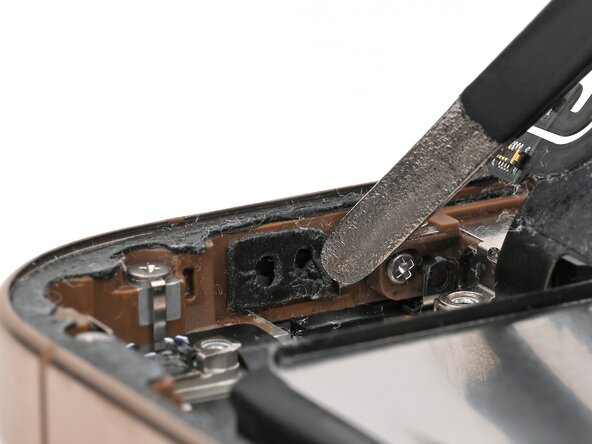
Use the flat end of a spudger to pry up the microphone until you can grab it with your fingers or tweezers.
-
-
-
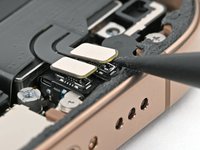
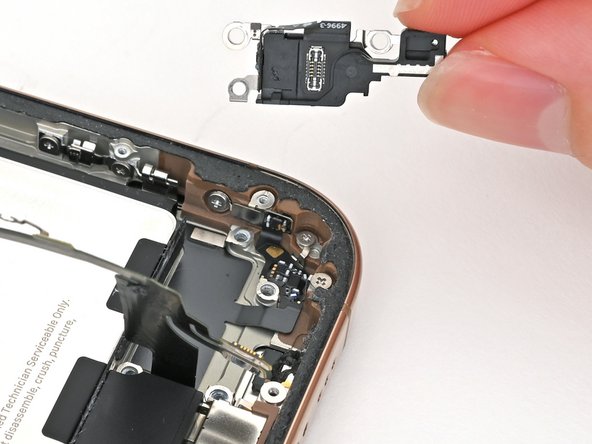
Pull the microphone towards the battery to separate it from its adhesive gasket holding it to the frame.
-
Remove the microphone.
-
-
-
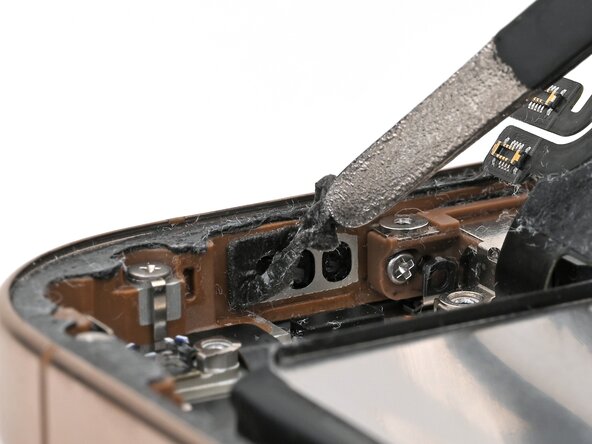
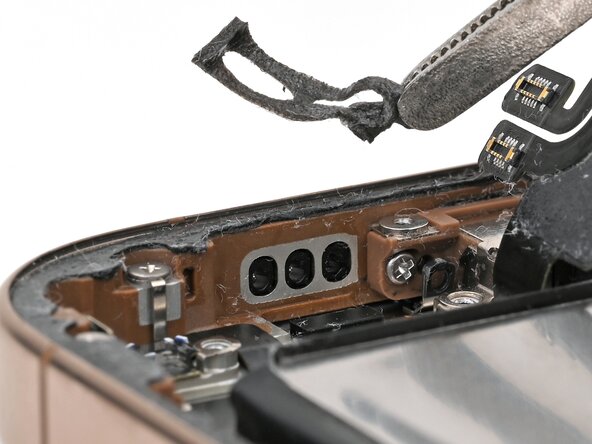
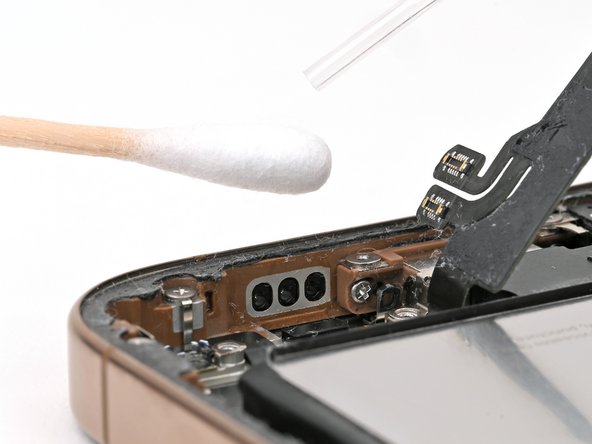
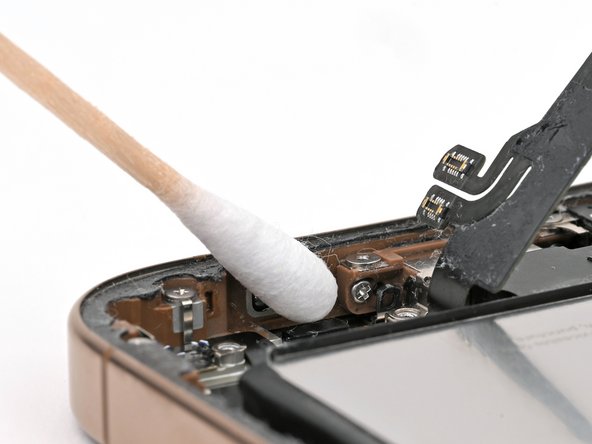
Use tweezers to remove the old microphone adhesive from the bottom of the frame.
-
-
crwdns2935267:0crwdne2935267:0Cotton Swabs$4.99
-
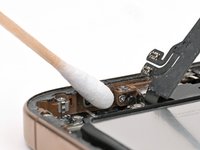
Use isopropyl alcohol and a cotton swab or lint-free cloth to clean any residual microphone adhesive from the frame.
-
-
-
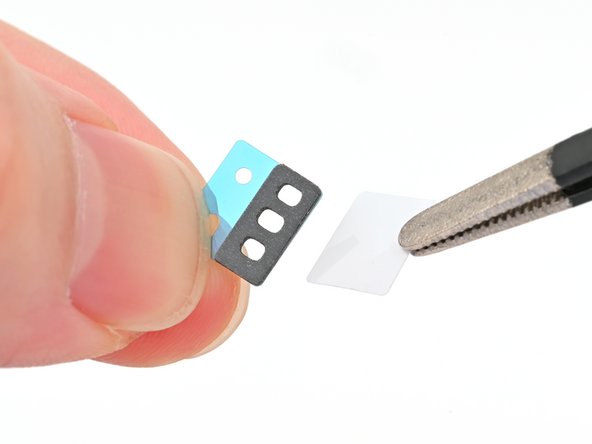
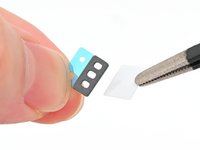
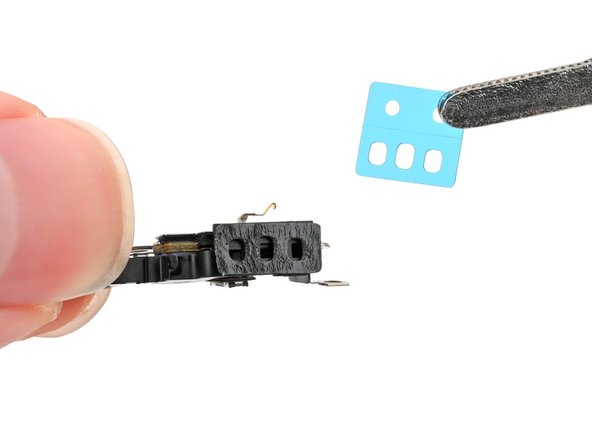
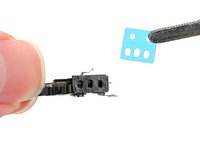
Remove the solid white adhesive liner from the new microphone adhesive.
-
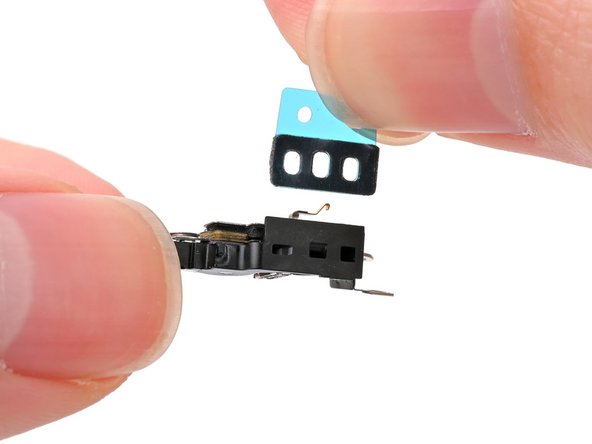
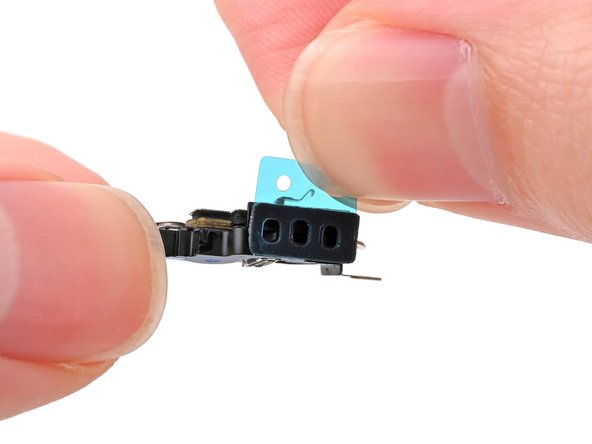
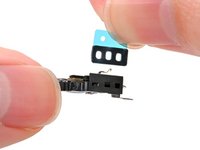
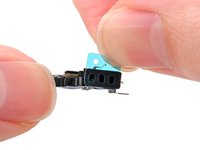
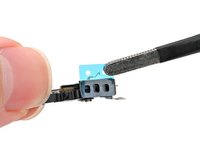
Align the holes in the adhesive with the three holes in the microphone, and stick it into place.
-
-
-
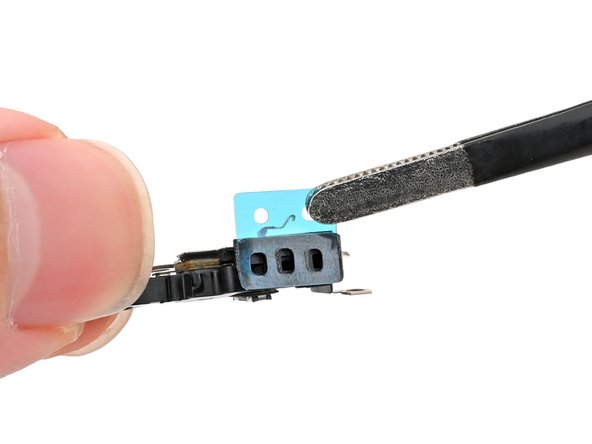
Remove the plastic backing from the microphone adhesive.
-
-
-
Set the microphone in the frame, aligned with its screw holes.
-
Partially install the three screws securing the microphone:
-
One 3.6 mm‑long standoff screw
-
One 2.9 mm‑long standoff screw
-
One 1.3 mm‑long tri-point Y000 screw
-
Press the microphone against the bottom of the frame, and hold it for 15 seconds to seal the adhesive.
-
Fully tighten the microphone screws.
-
-
-
Use blunt-nose tweezers or your fingers to align the Taptic Engine with its screw posts and place it in the frame.
-
-
-
Use a Phillips screwdriver to install the 1.9 mm‑long screw securing the Taptic Engine, located on its right edge.
-
-
-
Use your finger or a spudger to connect the two lower assembly press connectors.
-
-
-
Use a tri-point Y000 screwdriver to install the 1.0 mm‑long screw securing the lower assembly cable.
-
-
-
Use your finger or a spudger to connect the lower assembly cable press connector, located in the bottom-right corner of the logic board.
-
-
-
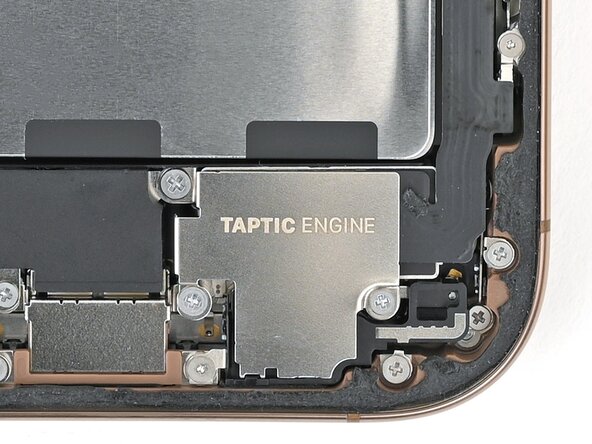
Use tweezers or your fingers to install the Taptic Engine cover.
-
-
-
Use a Phillips screwdriver to install the three screws securing the Taptic Engine cover:
-
One 3.0 mm‑long screw
-
Two 1.7 mm‑long screws
-
-
crwdns2935267:0crwdne2935267:0Tweezers$4.99
-
Use blunt nose tweezers or your fingers to remove large pieces of adhesive from the frame perimeter.
-
Use a spudger to scrape the adhesive residue off of the frame.
-
If the adhesive feels stubborn, apply some heat using a hair dryer or heat gun and try again.
-
-
crwdns2935267:0crwdne2935267:0Microfiber Cleaning Cloths$3.99
-
If you're reusing your back glass, apply a few drops of highly-concentrated isopropyl alcohol (over 90%) to a microfiber or lint-free cloth and wipe around the perimeter to prepare the surface for new adhesive.
-
-
-
Wrap a lint-free cloth or a coffee filter over the point of a spudger and apply a few drops of highly-concentrated isopropyl alcohol (over 90%) to it.
-
Wipe in one direction along the perimeter of the frame to clean the adhesive residue.
-
-
-
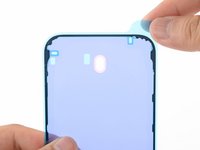
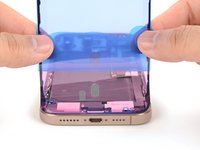
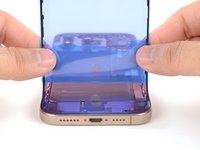
Lay the adhesive sheet over the frame to determine its proper orientation.
-
-
-
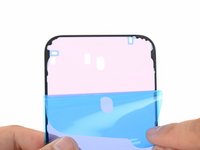
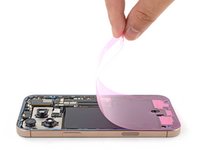
Grab the tab in the corner of the adhesive sheet and peel the liner to expose a third of the adhesive.
-
-
-
Carefully align the exposed edge of the adhesive strip with the corresponding edge of the iPhone's frame.
-
When it's correctly aligned, gently press the exposed adhesive strip onto the frame.
-
-
-
Continue peeling away the liner from the adhesive, gently pressing the adhesive into place.
-
-
-
Use a spudger to press the adhesive around the entire perimeter of your iPhone.
-
-
-
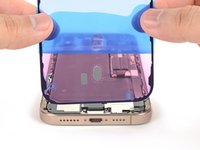
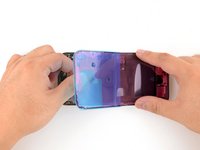
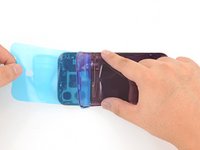
Use a spudger or your fingers to lift the pull tab connected to the large front liner. The pull tab is often in a corner of the liner.
-
Use the pull tab to peel off the large front liner from the adhesive.
-
-
-
Prop up the back glass along the right edge of your iPhone.
-
-
-
Use your finger or the flat end of a spudger to press and connect the back glass connector onto the logic board.
-
-
-
Use your finger or a spudger to press and connect the battery press connector onto the logic board.
-
-
-
Align the back glass connector cover by its screw holes and lay it in place.
-
-
-
Use a tri-point Y000 driver to install the four screws securing the back glass connector cover:
-
Two 1.3 mm‑long screws
-
Two 1.0 mm‑long screws
-
-
-
Align the battery connector cover by its screw holes and lay it in place.
-
-
-
Use a tri-point Y000 driver to install the three screws securing the battery connector cover:
-
Two 1.3 mm‑long screws
-
One 1.0 mm‑long screw
-
-
-
Use your fingers or a spudger to peel away all perimeter liners, exposing the adhesive.
-
Check the frame and back glass for any stray liners and remove them. There should be no liners remaining.
-
-
-
Lower the back glass onto the frame, beginning with the top edge.
-
Press along the edges of the iPhone until the back glass sits flush against the frame.
-
-
-
Use a hair dryer, heat gun, or an iOpener to heat the back glass perimeter until it's slightly too hot to touch.
-
-
-
Use your fingers to firmly squeeze around the perimeter of the iPhone.
-
-
-
Place your iPhone screen-side down on a clean, flat work surface.
-
Lay a strip of tape around the perimeter of the back glass to protect the finish.
-
Stack coins around the perimeter of the back glass until you create a wall that's as tall as the rear camera protrusions.
-
-
-
Place 3-4 heavy books squarely on top of your iPhone.
-
Leave the books in place for about 30 minutes.
-
-
-
Use a P2 pentalobe screwdriver to install the two 7.4 mm‑long screws on either side of the USB-C port.
-
Take your e-waste to an R2 or e-Stewards certified recycler.
Repair didn’t go as planned? Try some basic troubleshooting, or ask our iPhone 16 Pro Answers community for help.


