crwdns2915892:0crwdne2915892:0
This is a prerequisite-only guide! This guide is part of another procedure and is not meant to be used alone.
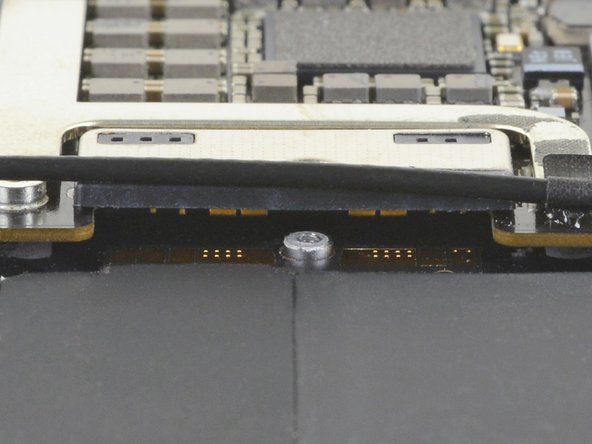
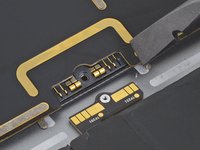
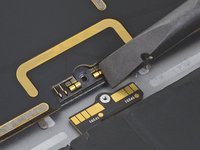
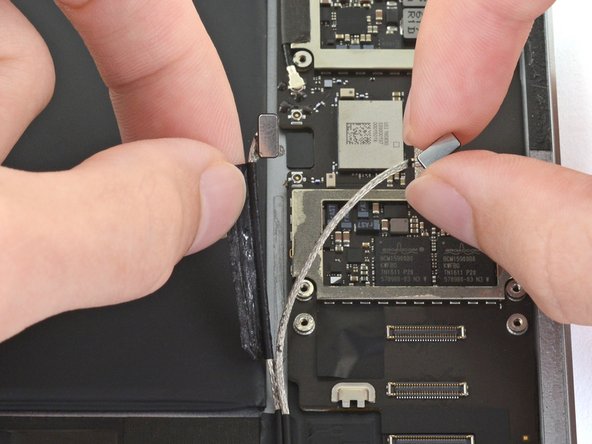
Follow this guide to detach the left antenna cable from the frame on an iPad Pro 9.7".
crwdns2942213:0crwdne2942213:0
-
-
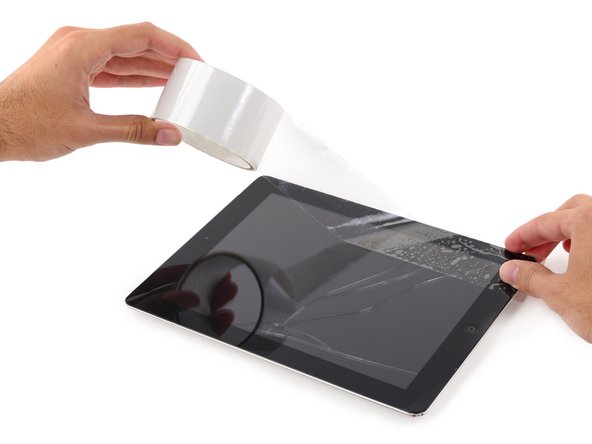
If your display glass is cracked, keep further breakage contained and prevent bodily harm during your repair by taping the glass.
-
Lay overlapping strips of clear packing tape over the iPad's display until the whole face is covered.
-
Do your best to follow the rest of the guide as described. However, once the glass is broken, it will likely continue to crack as you work, and you may need to use a metal prying tool to scoop the glass out.
-
-
-
Handling it by the tabs on either end, place a heated iOpener over the top edge of the iPad.
-
Let the iOpener sit on the iPad for two minutes to soften the adhesive securing the front panel to the rest of the iPad.
-
-
-
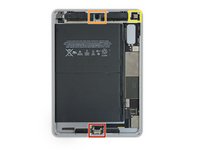
As you follow the directions, take special care to avoid prying in the following areas:
-
Home Button
-
Front Facing Camera
-
Main Camera
-
-
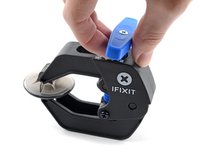
crwdns2935267:0crwdne2935267:0Clampy - Anti-Clamp$24.95
-
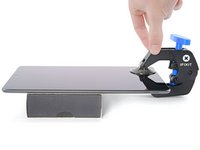
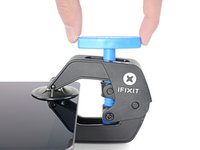
Elevate the iPad enough for the Anti-Clamp's arms to rest above and below the screen.
-
Pull the blue handle towards the hinge to disengage opening mode.
-
Position the suction cups near the top edge of the iPad—one on the front, and one on the back.
-
Push down on the cups to apply suction to the desired area.
-
-
-
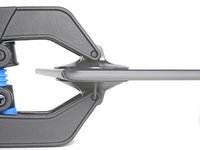
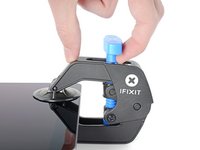
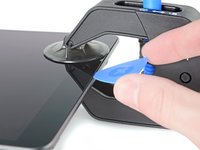
Push the blue handle away from the hinge to engage opening mode.
-
Turn the handle clockwise until you see the cups start to stretch.
-
Wait one minute to give the adhesive a chance to release and present an opening gap.
-
Insert an opening pick under the screen when the Anti-Clamp creates a large enough gap.
-
Skip the next two steps.
-
-
-
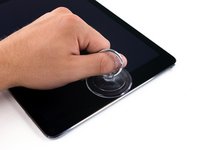
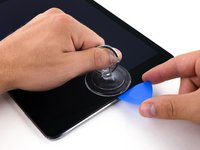
Place a suction cup over the iPad's front-facing camera and press down to create a seal.
-
-
-
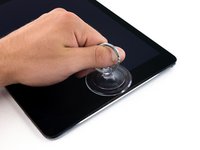
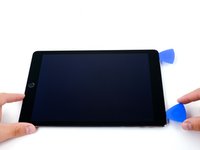
Firmly pull up on the suction cup to create a small gap between the front panel and the rear case.
-
Once you've opened a sufficient gap, insert an opening pick into the gap to prevent the adhesive from resealing.
-
-
-
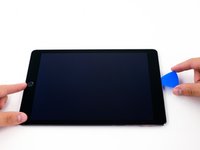
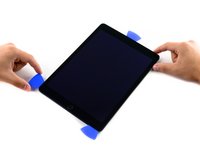
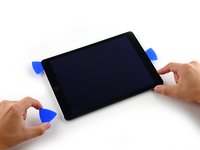
Slide the pick along the edge of the display, towards the headphone jack.
-
If there is still a considerable amount of resistance when sliding the opening pick, repeat the iOpener heating procedure and apply additional heat.
-
-
-
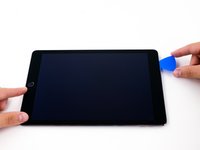
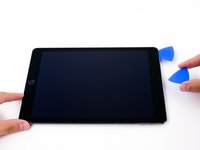
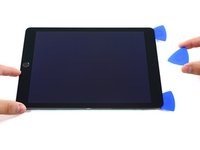
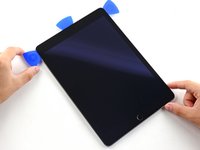
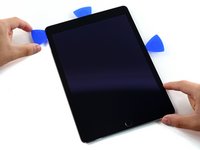
Insert a second opening pick by the front-facing camera.
-
-
-
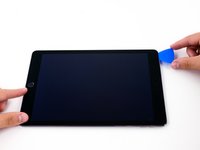
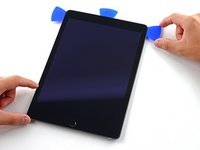
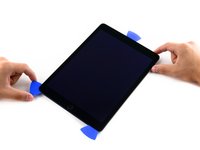
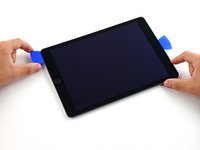
Slide the second pick along the top edge of the iPad, towards the Sleep/Wake Button.
-
-
-
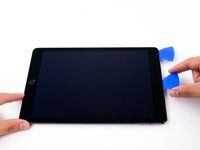
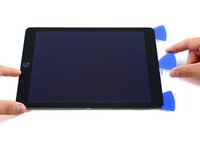
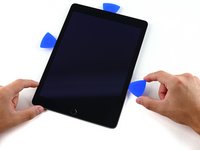
Insert a third pick by the front-facing camera.
-
-
-
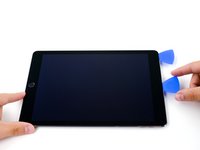
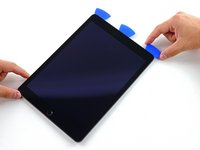
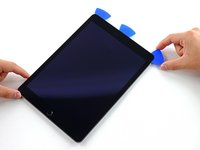
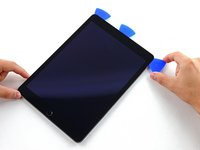
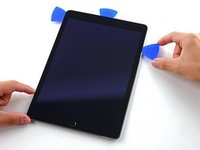
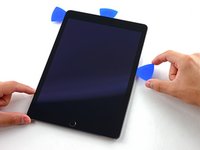
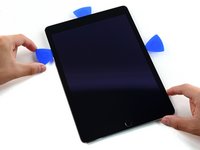
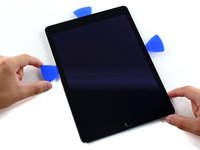
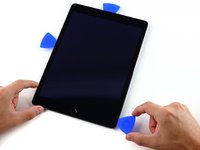
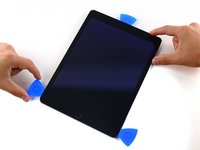
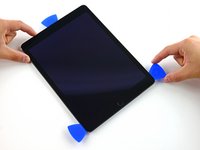
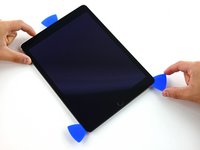
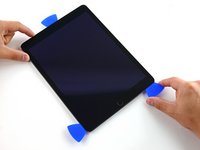
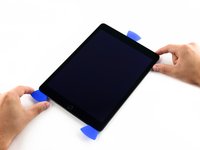
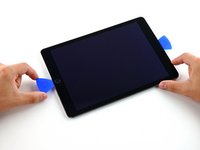
Bring the right opening pick down and around the top right corner of the iPad.
-
-
-
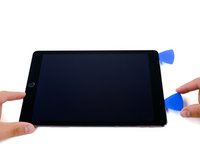
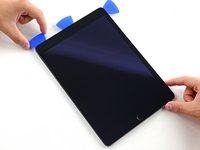
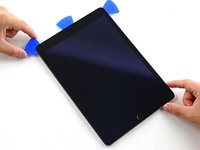
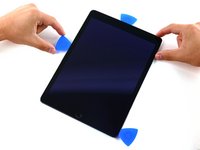
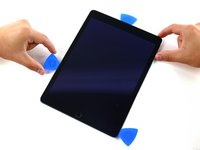
Bring the left opening pick around the top left corner of the tablet.
-
-
-
Reheat the iOpener and lay it over the right edge of the display to loosen the adhesive underneath.
-
-
-
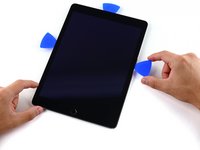
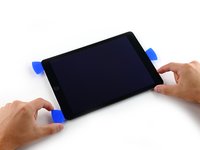
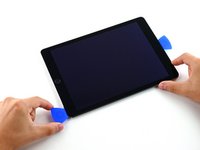
Slide the right opening pick roughly halfway down the display.
-
-
-
Reheat the iOpener and apply heat to the left side of the iPad.
-
-
-
Slide the left-hand opening pick about halfway down the edge of the display.
-
-
-
-
Slide the opposite opening pick down to the bottom right corner of the iPad.
-
-
-
Slide the left-hand opening pick down the edge of the display until you reach the corner.
-
-
-
Use the iOpener to apply heat to the bottom edge of the iPad.
-
-
-
Bring the right-hand opening pick around the bottom corner of the iPad.
-
-
-
Remove the right-hand opening pick at the bottom of the iPad.
-
-
-
Slide the left-hand opening pick along the bottom edge of the display, then remove it from the bottom right corner of the iPad.
-
-
-
Use picks to ensure most of the adhesive has been cut through on the top, left, and bottom sides.
-
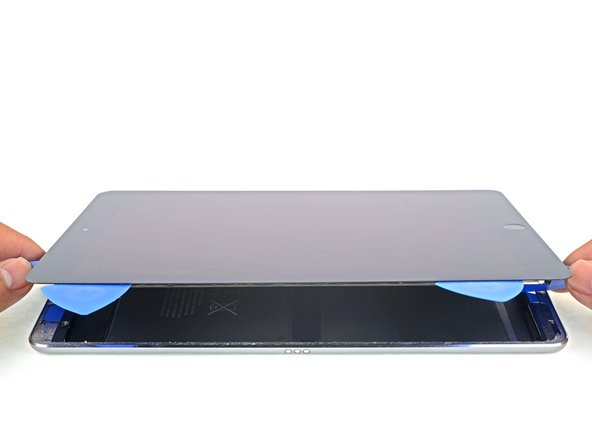
Twist the top and bottom picks to separate the display assembly from the rear case.
-
-
-
Swing the display assembly towards the right of the case, using the right edge as a hinge.
-
As you move the display assembly, make sure that the display ribbon cable is not being stressed.
-
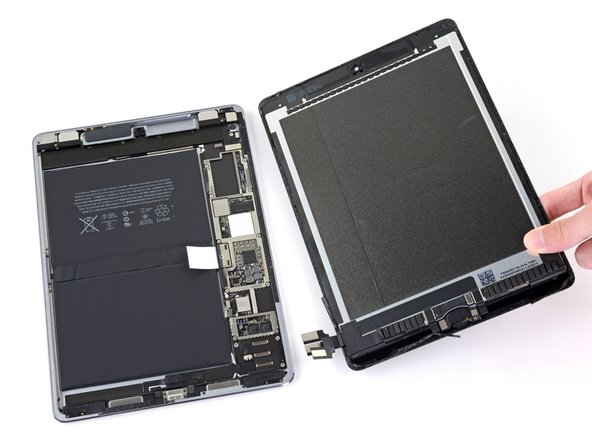
Continue swinging the display assembly until it lays flat next to the rear case.
-
-
-
Use a Phillips screwdriver to remove the eleven 1.3 mm screws securing the EMI shield.
-
-
-
Apply a heated iOpener to the EMI shield on the logic board for one minute.
-
-
-
Lift the logic board EMI shield, starting at the edge nearest the top of the iPad.
-
Slowly peel the EMI shield up from the logic board.
-
Remove the logic board EMI shield.
-
-
-
Use a Phillips driver to remove the 1.7 mm-long screw securing the battery connector.
-
-
-
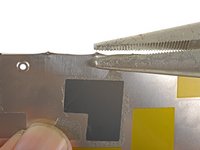
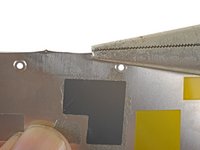
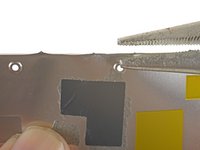
Squeeze the sharp protrusion with a pair of pliers to flatten it.
-
Repeat the process for all sharp protrusions along the edges of the EMI shield.
-
-
-
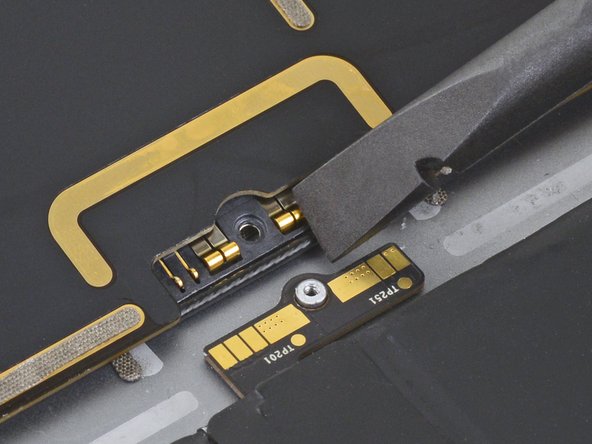
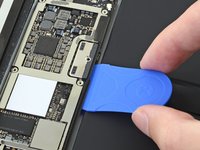
Slide the battery blocker underneath the left side of the logic board's battery connector at a 35 degree angle.
-
Leave the battery blocker in place as you work.
-
-
-
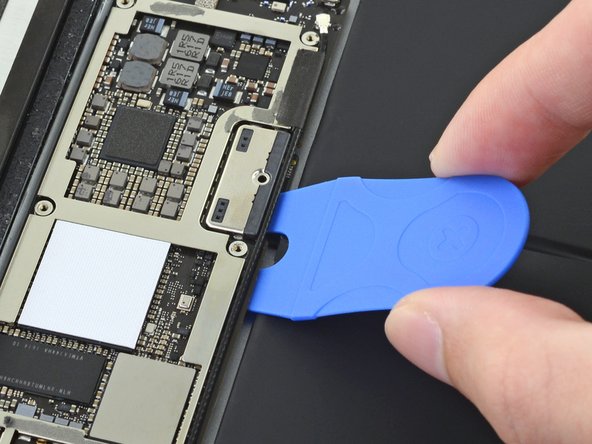
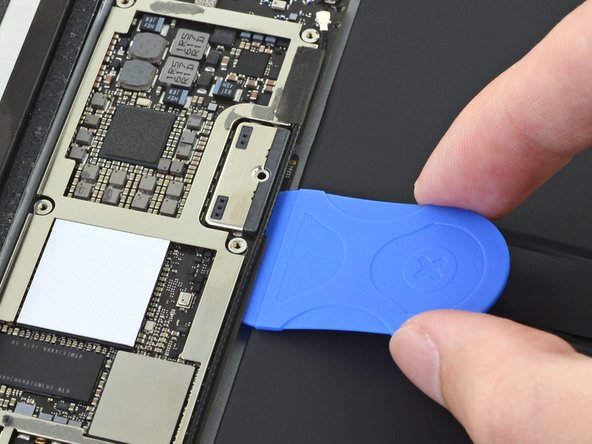
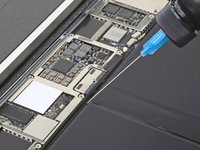
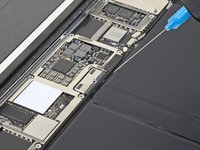
Apply a few drops of high-concentration (90% or higher) isopropyl alcohol under the logic board to the left and right of the battery connection.
-
Wait one minute for the isopropyl alcohol to weaken the adhesive under the logic board.
-
Try to insert the battery blocker. If the logic board doesn't easily lift up, apply a few more drops of isopropyl alcohol.
-
-
-
Use a Phillips screwdriver to remove the three 1.3 mm Phillips screws securing the display cable bracket.
-
-
-
Remove the display cable bracket.
-
-
-
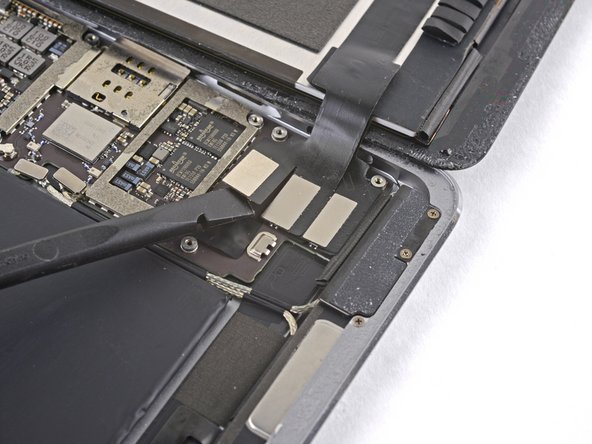
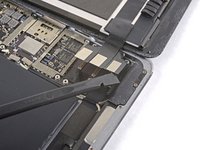
Use the flat end of the spudger to disconnect the display assembly connector from the motherboard socket.
-
-
-
Repeat the previous step for the two remaining connectors.
-
-
-
Remove the display assembly from the frame.
-
-
-
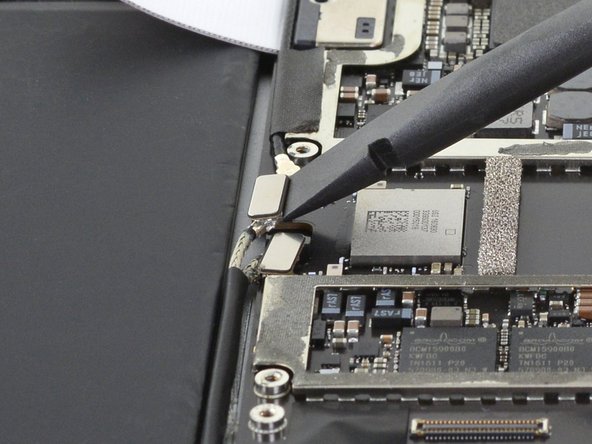
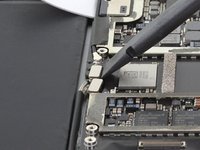
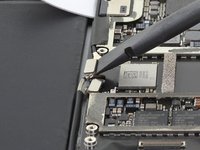
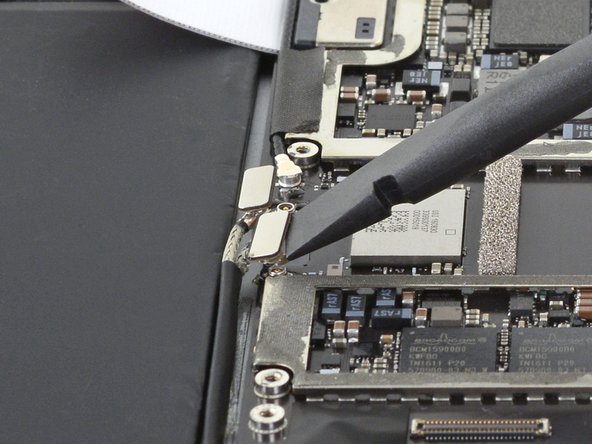
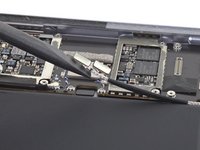
Use the flat end of a spudger to disconnect the right antenna's coaxial connector from its socket.
-
-
-
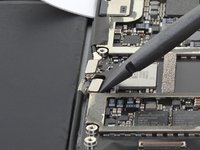
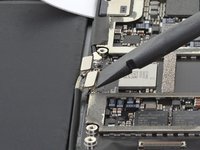
Use the flat end of a spudger to disconnect the left antenna's coaxial connector from its socket.
-
-
-
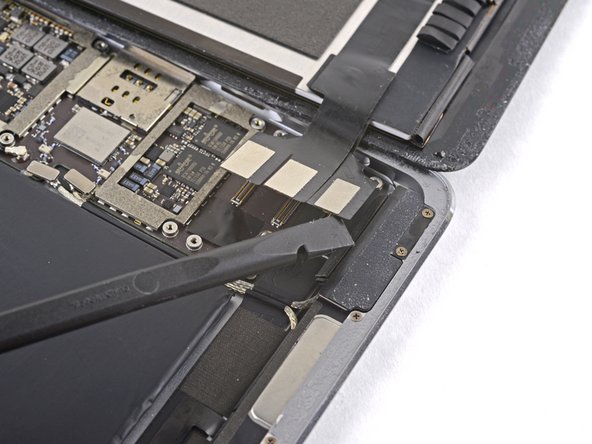
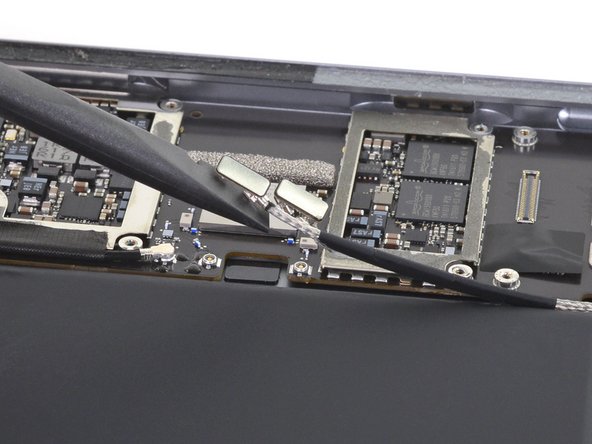
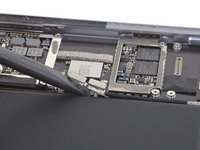
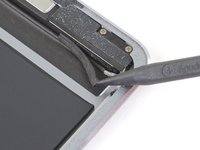
Use the flat end of a spudger to lift the bundled left and right antenna cables away from the frame.
-
-
crwdns2935267:0crwdne2935267:0Tweezers$4.99
-
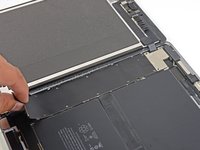
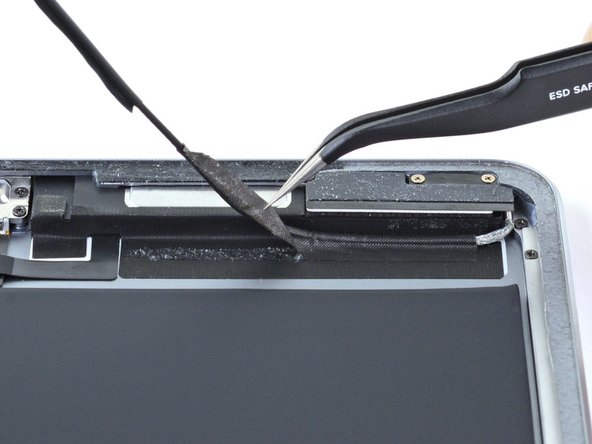
Use a pair of tweezers to remove the adhesive that was securing the bundled antenna cables to the frame.
-
-
-
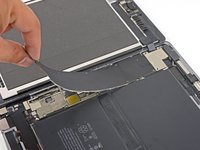
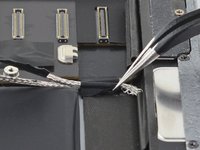
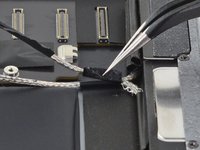
Use a pair of tweezers to peel up the sticker bundling the left and right antenna cables together.
-
-
-
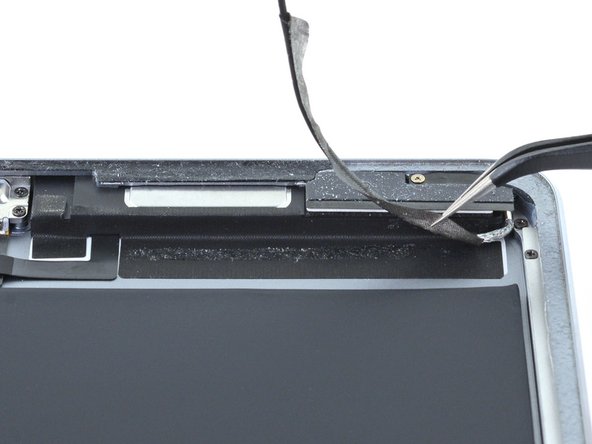
Peel the right antenna cable off of the sticker.
-
-
crwdns2935267:0crwdne2935267:0Tweezers$4.99
-
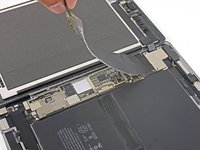
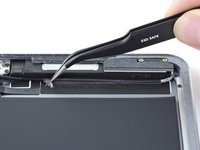
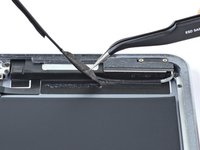
Use a pair of tweezers to lift up the small sticker next to the lower right speaker securing the left antenna cable to the frame.
-
-
-
Use a pair of tweezers to detach the large left antenna cable sticker near the lower right speaker.
-
-
-
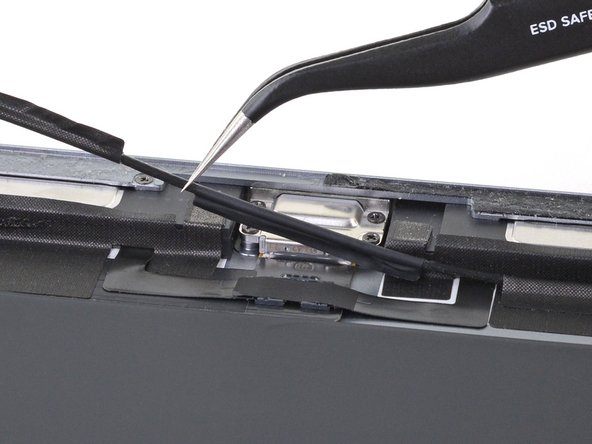
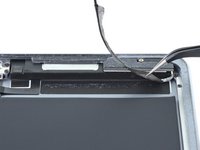
Use a pair of tweezers to lift the left antenna and its third sticker away from the Lightning port area of the frame.
-
-
-
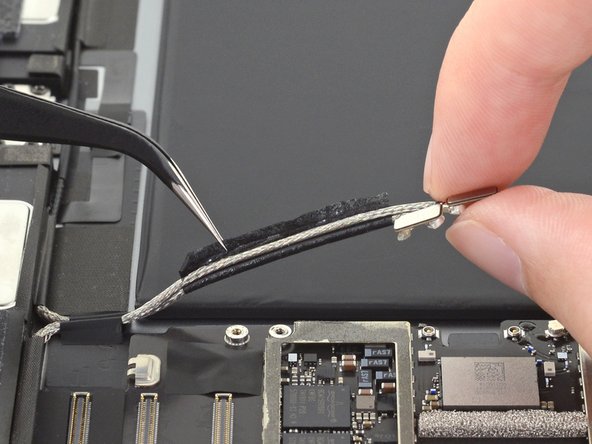
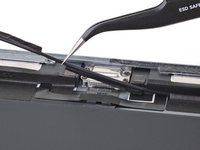
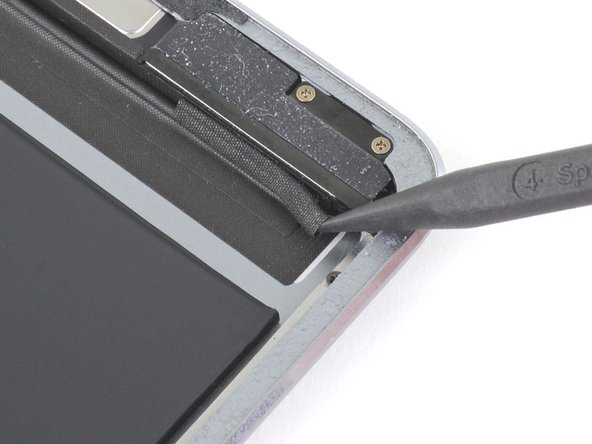
Use the pointed end of a spudger to detach the foam spacer adhered to the fourth left antenna cable sticker.
-
-
-
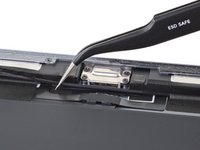
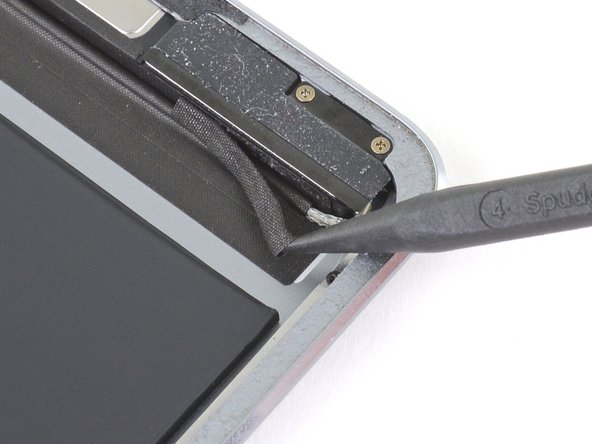
Remove the foam spacer from the fourth left antenna cable sticker.
-
-
-
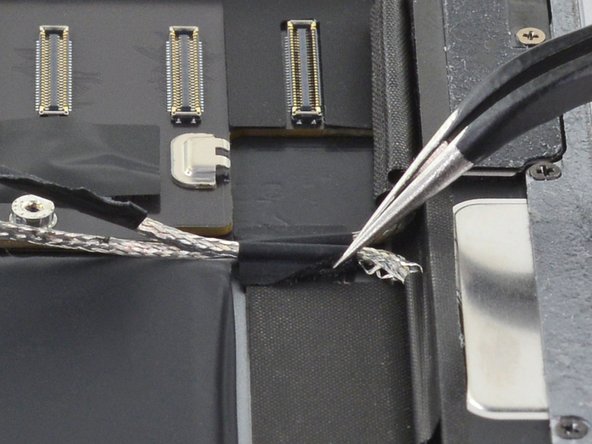
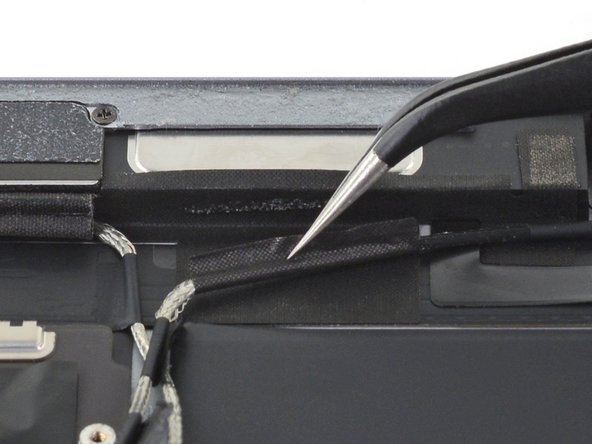
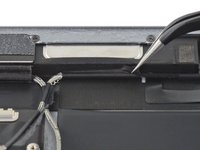
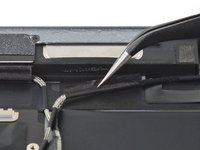
Use a pair of tweezers to lift up the fourth left antenna cable sticker.
-
To reassemble your device, follow these instructions in reverse order.
To reassemble your device, follow these instructions in reverse order.

