crwdns2915892:0crwdne2915892:0
Follow this guide to replace the display in an iPad 10.
This iPad has a glass digitizer on the front, above the display. If only the glass cover is damaged, follow this guide to replace it instead.
You'll need replacement digitizer adhesive to complete this repair.
This guide was written with iPad model A2696. Different models may look a little different, but the procedure will be correct.
crwdns2942213:0crwdne2942213:0
-
-
-
Disconnect all cables and accessories from the iPad.
 crwdns2952109:0crwdne2952109:0
-
-
-
-
-
Apply strips of packing tape to the cracked glass until the whole digitizer is covered—this will help keep the glass contained and allow the suction cup to stick to it.
-
Make sure there's a single strip (not overlapping) of tape across the bottom edge, big enough for a suction cup to fit on.
-
Only cover the glass itself—don't stick any tape to the frame.
-
-
-
Use a hair dryer or heat gun to heat the right edge of the iPad until it’s slightly too hot to touch. This softens the adhesive securing the digitizer glass.
-
For tips on using a hair dryer to soften adhesive, check out this guide.
-
-
-
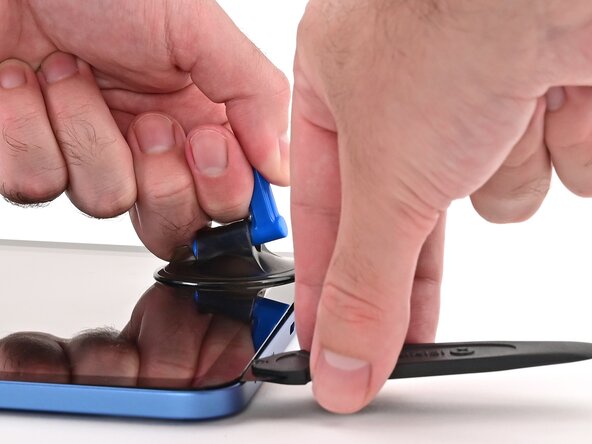
Apply a suction handle above the USB‑C port with the open part of the handle facing away from the edge.
-
Pull up on the suction handle with firm, constant pressure to create a slight gap under the glass.
-
Insert an opening wheel into the gap.
-
-
-
Slide the opening wheel back‑and‑forth to separate the adhesive directly above the USB‑C port.
-
Try to get underneath the adhesive strip securing the digitizer, rather than slicing through the thickest part. This will make removal easier.
-
Leave the opening wheel in place to prevent the adhesive from resealing.
-
-
-
Pull up on the suction handle tab and remove it.
-
-
-
Use a hair dryer or heat gun to soften the adhesive securing the right edge of the glass.
-
-
-
Apply the suction handle to the right of the USB‑C port and lift the glass to create a gap.
-
Slide the opening wheel beneath the glass you're lifting to separate the adhesive.
-
-
-
Repeat this heating and separating process to separate the remaining adhesive along the right edge of the iPad.
-
-
-
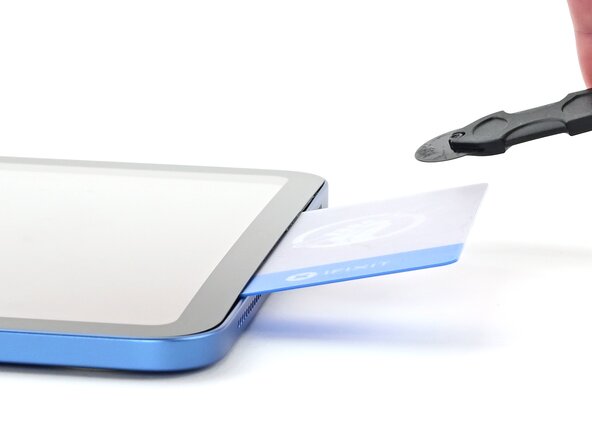
Insert a plastic card underneath the right edge of the glass to keep the adhesive separated.
-
Remove the opening wheel.
-
-
-
Repeat to separate the adhesive along the bottom edge of the digitizer.
-
-
-
Repeat to separate the adhesive along the left edge of the iPad.
-
-
-
Repeat the heating and adhesive separation process to separate the adhesive along the top edge.
-
Remove the plastic cards.
-
-
-
Lift the digitizer by its bottom edge and swing it open until it's perpendicular to the iPad.
-
Rest the digitizer on a strong, sturdy object to keep it held up while you remove the display.
-
-
-
Use a Torx Plus 2IP screwdriver to remove the ten screws securing the iPad display:
-
Four 3.5 mm‑long screws
-
Six 3.2 mm‑long screws
-
In cellular models, use a JIS 00 screwdriver to remove the additional screws along the right edge.
-
-
-
Insert the flat end of a spudger beneath the display in the center of its left edge.
-
Pry up the display until you can get your fingers beneath it.
-
-
-
-
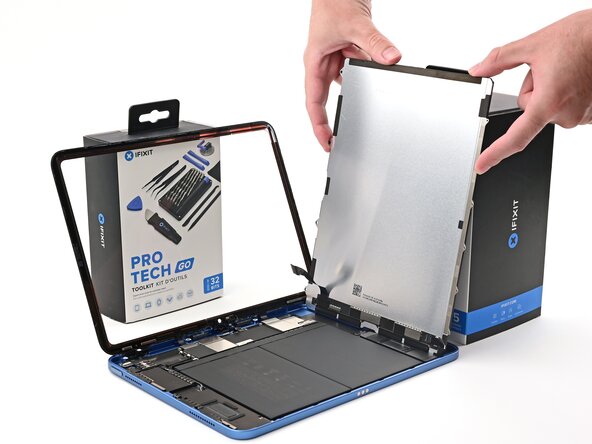
Lift the display by its screw posts until it's perpendicular to the iPad. Rest it on a sturdy object.
-
-
-
Use a JIS 00 screwdriver to remove the two 1.1 mm‑long screws securing the display connector cover.
-
-
-
Use tweezers or your fingers to remove the display connector cover.
-
-
-
Use the flat end of a spudger to disconnect the display press connector.
-
-
-
Peel up the display cable and remove the display.
-
-
-
-
-
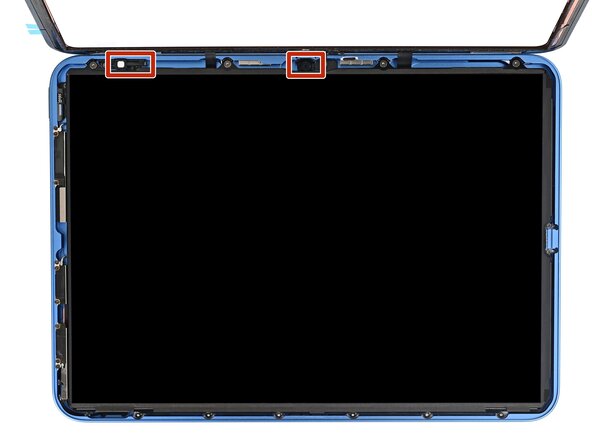
Don't touch the ambient light sensor or selfie camera along the top edge of the iPad while cleaning the frame.
-
Use a hair dryer or heat gun to heat a roughly 3 inch (~8 cm) section of the frame edge.
-
-
-
Use an opening tool to scrape the old adhesive into a ball on the section of the frame you heated.
-
Use tweezers to remove the balled up adhesive.
-
Repeat this heating and scraping process until most of the old adhesive is removed from the frame.
-
-
crwdns2935267:0crwdne2935267:0Adhesive Cleanup Kit (Set of 12)$7.99
-
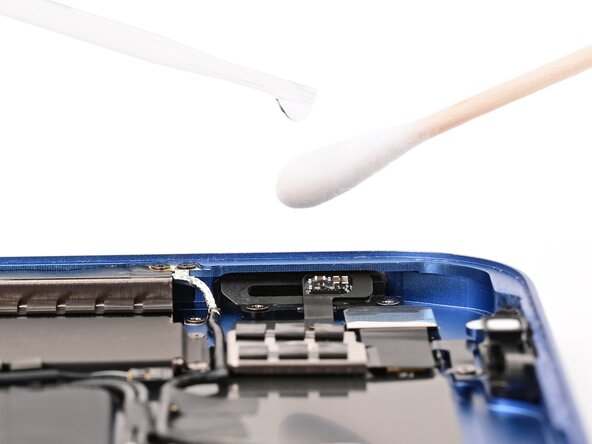
Apply a bit of isopropyl alcohol to a cotton swab or lint-free cloth and clean the frame until it's free of adhesive residue.
-
Alternatively, use our adhesive cleanup kit.
-
-
-
Repeat this process to clean the adhesive off the digitizer bezel. Use tweezers to get any large pieces off before using the opening tool.
-
-
-
Before removing any liners, align each adhesive strip over the digitizer to see where it goes. It's easiest to align the strip on the edge with the camera cutout.
-
-
-
Remove the large liners from one of the long adhesive strips. The adhesive is now exposed.
-
-
-
Install one of the large adhesive strips to the back of the digitizer.
-
Check the adhesive to make sure it doesn't overhang the edge of the digitizer glass. If it does, remove it and start over with new adhesive.
-
-
-
Repeat this process to install the remaining two adhesive strips.
-
-
-
Set the digitizer on the frame of the iPad, so the cables can reach their connectors on the board.
-
Lean the digitizer against a large, sturdy object to keep it upright.
-
-
-
Use your finger or the flat end of a spudger to connect the three digitizer press connectors to their respective sockets on the board.
-
-
-
Set the two digitizer connector covers over their respective connectors on the board.
-
-
-
Use a JIS 00 screwdriver to install the four 1.1 mm‑long screws securing the digitizer connector covers.
-
-
-
Set the screen on the iPad, so the screen cable connector can reach its socket on the board.
-
-
-
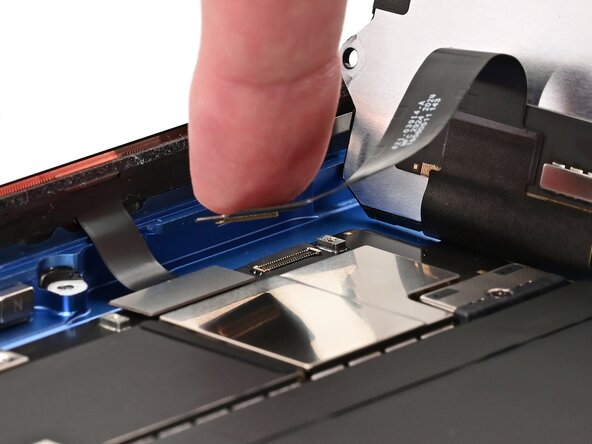
Use your finger to connect the screen connector to its socket on the board.
-
Press the screen cable down so it sits flat onto the board.
-
-
-
Set the display connector cover into place, aligned with its screw posts.
-
-
-
Use a JIS 00 screwdriver to install the two 1.1 mm‑long screws securing the display connector cover.
-
-
-
Lower the screen into its recess.
-
-
-
Use a Torx Plus 2IP screwdriver to install the ten screws securing the iPad display:
-
Four 3.5 mm‑long screws
-
Six 3.2 mm‑long screws
-
In cellular models, use a JIS 00 screwdriver to remove the additional screws along the right edge.
-
-
-
Use tweezers or your fingers to remove the top blue liner off the iPad digitizer adhesive.
-
-
-
Use tweezers or your fingers to remove the blue liner on the left edge of the digitizer adhesive.
-
-
-
Lower the digitizer until you can access the final blue liner.
-
Use tweezers or your fingers to peel the final blue liner off the last adhesive strip.
-
-
-
Lower the digitizer into place.
-
Press along the edges of the digitizer so it sits flush into the iPad frame.
-
-
-
Place the iPad screen-side-down on a soft, flat surface.
-
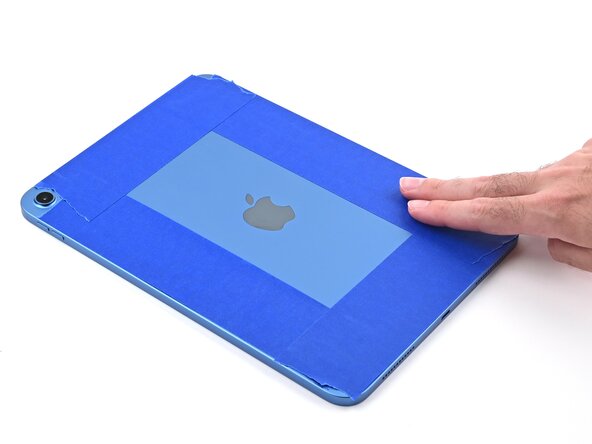
Apply painter's tape to the back to protect its finish.
-
-
-
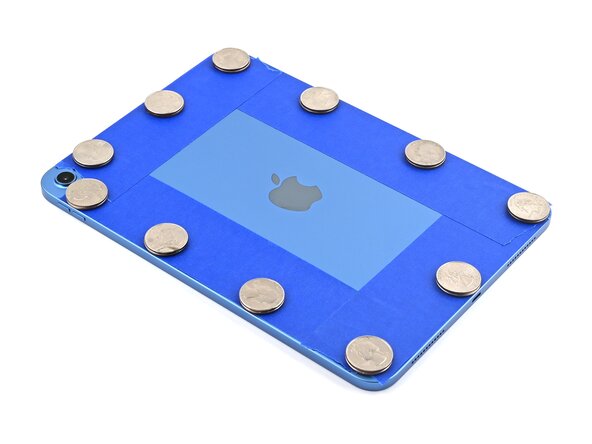
Place evenly spaced layers of coins or similarly thick objects on the tape along the edges of the back glass.
-
Stack them to a consistent height taller than the camera bump.
-
-
-
Stack multiple books or other heavy objects on the iPad.
-
Leave the objects in place for at least thirty minutes. The lighter the objects, the longer they should be left. Ideally, leave them stacked overnight.
-
-








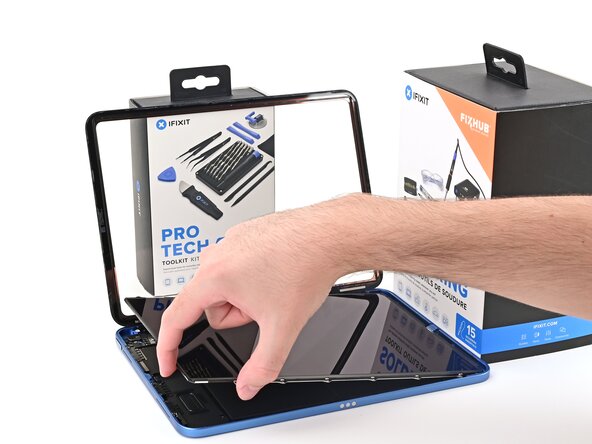










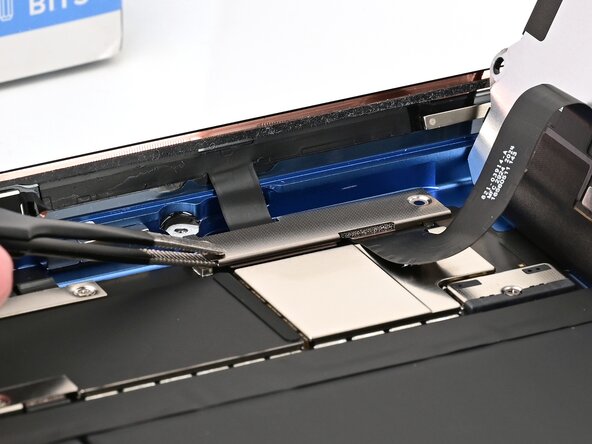


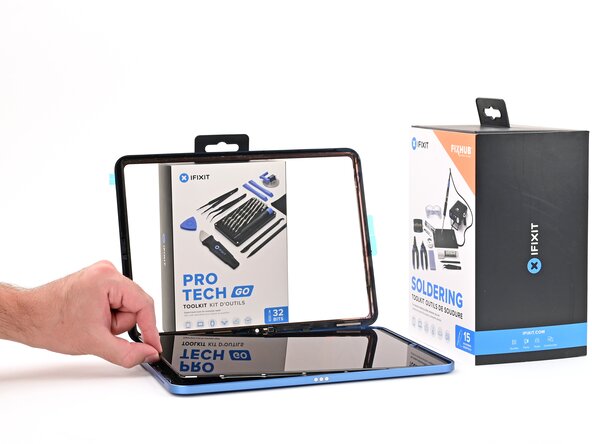


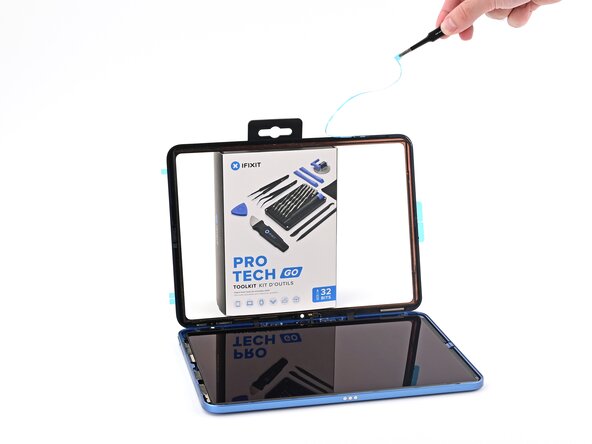


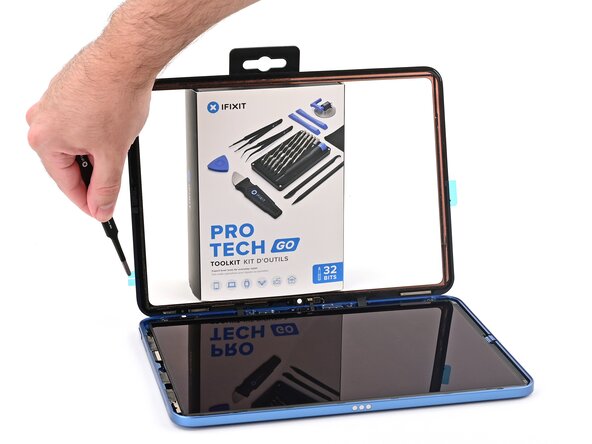






Calibrate the replacement display using Apple's Repair Assistant. Navigate to Settings → General → About → Parts & Service History, tap Restart & Finish Repair, and follow the onscreen prompts.
Take your e-waste to an R2 or e-Stewards certified recycler.
Repair didn’t go as planned? Try some basic troubleshooting, or ask our iPad 10 Answers Community for help.

