crwdns2915892:0crwdne2915892:0
Follow this guide to remove and replace the SSD card on a Xbox Series S.
There are some photo discontinuities with the exterior Bluetooth, Wifi, and power boards. These discontinuities do not affect the repair procedure.
crwdns2942213:0crwdne2942213:0
-
crwdns2935267:0crwdne2935267:0Tweezers$4.99
-
Use tweezers to peel off the two white screw covers located on the bottom corners of the back panel.
-
-
crwdns2935267:0crwdne2935267:0Magnetic Project Mat$19.95
-
Use a T8 Torx driver to remove the two 10 mm-long screws securing the back panel to the bottom panel.
-
-
-
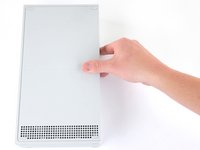
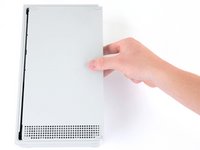
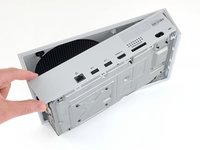
Slide the bottom panel horizontally toward the back of the console until it comes to a stop.
-
Lift straight up and remove the bottom panel from the plastic case.
-
-
-
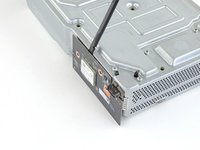
Use a T10 Torx driver to remove the seven 51 mm-long screws securing the chassis to the plastic case.
-
-
-
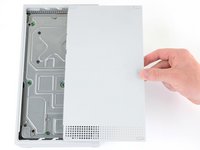
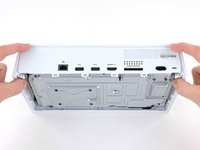
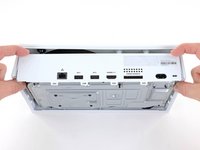
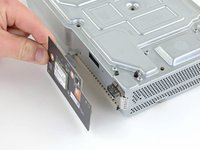
With the bottom of the Xbox facing you, pull the two bottom-rear corners of the plastic case away from each other.
-
As you pull the corners apart, slide the back panel towards the bottom of the device. This releases the back panel from the plastic case.
-
-
-
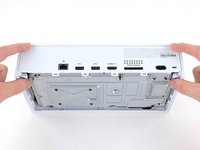
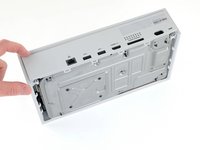
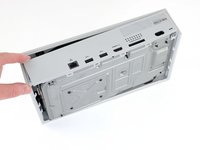
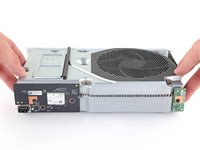
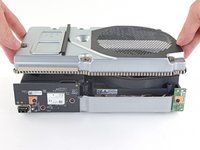
Pull the bottom-left corner away from the chassis while swinging the chassis away from the plastic case.
-
Remove the plastic case from the chassis.
-
-
-
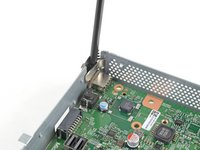
Use a T8 Torx driver to remove the 9.5 mm-long screw securing the power button board to the chassis.
-
-
-
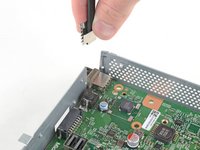
Use a spudger to pry and loosen the power button board.
-
Pull the power button board straight out to disconnect it from the chassis.
-
-
-
-
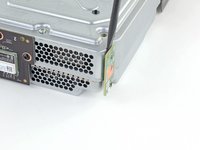
Use a T8 Torx driver to remove the three 9.5 mm-long screws securing the Wi-Fi board to the short edge of the chassis.
-
-
-
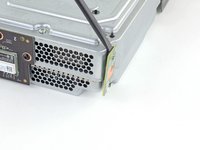
Use a spudger to pry and loosen the Wi-Fi board.
-
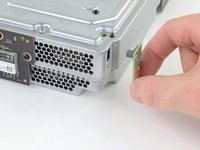
Pull the Wi-Fi board straight out to disconnect it from the chassis.
-
-
-
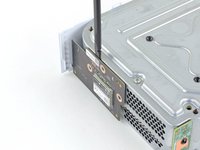
Use a T8 Torx driver to remove the three 9.5 mm-long screws securing the Bluetooth board to the long edge of the chassis.
-
-
-
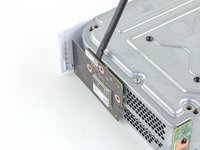
Use a spudger to pry and loosen the Bluetooth board.
-
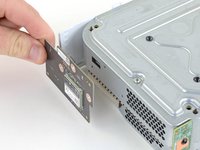
Pull the Bluetooth board straight out to disconnect it from the chassis.
-
-
-
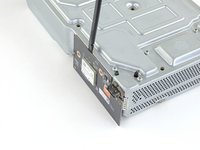
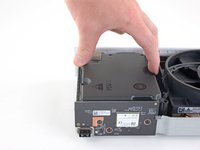
Use a T10 Torx driver to remove the seven 11.3 mm-long screws securing the power supply to the chassis.
Qualcuno sa dirmi come rimuovere una vite bloccata che non gira?
-
-
-
Flip the device over.
-
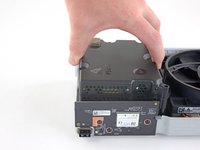
Lift the upper chassis straight up to remove it.
-
-
-
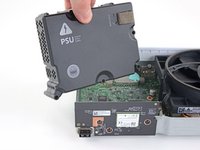
Lift the power supply straight up to disconnect it from the motherboard.
-
Remove the power supply.
Can you please tell whether it is indispensable to use the power supply with exactly the same Revision, S/N and P/N or is the same model number, like 1920, 1921 enough to make it work? Thanks for showing the teardown.
-
-
-
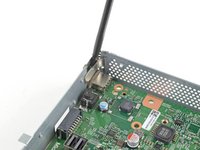
Use a T10 Torx driver to remove the two 11.3 mm-long screws securing the fan to the chassis.
-
-
-
Flip the device over.
-
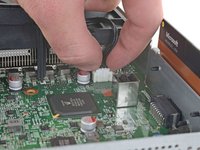
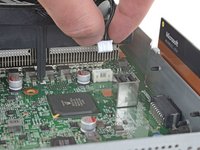
Use your fingers to pull and disconnect the fan connector from its motherboard socket.
If you are careful you can also remove the connector by lightly prying from the sides of the connector in equal proportions (left then right then left etc.) using a 2.5 flathead.
my fan was solder to my board but it broke off i have no idea ho to put it back my power button is missing the power button on the board i need help
If you don't know how to soldier you'll need to get a quote from repair man or company to repair it and weight up the cost or watch videos on Xbox S repairs from Ifixit or YouTube Xbox repair videos
-
-
-
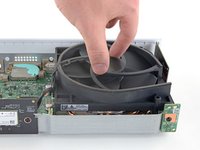
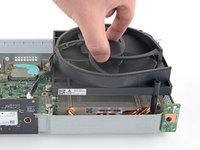
Lift the fan straight up to remove it from the motherboard.
-
-
crwdns2931653:019crwdne2931653:0 Remove the motherboard screws
crwdns2944590:019crwdnd2944590:021crwdnd2944590:0crwdnd2944590:0crwdne2944590:0
-
Use a T8 Torx driver to remove the four 9.4 mm-long screws securing the motherboard to the chassis.
-
-
-
Flip the device over.
-
Insert a spudger into the locking clip located on the front-left corner of the chassis.
-
Lift straight up to remove the clip.
-
-
-
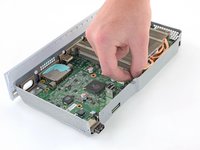
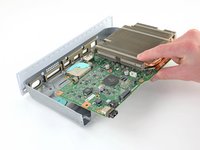
Grasp the heat sink with your fingers and lift up the front of the motherboard up above the edge of the chassis.
-
Pull the motherboard towards the front of the chassis to remove it.
-
-
-
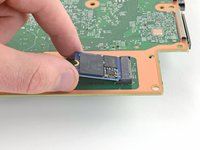
Use a T8 Torx driver to remove the 5.1 mm-long screw securing the SSD card to the motherboard.
-
-
-
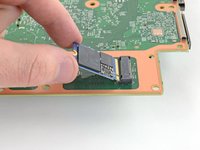
Pull the SSD card straight out and remove it from the motherboard.
-


To reassemble your device, follow these instructions in reverse order.
Take your e-waste to an R2 or e-Stewards certified recycler.
Repair didn’t go as planned? Try some basic troubleshooting, or ask our Answers community for help.
To reassemble your device, follow these instructions in reverse order.
Take your e-waste to an R2 or e-Stewards certified recycler.
Repair didn’t go as planned? Try some basic troubleshooting, or ask our Answers community for help.
crwdns2935221:0crwdne2935221:0
crwdns2935229:019crwdne2935229:0

crwdns2947412:09crwdne2947412:0
hello,i wanna ask on the new ssd how we install the firmware?
Use this free Disk Clone tool.
Well it certainly looks like a 2230 M-Key M.2 NVMe SSD. Will it work in a PC? Will non-OEM SSDs work in the Xbox? $100 for 512GB is highway robbery.
That's why I'm trying to retrofit my 1tb from old xbox one s into my Series S
Can I take my 1tb hard drive from one s all digital and use it for my Series S?
The ssd must have the format 2230 M.2 NVMe for it to be valid.
where i find the remplace to the ssd card?
Hi, I have an XBsS that is not working because the ssd drive caught power surge and I'm unable to clone it, is there any way to install a new drive? Thanks in advance.
I know this thread is old, but is there a way I can get the clone files without having an original SSD? Mine's completely fried so I can't get anything off of it
Where can I get a shell replacement?
King DK - crwdns2934203:0crwdne2934203:0