crwdns2933423:0crwdne2933423:0

Woven Darn a Hole in a Knit

crwdns2942213:0crwdne2942213:0

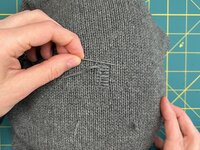
  1. Woven Darn a Hole in a Knit, Intro to woven darning: crwdns2935265:01crwdnd2935265:01crwdnd2935265:03crwdne2935265:0 Woven Darn a Hole in a Knit, Intro to woven darning: crwdns2935265:01crwdnd2935265:02crwdnd2935265:03crwdne2935265:0 Woven Darn a Hole in a Knit, Intro to woven darning: crwdns2935265:01crwdnd2935265:03crwdnd2935265:03crwdne2935265:0
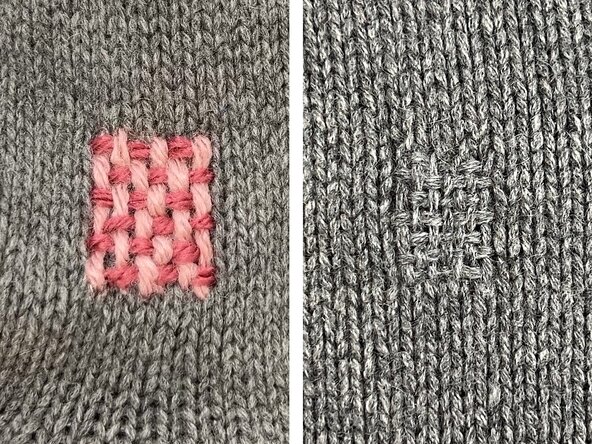
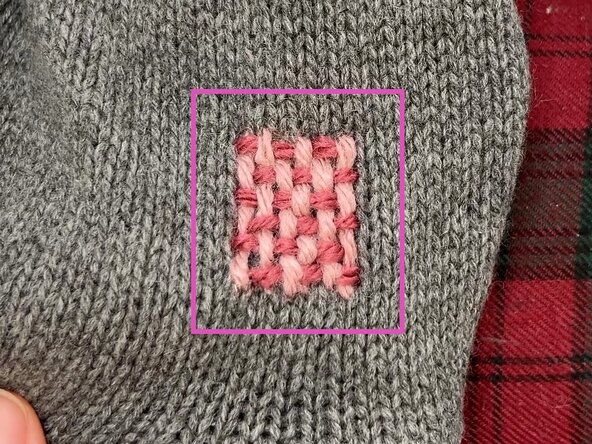
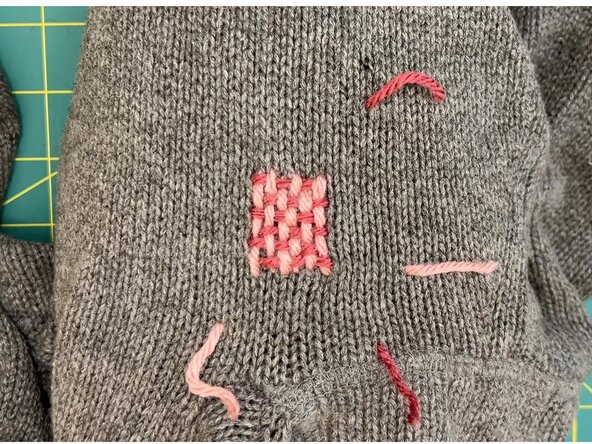
    • Structure - Woven darning is a repair technique that involves interweaving perpendicular threads or yarns to create a small, woven patch.
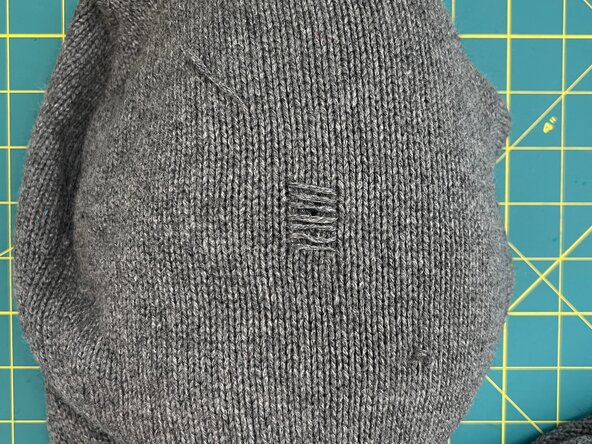
    • Repair Use - Woven darning is used on small holes where yarn is missing or the area is worn thin and the resulting gap needs to be filled or reinforced. Despite being a woven technique, it's used on both woven and knit garments.
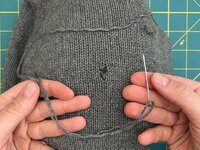
    • This tutorial outlines a specific technique called surface darning, where rows of stitches are laid on top of the fabric.

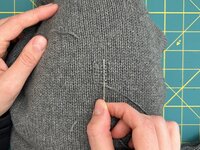
  2. Woven Darn a Hole in a Knit, Assess the damage: crwdns2935265:02crwdnd2935265:01crwdnd2935265:03crwdne2935265:0 Woven Darn a Hole in a Knit, Assess the damage: crwdns2935265:02crwdnd2935265:02crwdnd2935265:03crwdne2935265:0 Woven Darn a Hole in a Knit, Assess the damage: crwdns2935265:02crwdnd2935265:03crwdnd2935265:03crwdne2935265:0
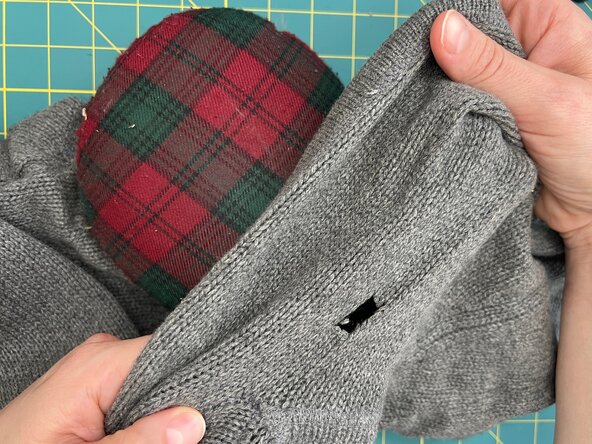
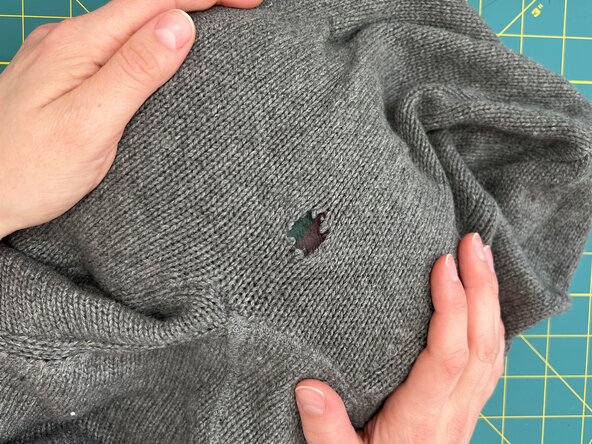
    • Locate the hole.

    • Place something behind the hole. It can be a darning egg or darning mushroom, an ironing ham, or even a piece of paper.

    • If the damaged area of the garment is curved, choose something with similar curvature.

    • In the pictured repair, an ironing ham is used.

    • The repair will occur entirely from the front side of the garment, so this item ensures that the garment stays in place and creates a barrier between the repair area and the rest of the garment.

  3. Woven Darn a Hole in a Knit, Needle and yarn: crwdns2935265:03crwdnd2935265:01crwdnd2935265:03crwdne2935265:0 Woven Darn a Hole in a Knit, Needle and yarn: crwdns2935265:03crwdnd2935265:02crwdnd2935265:03crwdne2935265:0 Woven Darn a Hole in a Knit, Needle and yarn: crwdns2935265:03crwdnd2935265:03crwdnd2935265:03crwdne2935265:0
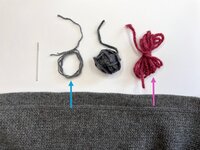
    • Needle: The best needle for this technique has a ballpoint, a blunt end that can push aside individual knit stitches without puncturing the yarn.

    • Yarn: The ideal yarn is the same fiber content, weight, and color as the garment. This will create the most invisible repair.

    • In this tutorial, heavier contrast color yarn is used to show the technique. See details on the invisible version in Steps 17 - 19.

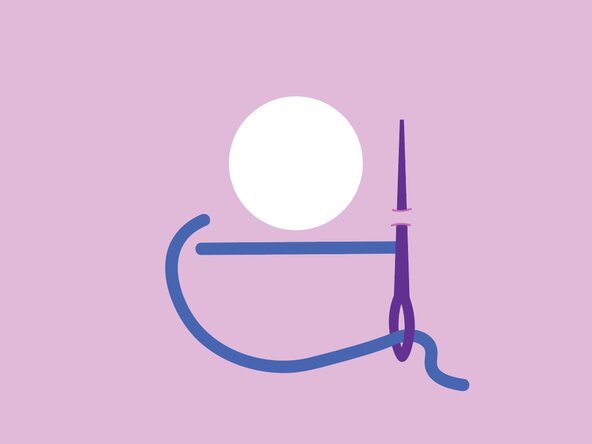
    • Thread the needle with a length of yarn no longer than 24 inches (~61 cm). Don't knot the thread.

    • For more info, see Needles and Thread.

    • From the front side, insert the needle at least one needle‑length diagonally away from the damage, approximately 2 inches (~51 mm), and come up 1/4 inch (~6 mm) diagonally away from one corner of the damage.

    • Pull the needle and thread through, leaving a short tail.

    • This will secure the threads out of the way of the sewing area. At the end of the repair, the yarn ends will be stitched into the back of the repair.

    • This technique is used instead of knotting because knots are often uncomfortable and ineffective with heavier knits.

  4. Woven Darn a Hole in a Knit, Create rows of horizontal yarn: crwdns2935265:05crwdnd2935265:01crwdnd2935265:03crwdne2935265:0 Woven Darn a Hole in a Knit, Create rows of horizontal yarn: crwdns2935265:05crwdnd2935265:02crwdnd2935265:03crwdne2935265:0 Woven Darn a Hole in a Knit, Create rows of horizontal yarn: crwdns2935265:05crwdnd2935265:03crwdnd2935265:03crwdne2935265:0
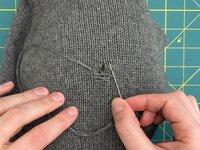
    • Cross the needle to the opposing side of the damage and make an upward stitch. Pull through to create a horizontal line of yarn.

    • Continue to cross back and forth over the hole, creating lines of floating horizontal stitches.

    • The first and last yarn lines should lay about 1/4 inch (~6 mm) beyond the damage.

    • The darning will look the best if these rows start and stop on the same vertical and align with the knit rows of the garment.

    • The ideal gap between each row is the same as the width of the yarn. See the last step of this guide for examples of spacing that's too tight and too loose.

    • See the next two steps for detailed videos of this technique.

    • Use the yarn as a guide for where to stitch on the opposite side of the damage.

    • Pass the needle between existing loops of knit stitches instead of piercing through them.

    • The ballpoint of the needle will help with this.

    • Consistently adjust the yarn to maintain the correct tension.

    • Continue until the hole is covered and the last row of yarn is at least 1/4 inch (~6 mm) beyond the damage.

    • Insert needle and come back up at least 2 inches (~51 mm) away from the damage.

    • Cut the yarn, leaving a short tail.

    • Insert the needle approximately 2 inches (~51 mm) away from the damage diagonally.

    • Come up one yarn width below the bottom row and about one yarn width inward.

    • Pull the yarn through, leaving a short tail.

  5. Woven Darn a Hole in a Knit, Weave in the vertical yarns: crwdns2935265:09crwdnd2935265:01crwdnd2935265:03crwdne2935265:0 Woven Darn a Hole in a Knit, Weave in the vertical yarns: crwdns2935265:09crwdnd2935265:02crwdnd2935265:03crwdne2935265:0 Woven Darn a Hole in a Knit, Weave in the vertical yarns: crwdns2935265:09crwdnd2935265:03crwdnd2935265:03crwdne2935265:0
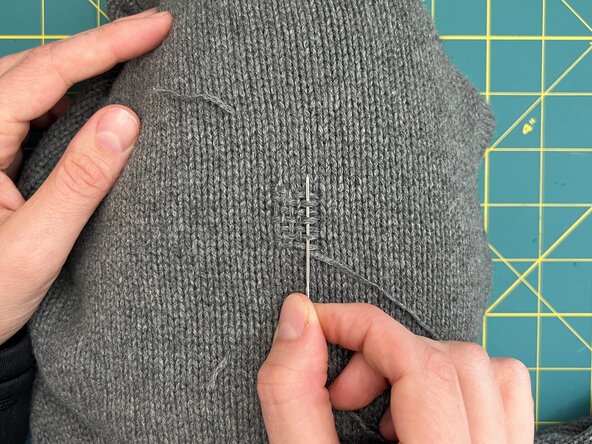
    • Pass the needle through the horizontal yarns, alternating over and under each row.

    • Optionally, flip the needle around and use the eye of the needle to weave in and out of the horizontal threads because it's larger, blunter and easier to see.

    • After passing through all rows, pull the yarn through to create a vertical line of yarn, then make a horizontal stitch at the top to secure the yarn.

    • Then move back across, weaving the needle over and under the rows in the opposite way.

    • Repeat this process, alternating over and under with each pass and securing each pass with a small horizontal stitch.

    • See the next two steps for detailed videos of this technique.

    • Carefully weave the needle between the existing rows of yarn.

    • The horizontal rows aren't tight so they will move around during this process.

    • After each pass, use the needle to shift the yarn over so it lays vertical.

    • Continue until the last vertical yarn lays within a yarn width of where the horizontal threads end.

    • After each pass, use the needle to push the yarns over to make room for the next pass of yarn.

    • To finish, insert the needle and come back up at least 2 inches (~51 mm) away diagonally.

    • Cut the yarn, leaving a short tail.

  6. Woven Darn a Hole in a Knit, Inspect the darning: crwdns2935265:012crwdnd2935265:01crwdnd2935265:02crwdne2935265:0 Woven Darn a Hole in a Knit, Inspect the darning: crwdns2935265:012crwdnd2935265:02crwdnd2935265:02crwdne2935265:0
    • Before moving on to finishing, inspect the woven darning.

    • Ideally, there should be the same number of horizontal and vertical yarns.

    • Check the hand feel and density of the stitching compared to the rest of the garment. Hold the repaired area up to the light and see if the same amount of light passes through the darning as the rest of the garment.

    • At this point it's possible to add additional rows and stitching to fill out the weaving.

    • Flip the garment over to the backside.

    • Carefully pull out each yarn end.

    • One at a time, thread each end into the needle and stitch the yarn back in the direction that it came from.

    • Backing the thread over itself will create a secure finishing.

    • Pull the yarn tight and snip the loose end.

    • It can be difficult to thread a short tail onto the needle, this is why the yarn tails needed to be so long at the start!

    • Double check that the yarn end is being stitched back in the direction that it came from.

    • To avoid these stitches showing through on the front side:

    • Try to stitch only into the garment, keeping to the top layer and not piercing all the way through.

    • Don't extend the running stitch past the repaired area.

    • In the case where two yarn ends are close to one another, it's possible to tie them together in an overhand knot.

    • This is quicker but may be slightly uncomfortable to the wearer.

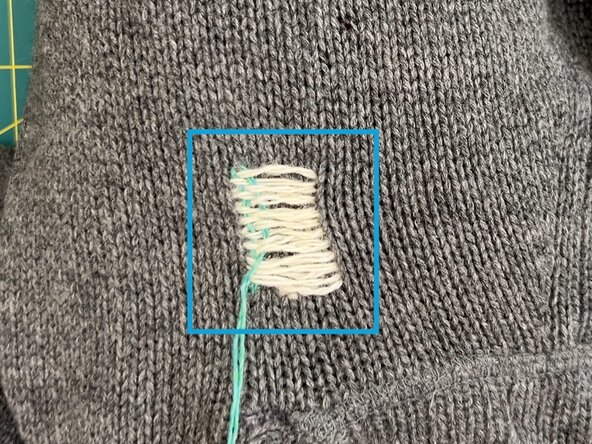
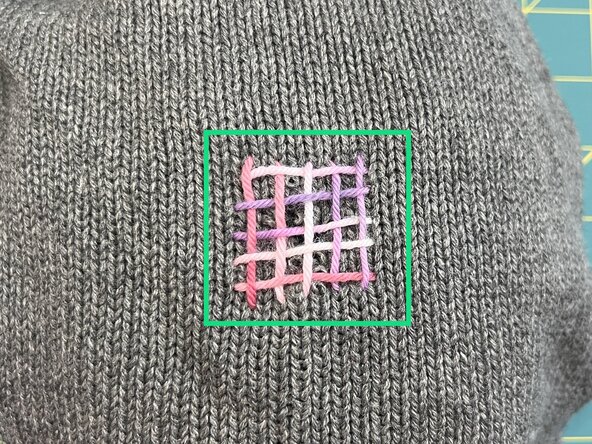
  7. Woven Darn a Hole in a Knit, Completed repair: crwdns2935265:016crwdnd2935265:01crwdnd2935265:01crwdne2935265:0
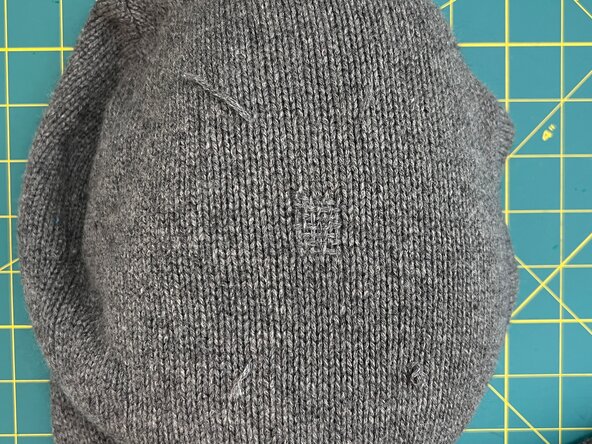
    • Now the woven darning repair is complete!

    • Lightly steam the area and gently massage it with your fingers to help the fibers settle in.

  8. Woven Darn a Hole in a Knit, Invisible version: Horizontal yarns: crwdns2935265:017crwdnd2935265:01crwdnd2935265:03crwdne2935265:0 Woven Darn a Hole in a Knit, Invisible version: Horizontal yarns: crwdns2935265:017crwdnd2935265:02crwdnd2935265:03crwdne2935265:0 Woven Darn a Hole in a Knit, Invisible version: Horizontal yarns: crwdns2935265:017crwdnd2935265:03crwdnd2935265:03crwdne2935265:0
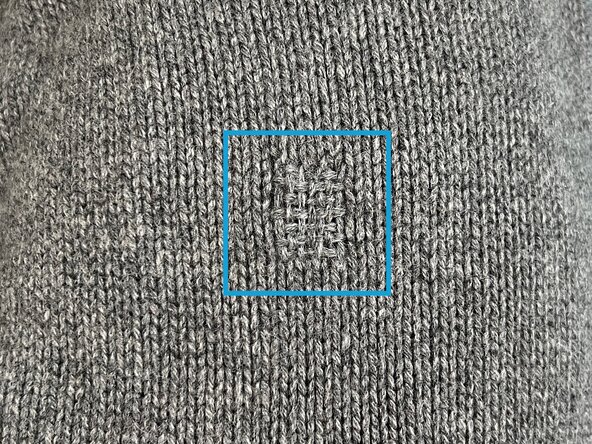
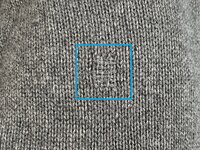
    • Use this method to create a nearly invisible repair by using yarn that matches the garment in color, fiber content, and weight. However, it can be quite difficult to see the stitches so go slowly and ensure there's good lighting.

  9. Woven Darn a Hole in a Knit, Invisible version: Vertical yarns: crwdns2935265:018crwdnd2935265:01crwdnd2935265:03crwdne2935265:0 Woven Darn a Hole in a Knit, Invisible version: Vertical yarns: crwdns2935265:018crwdnd2935265:02crwdnd2935265:03crwdne2935265:0 Woven Darn a Hole in a Knit, Invisible version: Vertical yarns: crwdns2935265:018crwdnd2935265:03crwdnd2935265:03crwdne2935265:0
    • Take care to create evenly spaced stitches that follow the rows and columns of the knit garment. This should be easier with a yarn that's the same weight as the yarn in the garment.

  10. Woven Darn a Hole in a Knit, Completed invisible version: crwdns2935265:019crwdnd2935265:01crwdnd2935265:01crwdne2935265:0
    • The invisible woven darning repair is complete!

    • Lightly steam the area and gently massage it with fingers to help the fibers settle in.

  11. Woven Darn a Hole in a Knit, Troubleshooting: crwdns2935265:020crwdnd2935265:01crwdnd2935265:03crwdne2935265:0 Woven Darn a Hole in a Knit, Troubleshooting: crwdns2935265:020crwdnd2935265:02crwdnd2935265:03crwdne2935265:0 Woven Darn a Hole in a Knit, Troubleshooting: crwdns2935265:020crwdnd2935265:03crwdnd2935265:03crwdne2935265:0
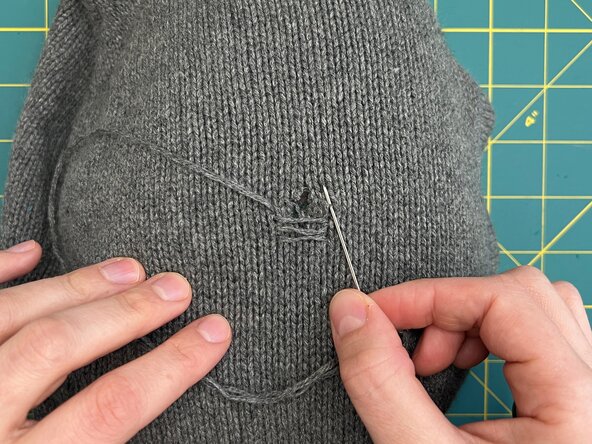
    • Stabilizing Circumference Stitch: To be extra sure that the hole doesn't expand or fray, place a running stitch around the circumference of the hole before beginning. Place the stitch about 1/4 inch (~6 mm) away from the damage and ensure the vertical and horizontal darning stitches extend past it.

    • Gap Between Rows: Try to create a gap between each horizontal and vertical row that's the same as the width of the yarn. This will create the most balanced weave structure, with the horizontal and vertical yarns appearing an equal amount like a checkerboard.

    • Too Close: The yarns are packed too tightly. This will make it difficult to weave in the vertical yarns and the resulting woven patch will be thick and unbalanced.

    • Too Far: The weave structure will be very loose with visible gaps.

crwdns2935217:0crwdne2935217:0

Clara Redwood

crwdns2935283:011/12/24crwdne2935283:0

1,887 crwdns2915208:0crwdne2915208:0

crwdns2935297:010crwdne2935297:0

crwdns2915084:0crwdne2915084:0

Patagonia crwdns2935289:0Patagoniacrwdne2935289:0

Community

crwdns2931471:018crwdne2931471:0

crwdns2935297:0148crwdne2935297:0

crwdns2947412:00crwdne2947412:0

crwdns2917038:0crwdne2917038:0

crwdns2936625:0crwdne2936625:0:

crwdns2936751:024crwdne2936751:0 0

crwdns2936753:07crwdne2936753:0 8

crwdns2936753:030crwdne2936753:0 66

crwdns2942667:0crwdne2942667:0 66