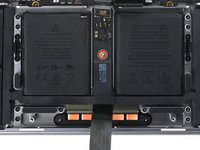
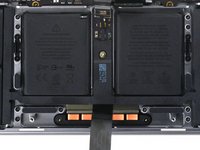
crwdns2915892:0crwdne2915892:0
This is a prerequisite-only guide! This guide is part of another procedure and is not meant to be used alone.
crwdns2942213:0crwdne2942213:0
-
crwdns2935267:0crwdne2935267:0FixMat$36.95
-
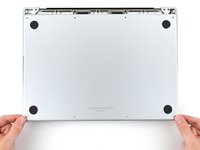
Use a P5 Pentalobe driver to remove eight screws securing the lower case:
-
Four 9.3 mm screws
-
Four 5 mm screws
-
-
-
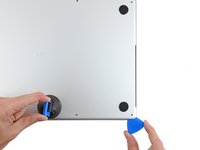
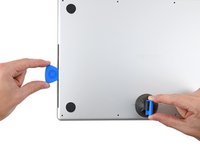
Press a suction handle into place near the front edge of the lower case, between the screw holes.
-
Pull up on the suction handle to create a small gap under the lower case.
-
-
-
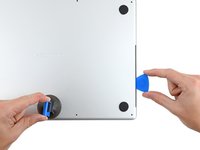
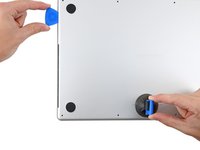
Insert an opening pick into the gap you just created.
-
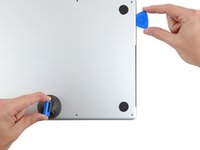
Slide the opening pick around the nearest corner and then halfway up the side of the MacBook Pro.
-
-
-
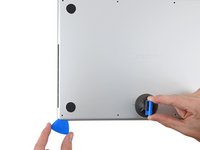
Repeat the previous step on the other side, using an opening pick to to release the second clip.
-
-
-
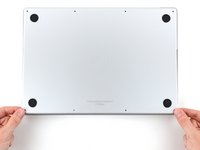
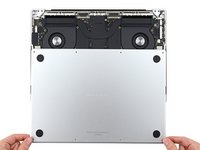
Firmly pull the lower case away from the back edge, one corner at a time, to disengage the sliding clips.
This straight up does not work on my M4 unit. Pulled as hard as I could and bent the $@$* out of the case and never got it released.
Refer to this guide: https://support.apple.com/en-us/120759
You basically need to pull the front edge up before attempting to slide out the bottom cover. That worked for me
-
-
-
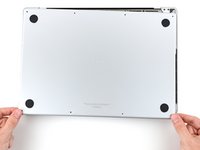
Remove the lower case.
-
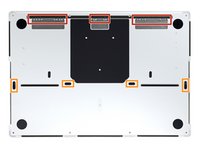
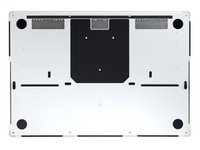
Lay it down and align the sliding clips with the back edge of the MacBook. Press down on the lower case and slide it toward the back edge to engage the clips.
-
Once the back corners of the lower case are secured and flush with the frame, press down along the middle of the lower case to engage the four remaining clips.
-
-
-
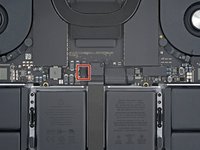
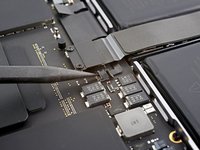
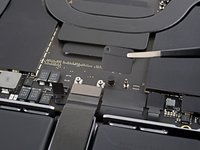
Peel back any tape covering the battery board data cable connector on the logic board.
Not strictly necessary to remove this end of the cable, as the other end is also disconnected later. However, it does get it out of the way.
-
-
-
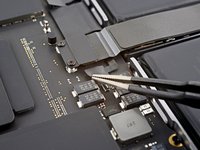
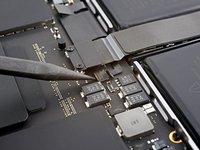
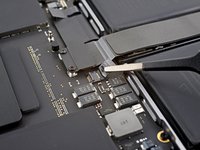
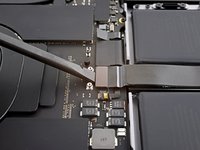
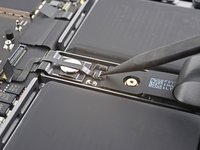
Use a spudger to gently pry up the locking flap on the ZIF connector for the battery board data cable.
-
-
-
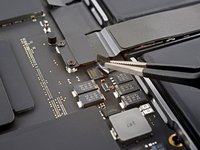
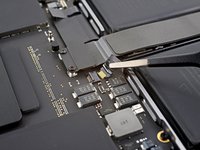
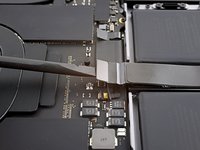
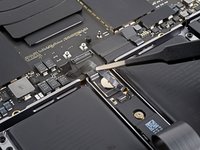
Disconnect the battery board data cable by sliding it out from its socket on the logic board.
-
-
-
Use a T3 Torx driver to remove the two 2.1 mm‑long screws securing the trackpad cable bracket to the logic board.
Sorry but this is not correct Apple procedure.
There is power running through the device still whilst you are unscrewing this plate/bracket and disconnecting the trackpad if you do it this way. This is why Apple put the small flex cable next to this, free to reach before touching anything else.
You must disconnect the battery flex cable next to the trackpad connector before you touch anything else.
Thanks
Is that not what steps 7-9 are doing? You cannot actually access the battery connector until you remove this cable as it's underneath. Which battery flex cable are you referring to?
-
-
-
crwdns2935267:0crwdne2935267:0Tweezers$4.99
-
Use tweezers, or your fingers, to remove the trackpad cable bracket.
-
-
-
Use the flat end of a spudger to pry up and disconnect the trackpad cable's press connector secured to the logic board.
-
-
-
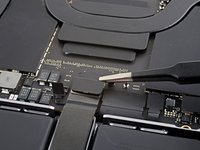
Peel the trackpad cable away from the device, making sure to separate the adhesive.
-
-
-
Peel back any tape covering the battery board data cable connector under the large pancake screw.
-
-
-
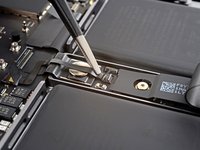
Use a spudger to gently pry up the locking flap on the ZIF connector for the battery board data cable.
-
-
-
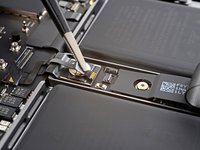
Disconnect the battery board data cable by sliding it out from its socket on the battery board.
Ich hab dieses Datenkabel zerstört. Ist das der Grund warum es nicht mehr lädt?
Welches Kabel bräuchte ich denn? Das hier Item # IF464-018-1?
MacBook Pro 14" (A2442, A2779, A2918, A2992) and 16" (A2485) Battery Daughter Board Cable -
-
-
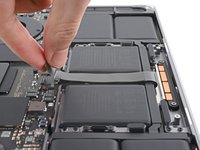
Slide blunt nose tweezers under areas with adhesive to separate the cable from the device.
-
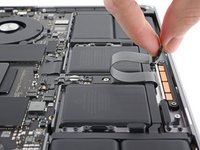
Remove the battery board data cable.
Removing is easy. We cant reinsert the battery data cable connector. It wont push in properly. Any helpful solution???
-
-
-
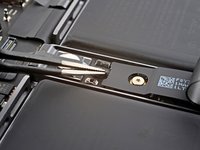
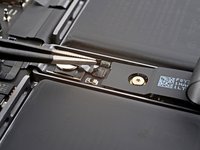
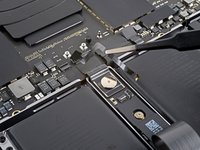
Use a T5 Torx driver to remove the 3.8 mm wide-head screw securing the battery power connector.
-
-
-
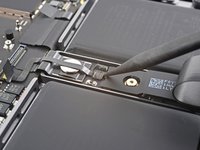
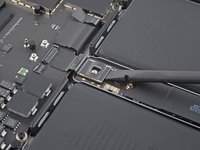
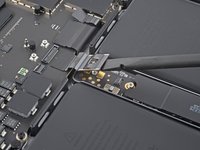
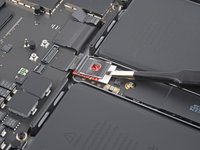
Use the flat end of your spudger to lift the battery connector away from the battery board, disconnecting the battery.
I would place a piece of card stock (business card) taped to the battery cells so the contact can’t be made.
I have a question, could you please clarify, if the battery connector is damaged, is it replaceable or I have to replace the whole logic board?
-
-
-
Use a T5 Torx driver to remove the ten 5.7 mm screws securing the trackpad assembly:
-
-
-
Swing the screen open slightly, but keep the MacBook upside-down. The trackpad should separate and lay flat on the display.
-
Carefully feed the trackpad's ribbon cable through its slot in the frame.
Yup, be careful here. Happened to me. I was so lucky to find all of them on my carpet! One flew a good meter away from where where I dropped the trackpad.
-
-
-
Use a T5 Torx driver to remove the 4 mm screw securing the battery board.
-
-
-
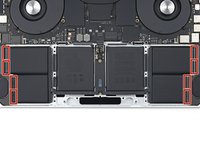
There are eight adhesive strips that are accessed from the bottom of the device.
-
There are six more adhesive strips accessed from the trackpad's location on the frame.
-
-
crwdns2935267:0crwdne2935267:0Tweezers$4.99
-
Use tweezers, or your fingers, to grasp the black pull-tab on one of the adhesive strips.
-
-
-
Pull the strip out slowly and steadily at a low angle. Give it plenty of time to stretch and un-stick from under the battery.
-
If the adhesive strip breaks off, try to retrieve it using your fingers or blunt tweezers and continue pulling.
-
Repeat the process for all 14 stretch release adhesive strips.
-
-
-
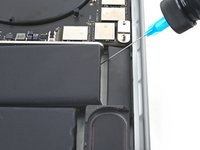
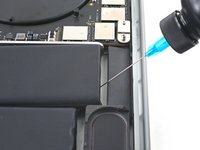
Apply a few drops of high concentration (over 90%) isopropyl alcohol to the gaps surrounding the affected area of the battery.
-
Wait between one to two minutes for the adhesive to loosen.
-
-
crwdns2935267:0crwdne2935267:0Plastic Cards$2.99
-
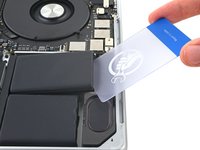
Insert a plastic card between the battery and the frame.
-
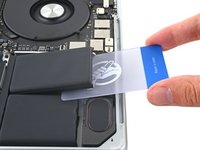
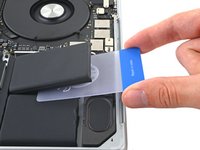
Pry up with the card while slicing the adhesive to separate the battery from the frame.
-
-
crwdns2935267:0crwdne2935267:0Stretch Release Battery Adhesive$3.99
-
Slide the battery out of the frame to remove it.
-
To reassemble your device, follow these instructions in reverse order.
For optimal performance, calibrate your newly installed battery after completing this guide.
Compare your new replacement part to the original part—you may need to transfer remaining components or remove adhesive backings from the new part before you install it.
Take your e-waste to an R2 or e-Stewards certified recycler.
Repair didn’t go as planned? Try some basic troubleshooting, or ask our MacBook Pro 14" 2021 Answers community for help.
crwdns2947410:01crwdne2947410:0
Probleme mit der Seriennummer der Batterie wird es nicht geben oder ? Is ja bei Apple immer so ne Sache.


