crwdns2933423:0crwdne2933423:0

Logitech G915 TKL Battery Replacement

crwdns2942213:0crwdne2942213:0

  1. Logitech G915 TKL Battery Replacement, Prepare your keyboard for disassembly: crwdns2935265:01crwdnd2935265:01crwdnd2935265:03crwdne2935265:0 Logitech G915 TKL Battery Replacement, Prepare your keyboard for disassembly: crwdns2935265:01crwdnd2935265:02crwdnd2935265:03crwdne2935265:0 Logitech G915 TKL Battery Replacement, Prepare your keyboard for disassembly: crwdns2935265:01crwdnd2935265:03crwdnd2935265:03crwdne2935265:0
    • Slide the power switch on the top edge of your keyboard into the OFF position.

    • A red indicator should be visible beneath the switch.

    • Unplug all cables from your keyboard.

    • Lay your keyboard down with the feet facing up on a clean work surface.

    • If your work surface may scratch the keyboard, place a soft towel under it.

  2. Logitech G915 TKL Battery Replacement, Remove the sticker: crwdns2935265:02crwdnd2935265:01crwdnd2935265:02crwdne2935265:0 Logitech G915 TKL Battery Replacement, Remove the sticker: crwdns2935265:02crwdnd2935265:02crwdnd2935265:02crwdne2935265:0
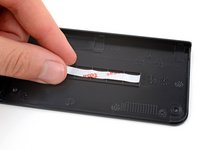
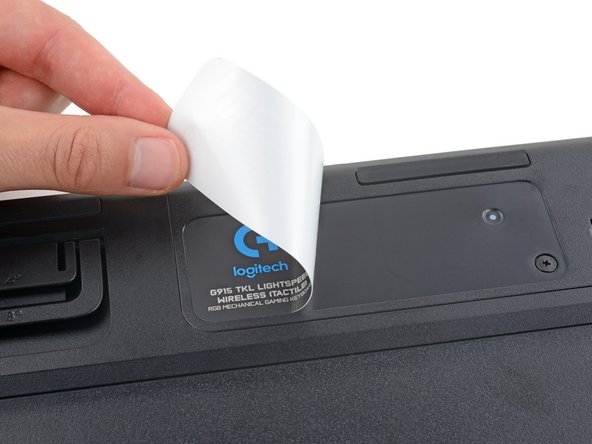
    • The Logitech sticker hides two battery cover screws.

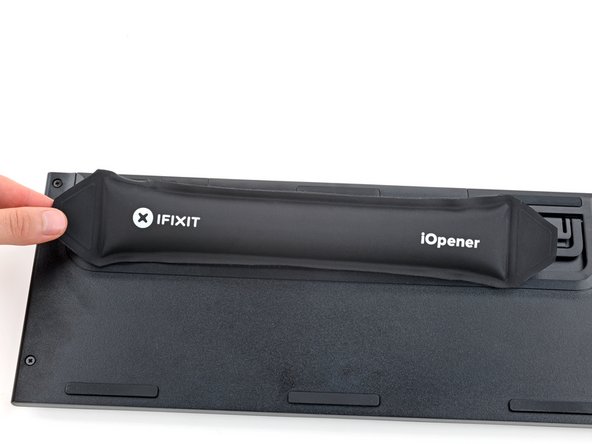
    • Heat an iOpener and lay it on the Logitech sticker for one minute.

    • Alternatively, you can also use a hair dryer to heat the sticker. Make sure it's on the Low setting to avoid warping the plastic.

  3. Logitech G915 TKL Battery Replacement: crwdns2935265:03crwdnd2935265:01crwdnd2935265:03crwdne2935265:0 Logitech G915 TKL Battery Replacement: crwdns2935265:03crwdnd2935265:02crwdnd2935265:03crwdne2935265:0 Logitech G915 TKL Battery Replacement: crwdns2935265:03crwdnd2935265:03crwdnd2935265:03crwdne2935265:0
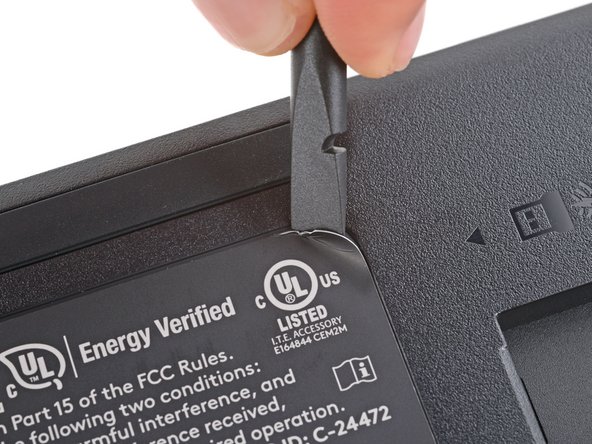
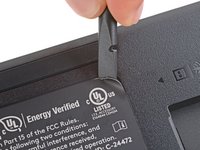
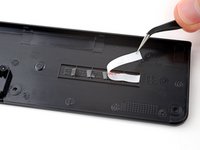
    • Use a spudger or your fingernail to peel up a corner of the sticker until you can grip it with your fingers.

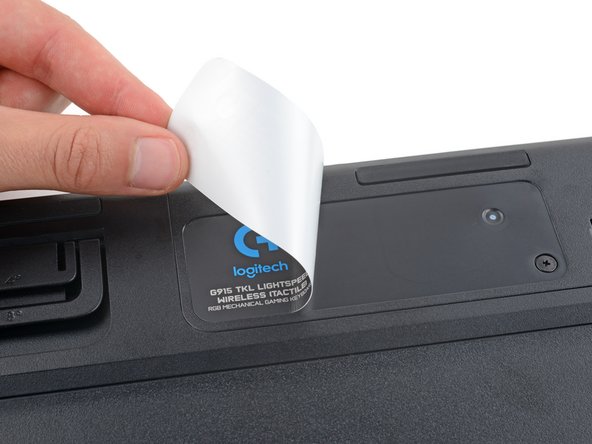
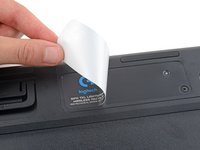
    • Peel up the sticker with your fingers and remove it.

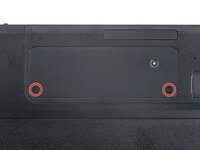
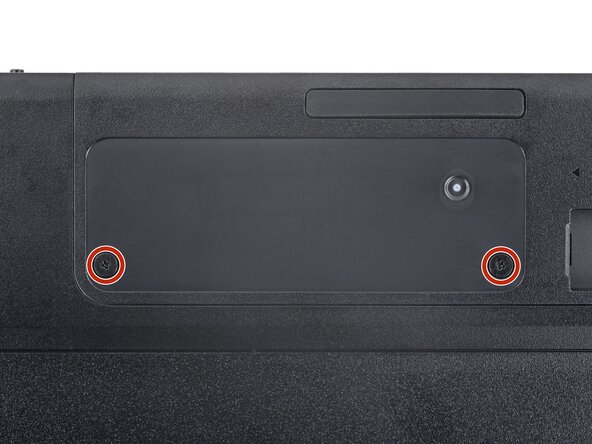
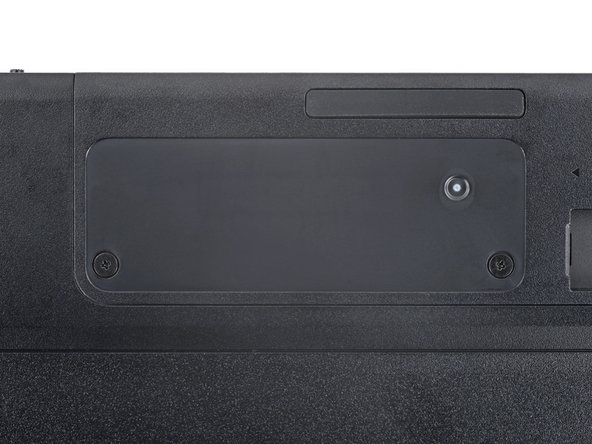
  4. Logitech G915 TKL Battery Replacement, Remove the battery cover screws: crwdns2935265:04crwdnd2935265:01crwdnd2935265:02crwdne2935265:0 Logitech G915 TKL Battery Replacement, Remove the battery cover screws: crwdns2935265:04crwdnd2935265:02crwdnd2935265:02crwdne2935265:0
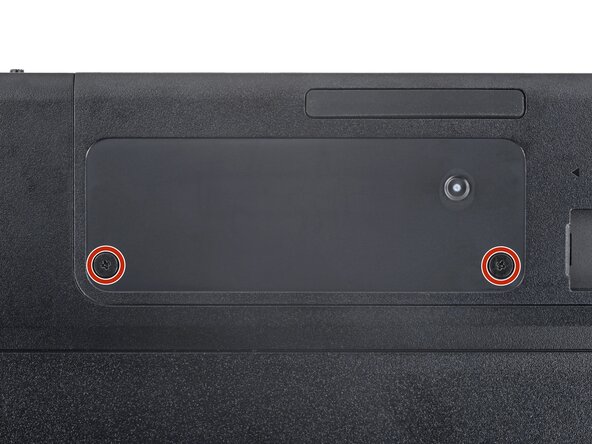
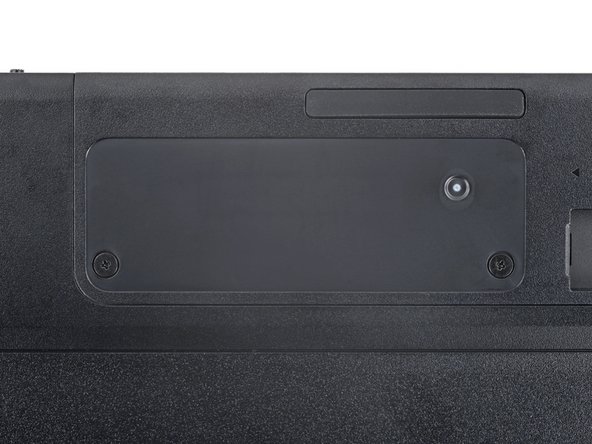
    • Use a Phillips screwdriver to remove the two 4 mm‑long screws securing the battery cover.

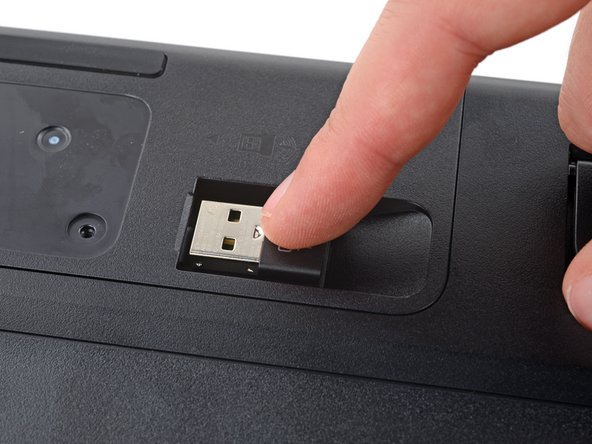
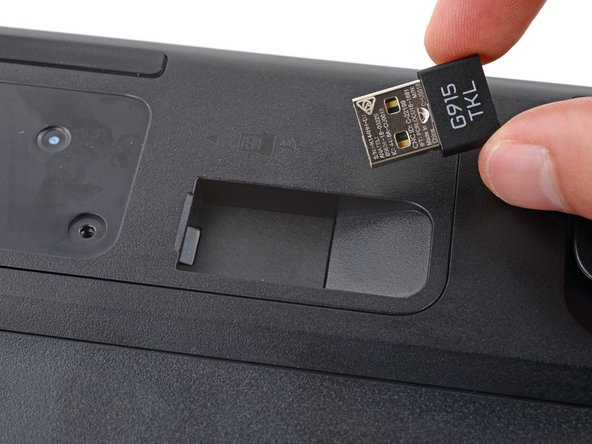
  5. Logitech G915 TKL Battery Replacement, Remove the USB receiver: crwdns2935265:05crwdnd2935265:01crwdnd2935265:03crwdne2935265:0 Logitech G915 TKL Battery Replacement, Remove the USB receiver: crwdns2935265:05crwdnd2935265:02crwdnd2935265:03crwdne2935265:0 Logitech G915 TKL Battery Replacement, Remove the USB receiver: crwdns2935265:05crwdnd2935265:03crwdnd2935265:03crwdne2935265:0
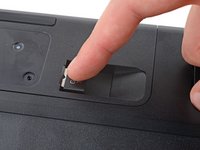
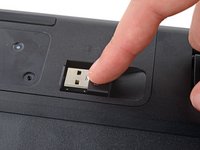
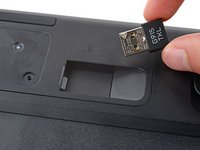
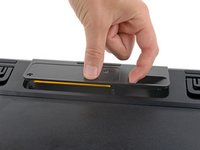
    • If you have a USB receiver stored in the battery cover compartment, use your finger to slide it out and remove it.

  6. Logitech G915 TKL Battery Replacement, Reposition the battery cover: crwdns2935265:06crwdnd2935265:01crwdnd2935265:03crwdne2935265:0 Logitech G915 TKL Battery Replacement, Reposition the battery cover: crwdns2935265:06crwdnd2935265:02crwdnd2935265:03crwdne2935265:0 Logitech G915 TKL Battery Replacement, Reposition the battery cover: crwdns2935265:06crwdnd2935265:03crwdnd2935265:03crwdne2935265:0
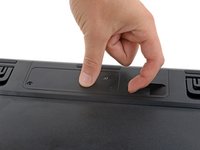
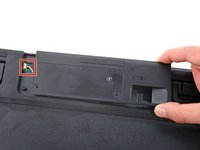
    • Plastic clips secure the perimeter of the battery cover.

    • Insert your finger in the USB receiver compartment on the battery cover.

    • Pull up the bottom edge of the cover to release the clips.

    • Don't try to fully remove the cover yet, as it's still connected by the battery cable.

    • Gently pull the cover to the right so you can access the battery connector on the left side of the recess.

  7. Logitech G915 TKL Battery Replacement, Disconnect the battery: crwdns2935265:07crwdnd2935265:01crwdnd2935265:02crwdne2935265:0 Logitech G915 TKL Battery Replacement, Disconnect the battery: crwdns2935265:07crwdnd2935265:02crwdnd2935265:02crwdne2935265:0
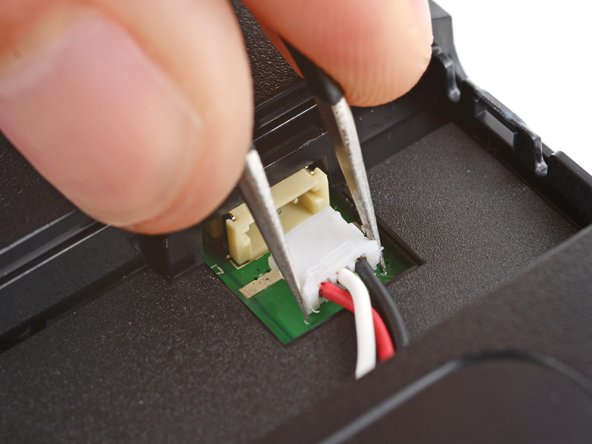
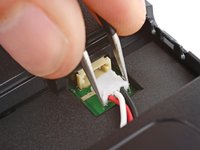
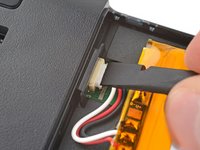
    • Use a pair of angled tweezers to firmly grip the battery connector.

    • Hold the tweezers with your fingers as close to the connector as possible to get a firm hold.

    • Slide the connector straight out of its socket.

    • If you're having trouble, gently rock the connector side-to-side to help loosen it.

  8. Logitech G915 TKL Battery Replacement, Remove the battery cover: crwdns2935265:08crwdnd2935265:01crwdnd2935265:01crwdne2935265:0
    • Remove the battery cover.

    • Congratulations on completing disassembly! The remaining steps will show you how to install your replacement battery and reassemble your device.

  9. Logitech G915 TKL Battery Replacement, Install your new battery: crwdns2935265:09crwdnd2935265:01crwdnd2935265:03crwdne2935265:0 Logitech G915 TKL Battery Replacement, Install your new battery: crwdns2935265:09crwdnd2935265:02crwdnd2935265:03crwdne2935265:0 Logitech G915 TKL Battery Replacement, Install your new battery: crwdns2935265:09crwdnd2935265:03crwdnd2935265:03crwdne2935265:0
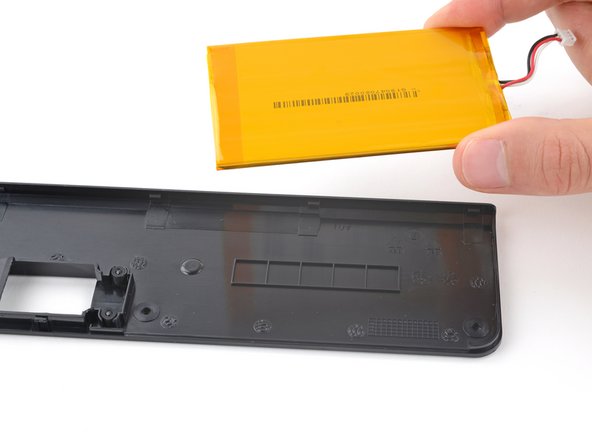
    • If your replacement battery comes attached to a new battery cover, skip the next three steps. Otherwise, follow the next three steps to remove the old battery from the cover and install your new one.

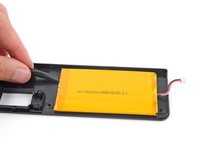
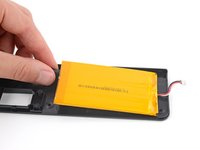
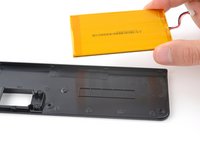
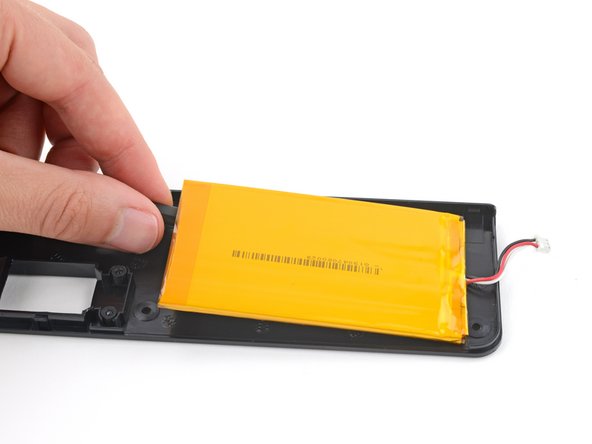
    • Light adhesive secures the battery to its cover.

    • Gently slide the flat end of a spudger under one of the short edges of the battery and lift to separate the adhesive.

    • Be very careful not to puncture the battery, as it can leak dangerous chemicals or catch fire.

    • Remove the battery from its cover.

  10. Logitech G915 TKL Battery Replacement: crwdns2935265:010crwdnd2935265:01crwdnd2935265:03crwdne2935265:0 Logitech G915 TKL Battery Replacement: crwdns2935265:010crwdnd2935265:02crwdnd2935265:03crwdne2935265:0 Logitech G915 TKL Battery Replacement: crwdns2935265:010crwdnd2935265:03crwdnd2935265:03crwdne2935265:0
    crwdns2935267:0crwdne2935267:0
    Tesa 61395 Tape
    $5.99
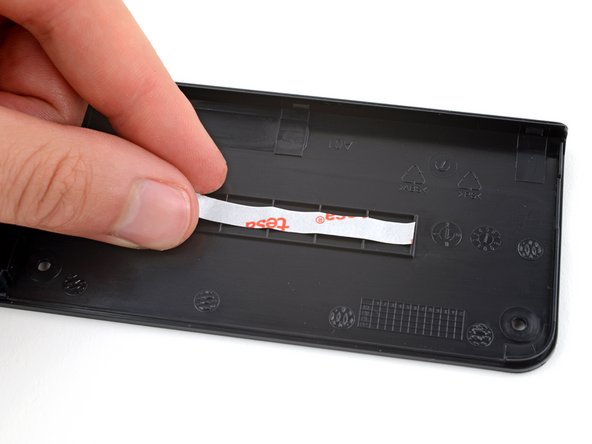
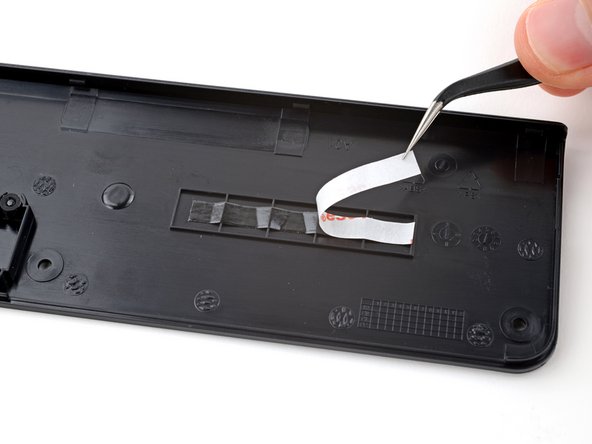
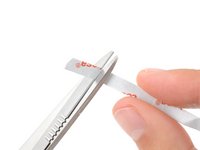
    • Cut a piece of double-sided tape so it fits on the line of squares on the bottom of the battery cover.

    • Press the tape firmly into place on the squares and remove the plastic backing.

  11. Logitech G915 TKL Battery Replacement: crwdns2935265:011crwdnd2935265:01crwdnd2935265:01crwdne2935265:0
    • Lay your new battery into its recess in the keyboard so the cable is on the left edge, near the battery connector.

  12. Logitech G915 TKL Battery Replacement, Reconnect the battery: crwdns2935265:012crwdnd2935265:01crwdnd2935265:02crwdne2935265:0 Logitech G915 TKL Battery Replacement, Reconnect the battery: crwdns2935265:012crwdnd2935265:02crwdnd2935265:02crwdne2935265:0
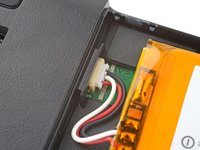
    • Insert the new battery's connector into its socket so the side with exposed pins is on the bottom.

    • Use a spudger to push the battery connector fully into its socket.

  13. Logitech G915 TKL Battery Replacement, Install the battery cover: crwdns2935265:013crwdnd2935265:01crwdnd2935265:01crwdne2935265:0
    • Set the battery cover into place and firmly press down around its edges to engage all the clips.

    • You should feel and hear "clicks" as the clips engage.

  14. Logitech G915 TKL Battery Replacement, Install the battery cover screws: crwdns2935265:014crwdnd2935265:01crwdnd2935265:02crwdne2935265:0 Logitech G915 TKL Battery Replacement, Install the battery cover screws: crwdns2935265:014crwdnd2935265:02crwdnd2935265:02crwdne2935265:0
    • Use a Phillips screwdriver to install the two 4 mm‑long screws securing the battery cover.

  15. Logitech G915 TKL Battery Replacement, Apply the battery cover sticker: crwdns2935265:015crwdnd2935265:01crwdnd2935265:01crwdne2935265:0
    • Use your fingers to apply the sticker to the battery cover.

    • To help the sticker adhere better, you can apply some heat with an iOpener or hair dryer.

crwdns2915888:0crwdne2915888:0

Congratulations on completing your repair!

Take your e-waste to an R2 or e-Stewards certified recycler.

Repair didn’t go as planned? Try some basic troubleshooting, or ask our Answers community for help.

crwdns2935227:0crwdne2935227:0

Spencer Day

crwdns2935283:009/14/22crwdne2935283:0

122.287 crwdns2915208:0crwdne2915208:0

crwdns2935297:0857crwdne2935297:0

crwdns2915084:0crwdne2915084:0

iFixit crwdns2935289:0iFixitcrwdne2935289:0
Staff

crwdns2931471:0119crwdne2931471:0

crwdns2935297:022.180crwdne2935297:0

crwdns2947412:00crwdne2947412:0

crwdns2917038:0crwdne2917038:0

crwdns2936625:0crwdne2936625:0:

crwdns2936751:024crwdne2936751:0 7

crwdns2936753:07crwdne2936753:0 89

crwdns2936753:030crwdne2936753:0 419

crwdns2942667:0crwdne2942667:0 3,144