crwdns2915892:0crwdne2915892:0
Follow this guide to replace a worn-out or dead battery in your Logitech G703 wireless mouse.
It’s natural for batteries to lose capacity as they age. If your mouse dies quickly and doesn't hold a charge, it may be time to replace the battery.
For safety, perform this repair when your battery is below 15% charge. Any charged lithium-ion battery can be hazardous if punctured or damaged. If your battery looks puffy or swollen, take appropriate precautions.
crwdns2942213:0crwdne2942213:0
-
-
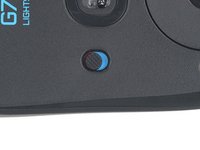
Slide the mouse's power switch down so it's in the OFF position.
-
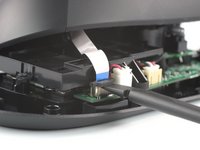
Unplug all cables from the mouse.
-
-
-
Heat an iOpener and lay it on the mouse feet for one minute to heat the adhesive.
-
-
-
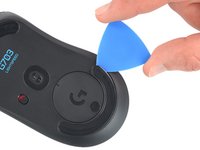
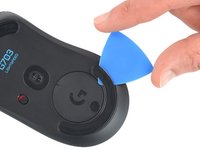
Slide the tip of an opening pick under an edge of the bottom mouse foot, making sure it goes under both the foot and its adhesive pad.
-
Gently slide the pick farther under the foot and lift until you can grip it with your fingers.
-
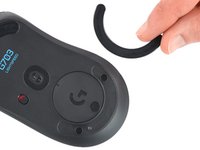
Use your fingers to peel up and remove the foot.
-
Repeat the procedure to remove the top mouse foot.
-
-
-
Slide the flat end of a spudger under an edge of the adhesive. If the adhesive seems stuck, you may need to heat it further.
-
Peel the adhesive off.
-
Use a spudger to carefully scrape up and remove any remaining adhesive bits.
-
Use isopropyl alcohol and a microfiber cloth to thoroughly clean all adhesive residue from the foot recesses. Allow the surface to completely dry.
-
Remove the feet from their backing and firmly press them into place.
-
-
-
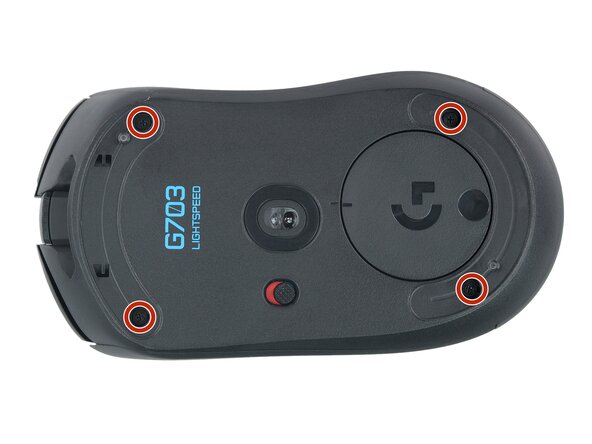
Use a Phillips screwdriver to remove the four 5.4 mm‑long screws securing the two halves of the mouse together.
-
-
-
-
Grasp the mouse cases near the back and pull the two halves apart slightly, so there's a gap at the back of the mouse.
-
-
-
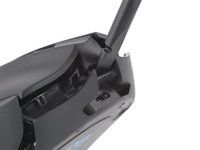
Insert the flat end of a spudger into the small gap between the top and bottom cases, just above the charging port.
-
Use the spudger to pry the top case up to release the clip.
-
-
-
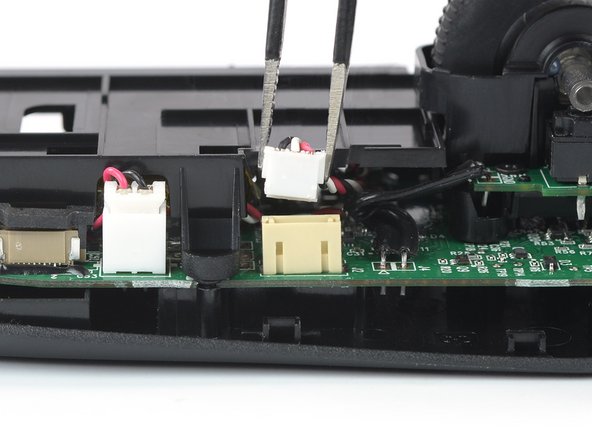
Set the mouse down and position the top half so you can access the interconnect cable on the right side.
-
Use the flat end of a spudger to gently lift the black sliding tab on the interconnect cable socket until it's in the unlocked position.
-
Slide the interconnect cable straight up and out of its socket.
-
-
-
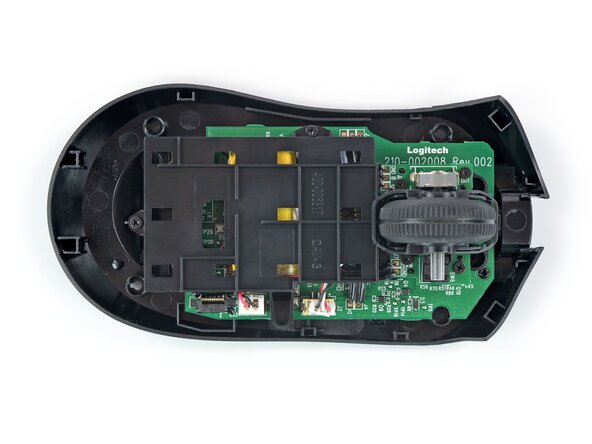
Remove the top half of the mouse.
-
-
-
Use a pair of tweezers to firmly grip the battery connector.
-
Gently rock the connector side‑to‑side while pulling straight up to slide it out of the socket.
-
-
-
Use a Phillips screwdriver to remove the two 3.4 mm‑long screws securing the battery housing to the bottom half of the mouse.
-
-
-
Remove the battery housing.
-
-
-
Heat an iOpener and apply it to the back of the battery housing (not directly on the battery) for two minutes.
-
-
-
Insert an opening pick between the long edge of the battery and its housing.
-
Slide the opening pick under the battery and lift to separate the adhesive.
-
-
crwdns2935267:0crwdne2935267:0Tesa 61395 Tape$2.99
-
Remove the battery.
-
If the battery adhesive is still sticky, you can reuse it. Otherwise, use high-concentration (>90%) isopropyl alcohol and a microfiber or lint-free cloth to remove all the old battery adhesive.
-
If your new battery has adhesive pre-installed, remove the plastic liner to expose the adhesive. Otherwise, apply strips of thin, double-sided tape to the battery well (not directly to the battery) where the old adhesive was.
-
Firmly press the battery into place, making sure the cables are near the large tab that juts out from the housing.
-


Compare your new replacement part to the original part—you may need to transfer remaining components or remove adhesive backings from the new part before you install it.
To reassemble your device, follow these instructions in reverse order.
Repair didn’t go as planned? Try some basic troubleshooting, or ask our Answers community for help.
Reuse or Recycle—Never put discarded electronic parts in household waste. Visit Logitech Recycling to find your nearest recycling points, including the option to mail back old devices to Logitech for free if there’s no convenient solution in your area. You can also take your e-waste to any R2 or e-Stewards certified recycler. And don’t let good working parts or repaired devices die a slow death in your sock drawer—pass them along to someone who can use them.
Share your experience—Leave a comment here or send your feedback directly to Logitech at repair@logitech.com to help shape future repair guides and product design.
crwdns2935221:0crwdne2935221:0
crwdns2935229:06crwdne2935229:0


crwdns2947412:03crwdne2947412:0
What's the reason for not being able to use the old battery again? I don't understand why plugging the stock back into the mouse would be a fire hazard?
Hi Ryan,
the warning applies more in relation to a removed battery than to one which was only disconnected. A removed one could be bent or have other damages that are not immediately visible and could cause damage to the mouse, fire or a thermal event or may leak dangerous chemicals. However, this is not necessarily the case, but there is always the possibility. That is why we warn and point this out within the repair guide.
Good day,
This is a brilliant tutorial thank you! Where would you recommend buying a new battery?