crwdns2915892:0crwdne2915892:0
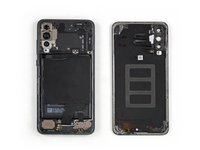
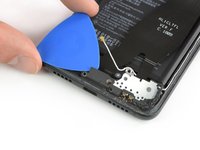
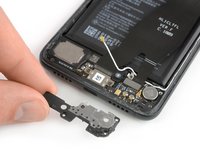
Use this guide to remove and replace the home button including the fingerprint sensor in the Huawei P20 Pro.
Note: This guide instructs you to replace only the display while leaving the original frame and motherboard in place. However, some replacement screens for this phone come pre-installed in a new frame (a.k.a. chassis), which requires a very different procedure—transplanting all your phone's internals. Make sure you have the correct part before starting this guide.
Opening the Huawei P20 Pro will damage the waterproof seals on the device. If you do not replace the adhesive seals, your phone will function normally, but will lose its water protection.
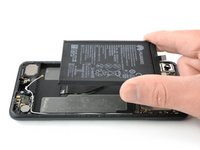
Do not reuse the battery after it has been removed, as doing so is a potential safety hazard. Replace it with a new battery.
Before disassembling your phone, discharge the battery below 25%. If your battery is swollen, do not heat your phone. Swollen batteries can be very dangerous, so wear eye protection and exercise due caution, or take it to a professional if you're not sure how to proceed.
You’ll need replacement adhesive to reattach components when reassembling the device.
crwdns2942213:0crwdne2942213:0
-
-
Switch off your phone.
-
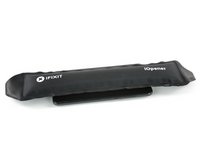
Use an iOpener to loosen the adhesive beneath the rear glass. Apply the iOpener for at least two minutes. You might want to repeat this step several times during the back cover removal.
-
-
-
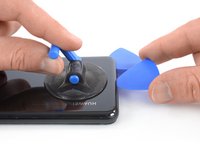
Press a suction cup onto the rear glass close to the bottom edge of the phone.
-
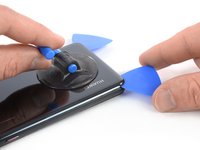
Lift the bottom edge with the suction cup, opening a slight gap between the rear glass and the frame.
-
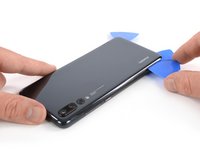
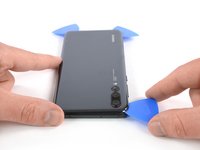
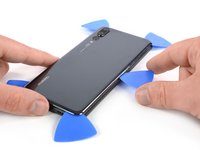
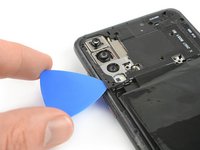
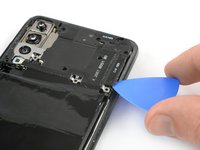
Insert an opening pick in the gap and slide it to the bottom right corner. Leave it there to prevent the adhesive from resealing.
-
-
-
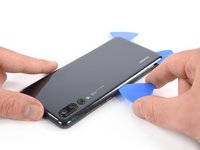
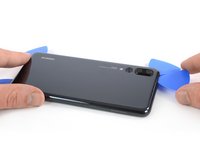
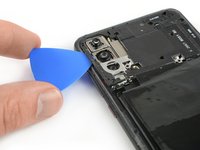
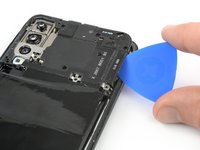
Insert a second opening pick and slide it to the bottom left corner. Leave it there to prevent the adhesive from resealing.
-
-
-
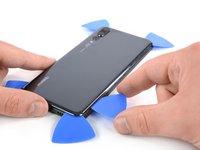
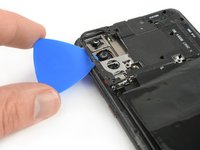
Insert a third opening pick at the bottom left corner.
-
Slide the tip of the opening pick along the left edge of the phone to cut the adhesive.
-
Leave the opening pick in the top left corner of the phone to prevent the adhesive from resealing.
-
-
-
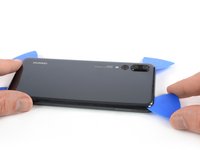
Insert a fourth opening pick at the top left corner of the phone.
-
Slide the opening pick along the upper edge of the phone to cut the adhesive beneath the rear glass and leave it in the top right corner.
-
-
-
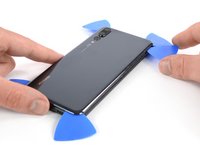
Insert a fifth opening pick at the top right corner of the rear glass.
-
Slide the opening pick along the right edge of the phone to cut the remaining adhesive.
-
-
-
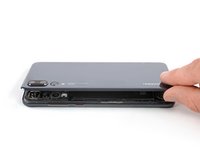
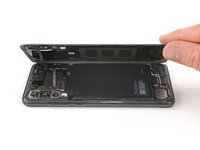
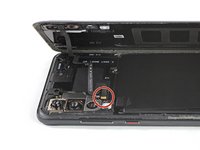
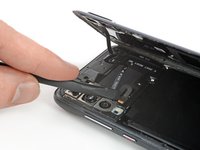
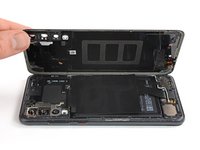
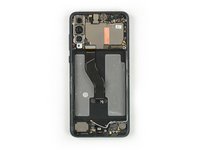
Carefully lift the rear glass until you can reach the connector of the proximity sensor flex cable next to the rear camera assembly.
-
-
-
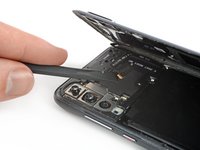
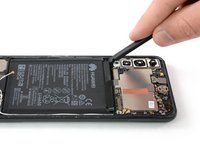
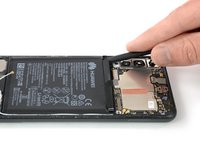
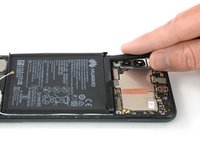
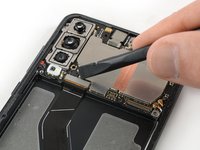
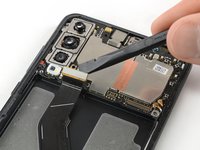
Use the flat end of a spudger to pry up and disconnect the proximity sensor flex cable.
-
-
-
Remove the nine Phillips #00 screws (3.4 mm length).
-
-
-
Insert an opening pick under the left side of the motherboard cover that includes the NFC.
-
Slide the opening pick towards the top left corner of the phone and twist it to pry the cover out of its plastic clamps.
-
-
-
Repeat the previous process on the right side and twist the opening pick to pry up the motherboard cover.
-
-
-
-
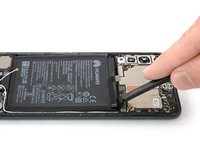
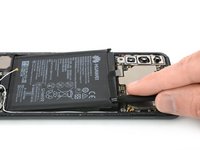
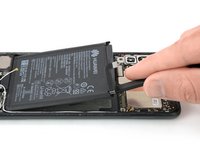
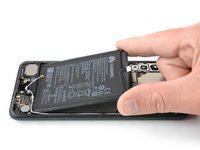
Use the flat end of a spudger to pry up and disconnect the battery flex cable.
-
-
-
Remove the five Phillips #00 screws (3.4 mm length).
-
-
crwdns2935267:0crwdne2935267:0Tweezers$4.99
-
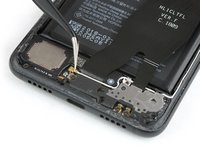
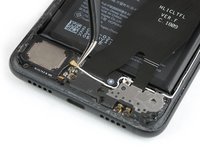
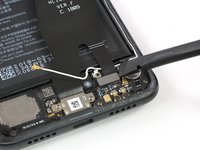
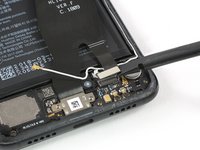
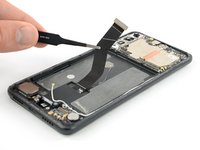
Use a pair of tweezers to disconnect the antenna cable.
-
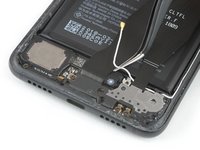
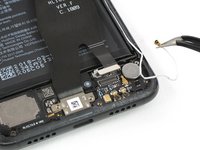
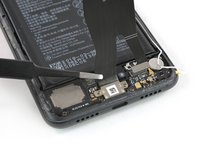
Use a pair of tweezers to pull the antenna cable out of its routing.
-
-
-
Slide an opening pick under the left side of the daughterboard cover and start to pry it up until you can get a good grip.
-
Remove the daughterboard cover.
-
-
-
Remove the two Phillips #00 screws (3.4 mm length) on both sides of the USB C port.
-
-
-
Use the flat end of a spudger to pry up and disconnect the upper end of the interconnect and charging port flex cable from the motherboard.
-
-
-
Use the flat end of a spudger to pry up and disconnect the bottom end of the interconnect and charging port flex cable from the daughterboard.
-
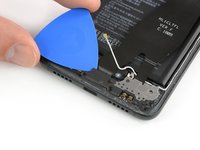
Use a pair of tweezers to move the antenna cable out of the way.
-
-
-
Use a pair of tweezers to pull the charging port out of its recess.
-
Remove the interconnect cable including the charging port.
-
-
-
Use an iOpener to loosen the adhesive beneath the battery. Apply the iOpener on the display for at least two minutes.
-
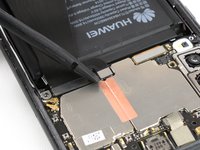
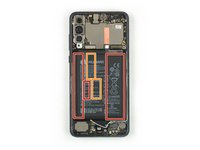
In the following step, only apply the spudger in the areas marked in red, which is where the battery adhesive is located.
-
Avoid the orange area where the display flex cable is running.
-
-
-
Insert the flat end of a spudger at the top left corner of the battery and start to pry it up.
-
Work your way down the left side of the battery and loosen the adhesive with the spudger.
-
-
-
Insert the spudger at the top right corner of the battery and start to pry it up.
-
Work your way down to the bottom end of the battery to loosen all the adhesive.
-
-
-
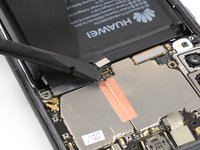
Use the flat end of a spudger to pry up and disconnect the display flex cable at the bottom left of the motherboard.
-
-
-
Prepare an iOpener and apply it to the display for at least two minutes to loosen the adhesive beneath.
-
Lay overlapping strips of clear packing tape over the display until the whole face is covered.
-
This will keep glass shards contained and provide structural integrity when prying and lifting the display.
-
-
-
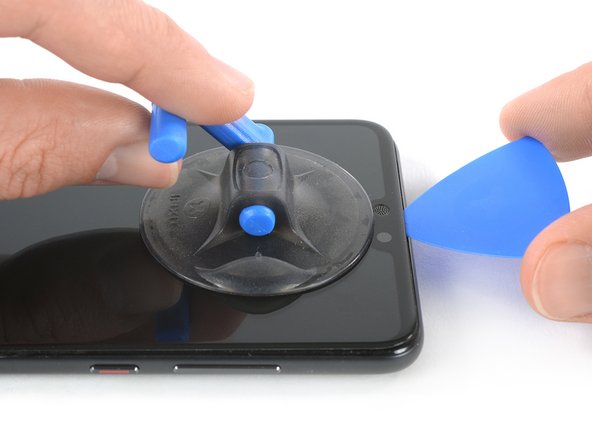
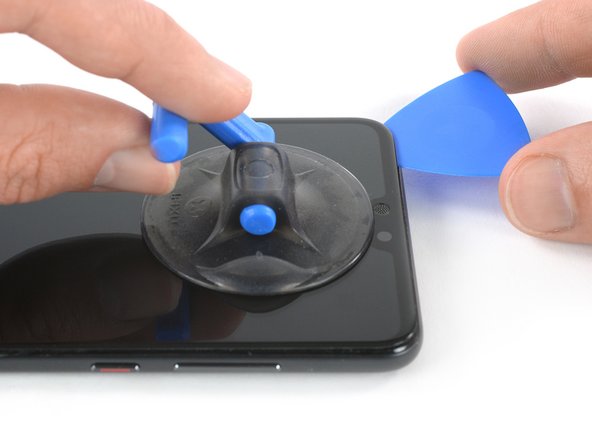
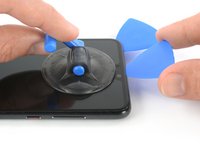
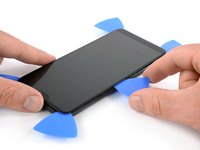
Once the screen is warm to the touch, apply a suction cup to the upper edge of the phone.
-
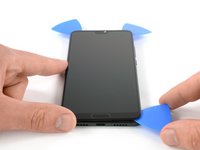
Pull the suction cup upwards and insert an opening pick in the gap between the display glass and the plastic bezel. Start to cut the adhesive by sliding the opening pick to the top left corner.
-
-
-
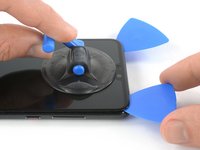
Insert a second opening pick and slide it to the top right corner of the phone.
-
Leave the picks in their places to prevent the adhesive from resealing.
-
-
-
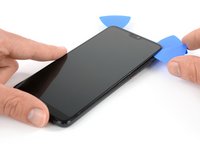
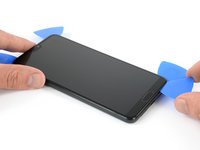
Insert a third opening pick at the top right corner of the phone.
-
Slide the opening pick down to the bottom right corner to cut all the adhesive. Leave it at the bottom right corner to prevent the adhesive from resealing.
-
-
-
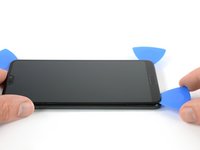
Insert a fourth opening pick at the bottom right corner.
-
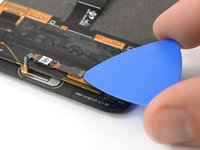
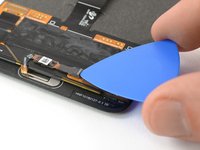
Only slide the tip of the opening pick along the bottom edge of the phone to not damage the home button.
-
Leave the opening pick in the bottom left corner to prevent the adhesive from resealing.
-
-
-
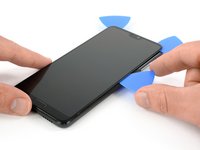
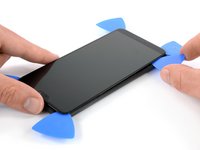
Insert a fifth opening pick and slide it along the left edge of the phone to cut the remaining adhesive.
-
-
crwdns2935267:0crwdne2935267:0Tweezers$4.99
-
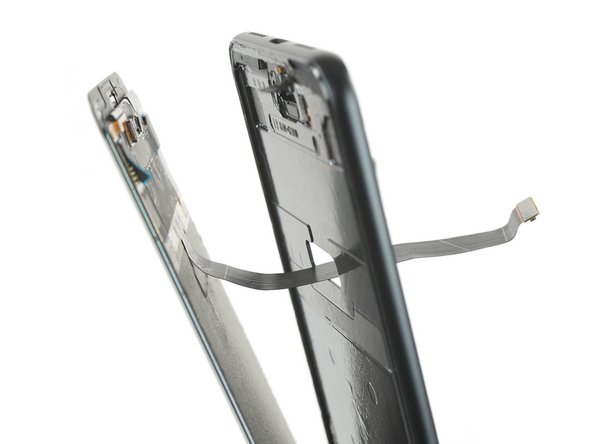
Use a pair of tweezers to peel the display flex cable free from the frame.
-
Thread the display flex cable through the gap in the frame and remove the display.
-
-
-
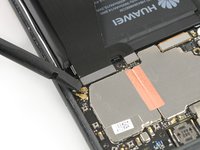
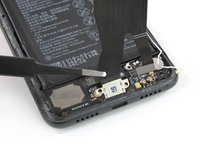
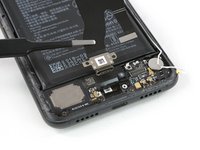
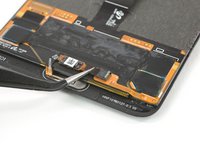
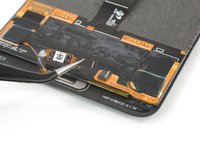
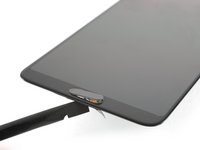
Use an opening pick to open the black flap of the home button ZIF connector.
-
-
-
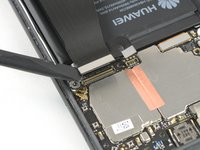
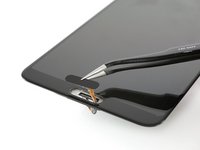
Use a pair of tweezers to gently pull the home button flex cable out of its ZIF connector.
-
-
-
Use an iOpener to loosen the adhesive beneath the home button.
-
-
-
Apply a spudger to the backside of the home button and push it out towards the front until it comes off the screen.
-
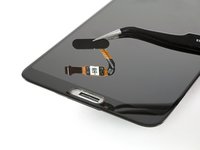
Carefully grab the home button and thread its flex cable through the gap in the screen.
-
Remove the home button.
-
The best way to re-apply the screen is with a sheet of custom-cut double-sided tape. Remove any old ahesive and apply the new tape to the back of the screen, then carefully feed the display cable through the frame. Align the screen and press it into place.
To reassemble your device, follow these instructions in reverse order.
If possible, turn on your phone and test your repair before installing new adhesive and resealing the phone.
Take your e-waste to an R2 or e-Stewards certified recycler.
Repair didn’t go as planned? Check out our Answers community for troubleshooting help.
crwdns2935221:0crwdne2935221:0
crwdns2935229:05crwdne2935229:0
crwdns2947412:011crwdne2947412:0
Hello, is p20 fingerprint sensor same as p20 pro and can u switch them betwin models? Thanks for answer.
Is it really needed to dissemble all the phone? The more I look at tutorial, the more it seems you can just unglue the screen (while it's still attached to the phone) and remove the fingerprint scanner. I'm I wrong?
Hi Christo,
the display cable of the Huawei P20 Pro is held in place by adhesive underneath the battery. Not removing the battery and loosening the adhesive underneath the cable will result in damage to the display and/or display cable when trying to lift the screen. At the same time the glued cable will hold the display in place and it won’t be possible to lift the display high enough to open the ZIF connector of the fingerprint without causing critical tension to the cable. However it can be possible to do it the way you were mentioning but this will require some experience with smartphone repairs and a good amount of instinctive feeling.
Leider ist mit beim Herausdrücken des Sensors der Metallrahmen mit herausgefallen. Diesen bekomme ich jetzt nicht mehr fest. Was mache ich denn jetzt? :(
Hi Thorsten, Ich vermute mal, dass der Metallrahmen auch mit Klebstoff von hinten am Display befestigt ist. Wenn du sagst, dass du ihn nicht mehr fest bekommst, liegt es daran dass es nicht mehr klebt oder der Klebstoff verformt ist. Falls noch gut in FOrm kann es schon genügen ihn warm zu machen und wieder ran zu drücken. Ansonsten muss man womöglich den alten Klebstoff entfernen, die Stelle reinigen und neuen Klebstoff anbringen. Zum Reinigen benutzt du am besten Isopropanol (>90%). Als Klebstoff bietet sich dieses doppelseitiges Klebeband an (könnte evtl aber auch zu schwach sein zwecks des Drucks auf den Button) oder ein Klebstoff wie der E6000. Allerdings ist es schwer zu sagen wie die Stoffe sich mit dem Display vertragen. Auf jeden Fall viel Erfolg mit der Reparatur.


