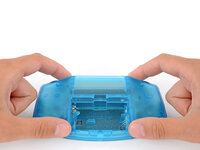
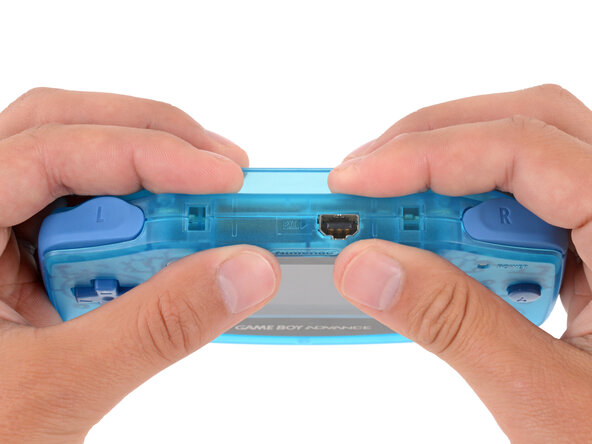
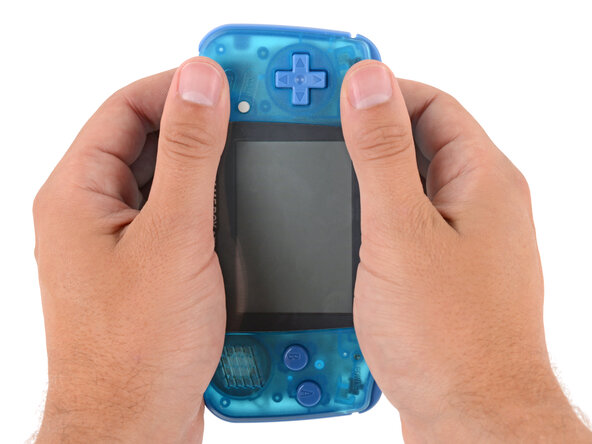
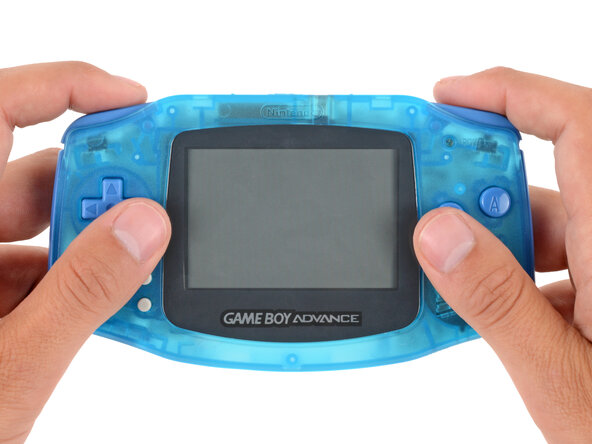
crwdns2933423:0crwdne2933423:0

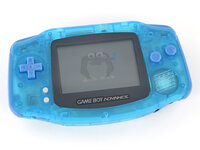
How to Reshell Your Game Boy Advance

crwdns2942213:0crwdne2942213:0

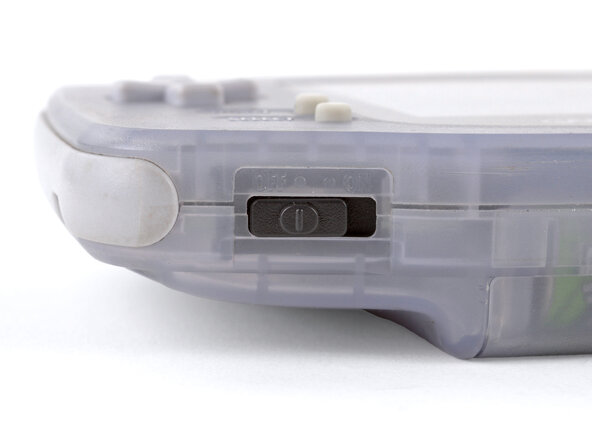
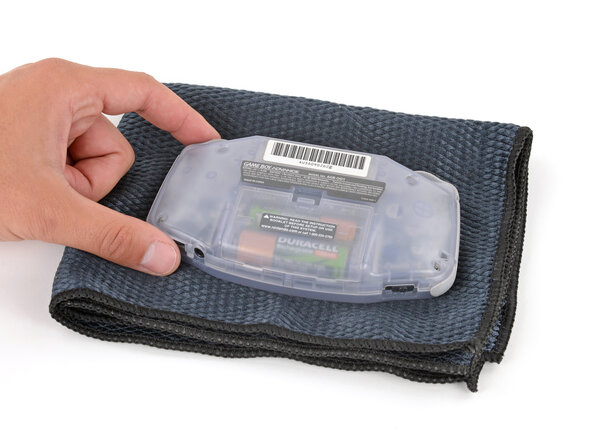
  1. How to Reshell Your Game Boy Advance, Prepare your Game Boy for disassembly: crwdns2935265:01crwdnd2935265:01crwdnd2935265:02crwdne2935265:0 How to Reshell Your Game Boy Advance, Prepare your Game Boy for disassembly: crwdns2935265:01crwdnd2935265:02crwdnd2935265:02crwdne2935265:0
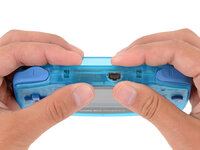
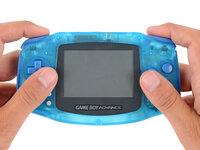
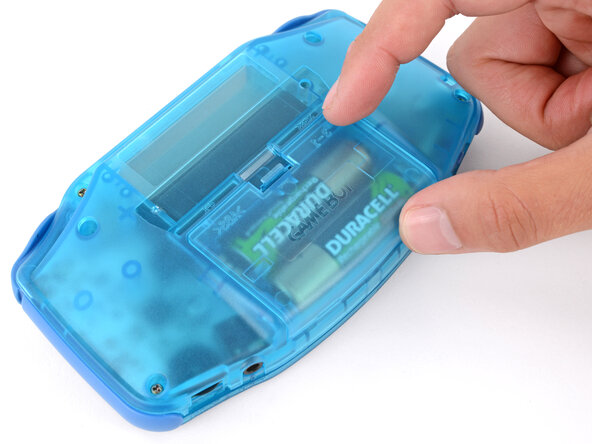
    • Before working on your Game Boy, turn the power switch to the OFF position and unplug any cables.

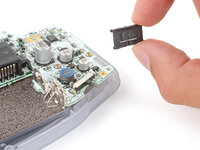
    • If you have a game cartridge installed, remove it.

    • Since your Game Boy will be laying screen‑side down for most of your repair, consider placing it on a clean cloth for protection.

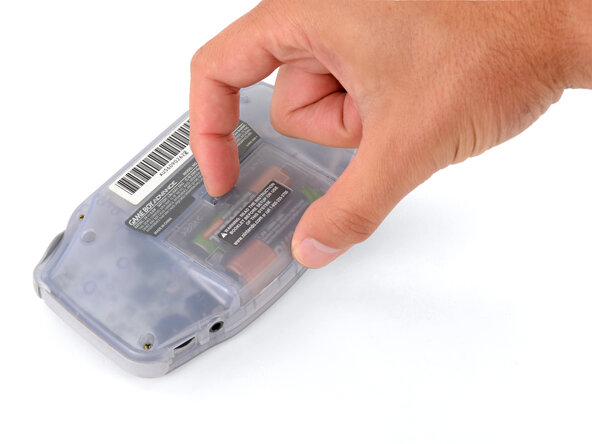
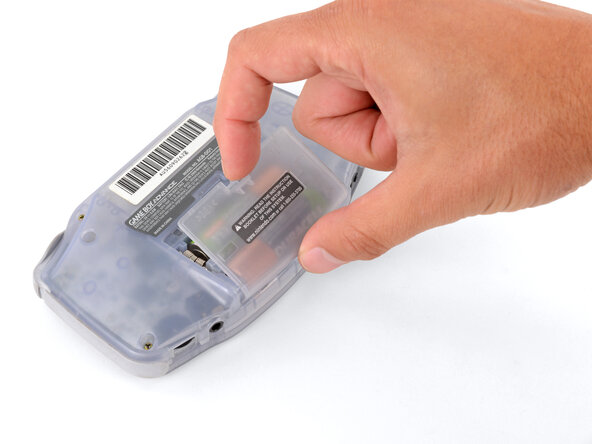
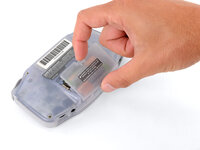
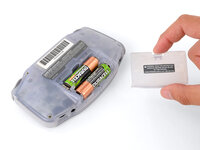
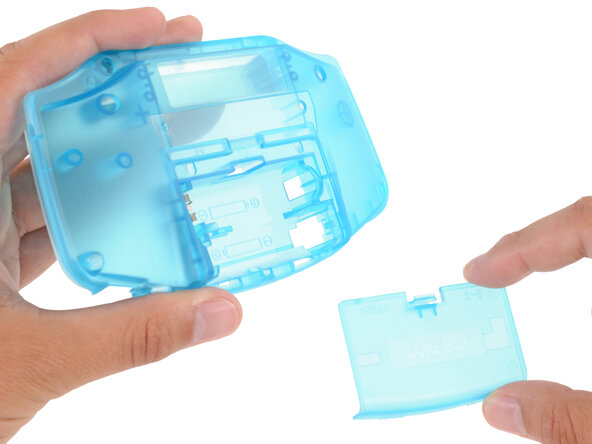
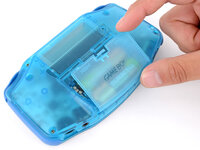
  2. How to Reshell Your Game Boy Advance, Remove the battery cover: crwdns2935265:02crwdnd2935265:01crwdnd2935265:03crwdne2935265:0 How to Reshell Your Game Boy Advance, Remove the battery cover: crwdns2935265:02crwdnd2935265:02crwdnd2935265:03crwdne2935265:0 How to Reshell Your Game Boy Advance, Remove the battery cover: crwdns2935265:02crwdnd2935265:03crwdnd2935265:03crwdne2935265:0
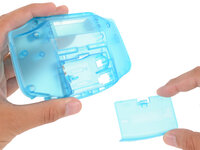
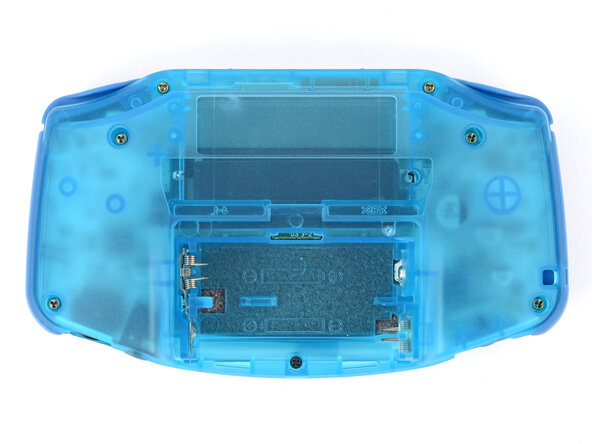
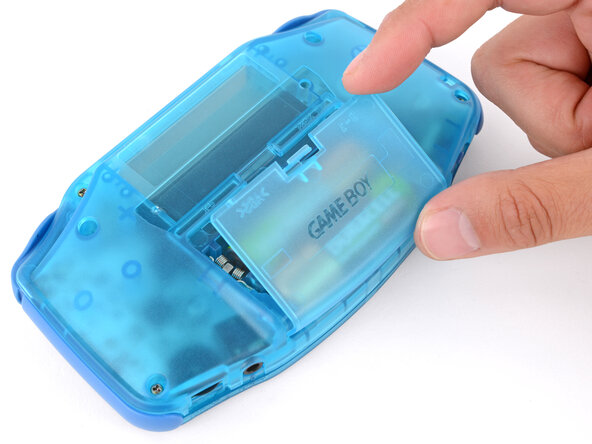
    • Release the battery cover tab with your finger and swing the cover away from your Game Boy to remove it.

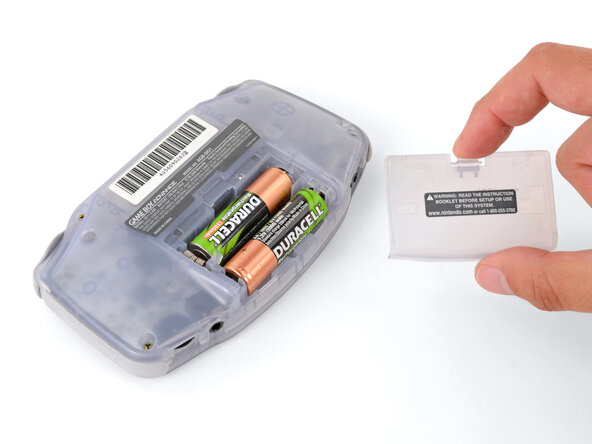
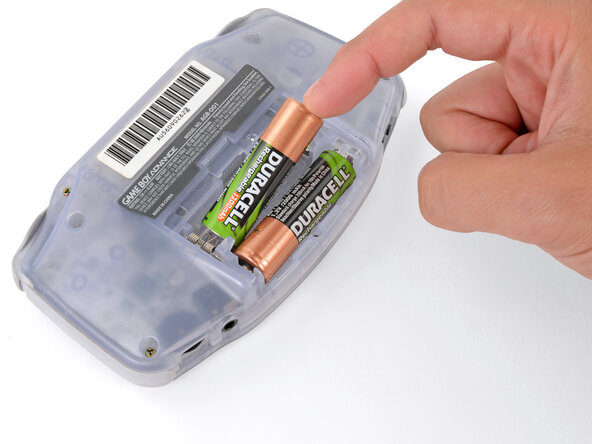
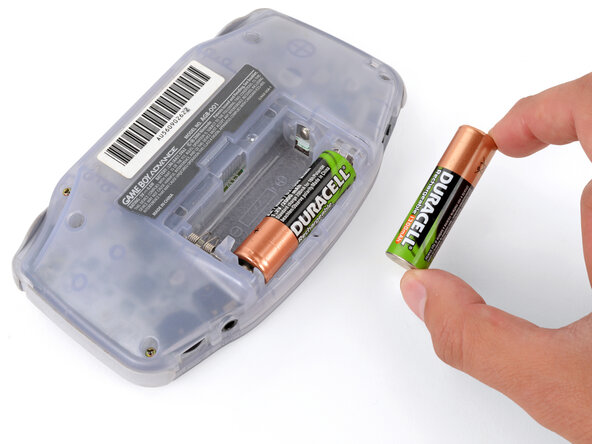
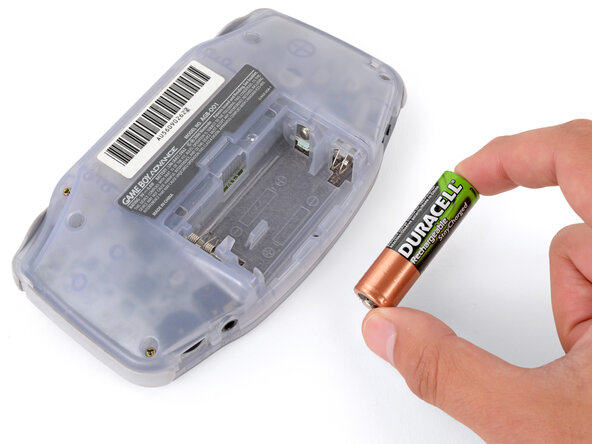
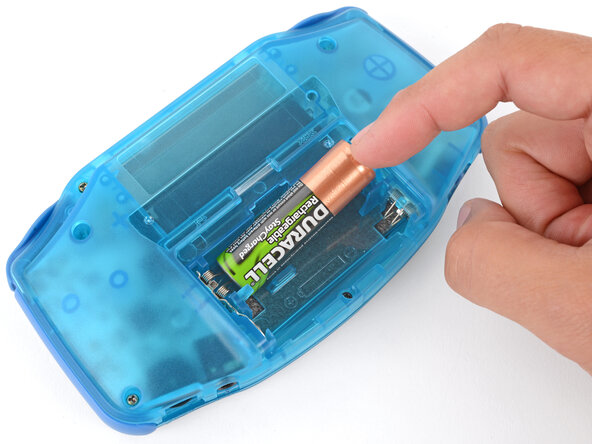
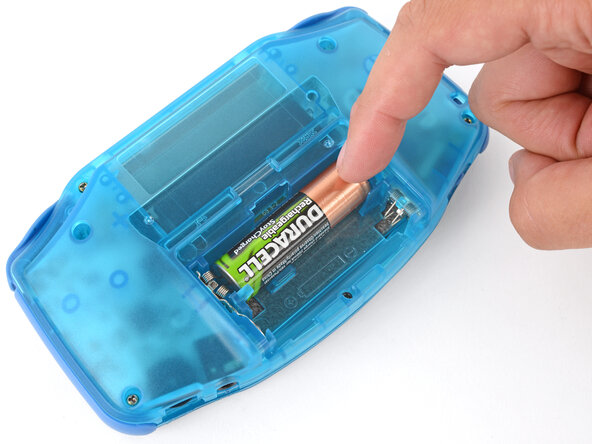
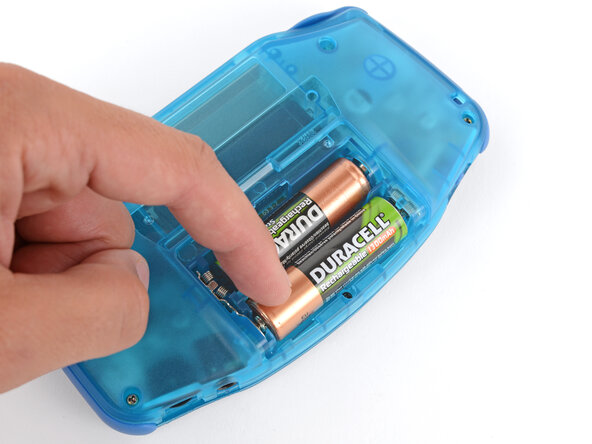
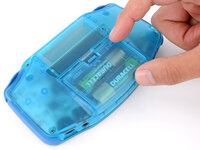
  3. How to Reshell Your Game Boy Advance, Remove the batteries: crwdns2935265:03crwdnd2935265:01crwdnd2935265:03crwdne2935265:0 How to Reshell Your Game Boy Advance, Remove the batteries: crwdns2935265:03crwdnd2935265:02crwdnd2935265:03crwdne2935265:0 How to Reshell Your Game Boy Advance, Remove the batteries: crwdns2935265:03crwdnd2935265:03crwdnd2935265:03crwdne2935265:0
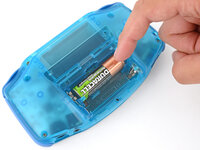
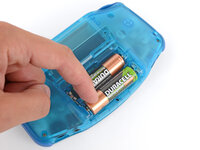
    • Remove the two AA batteries.

    • If the metal terminals are corroded, follow this guide to clean them—for better access, you can [crwdns2936915:0crwdne2936915:0].

  4. How to Reshell Your Game Boy Advance, Remove the back shell screws: crwdns2935265:04crwdnd2935265:01crwdnd2935265:02crwdne2935265:0 How to Reshell Your Game Boy Advance, Remove the back shell screws: crwdns2935265:04crwdnd2935265:02crwdnd2935265:02crwdne2935265:0
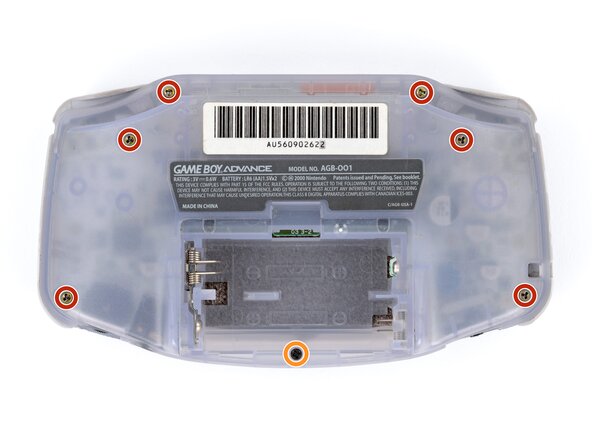
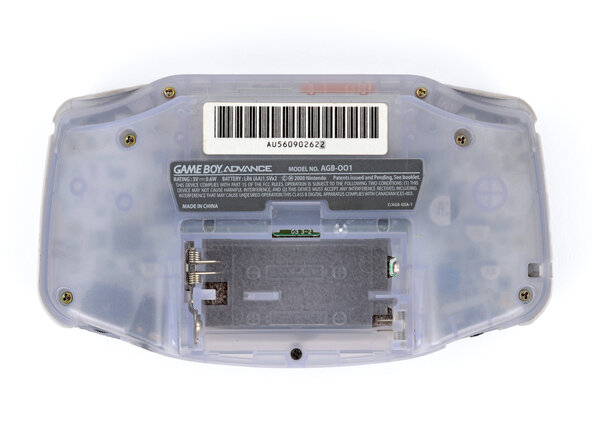
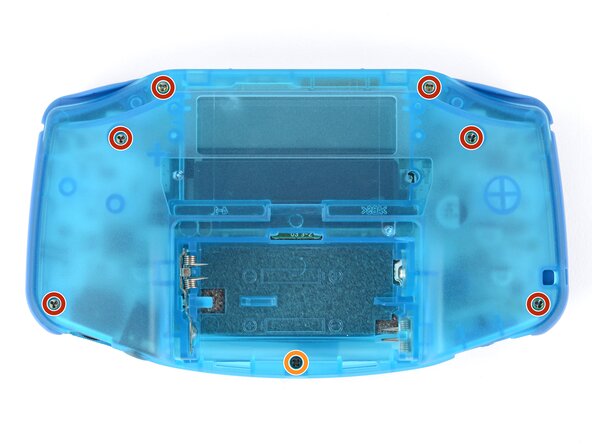
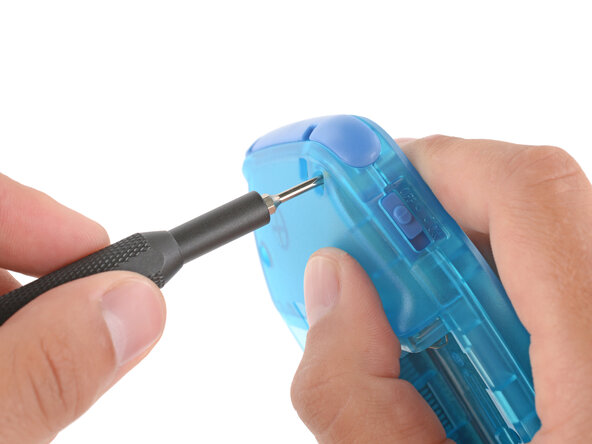
    • Remove the seven screws securing the back shell:

    • Six 9.4 mm‑long tri‑point Y0 screws

    • One 8.5 mm‑long JIS 1 screw

    • You can try to use a non-iFixit Phillips driver in a pinch, but you risk damaging or stripping screws. Push down firmly on the driver and twist slowly.

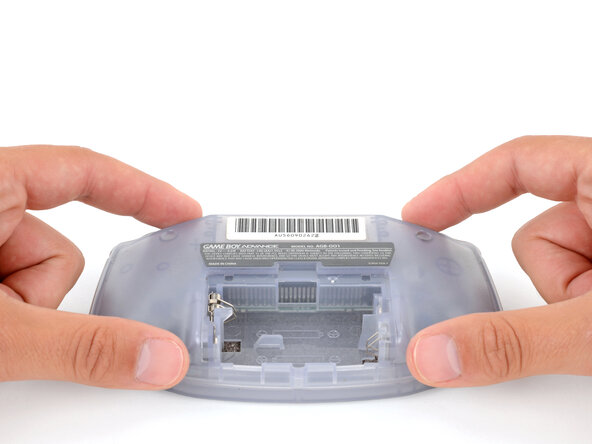
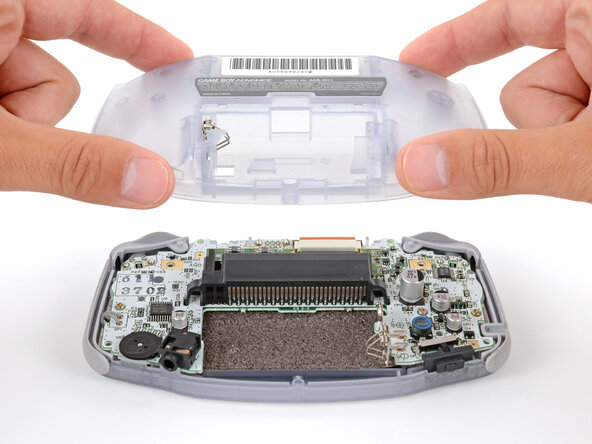
  5. How to Reshell Your Game Boy Advance, Remove the back shell: crwdns2935265:05crwdnd2935265:01crwdnd2935265:02crwdne2935265:0 How to Reshell Your Game Boy Advance, Remove the back shell: crwdns2935265:05crwdnd2935265:02crwdnd2935265:02crwdne2935265:0
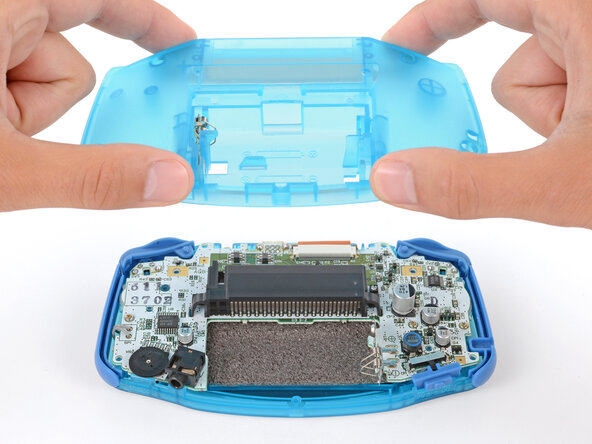
    • Lift the back shell straight up and remove it.

  6. How to Reshell Your Game Boy Advance, Remove the shoulder buttons: crwdns2935265:06crwdnd2935265:01crwdnd2935265:03crwdne2935265:0 How to Reshell Your Game Boy Advance, Remove the shoulder buttons: crwdns2935265:06crwdnd2935265:02crwdnd2935265:03crwdne2935265:0 How to Reshell Your Game Boy Advance, Remove the shoulder buttons: crwdns2935265:06crwdnd2935265:03crwdnd2935265:03crwdne2935265:0
    • Lift the shoulder buttons (aka L and R buttons) straight up to remove them.

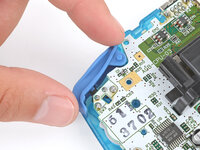
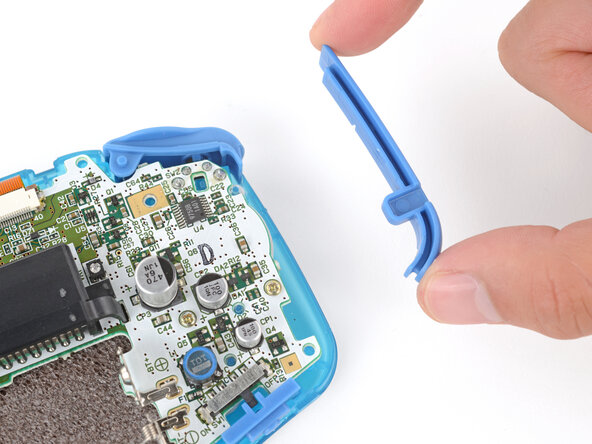
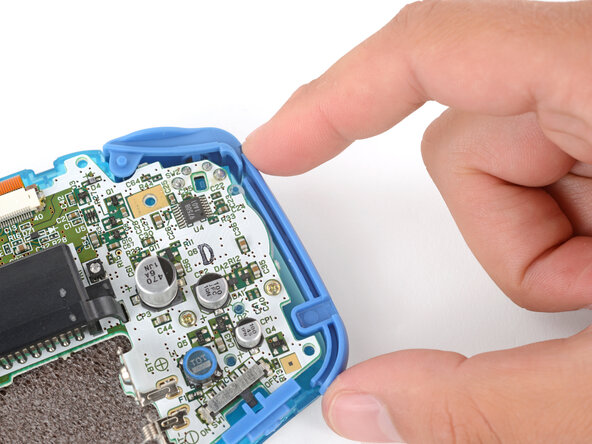
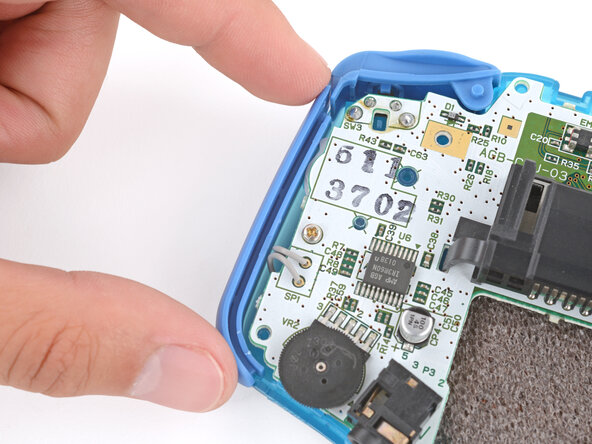
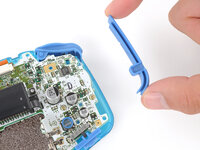
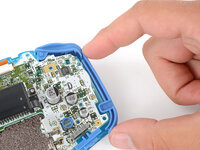
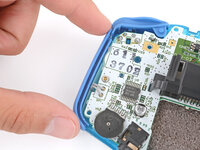
  7. How to Reshell Your Game Boy Advance, Remove the side bumpers: crwdns2935265:07crwdnd2935265:01crwdnd2935265:03crwdne2935265:0 How to Reshell Your Game Boy Advance, Remove the side bumpers: crwdns2935265:07crwdnd2935265:02crwdnd2935265:03crwdne2935265:0 How to Reshell Your Game Boy Advance, Remove the side bumpers: crwdns2935265:07crwdnd2935265:03crwdnd2935265:03crwdne2935265:0
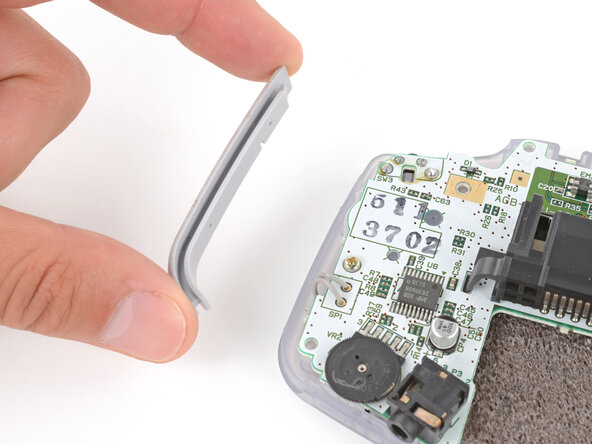
    • Lift and remove the side bumpers.

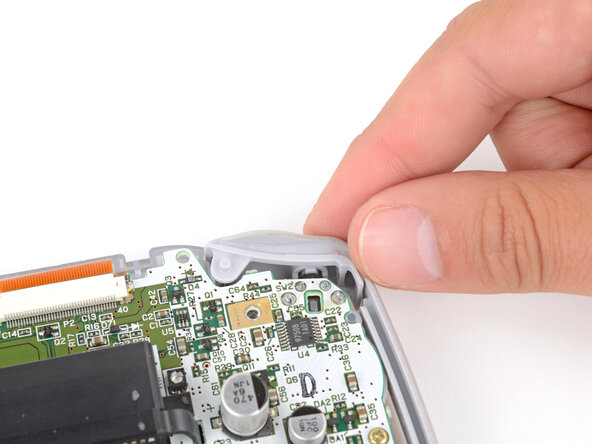
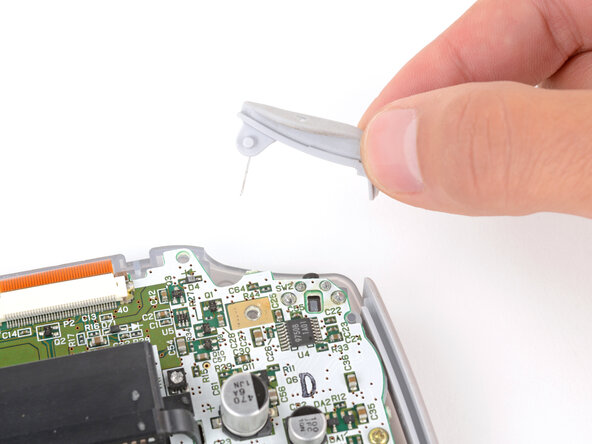
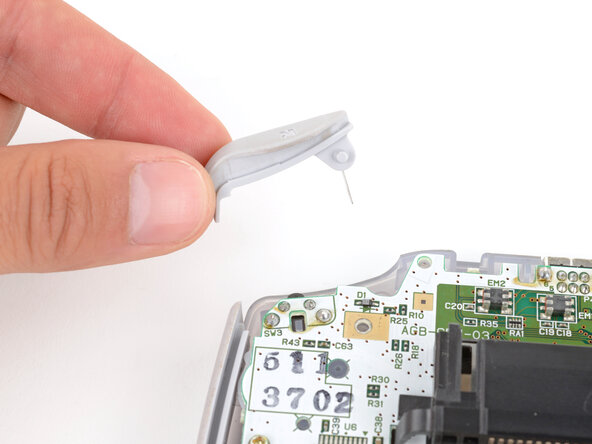
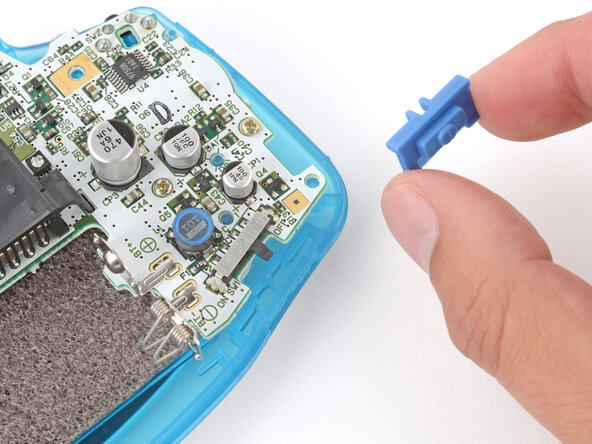
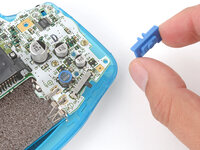
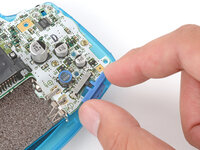
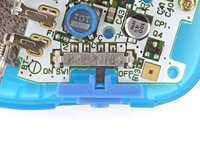
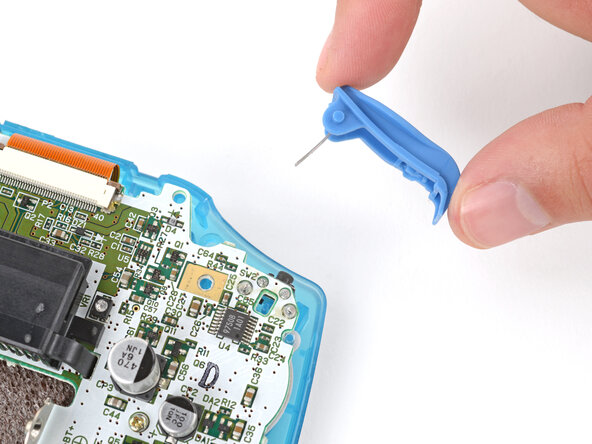
  8. How to Reshell Your Game Boy Advance, Remove the power switch cover: crwdns2935265:08crwdnd2935265:01crwdnd2935265:02crwdne2935265:0 How to Reshell Your Game Boy Advance, Remove the power switch cover: crwdns2935265:08crwdnd2935265:02crwdnd2935265:02crwdne2935265:0
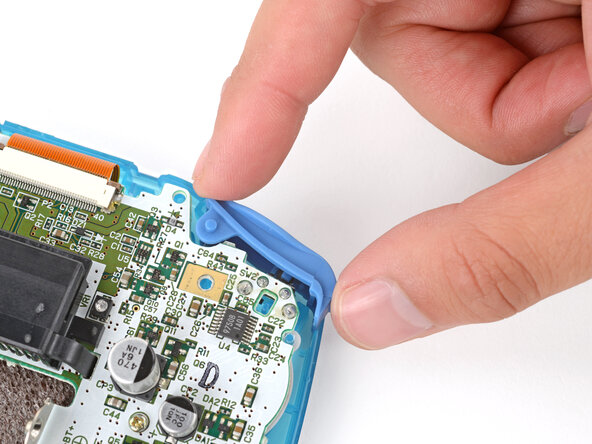
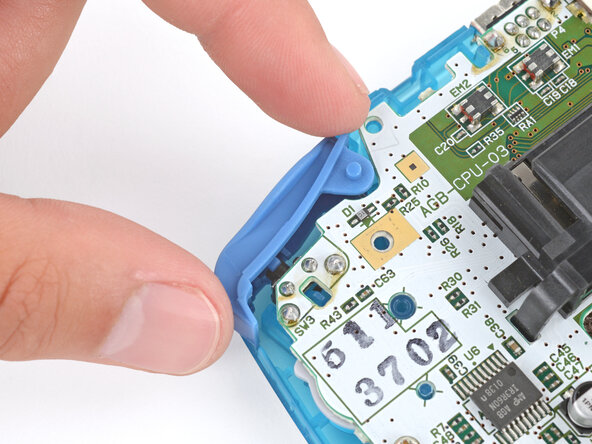
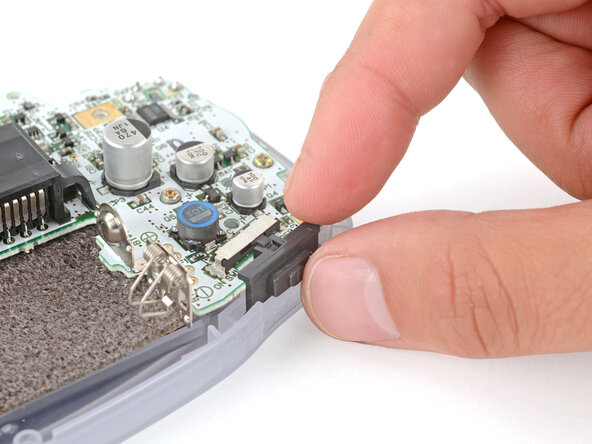
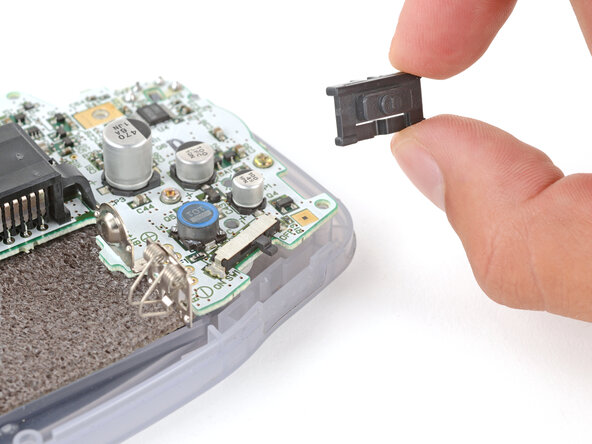
    • Lift and remove the power switch cover.

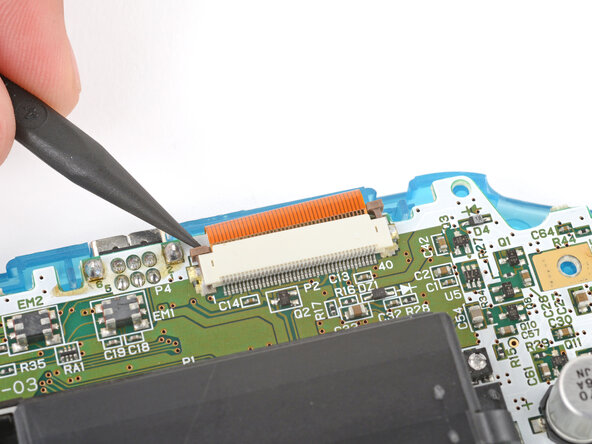
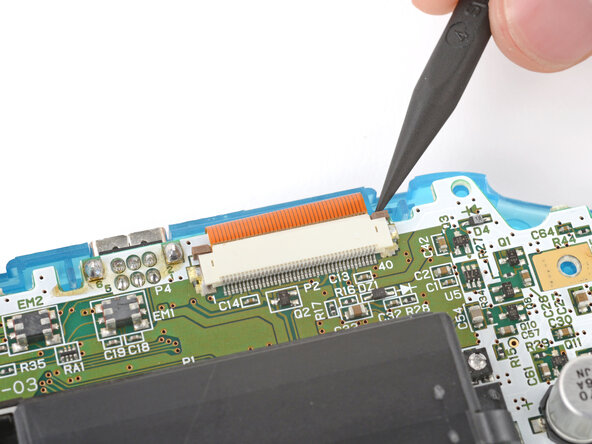
  9. How to Reshell Your Game Boy Advance, Disconnect the screen cable: crwdns2935265:09crwdnd2935265:01crwdnd2935265:03crwdne2935265:0 How to Reshell Your Game Boy Advance, Disconnect the screen cable: crwdns2935265:09crwdnd2935265:02crwdnd2935265:03crwdne2935265:0 How to Reshell Your Game Boy Advance, Disconnect the screen cable: crwdns2935265:09crwdnd2935265:03crwdnd2935265:03crwdne2935265:0
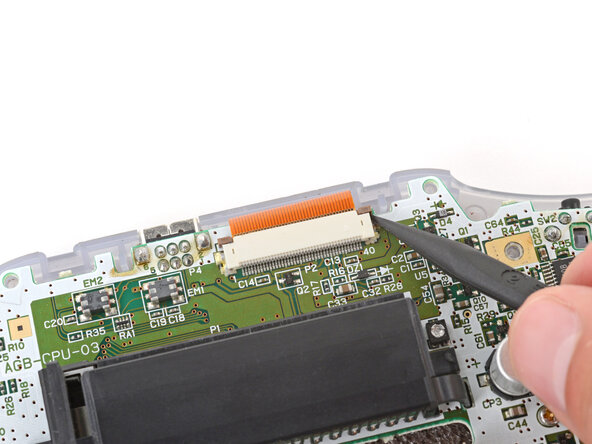
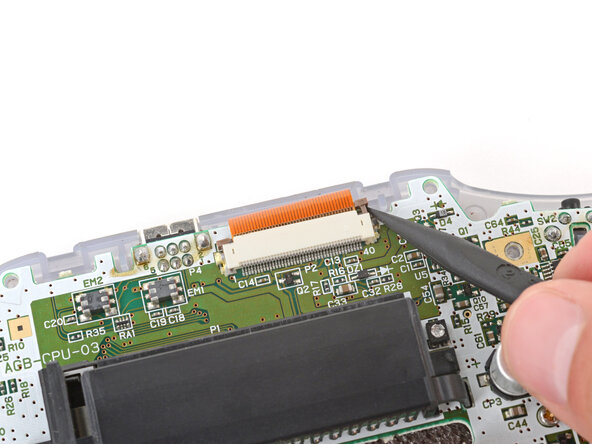
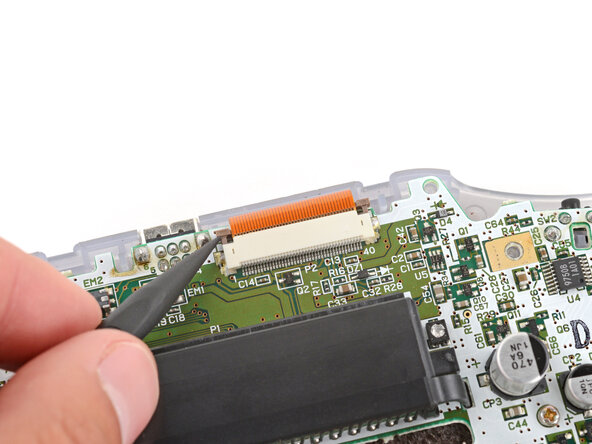
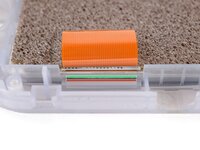
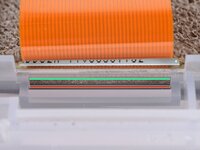
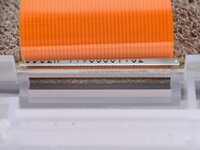
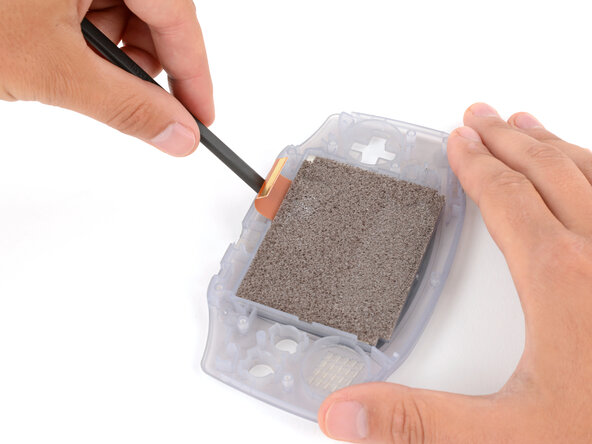
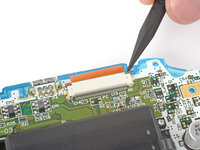
    • Use the point of a spudger to fully push up both locking tabs on either side of the screen cable connector.

    • You should feel the tab click into its unlocked position. Don't push too far, or the tab may slide completely out of the connector.

  10. How to Reshell Your Game Boy Advance: crwdns2935265:010crwdnd2935265:01crwdnd2935265:02crwdne2935265:0 How to Reshell Your Game Boy Advance: crwdns2935265:010crwdnd2935265:02crwdnd2935265:02crwdne2935265:0
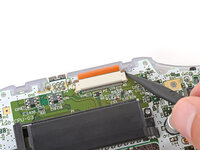
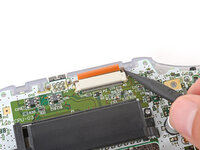
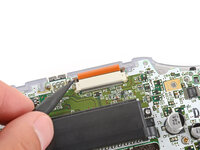
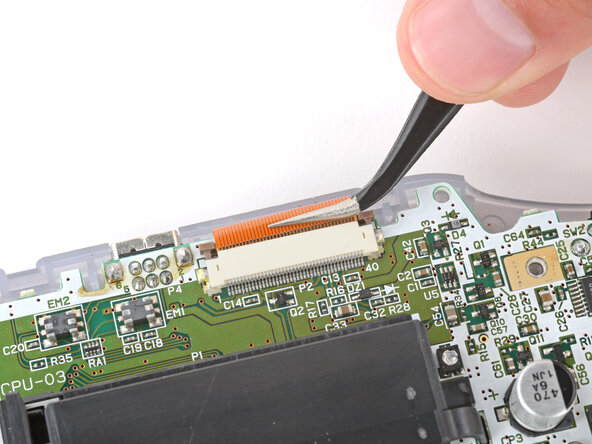
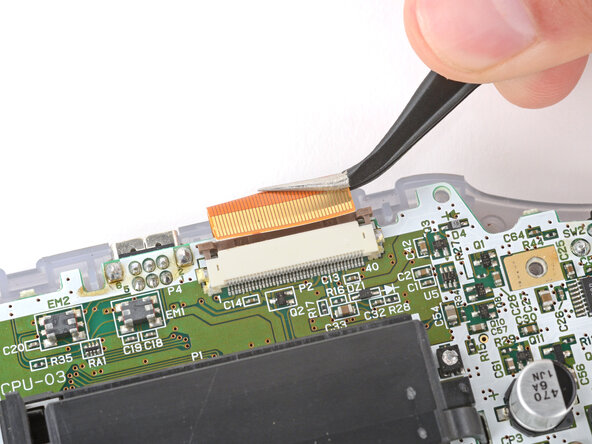
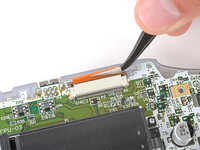
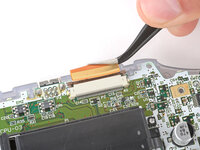
    • Use tweezers to slide the cable straight out of its socket.

    • The cable should come out with little to no force. If you feel resistance, the tab may not be fully unlocked.

  11. How to Reshell Your Game Boy Advance, Remove the motherboard screws: crwdns2935265:011crwdnd2935265:01crwdnd2935265:02crwdne2935265:0 How to Reshell Your Game Boy Advance, Remove the motherboard screws: crwdns2935265:011crwdnd2935265:02crwdnd2935265:02crwdne2935265:0
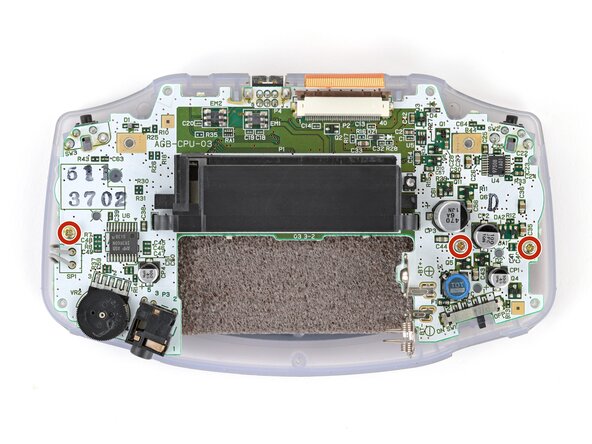
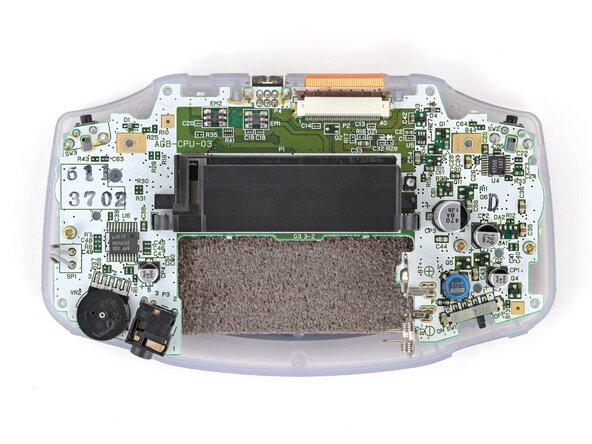
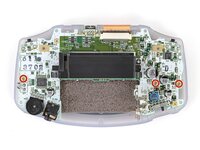
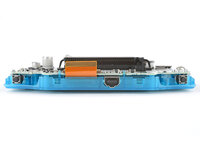
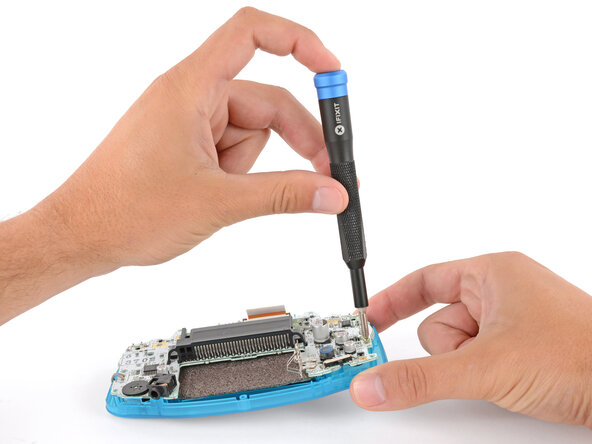
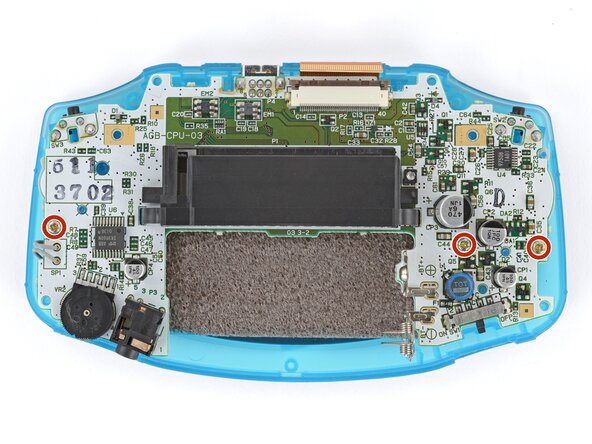
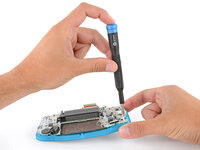
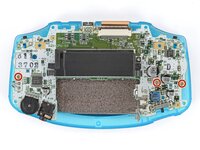
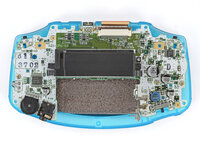
    • Use a JIS 1 screwdriver to remove the three 7 mm‑long screws securing the motherboard.

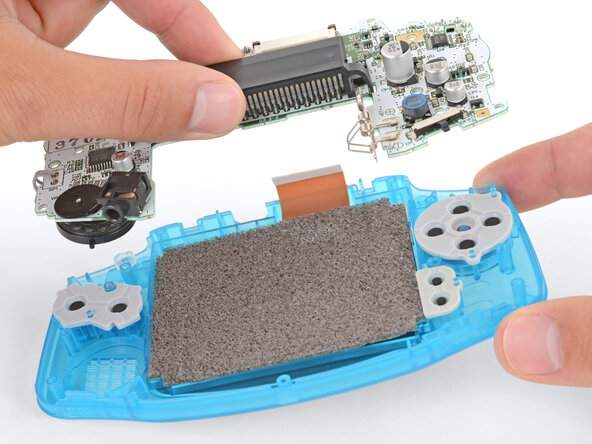
  12. How to Reshell Your Game Boy Advance, Remove the motherboard: crwdns2935265:012crwdnd2935265:01crwdnd2935265:03crwdne2935265:0 How to Reshell Your Game Boy Advance, Remove the motherboard: crwdns2935265:012crwdnd2935265:02crwdnd2935265:03crwdne2935265:0 How to Reshell Your Game Boy Advance, Remove the motherboard: crwdns2935265:012crwdnd2935265:03crwdnd2935265:03crwdne2935265:0
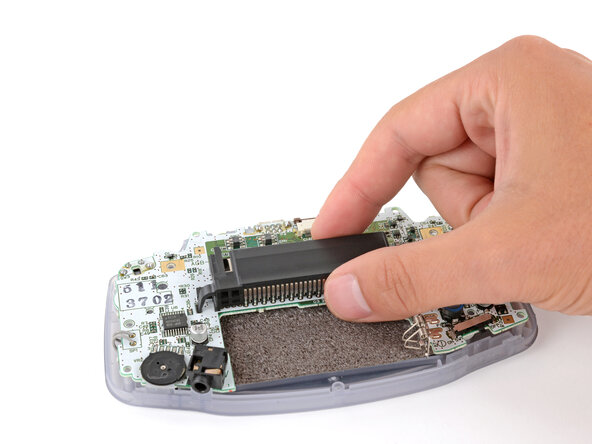
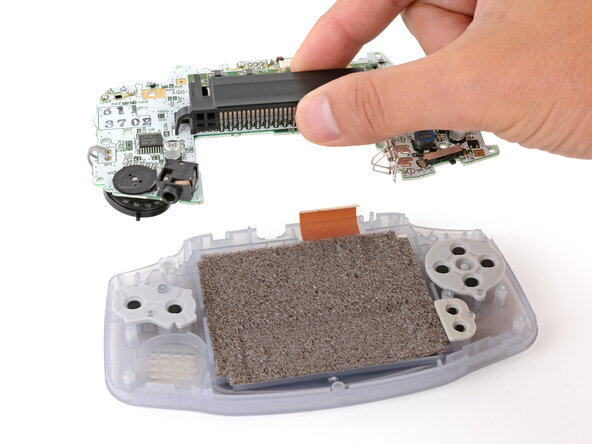
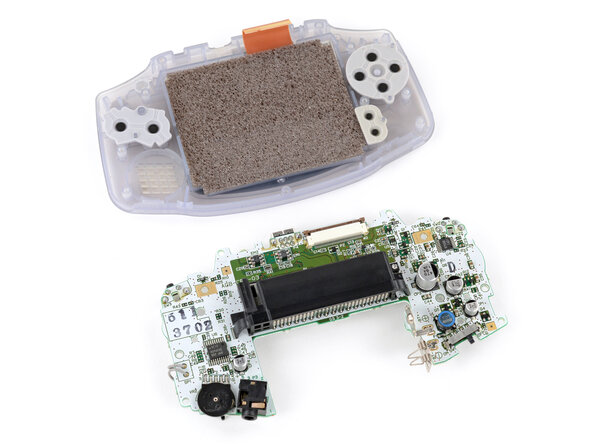
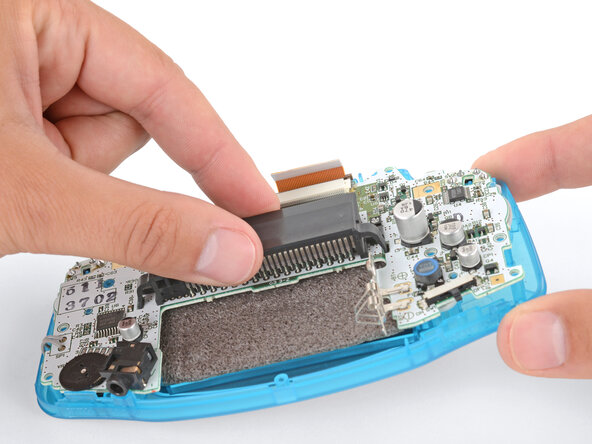
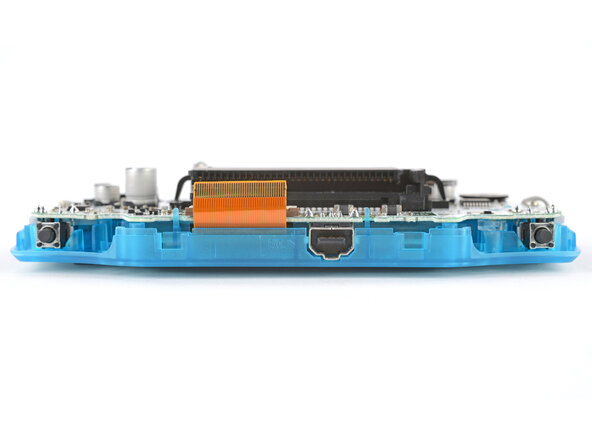
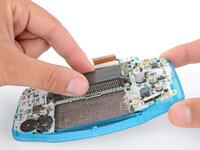
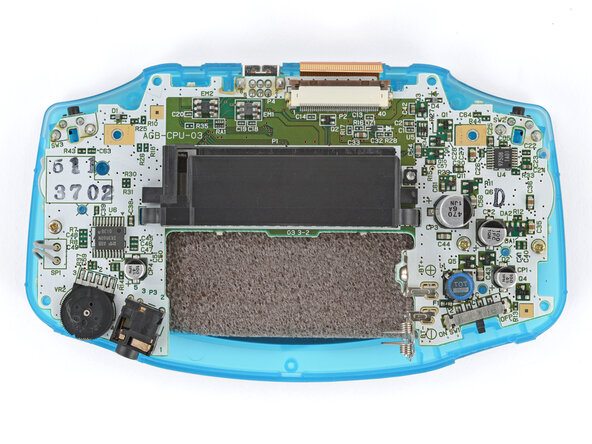
    • Use your fingers to grip the cartridge reader and lift the motherboard straight up to remove it.

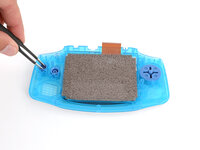
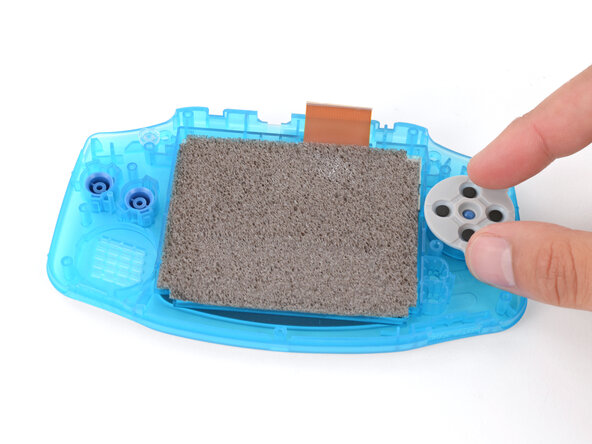
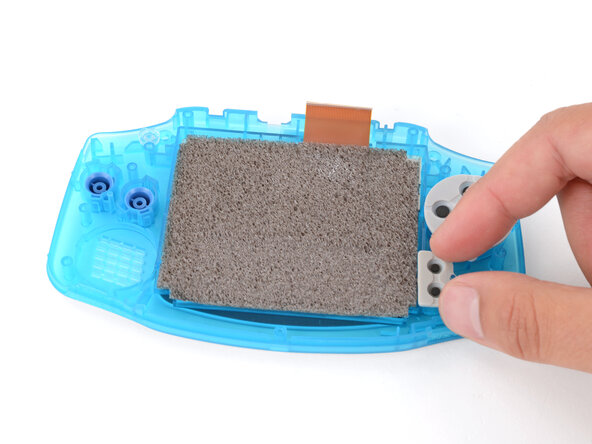
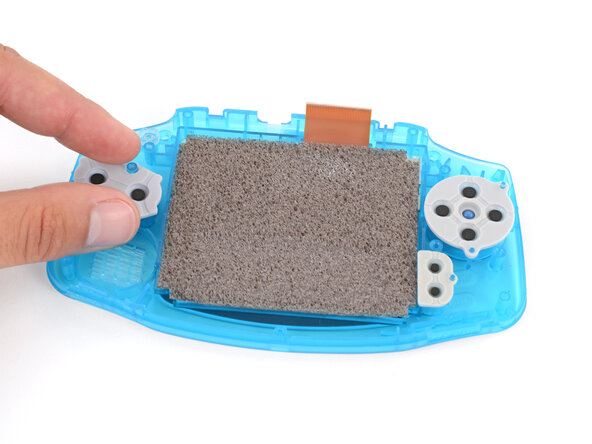
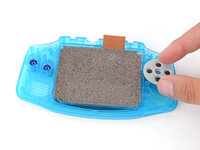
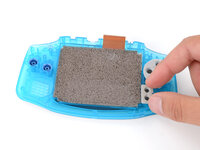
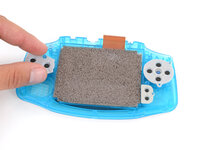
  13. How to Reshell Your Game Boy Advance, Remove the silicone pads: crwdns2935265:013crwdnd2935265:01crwdnd2935265:03crwdne2935265:0 How to Reshell Your Game Boy Advance, Remove the silicone pads: crwdns2935265:013crwdnd2935265:02crwdnd2935265:03crwdne2935265:0 How to Reshell Your Game Boy Advance, Remove the silicone pads: crwdns2935265:013crwdnd2935265:03crwdnd2935265:03crwdne2935265:0
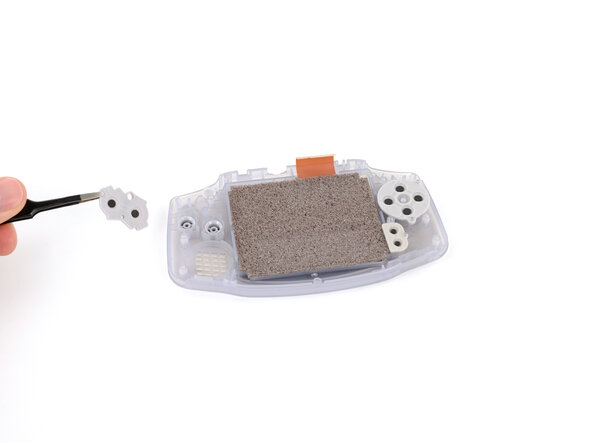
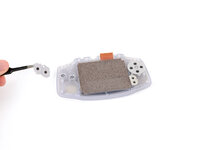
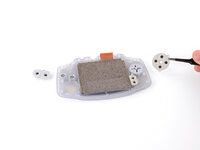
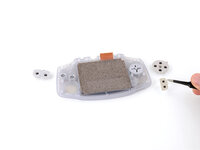
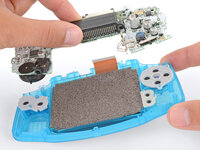
    • Use tweezers or your fingers to remove the silicone pads covering the action buttons (A and B), D‑pad, and Start/Select buttons.

    • If any of the pads are missing, they may be stuck to their corresponding spot on the motherboard.

  14. How to Reshell Your Game Boy Advance, Remove the buttons: crwdns2935265:014crwdnd2935265:01crwdnd2935265:03crwdne2935265:0 How to Reshell Your Game Boy Advance, Remove the buttons: crwdns2935265:014crwdnd2935265:02crwdnd2935265:03crwdne2935265:0 How to Reshell Your Game Boy Advance, Remove the buttons: crwdns2935265:014crwdnd2935265:03crwdnd2935265:03crwdne2935265:0
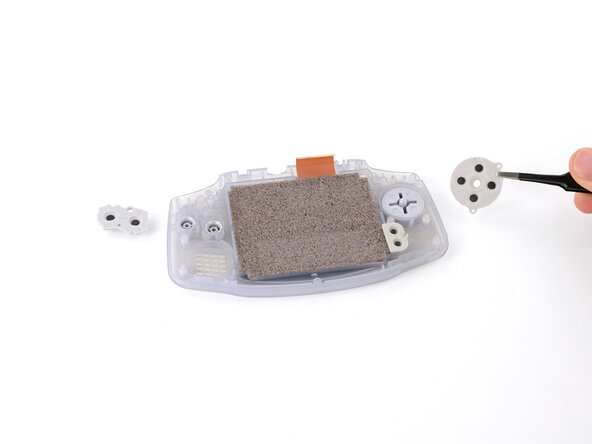
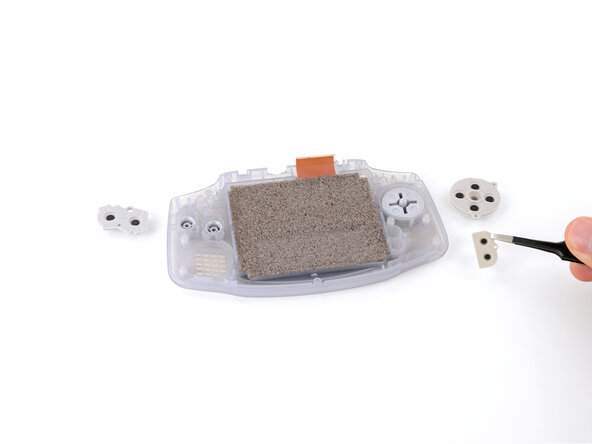
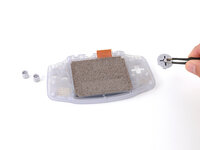
    • Use tweezers or your fingers to remove the action buttons (A + B) and D‑pad.

    • The Start/Select buttons are part of the silicone pad—there are no other buttons to remove.

  15. How to Reshell Your Game Boy Advance, Where to insert your tool: crwdns2935265:015crwdnd2935265:01crwdnd2935265:03crwdne2935265:0 How to Reshell Your Game Boy Advance, Where to insert your tool: crwdns2935265:015crwdnd2935265:02crwdnd2935265:03crwdne2935265:0 How to Reshell Your Game Boy Advance, Where to insert your tool: crwdns2935265:015crwdnd2935265:03crwdnd2935265:03crwdne2935265:0
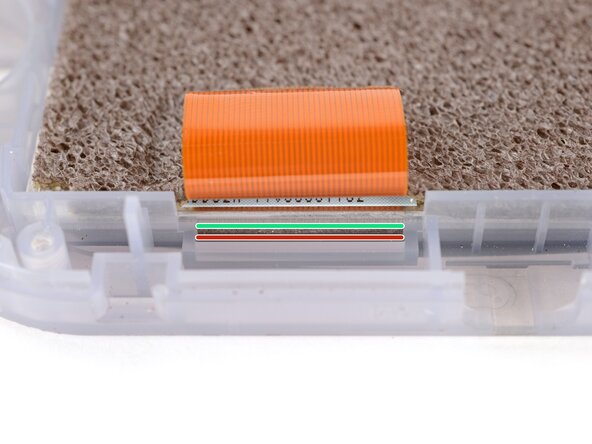
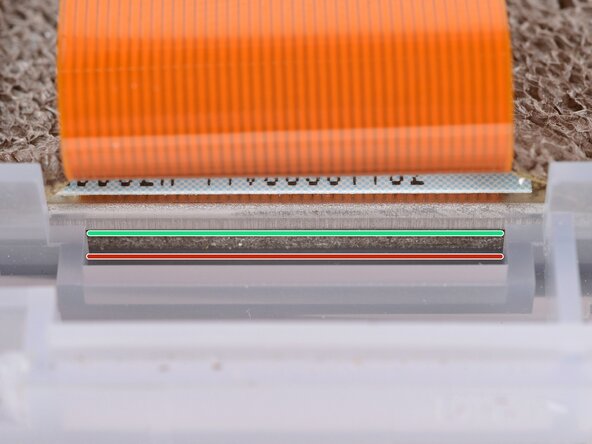
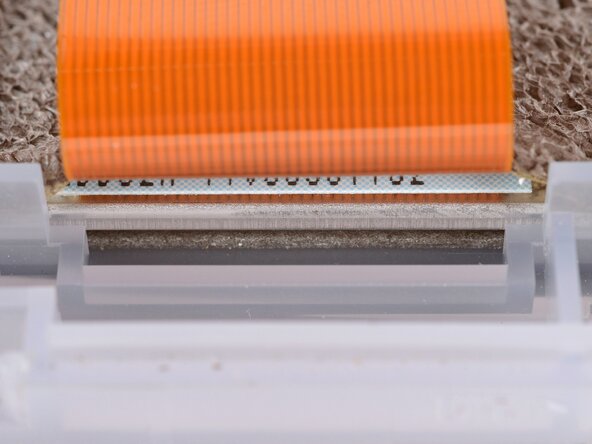
    • Before prying up the screen, note where you need to pry:

    • There's a seam between the screen and its gasket. Insert your tool here (under the screen) to give yourself the best chance of preserving the gasket.

    • There's a seam between the gasket and the shell. Don't insert your tool here, or you may damage the gasket.

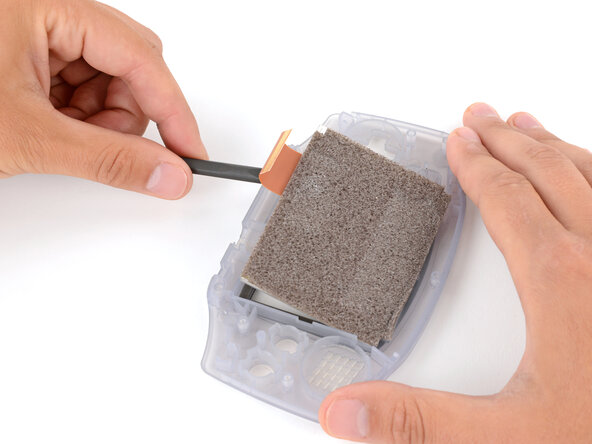
  16. How to Reshell Your Game Boy Advance, Pry up the screen: crwdns2935265:016crwdnd2935265:01crwdnd2935265:03crwdne2935265:0 How to Reshell Your Game Boy Advance, Pry up the screen: crwdns2935265:016crwdnd2935265:02crwdnd2935265:03crwdne2935265:0 How to Reshell Your Game Boy Advance, Pry up the screen: crwdns2935265:016crwdnd2935265:03crwdnd2935265:03crwdne2935265:0
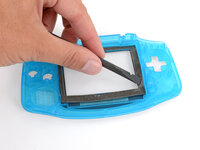
    • When removing the screen, be careful not to damage or stretch the adhesive gasket that secures it to the shell.

    • Insert the flat end of a spudger under the screen and pry the screen up. Apply constant, steady pressure to allow the screen adhesive to separate.

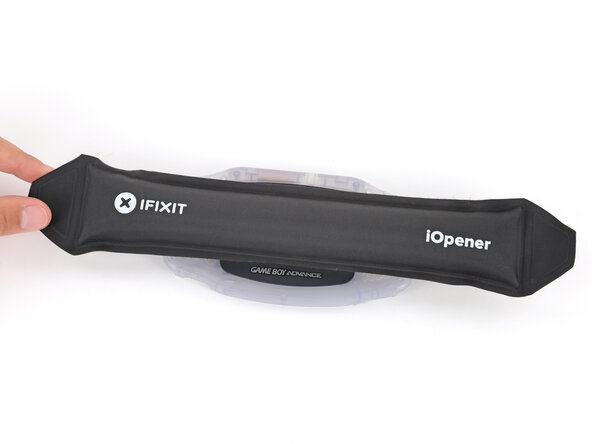
    • If the screen isn't budging, flip your Game Boy over and lay a heated iOpener on the screen for two minutes to soften the adhesive. Alternatively, you can use a hair dryer on the Low heat setting—be careful not to overheat your device, or you may warp the plastic.

  17. How to Reshell Your Game Boy Advance, Remove the screen: crwdns2935265:017crwdnd2935265:01crwdnd2935265:01crwdne2935265:0
    • Carefully lift the screen up and remove it.

  18. How to Reshell Your Game Boy Advance, Disassembly complete: crwdns2935265:018crwdnd2935265:01crwdnd2935265:01crwdne2935265:0
    • Congratulations on disassembling your Game Boy! The remaining steps will show you how to transfer everything into your new shells.

  19. How to Reshell Your Game Boy Advance, Gather your new parts: crwdns2935265:019crwdnd2935265:01crwdnd2935265:03crwdne2935265:0 How to Reshell Your Game Boy Advance, Gather your new parts: crwdns2935265:019crwdnd2935265:02crwdnd2935265:03crwdne2935265:0 How to Reshell Your Game Boy Advance, Gather your new parts: crwdns2935265:019crwdnd2935265:03crwdnd2935265:03crwdne2935265:0
    crwdns2935267:0crwdne2935267:0
    Maxi-Cure Glue
    $6.99
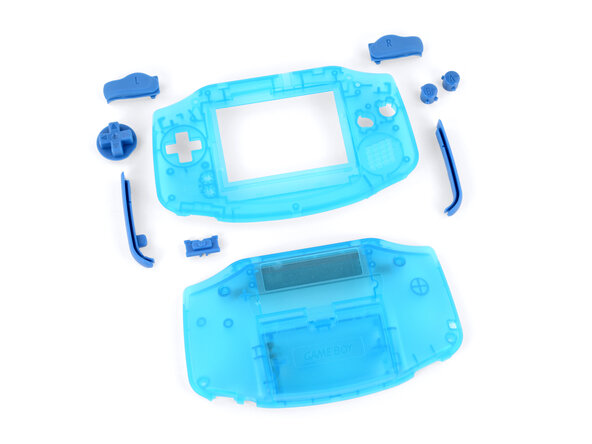
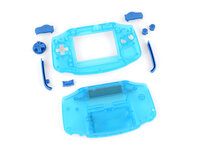
    • Before starting reassembly, gather your new shells and buttons. Compare them to the original parts—you may need to remove or transfer some pieces:

    • The new buttons may be connected together with small plastic sprues. If they are, break them apart and discard the plastic.

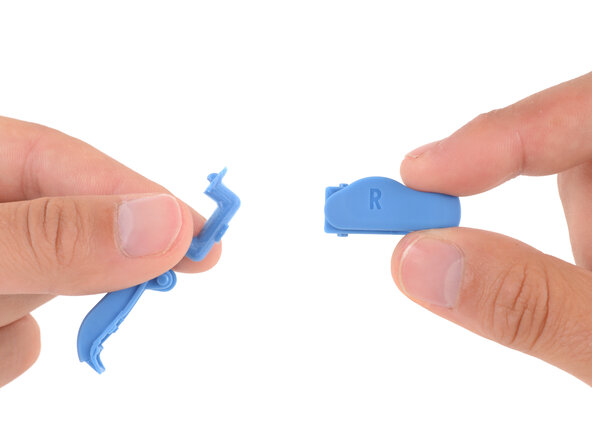
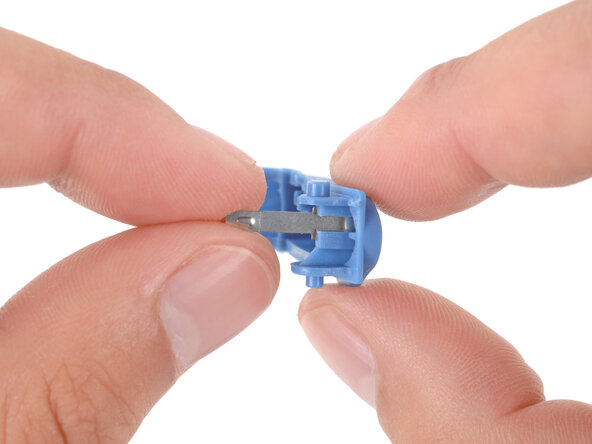
    • The new shoulder buttons require the small metal arms to function smoothly. Your replacement kit may come with them, or you might have to transfer them from the original buttons.

    • When installing the metal arms, make sure the arm bends inward. Optionally, you can apply one drop of superglue to the end of the arm to secure it to the button.

    • Once you've prepared your new parts for reassembly, separate them from your original ones—you don't want to accidentally install old parts!

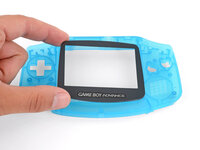
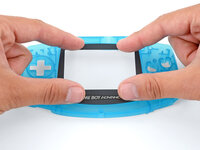
  20. How to Reshell Your Game Boy Advance, Install the screen lens: crwdns2935265:020crwdnd2935265:01crwdnd2935265:03crwdne2935265:0 How to Reshell Your Game Boy Advance, Install the screen lens: crwdns2935265:020crwdnd2935265:02crwdnd2935265:03crwdne2935265:0 How to Reshell Your Game Boy Advance, Install the screen lens: crwdns2935265:020crwdnd2935265:03crwdnd2935265:03crwdne2935265:0
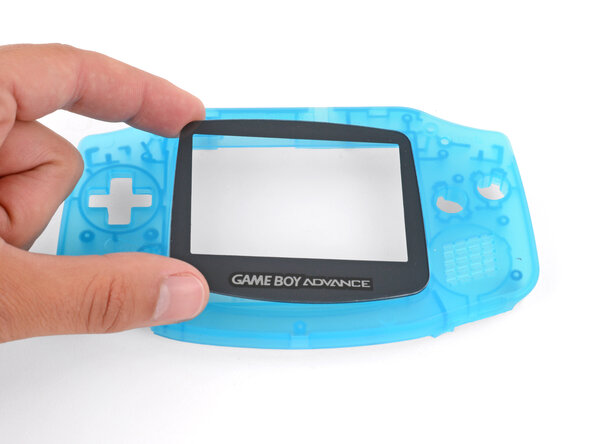
    • If your new shell has a screen lens pre‑installed, skip this step.

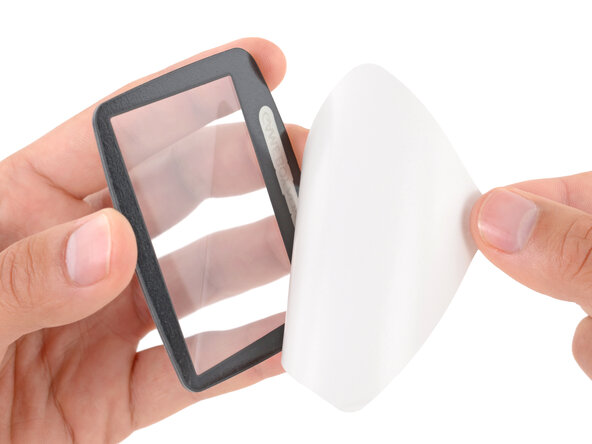
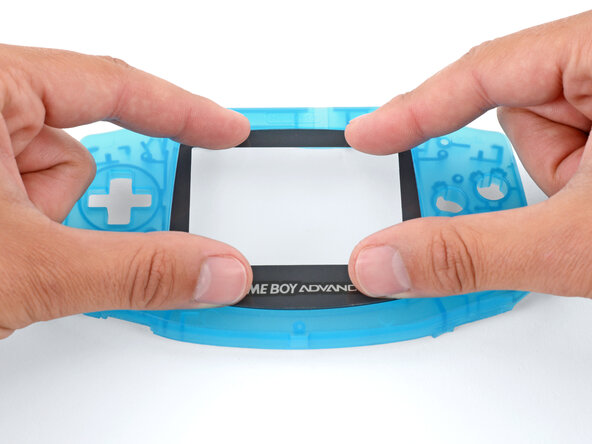
    • Remove the adhesive backing from your replacement screen lens and firmly press it into place on your new front shell.

    • Your replacement lens will likely have a protective liner on the front. To prevent scratches, leave it on until you've fully reassembled your Game Boy.

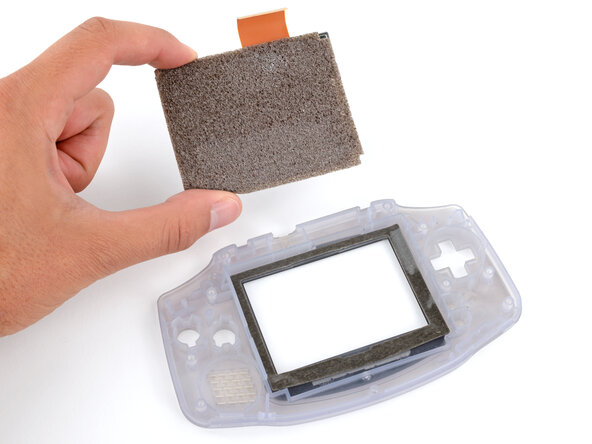
  21. How to Reshell Your Game Boy Advance, Transfer the screen gasket: crwdns2935265:021crwdnd2935265:01crwdnd2935265:03crwdne2935265:0 How to Reshell Your Game Boy Advance, Transfer the screen gasket: crwdns2935265:021crwdnd2935265:02crwdnd2935265:03crwdne2935265:0 How to Reshell Your Game Boy Advance, Transfer the screen gasket: crwdns2935265:021crwdnd2935265:03crwdnd2935265:03crwdne2935265:0
    • If your new shell has a screen pre‑installed, skip the next two steps.

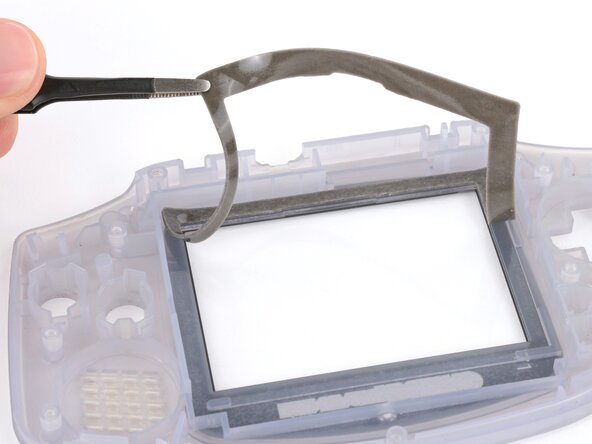
    • You'll need a screen gasket for your new shell. If your shell comes with one pre‑installed, you can skip this step.

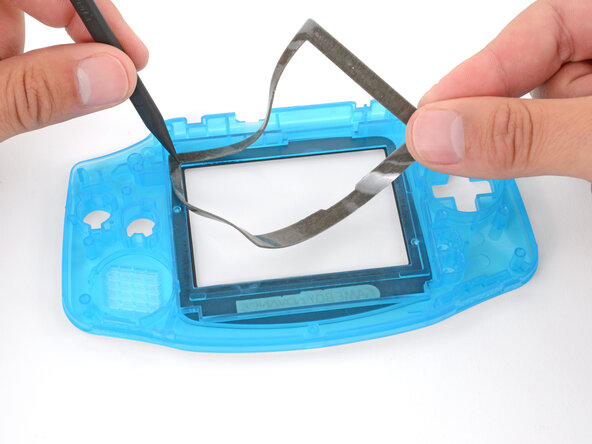
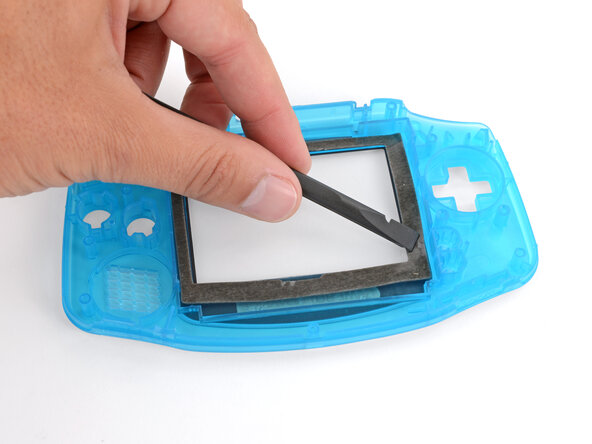
    • If your kit doesn't have a replacement gasket, carefully remove the old one from your original shell (or screen, if it stuck to the bottom). If your kit comes with a new gasket, remove its adhesive liner.

    • Use your fingers to carefully align and install the gasket in your new shell, using a spudger as necessary to hold the gasket in place and secure it.

  22. How to Reshell Your Game Boy Advance, Install the screen: crwdns2935265:022crwdnd2935265:01crwdnd2935265:03crwdne2935265:0 How to Reshell Your Game Boy Advance, Install the screen: crwdns2935265:022crwdnd2935265:02crwdnd2935265:03crwdne2935265:0 How to Reshell Your Game Boy Advance, Install the screen: crwdns2935265:022crwdnd2935265:03crwdnd2935265:03crwdne2935265:0
    • Before installing your screen, note the following:

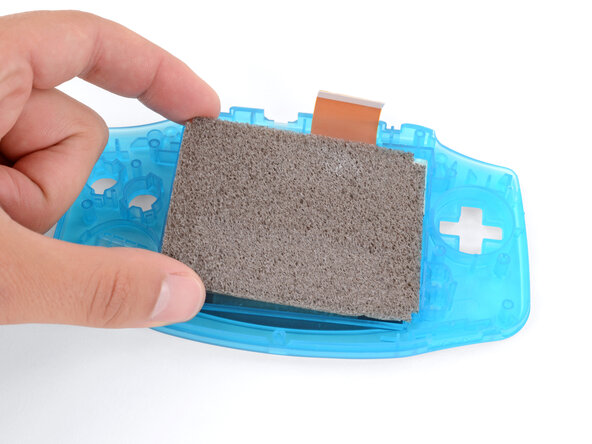
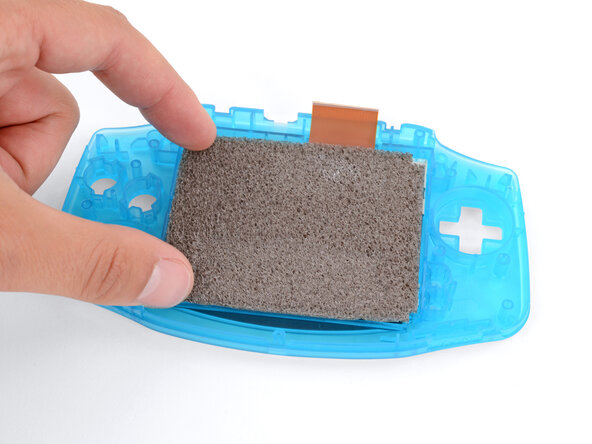
    • If you're installing your original screen, this is a good time to gently clean it with a clean, lint‑free cloth.

    • If you're installing a new screen, check for any protective liners and remove them.

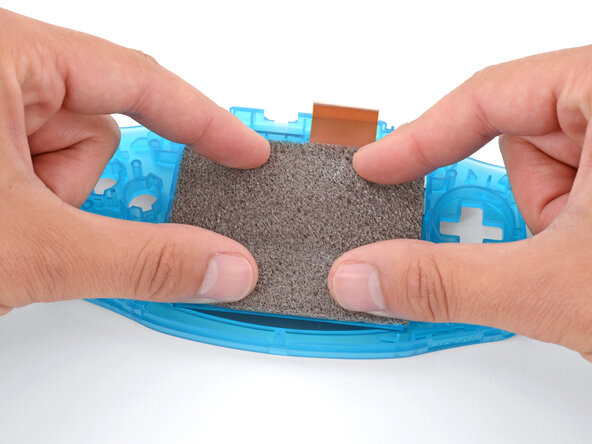
    • Lay your screen into its recess and firmly press around the perimeter to secure it against the adhesive gasket.

  23. How to Reshell Your Game Boy Advance, Install the Power light: crwdns2935265:023crwdnd2935265:01crwdnd2935265:02crwdne2935265:0 How to Reshell Your Game Boy Advance, Install the Power light: crwdns2935265:023crwdnd2935265:02crwdnd2935265:02crwdne2935265:0
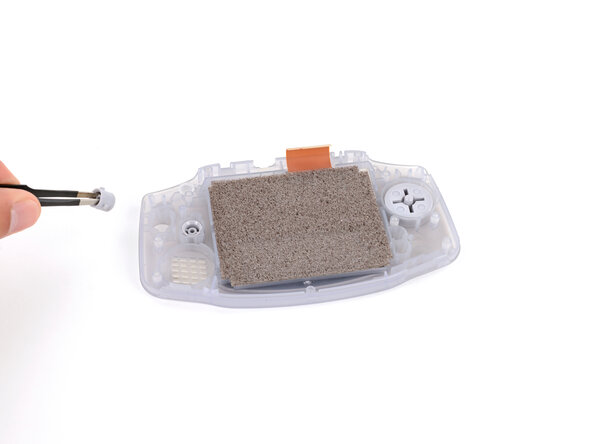
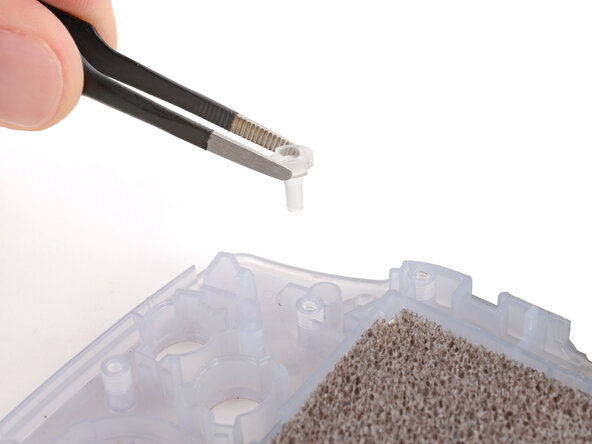
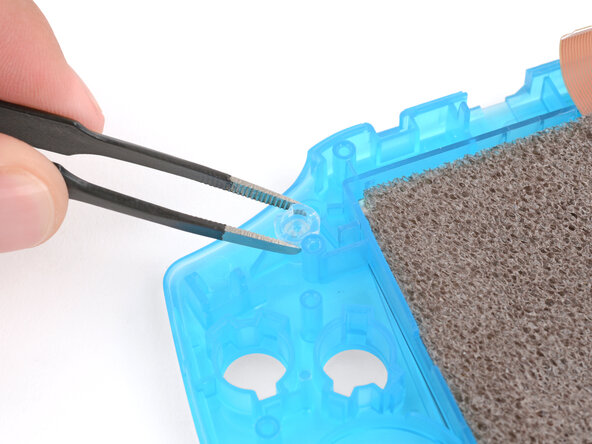
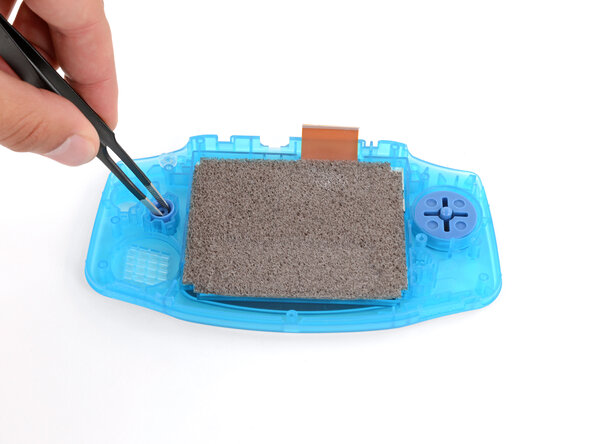
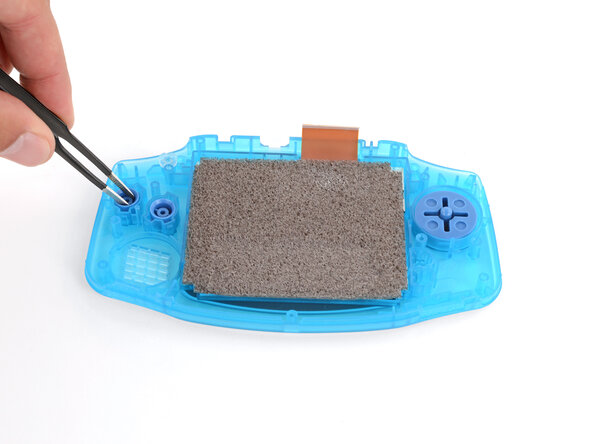
    • If your kit doesn't come with the small, translucent, peg‑shaped Power light diffuser, use tweezers to remove it from your original shell (above the action buttons).

    • Use tweezers to install the light diffuser in your new shell.

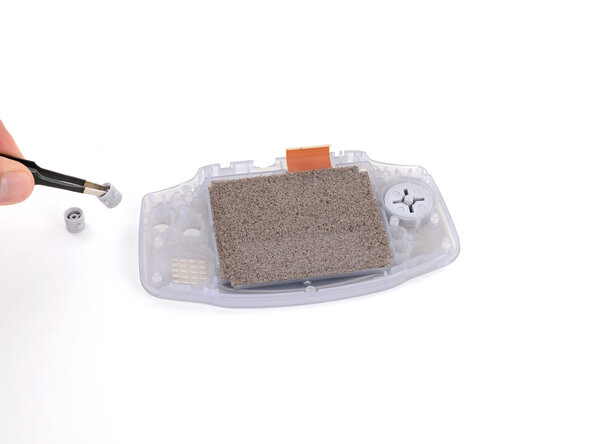
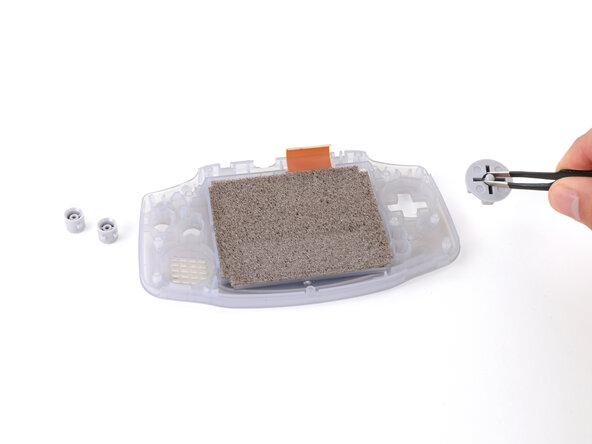
  24. How to Reshell Your Game Boy Advance, Install the D‑pad and action buttons: crwdns2935265:024crwdnd2935265:01crwdnd2935265:03crwdne2935265:0 How to Reshell Your Game Boy Advance, Install the D‑pad and action buttons: crwdns2935265:024crwdnd2935265:02crwdnd2935265:03crwdne2935265:0 How to Reshell Your Game Boy Advance, Install the D‑pad and action buttons: crwdns2935265:024crwdnd2935265:03crwdnd2935265:03crwdne2935265:0
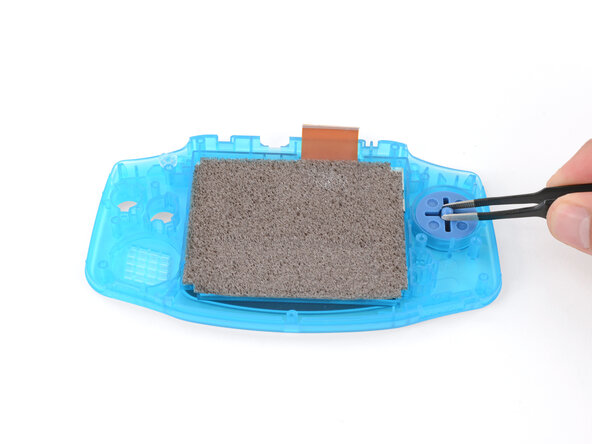
    • Use tweezers or your fingers to install the action buttons (A + B) and D‑pad.

    • The action buttons are keyed specifically for their recesses and proper orientation. The D-pad isn't keyed; any orientation is fine.

    • The Start/Select buttons are integrated with their silicone pad—there are no plastic buttons to install.

  25. How to Reshell Your Game Boy Advance, Install the silicone pads: crwdns2935265:025crwdnd2935265:01crwdnd2935265:03crwdne2935265:0 How to Reshell Your Game Boy Advance, Install the silicone pads: crwdns2935265:025crwdnd2935265:02crwdnd2935265:03crwdne2935265:0 How to Reshell Your Game Boy Advance, Install the silicone pads: crwdns2935265:025crwdnd2935265:03crwdnd2935265:03crwdne2935265:0
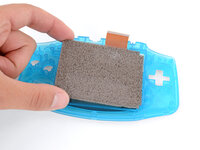
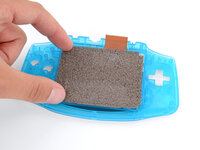
    • You may need to lift the shell up and off of your work surface during this step to get the silicone pads fully seated. With the shell flat, the buttons will push up on the pads.

    • Use your fingers to firmly press the three silicone pads into place—one for the action buttons (A and B), D‑pad, and Start/Select buttons.

    • Each pad has cutouts for alignment pegs to help properly orient them.

  26. How to Reshell Your Game Boy Advance, Insert the motherboard: crwdns2935265:026crwdnd2935265:01crwdnd2935265:03crwdne2935265:0 How to Reshell Your Game Boy Advance, Insert the motherboard: crwdns2935265:026crwdnd2935265:02crwdnd2935265:03crwdne2935265:0 How to Reshell Your Game Boy Advance, Insert the motherboard: crwdns2935265:026crwdnd2935265:03crwdnd2935265:03crwdne2935265:0
    • If you're upgrading your screen or motherboard, you'll likely need to do some soldering or modifications before installing the motherboard. Reference any instructions included with your kit—and the website you purchased it from—to ensure you are properly installing everything. If this is your first time soldering, check out our helpful soldering guide.

    • With one hand, hold the front shell slightly above your work surface—try to keep the shell raised until you install the motherboard screws.

    • This will help allow you to fully seat the motherboard, since the buttons will push the board up if it's flat on your work surface.

    • With your free hand, grip the motherboard by the cartridge reader.

    • Push the motherboard into place on the shell, making sure the speaker gets correctly slotted into its circular cutout (including a small tab on the bottom).

    • You may feel the board lightly click into place.

    • Check around the perimeter of the board to ensure it's fully seated with no large gaps between the board and shell. If there are, gently wiggle the board and push it into place.

  27. How to Reshell Your Game Boy Advance, Install the motherboard screws: crwdns2935265:027crwdnd2935265:01crwdnd2935265:03crwdne2935265:0 How to Reshell Your Game Boy Advance, Install the motherboard screws: crwdns2935265:027crwdnd2935265:02crwdnd2935265:03crwdne2935265:0 How to Reshell Your Game Boy Advance, Install the motherboard screws: crwdns2935265:027crwdnd2935265:03crwdnd2935265:03crwdne2935265:0
    • If your kit includes replacement screws, install them during reassembly. The screw lengths or bit sizes may vary slightly—use the quantity of each type to determine placement, keeping in mind that each set may include an extra screw.

    • With one side of the shell raised, use a JIS 1 screwdriver to install the three 7 mm‑long screws securing the motherboard.

    • Before continuing, make sure the board is correctly seated:

    • Test the action buttons, D‑pad, and Start/Select buttons.

    • Check around the perimeter of the board to ensure there are no large gaps between the board and shell.

    • If the buttons feel off or there are any large gaps, loosen the screws and re‑seat the board, tighten the board, and test it again.

  28. How to Reshell Your Game Boy Advance, Connect the screen cable: crwdns2935265:028crwdnd2935265:01crwdnd2935265:02crwdne2935265:0 How to Reshell Your Game Boy Advance, Connect the screen cable: crwdns2935265:028crwdnd2935265:02crwdnd2935265:02crwdne2935265:0
    • If you're upgrading your screen or motherboard, the location of the screen cable and connector may be different.

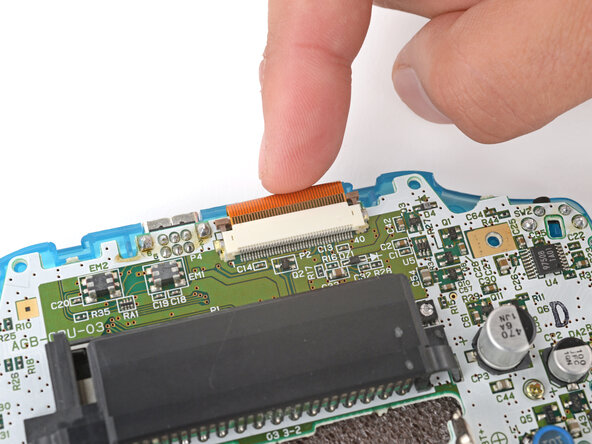
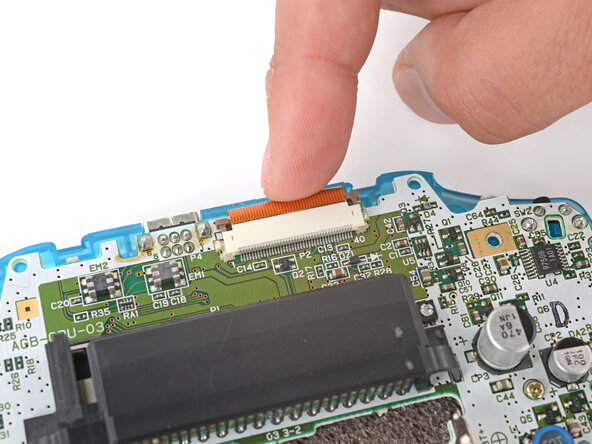
    • Before connecting the screen cable on the top edge, make sure both locking tabs are pushed up in the unlocked position.

    • Use your finger to gently push the display cable into its socket on the motherboard.

    • If you're having trouble, reposition the cable and try again—don't try to force it into the socket. It should slide into place with little to no effort.

  29. How to Reshell Your Game Boy Advance: crwdns2935265:029crwdnd2935265:01crwdnd2935265:03crwdne2935265:0 How to Reshell Your Game Boy Advance: crwdns2935265:029crwdnd2935265:02crwdnd2935265:03crwdne2935265:0 How to Reshell Your Game Boy Advance: crwdns2935265:029crwdnd2935265:03crwdnd2935265:03crwdne2935265:0
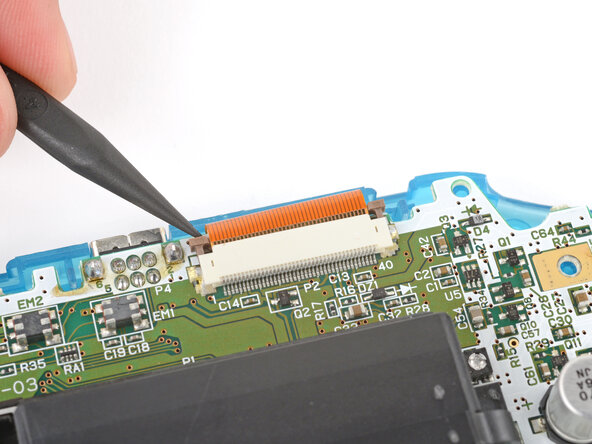
    • Use the point of a spudger to push down both tabs on the screen cable socket into the locked position.

    • The tabs will bottom out when they're fully locked.

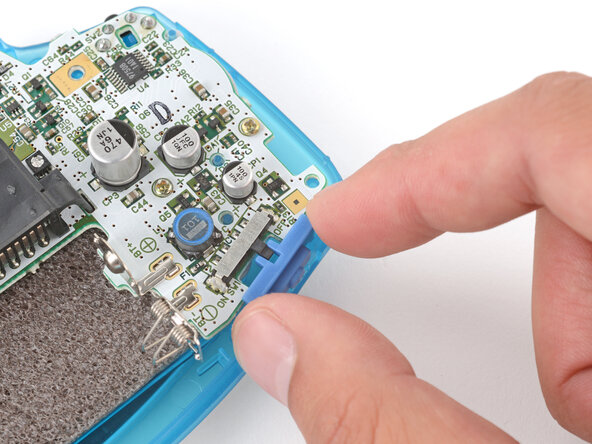
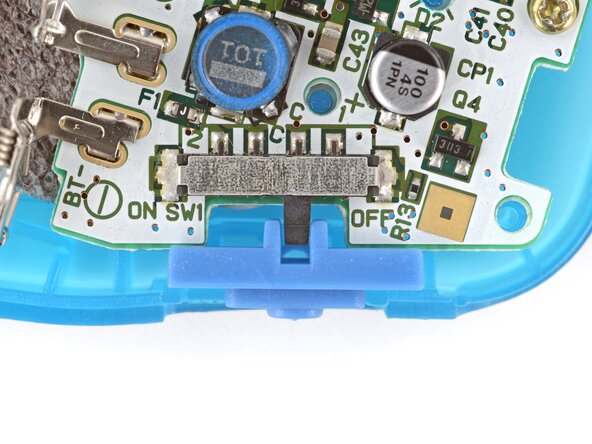
  30. How to Reshell Your Game Boy Advance, Install the power switch cover: crwdns2935265:030crwdnd2935265:01crwdnd2935265:03crwdne2935265:0 How to Reshell Your Game Boy Advance, Install the power switch cover: crwdns2935265:030crwdnd2935265:02crwdnd2935265:03crwdne2935265:0 How to Reshell Your Game Boy Advance, Install the power switch cover: crwdns2935265:030crwdnd2935265:03crwdnd2935265:03crwdne2935265:0
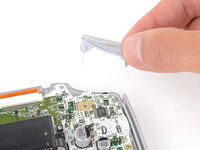
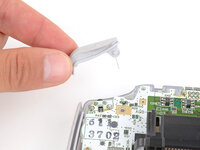
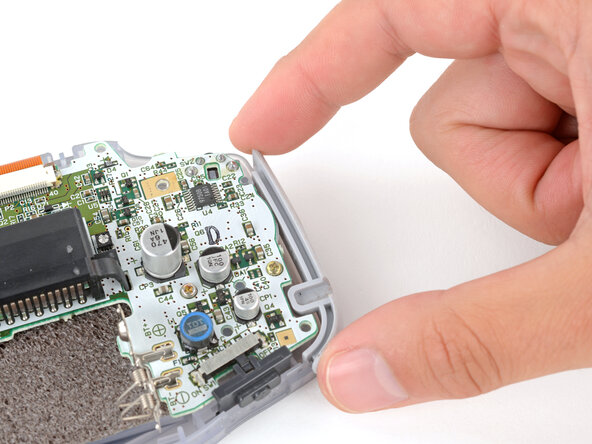
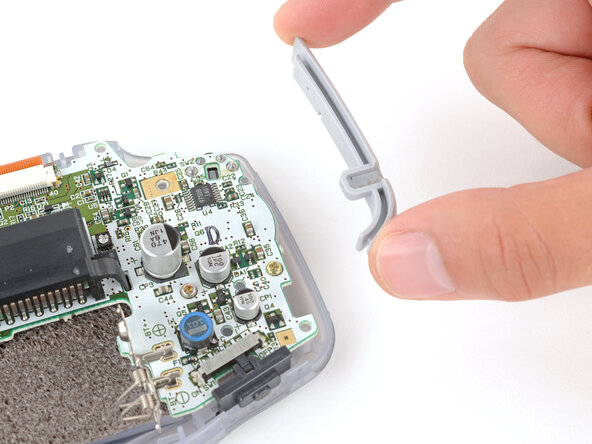
    • Use your fingers to install the power switch, making sure it's properly slotted around the arm on the switch mechanism.

  31. How to Reshell Your Game Boy Advance, Install the shoulder buttons: crwdns2935265:031crwdnd2935265:01crwdnd2935265:03crwdne2935265:0 How to Reshell Your Game Boy Advance, Install the shoulder buttons: crwdns2935265:031crwdnd2935265:02crwdnd2935265:03crwdne2935265:0 How to Reshell Your Game Boy Advance, Install the shoulder buttons: crwdns2935265:031crwdnd2935265:03crwdnd2935265:03crwdne2935265:0
    • Since your Game Boy is laying upside down, the L button will go on your right‑hand side, and the R button will go on your left‑hand side.

    • Slide the shoulder buttons into place, making sure the peg on the button goes into its circular cutout and the button shroud is over the actual button mechanism.

    • Gently test the buttons to make sure they feel correct. If they don't, reposition them and make sure the metal arms aren't stuck in a weird position under the board.

  32. How to Reshell Your Game Boy Advance, Install the side bumpers: crwdns2935265:032crwdnd2935265:01crwdnd2935265:03crwdne2935265:0 How to Reshell Your Game Boy Advance, Install the side bumpers: crwdns2935265:032crwdnd2935265:02crwdnd2935265:03crwdne2935265:0 How to Reshell Your Game Boy Advance, Install the side bumpers: crwdns2935265:032crwdnd2935265:03crwdnd2935265:03crwdne2935265:0
  33. How to Reshell Your Game Boy Advance, Install the back shell: crwdns2935265:033crwdnd2935265:01crwdnd2935265:03crwdne2935265:0 How to Reshell Your Game Boy Advance, Install the back shell: crwdns2935265:033crwdnd2935265:02crwdnd2935265:03crwdne2935265:0 How to Reshell Your Game Boy Advance, Install the back shell: crwdns2935265:033crwdnd2935265:03crwdnd2935265:03crwdne2935265:0
    • If your new back shell has the battery cover preinstalled, remove it for now.

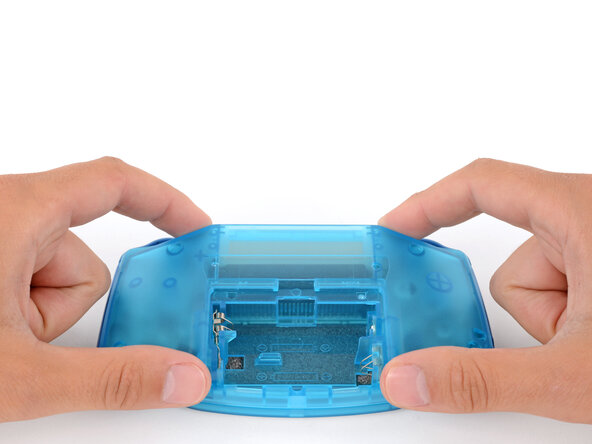
    • Place the back shell onto the front shell.

  34. How to Reshell Your Game Boy Advance: crwdns2935265:034crwdnd2935265:01crwdnd2935265:03crwdne2935265:0 How to Reshell Your Game Boy Advance: crwdns2935265:034crwdnd2935265:02crwdnd2935265:03crwdne2935265:0 How to Reshell Your Game Boy Advance: crwdns2935265:034crwdnd2935265:03crwdnd2935265:03crwdne2935265:0
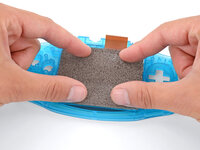
    • Squeeze the shell firmly around the edges and ensure the shoulder buttons and bumpers are properly seated with no large gaps.

    • Gently test the buttons to make sure everything feels correct.

  35. How to Reshell Your Game Boy Advance, Install the back shell screws: crwdns2935265:035crwdnd2935265:01crwdnd2935265:03crwdne2935265:0 How to Reshell Your Game Boy Advance, Install the back shell screws: crwdns2935265:035crwdnd2935265:02crwdnd2935265:03crwdne2935265:0 How to Reshell Your Game Boy Advance, Install the back shell screws: crwdns2935265:035crwdnd2935265:03crwdnd2935265:03crwdne2935265:0
    • To fully tighten these screws, it's easier to hold your Game Boy up off the work surface. Hold the two shell halves together as you work.

    • Install the seven screws securing the back shell:

    • Six 9.4 mm‑long tri‑point Y0 screws

    • One 8.5 mm‑long JIS 1 screw

    • Tighten these screws until just snug. Over-tightening can strip the screw head or damage the plastic shells.

  36. How to Reshell Your Game Boy Advance, Install the batteries: crwdns2935265:036crwdnd2935265:01crwdnd2935265:03crwdne2935265:0 How to Reshell Your Game Boy Advance, Install the batteries: crwdns2935265:036crwdnd2935265:02crwdnd2935265:03crwdne2935265:0 How to Reshell Your Game Boy Advance, Install the batteries: crwdns2935265:036crwdnd2935265:03crwdnd2935265:03crwdne2935265:0
    • Use your fingers to install the batteries, following the diagram in the battery well to properly orient them.

  37. How to Reshell Your Game Boy Advance, Install the battery cover: crwdns2935265:037crwdnd2935265:01crwdnd2935265:02crwdne2935265:0 How to Reshell Your Game Boy Advance, Install the battery cover: crwdns2935265:037crwdnd2935265:02crwdnd2935265:02crwdne2935265:0
    • Insert the tabs on the bottom edge of the battery cover into their cutouts and click the cover into place.

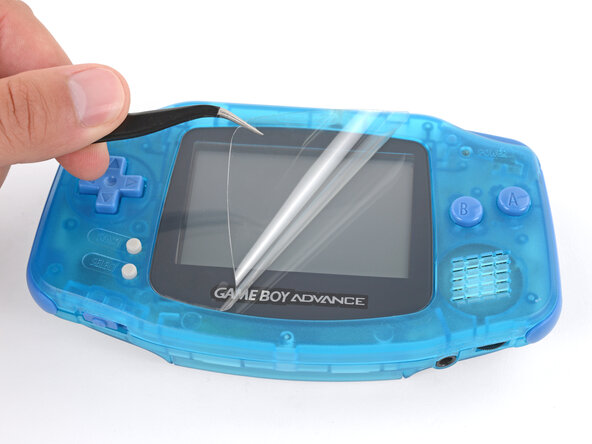
  38. How to Reshell Your Game Boy Advance, Remove any plastic liners: crwdns2935265:038crwdnd2935265:01crwdnd2935265:01crwdne2935265:0
    • If your screen lens has a protective film, remove it.

    • Be very careful not to scratch the lens with your tool.

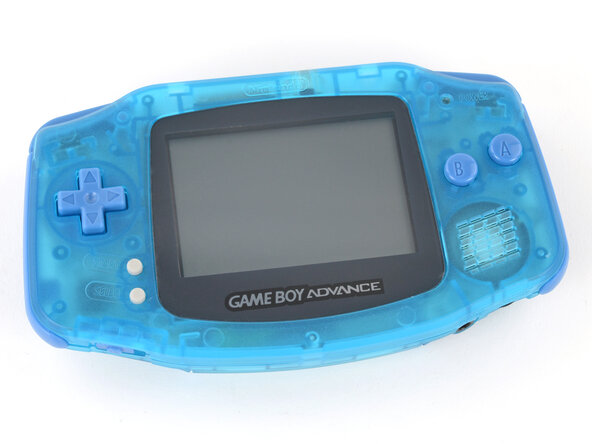
  39. How to Reshell Your Game Boy Advance, You're done!: crwdns2935265:039crwdnd2935265:01crwdnd2935265:03crwdne2935265:0 How to Reshell Your Game Boy Advance, You're done!: crwdns2935265:039crwdnd2935265:02crwdnd2935265:03crwdne2935265:0 How to Reshell Your Game Boy Advance, You're done!: crwdns2935265:039crwdnd2935265:03crwdnd2935265:03crwdne2935265:0
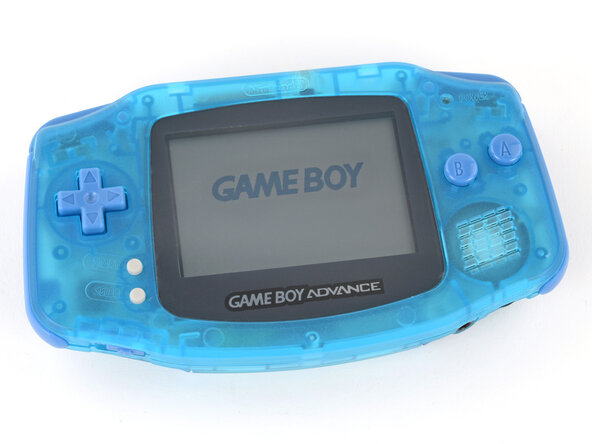
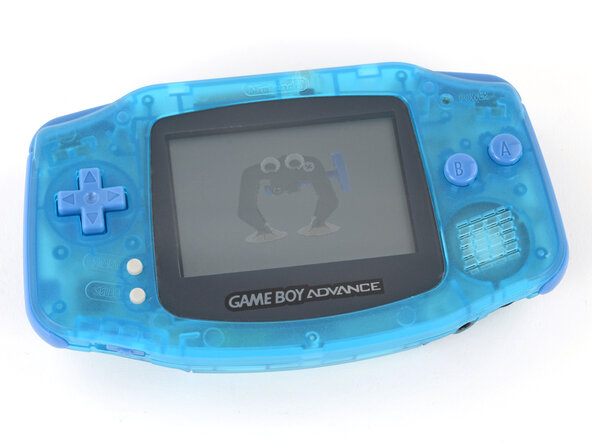
    • Flip the power switch into the On position and get to gaming!

    • That Game Boy startup really brings back some nostalgia…ours also somehow summoned Suction‑Cups‑For‑Feet Clampy...weird.

crwdns2915888:0crwdne2915888:0

Congratulations on reshelling your Game Boy Advance!

Take your e-waste to an R2 or e-Stewards certified recycler.

Repair didn’t go as planned? Try some basic troubleshooting, or ask our Answers Community for troubleshooting help.

Spencer Day

crwdns2935283:009/14/22crwdne2935283:0

129,143 crwdns2915208:0crwdne2915208:0

crwdns2935297:0884crwdne2935297:0

crwdns2947412:00crwdne2947412:0
crwdns2917038:0crwdne2917038:0
crwdns2936625:0crwdne2936625:0:

crwdns2936751:024crwdne2936751:0 11

crwdns2936753:07crwdne2936753:0 39

crwdns2936753:030crwdne2936753:0 94

crwdns2942667:0crwdne2942667:0 75