crwdns2915892:0crwdne2915892:0
Use this guide to open a Logitech G703 wireless gaming mouse for cleaning or repair.
crwdns2942213:0crwdne2942213:0
-
-
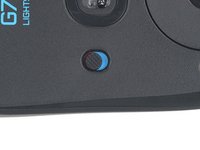
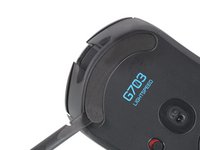
Slide your mouse's power switch down so it's in the OFF position.
-
Unplug all cables from your mouse.
-
-
-
Heat an iOpener and lay it on the mouse feet for one minute to heat the adhesive.
-
-
-
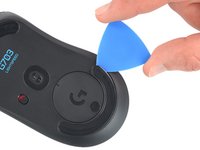
Slide the tip of an opening pick under an edge of the bottom mouse foot, making sure it goes under both the foot and its adhesive pad.
-
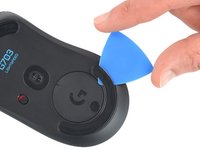
Gently slide your pick farther under the foot and lift until you can grip it with your fingers.
-
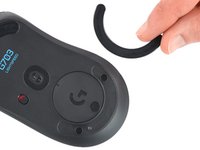
Use your fingers to peel up and remove the foot.
-
Repeat the procedure to remove the top mouse foot.
-
-
-
-
Slide the flat end of a spudger under an edge of the adhesive. If the adhesive seems stuck, you may need to heat it further.
-
Peel the adhesive off.
-
Use a spudger to carefully scrape up and remove any remaining adhesive bits.
-
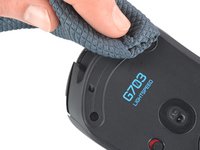
Use isopropyl alcohol and a microfiber cloth to thoroughly clean all adhesive residue from the foot recesses. Allow the surface to completely dry.
-
Remove the feet from their backing and firmly press them into place.
-
-
-
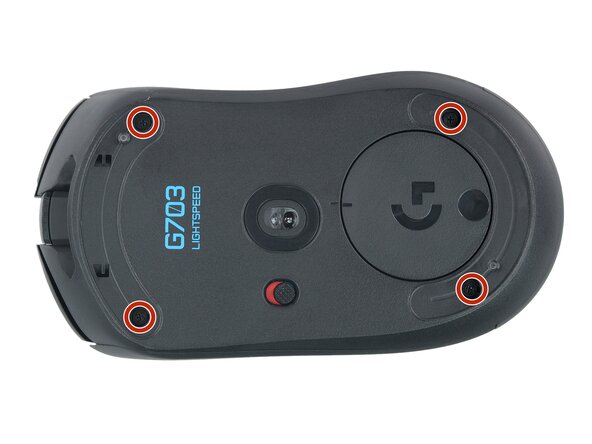
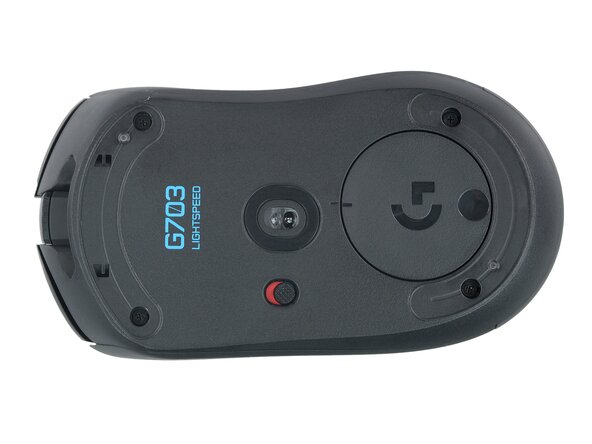
Use a Phillips screwdriver to remove the four 5.4 mm‑long screws securing the two halves of the mouse together.
-
-
-
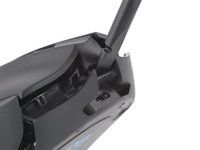
Grasp the mouse cases near the back and pull the two halves apart slightly, so there's a gap at the back of the mouse.
-
-
-
Insert the flat end of a spudger into the small gap between the top and bottom cases, just above the charging port.
-
Pry the cases apart by tilting the spudger upwards to release the clip.
-
-
-
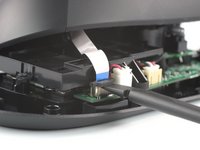
Set your mouse down and position the top half so you can access the interconnect cable on the right side.
-
Use the flat end of a spudger to gently lift the black sliding tab on the interconnect cable socket until it's in the unlocked position.
-
Slide the interconnect cable straight up and out of its socket.
-
-
-
Remove the top half of the mouse.
-


Compare your new replacement part to the original part—you may need to transfer remaining components or remove adhesive backings from the new part before installing.
To reassemble your device, follow the above steps in reverse order.
Take your e-waste to an R2 or e-Stewards certified recycler.
Repair didn’t go as planned? Check out our Answers community for troubleshooting help.
crwdns2935221:0crwdne2935221:0
crwdns2935229:013crwdne2935229:0


crwdns2947412:05crwdne2947412:0
Thanks for this guide :)
It helped me diagnose the issue in my mouse and order the correct replacement parts.
One thing that I did find helpful is removing the ribbon cable before trying to unclip the top half
How do you glue back the old adhesive feet?
Where can I buy a replacement ribbon cable?
worthless mouse. I tried every instruction out there and nothingg worked. I threw mine in the garbage and tot a new mouse.
Simple disassembly guide that helped me out! I've had good luck with Logitech mice in the recent past with the adhesive pads on the bottom. I just set them aside sticky side up and had no problem sticking them back on. The clip in the front did give me some issue though.