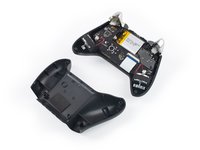
crwdns2915892:0crwdne2915892:0
Use this guide to remove the triggers in your GuliKit KingKong 2 Pro controller.
crwdns2942213:0crwdne2942213:0
-
-
Use a Phillips #00 screwdriver to remove the four 11 mm-long screws securing the back cover.
-
-
-
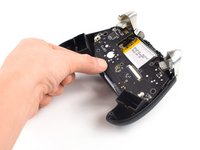
Insert an opening pick into the gap between the front assembly and the back cover at the bottom edge of the controller.
-
Tilt your opening pick downwards to widen the gap.
-
-
-
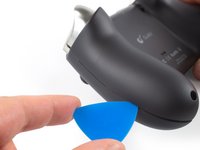
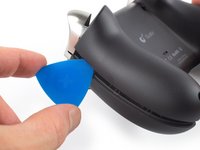
Insert an opening pick into the gap between the front assembly and the back cover at the outside of the right controller handle.
-
Slide the opening pick along the gap to separate the front assembly from the back cover.
-
-
-
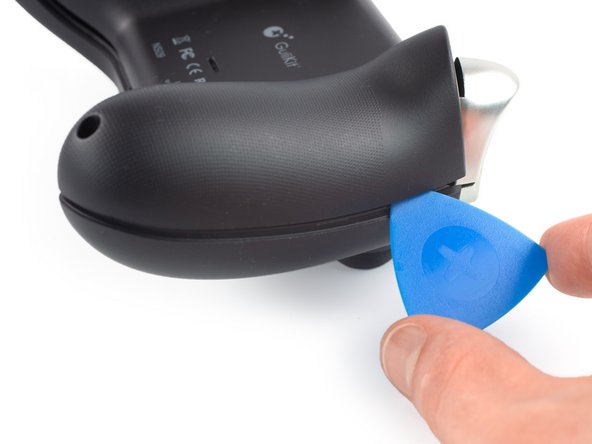
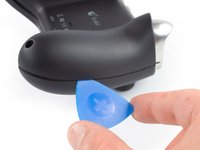
Insert an opening pick into the gap between the front assembly and the back cover at the outside of the left controller handle.
-
Slide the opening pick along the gap to separate the front assembly from the back cover.
-
-
-
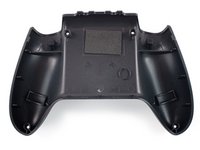
Separate the back cover from the front assembly and remove it.
-
-
crwdns2935267:0crwdne2935267:0Tweezers$4.99
-
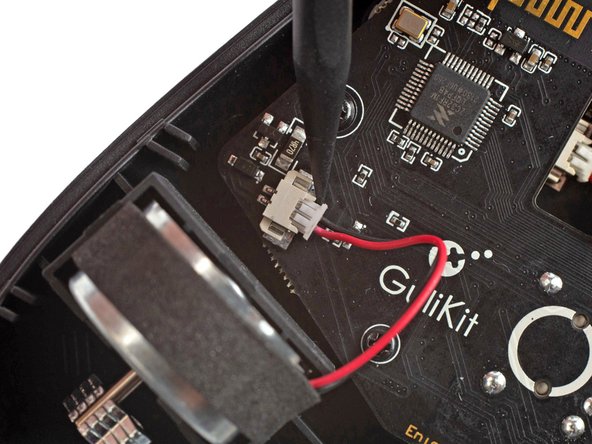
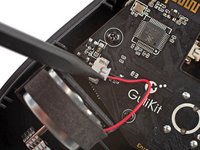
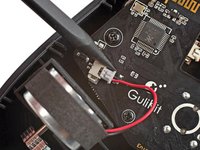
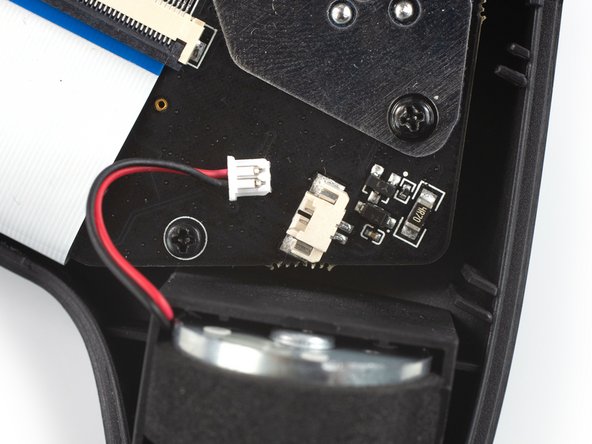
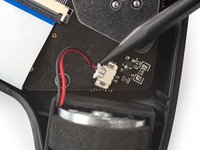
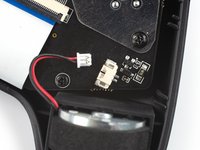
Use the point of a spudger to disconnect the right vibration motor by pushing the connector straight out of its socket.
-
-
-
Use the point of a spudger to disconnect the left vibration motor by pushing the connector straight out of its socket.
-
-
-
-
Remove the vibration motors by lifting them out of the controller housing.
-
-
-
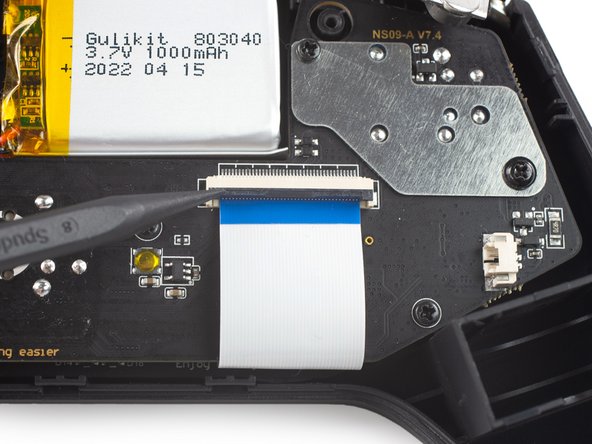
Use a spudger, an opening tool, or your fingernail to flip up the small, hinged locking flap on the interconnect cable's ZIF connector.
-
-
-
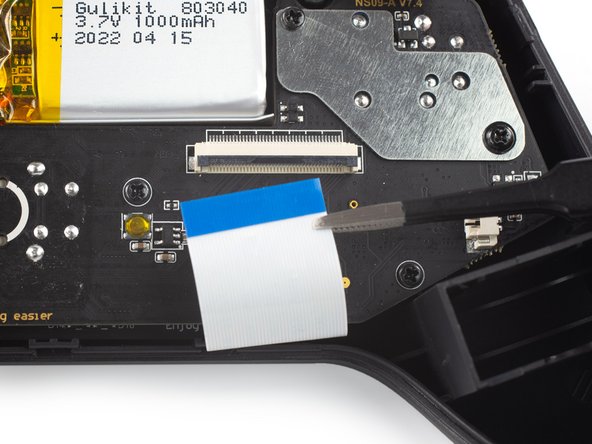
Use a pair of blunt nose tweezers to disconnect the interconnect cable by pulling the cable straight out of the connector.
-
-
-
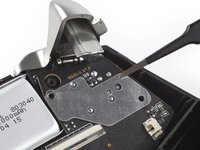
Use a Phillips #00 screwdriver to remove the screws securing the mainboard assembly:
-
Four 7.8 mm-long screws.
-
Two 11 mm-long screws.
In my controller this screws are PH1 not PH00.
And in my controller revision they are Silver.
-
-
-
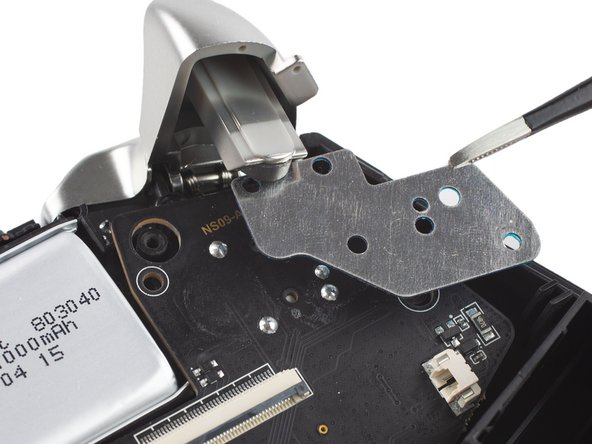
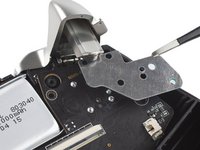
Use a pair of blunt nose tweezers to remove the metal shield from the mainboard assembly.
-
-
-
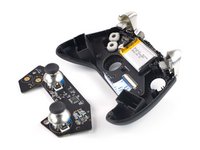
Remove the mainboard assembly by lifting it out of the controller housing.
I highly recommend pulling off the joystick caps before removing this board, since the joysticky get caught on the other board. Alternatively, one can carefully slide back the mainboard, then unscrew and remove the triggers. Then the mainboard can be lifted up very easily. Accessing the trigger screws is a little tricky this way though.
I wish I had read the comment about removing the joystick caps. My issue was getting the boards past the backs of the triggers. I tried partially unscrewing them and managed to get the board in, but it did not feel like a good process. With the triggers and sticks both in place, this becomes an exceedingly difficult process.
-
-
-
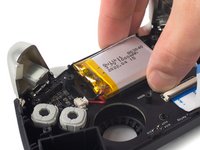
Use a Phillips #00 screwdriver to remove the single 7.8 mm-long screw securing the battery frame.
-
-
-
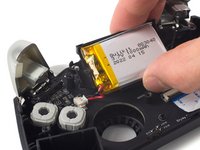
Free the battery frame by lifting it off the plastic pins holding it in place.
-
-
crwdns2935267:0crwdne2935267:0Tweezers$4.99
-
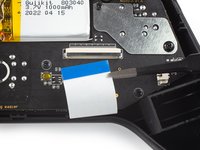
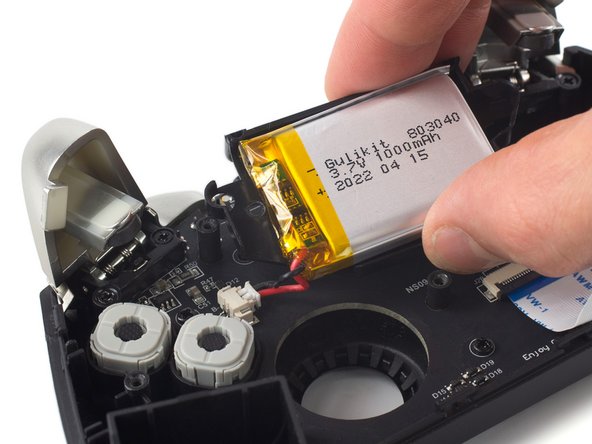
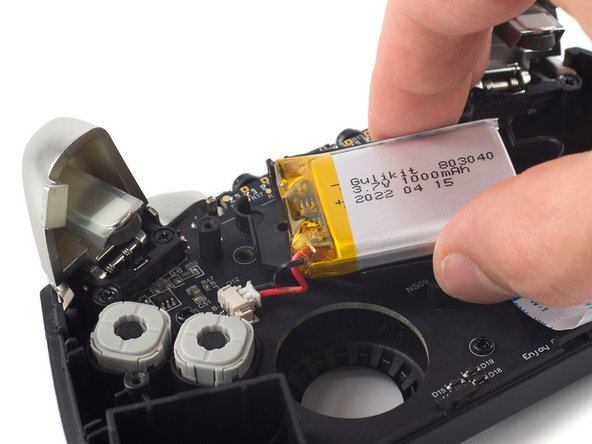
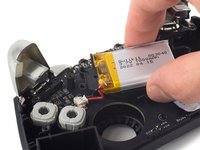
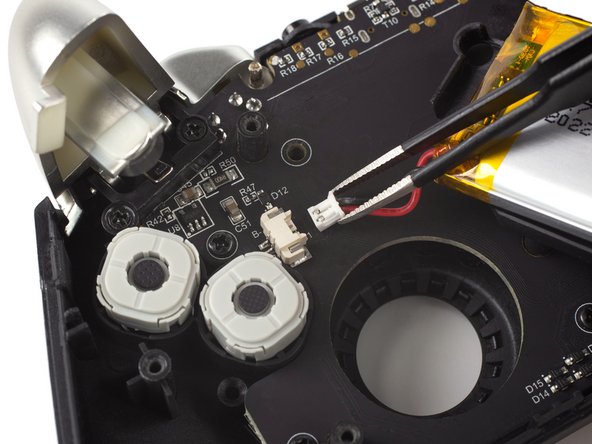
Use a pair of blunt nose tweezers to disconnect the battery connector by pulling it straight out of its socket.
-
Remove the battery and its frame from the controller housing.
Anyone know the size of the JST connector? Thanks in advance
-
-
-
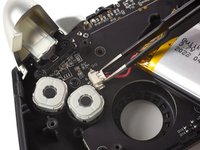
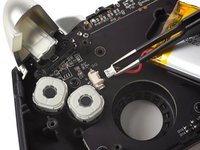
Use a Phillips #00 screwdriver to remove the four 7.8 mm-long screws securing the triggers.
Again, the PH1.
To screw these back on, you're going to have to push down on the spring, so it's easiest if start with the screws already in the trigger mounting, so that you can just focus on getting them into the case mounting.
-
-
-
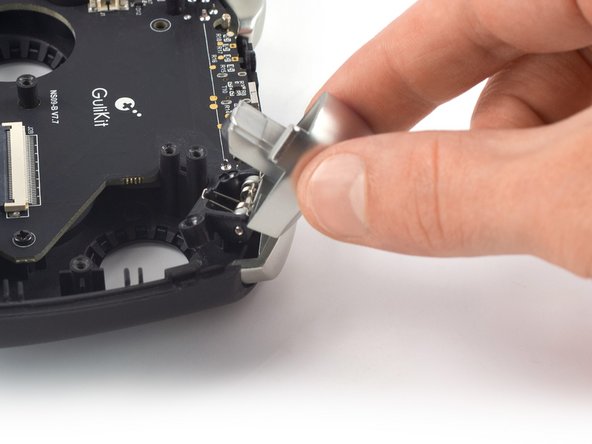
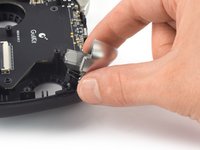
Use your fingers to lift the left trigger off its bracket.
-
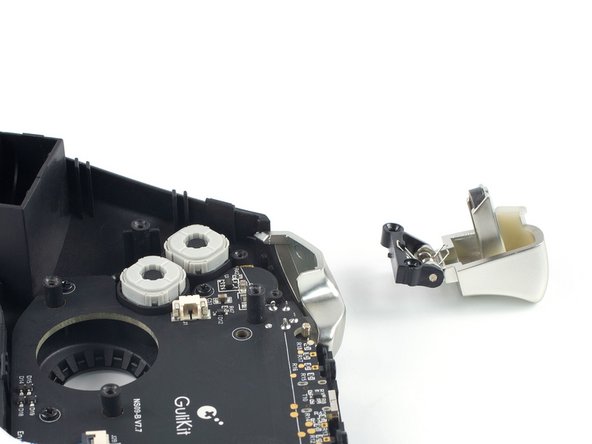
Remove the left trigger.
-
-
-
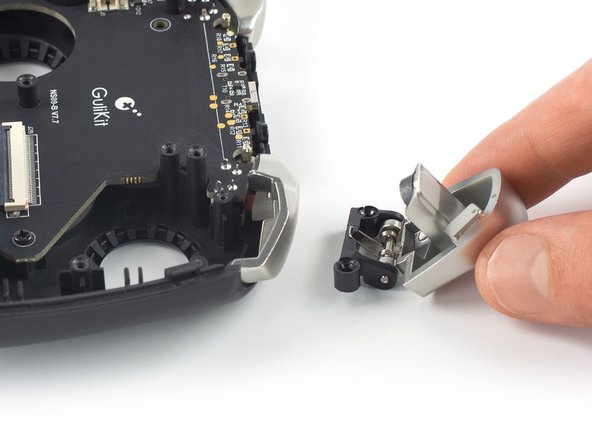
Repeat the previous procedure and lift the right trigger off its bracket to remove it.
-


To reassemble your device, follow these instructions in reverse order.
Take your e-waste to an R2 or e-Stewards certified recycler.
Repair didn’t go as planned? Check out our Answers community for troubleshooting help.
To reassemble your device, follow these instructions in reverse order.
Take your e-waste to an R2 or e-Stewards certified recycler.
Repair didn’t go as planned? Check out our Answers community for troubleshooting help.


crwdns2947412:07crwdne2947412:0
Do you know where to buy a replacement zr trigger? The Black piece of Plastic,as in your last picture ,is broken on mine.
My Gulikit Kingkong 2 (non-pro) controller bought in Dec 2022 only uses PH01 screws. No PH00 ones. Otherwise this guide is very helpful for any disassembly you may want to do.
When replacing the triggers, you need to recalibrate the controller before the new trigger(s) will work. I followed I followed the instructions found here for recalibrating when updating the firmware.
"Just press the four buttons of L,R,left of D-pad and A at the same time to quickly calibrate the sticks ZR,ZL with a vibration to solve this issue"
Did anyone find a retailer for a replacement trigger
Mate. You just show how to remove the triggers. How bout replacement ?????
I need a replacement myself, but can't find them anywhere. Found this after fixing the right bumper sticking, but my right trigger broke for some reason, possibly over tightening, but not 100% sure.
Just wanted to add here, when you're reassembling the controller and screwing the triggers on, you may notice that the trigger interferes with the shoulder buttons preventing them from returning to resting position after clicking down. THIS IS NORMAL. Just keep reassembling, and when you put the final back cover on, it will move the triggers down a little bit, clearing the button perfectly.
Hi, do you know what size screw is used for the outer portion? mine is stripped and i need to buy a new one
Kevin Dimas - crwdns2934203:0crwdne2934203:0
What you should use is a PH #0 Screwdriver, not a PH #00
Yamatoklok - crwdns2934203:0crwdne2934203:0
PH0 for me to, NOT PH00 !!
Pietro Pizzi - crwdns2934203:0crwdne2934203:0