crwdns2915892:0crwdne2915892:0
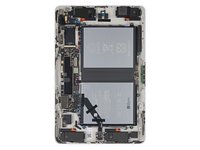
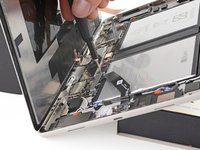
This guide demonstrates how to disconnect the battery in your Google Pixel Tablet.
crwdns2942213:0crwdne2942213:0
-
-
Unplug any cables from your tablet and fully power it down.
-
-
-
If your screen is badly cracked, lay overlapping strips of packing tape over the glass to protect yourself and make disassembly easier.
-
-
crwdns2935267:0crwdne2935267:0Clampy - Anti-Clamp$24.95
-
The next three steps demonstrate the Anti-Clamp, a tool we designed to make the opening procedure easier. If you aren't using the Anti-Clamp, skip down three steps for an alternate method.
-
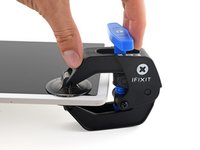
Pull the blue handle backward to unlock the Anti-Clamp's arms.
-
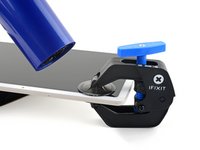
Slide the arms over the top left corner, with one suction cup on the back cover and one on the screen.
-
Place an object under your tablet so it rests level between the Anti-Clamp's arms.
-
Squeeze the cups together to create suction.
-
-
-
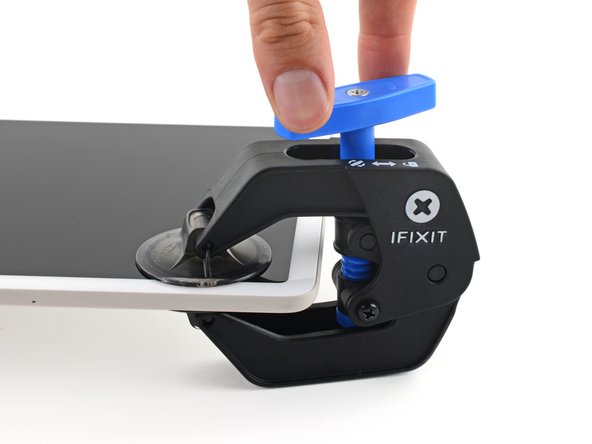
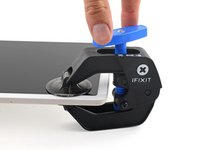
Pull the blue handle forward to lock the arms.
-
Turn the handle clockwise two full turns, or until the suction cups begin to stretch.
-
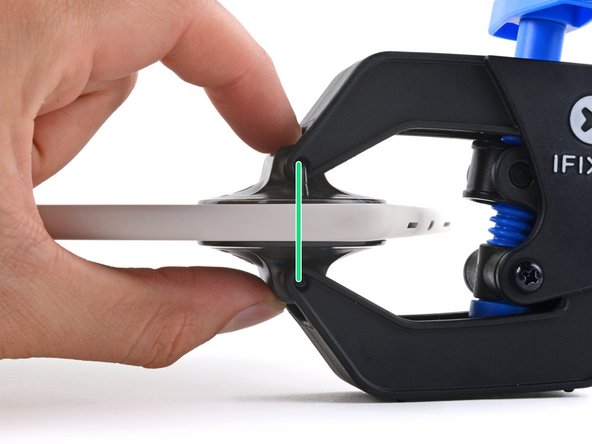
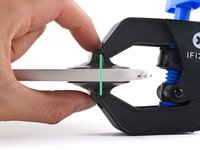
As the cups stretch, make sure they stay vertically aligned with each other. If they keep slipping, remove the Anti-Clamp and apply tape for the cups to stick to.
-
-
-
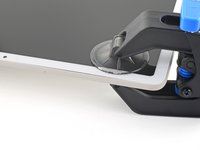
Use a hair dryer or heat gun to heat the top left corner of the screen until a gap forms between the glass and the frame.
-
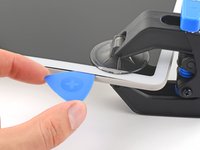
Insert an opening pick into the gap.
-
Remove the Anti-Clamp using the pull tabs on the suction cups.
-
-
-
Rotate your tablet so the front camera is closest to you.
-
Apply a heated iOpener to the top left corner of the screen (now your bottom right, since the tablet is flipped around) for three minutes.
-
-
-
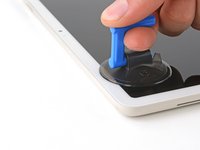
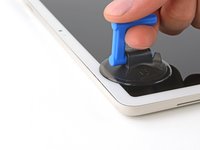
Apply a suction handle to the top left corner of the screen, as close to the top edge as possible.
-
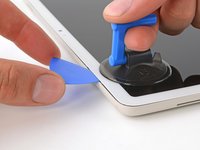
Pull up on the suction handle with a strong, steady force until a gap forms between the glass and the frame.
-
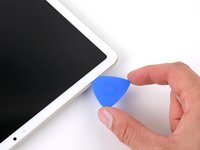
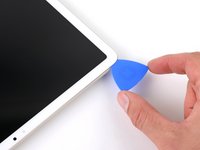
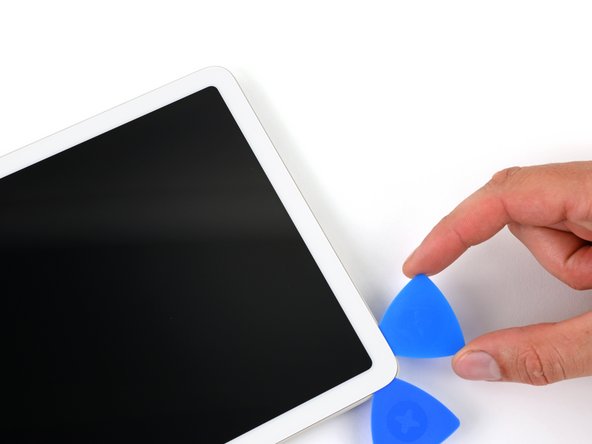
Insert the tip of an opening pick into the gap.
-
Remove the suction handle.
-
-
-
The top, bottom, and left edges have the thickest adhesive.
-
The right edge has slightly thinner adhesive.
-
At the top, near the front camera, the adhesive is very thin and delicate cables connect the screen to the frame.
-
-
-
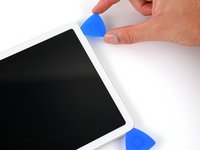
Slide your opening pick to the top left corner of the tablet.
-
Leave this pick inserted to prevent the adhesive from resealing.
-
-
-
Apply a heated iOpener to the left edge of the screen for two minutes.
-
-
-
-
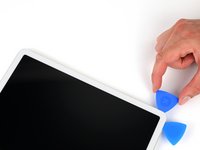
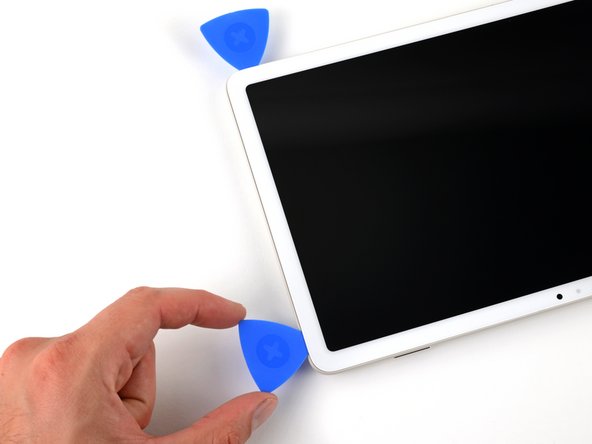
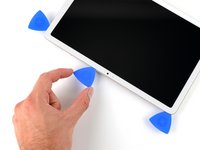
Insert a second opening pick in the top left corner of the screen.
-
Slide your pick to the bottom left corner of the screen to separate the left edge adhesive.
-
Leave this pick inserted to prevent the adhesive from resealing.
-
-
-
Apply a heated iOpener to the bottom edge of the screen for two minutes.
-
-
-
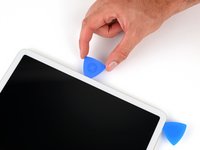
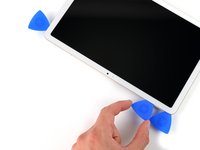
Insert a third opening pick in the bottom left corner.
-
Slide your pick to the bottom right corner of the screen to separate the bottom edge adhesive.
-
Leave this pick inserted to prevent the adhesive from resealing.
-
-
-
Apply a heated iOpener to the right edge of the screen for two minutes.
-
-
-
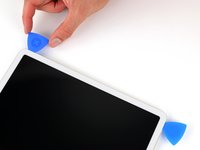
Insert a fourth opening pick in the bottom right corner.
-
Slide your pick to the top right corner to separate the right edge adhesive.
-
Leave this pick inserted to prevent the adhesive from resealing.
-
-
-
Apply a heated iOpener to the top edge of the screen for two minutes.
-
-
-
To mark where to avoid slicing too deep, it can be helpful to put a 6.3 cm (2.5 in) long strip of masking tape on the top edge, centered over the front camera.
-
-
-
Insert a fifth opening pick in the top right corner of the screen.
-
Slide your pick toward the front camera. Stop when your pick is 3 cm (1.25 in) from the front camera.
-
Pull your pick out to a depth of 3 mm (1/8 inch) and slide it past the front camera.
-
When your pick is 3 cm past the front camera, insert it up to 6 mm deep, or about halfway between the tip and the iFixit logo, and slide it to the first pick you left in the top left corner.
-
-
-
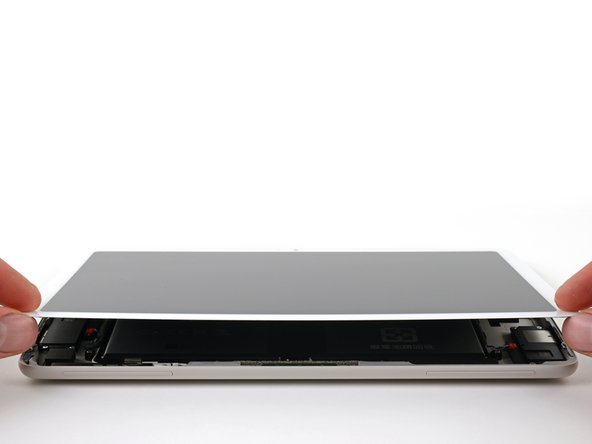
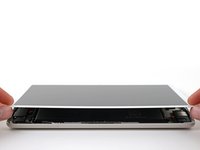
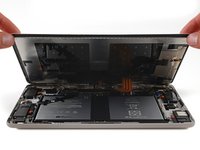
Grab and lift the bottom corners of the screen.
-
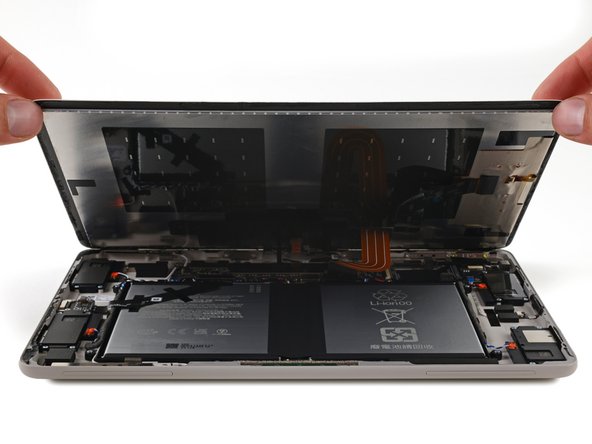
Tilt the screen open just enough to access the cables connecting the screen to the frame.
-
-
crwdns2935267:0crwdne2935267:0Tweezers$4.99
-
For the next three steps, hold the screen tilted open with one hand while you work with your other hand.
-
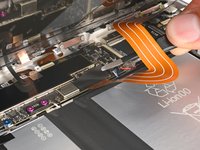
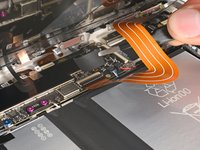
Use tweezers to peel and remove the black tape off of the screen cable connector.
-
Install new tape if the old piece is damaged and you have a replacement from your repair kit.
-
Now is a good time to test your tablet before sealing it up. Power it on and check that it works. Power it back down before you continue reassembly.
-
-
-
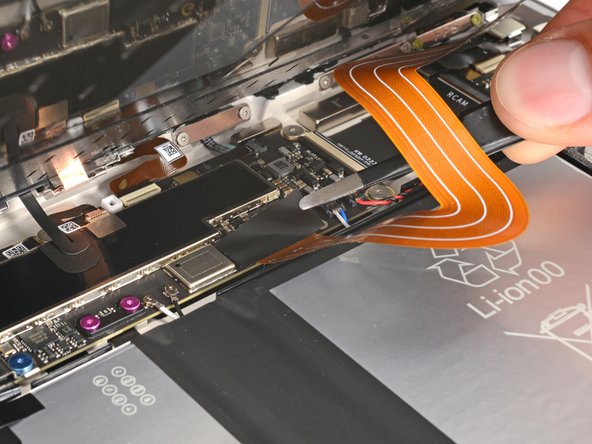
Use the point of a spudger or a clean fingernail to flip up the small locking flap on the inside edge (same side as the cable) of the screen cable ZIF connector.
-
Use tweezers or your fingers to pull the screen cable straight out of its socket.
-
-
-
Use an opening pick to flip up the small locking flap on the outside edge (opposite the cable) of the front camera ZIF connector.
-
Use tweezers to pull the cable straight out of its socket.
-
-
-
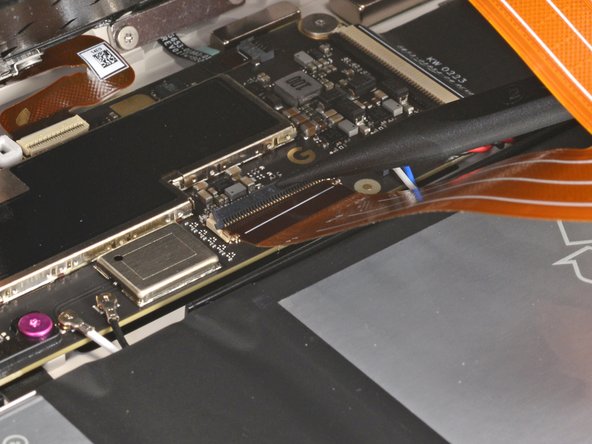
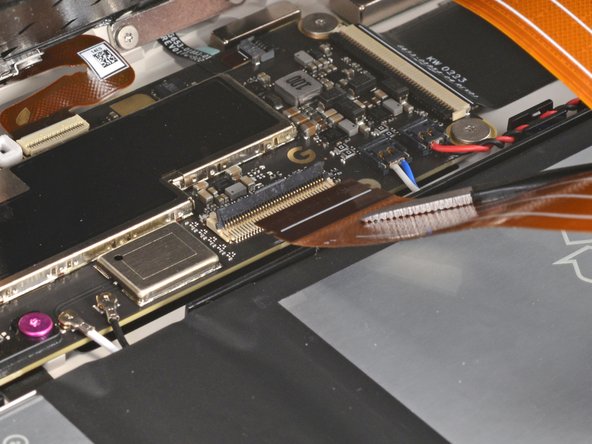
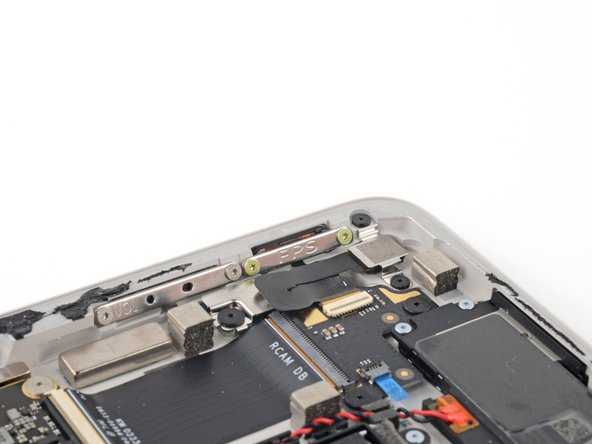
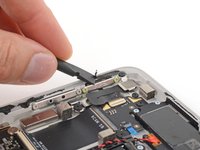
Use the point of your spudger or a clean fingernail to flip up the small locking flap on the inside edge of the front sensor connector.
-
Use tweezers to pull the cable straight out of its socket.
-
-
-
Remove the screen.
-
-
-
Use the flat end of your spudger or a clean fingernail to scrape up an edge of the leftover frame adhesive until you can grip it.
-
Use tweezers or your fingers to peel off large pieces of adhesive from the frame.
-
Repeat this process around the entire perimeter of the frame until there are no large pieces are left.
-
-
crwdns2935267:0crwdne2935267:0Microfiber Cleaning Cloths$3.99
-
Fill a pipette or syringe with highly-concentrated isopropyl alcohol (over 90%) and apply a few drops to the edge of the frame.
-
Wrap a microfiber or lint free cloth around the flat end of your spudger and scrub the frame until it's clean. Use more isopropyl alcohol as you go.
-
-
-
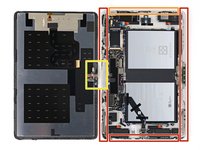
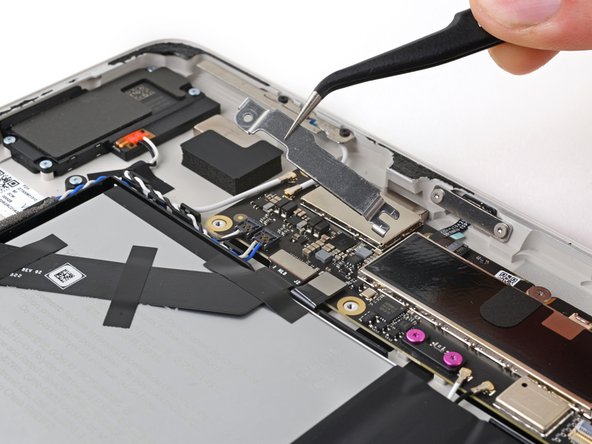
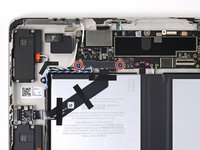
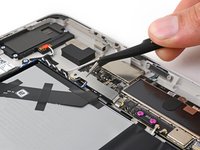
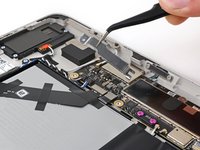
Use a Torx Plus 3IP driver to remove the two 2.6 mm screws securing the battery, USB-C, and speakers connectors cover.
-
Remove the cover.
-
-
-
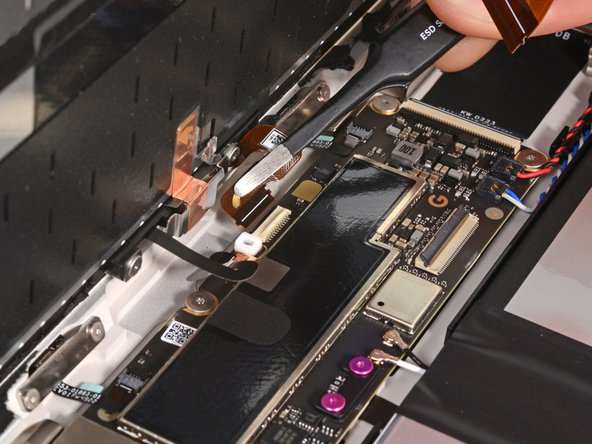
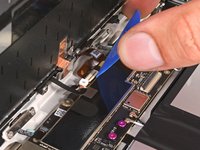
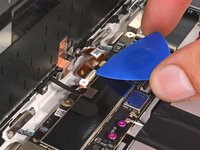
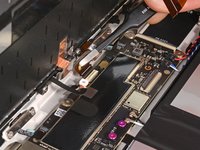
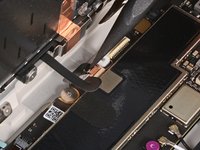
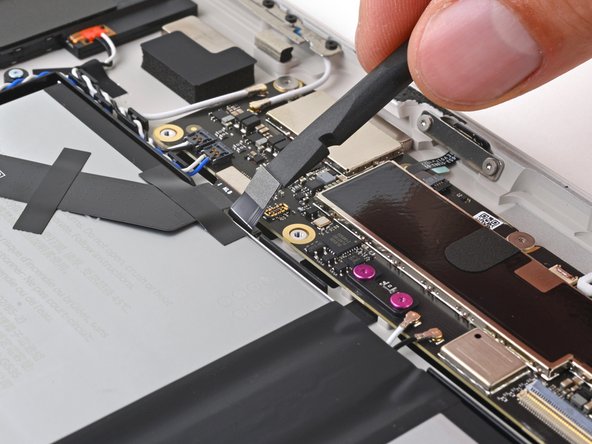
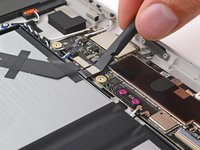
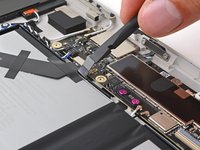
Use the flat end of your spudger to pry up and disconnect the battery press connector.
-
-
-
Prop up the bottom edge of the tablet on a box or similar object. Tilt the screen open and lean it against something so that it's angled up to 90 degrees.
-
Reconnect the small front sensor cable ZIF connector.
-
Reconnect the large screen cable ZIF connector.
-
Reconnect the battery press connector.
-
Use your Torx Plus 3IP driver to install the two 2.6 mm screws and fasten the connector cover.
-
Continue reassembly with these cables connected.
-
To reassemble your device, follow these instructions in reverse order.
To reassemble your device, follow these instructions in reverse order.


