crwdns2915892:0crwdne2915892:0
This repair guide was authored by the iFixit staff and hasn’t been endorsed by Google. Learn more about our repair guides here.
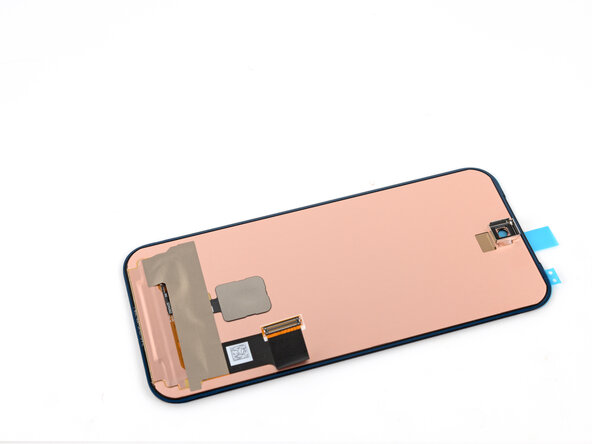
Follow this guide to replace a cracked, broken or non‑responsive screen on your Google Pixel 9a smartphone.
If your screen doesn't come with adhesive pre‑installed, you'll need replacement screen adhesive to complete this repair.
Note: Any repair can compromise the water resistance of your phone. Retaining water resistance after the repair depends on how accurately the new adhesives are applied and how clean the mating surfaces are.
crwdns2942213:0crwdne2942213:0
-
-
Unplug all cables and completely power down your phone.
-
-
-
Apply overlapping strips of packing tape to the cracked glass until the whole screen is covered—this will allow the suction cup to stick to the screen.
-
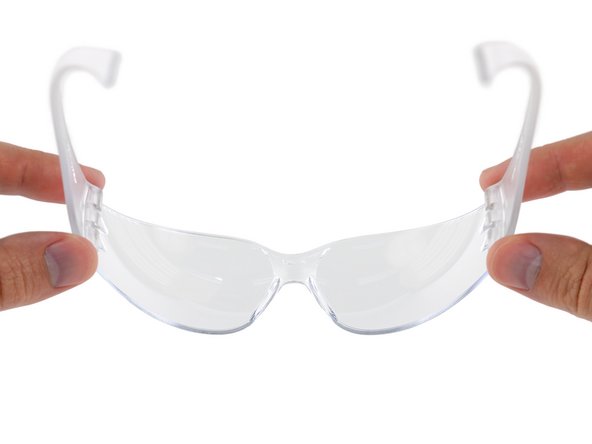
Consider wearing safety glasses to protect your eyes from any glass shaken free during the repair.
-
-
-
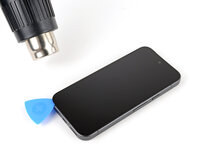
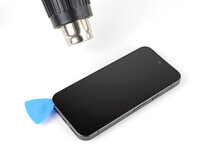
Use a hair dryer, heat gun, or hot mat to heat the top edge of the screen until it's almost too hot to touch.
-
-
-
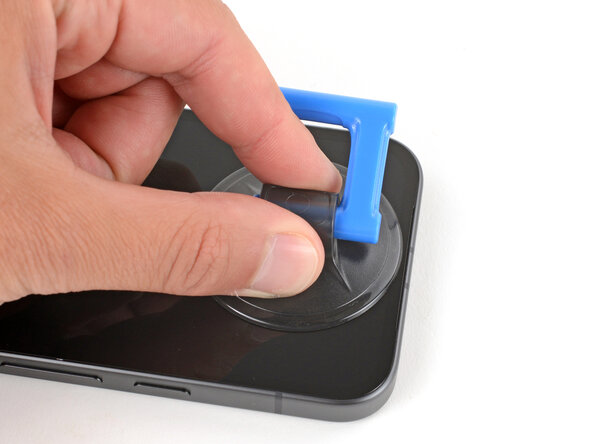
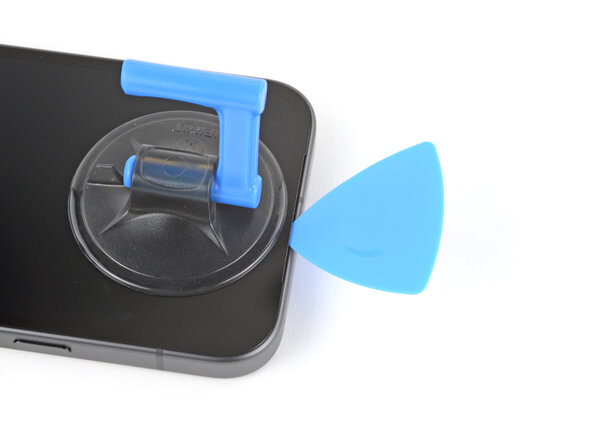
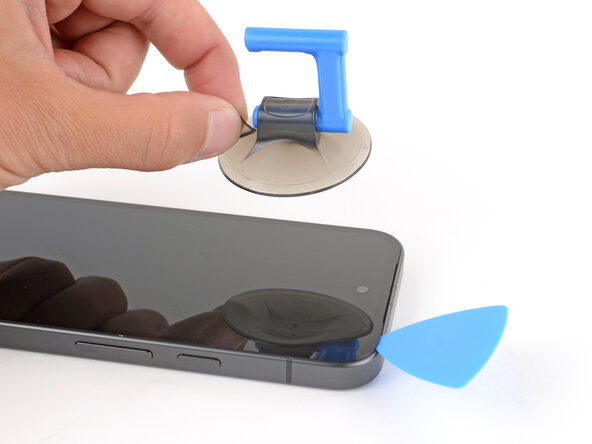
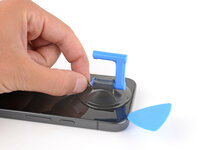
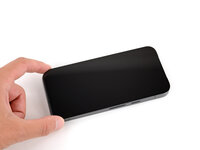
Apply a suction handle to the center of the screen's top edge.
-
-
crwdns2935267:0crwdne2935267:0Jimmy$7.95
-
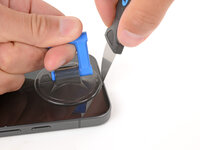
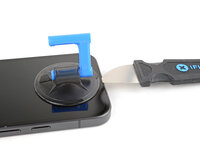
Insert the tip of a Jimmy downward into the speaker cutout on the top edge of your phone.
-
Pull up on the suction handle with strong, steady force while lowering the Jimmy until it slides under the screen.
-
-
-
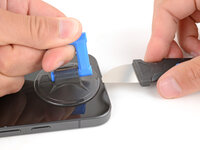
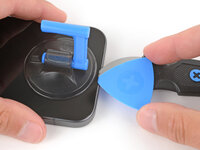
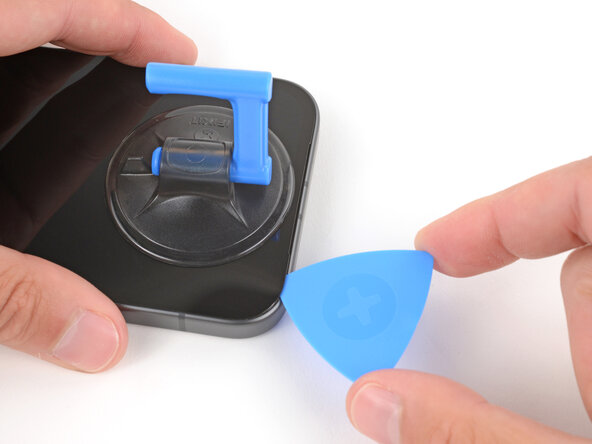
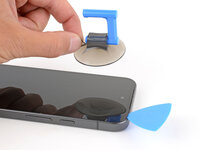
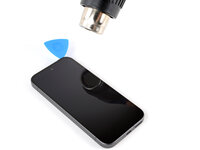
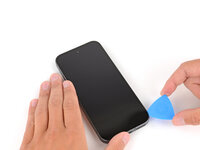
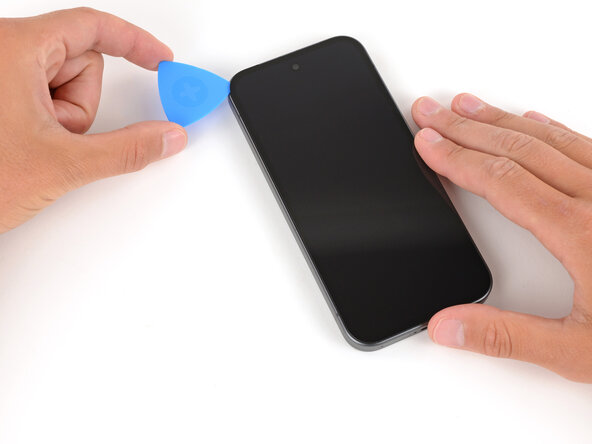
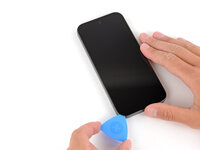
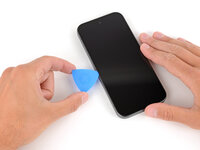
Slide the tip of an opening pick under the screen into the gap created by the Jimmy.
-
Remove the Jimmy.
-
-
-
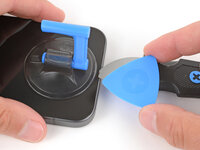
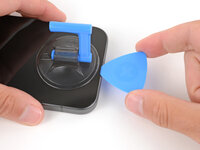
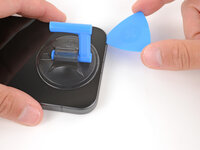
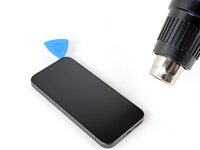
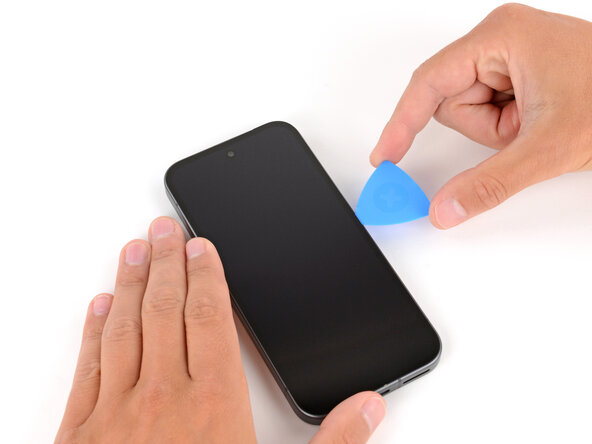
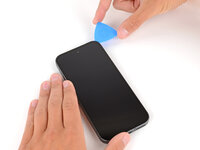
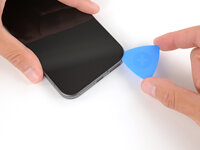
Slide your opening pick along the top edge of the screen to separate the adhesive securing it.
-
Leave the pick inserted under the top right corner of the screen to prevent the adhesive from re‑sealing.
-
-
-
Use the small tab to remove the suction handle from the screen.
-
-
-
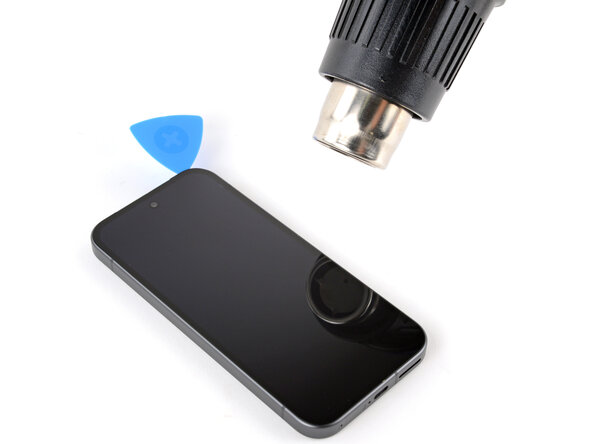
Use a hair dryer or heat gun to heat the right edge of the screen.
-
-
-
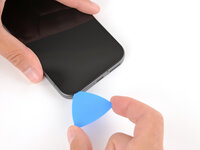
Slide your opening pick down the right edge to separate the adhesive securing it.
-
Leave the pick inserted under the bottom right corner of the screen to prevent the adhesive from re‑sealing.
-
-
-
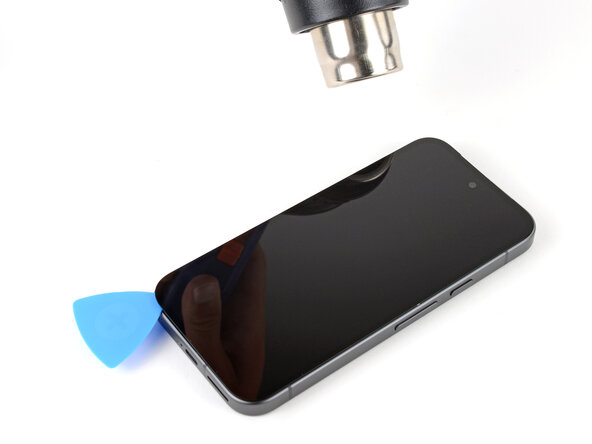
Use a hair dryer or heat gun to heat the bottom edge of the screen.
-
-
-
Slide your opening pick along the bottom edge of the screen to separate the adhesive securing it.
-
Leave the pick inserted under the bottom left corner of the screen to prevent the adhesive from re‑sealing.
-
-
-
Use a hair dryer or heat gun to heat the left edge of the screen.
-
-
-
-
Slide your opening pick up the left edge to separate the adhesive securing it.
-
-
-
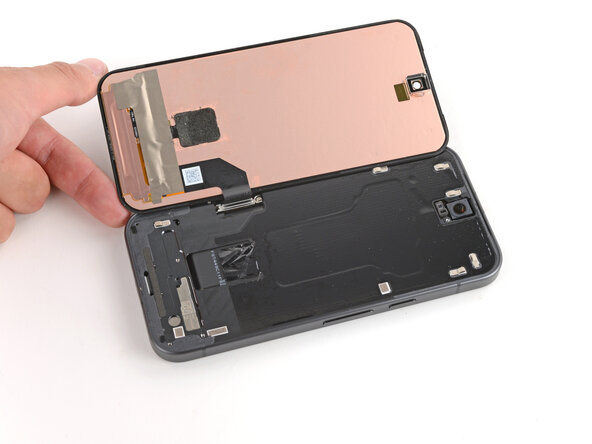
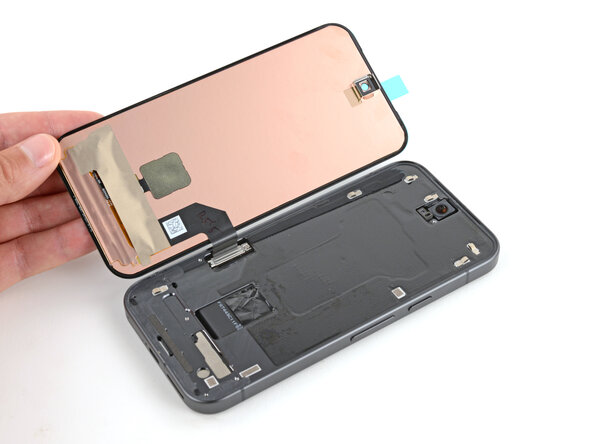
Swing the screen over the left edge of your phone (like opening the cover of a book) and lay it down flat.
-
-
-
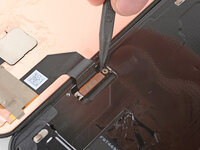
Use a Torx Plus 3IP screwdriver to remove the 1.7 mm‑long screw securing the cable cover screw.
-
-
-
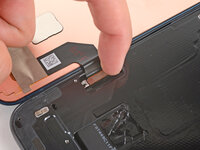
Use tweezers or your fingers to lift and remove the cable cover.
-
-
-
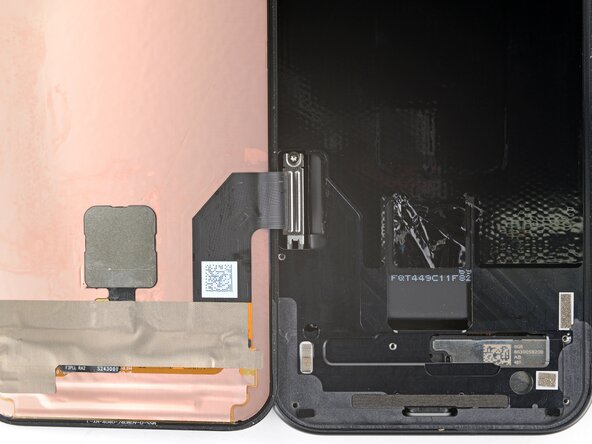
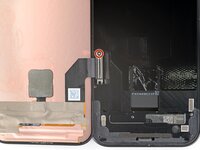
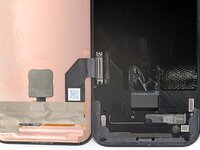
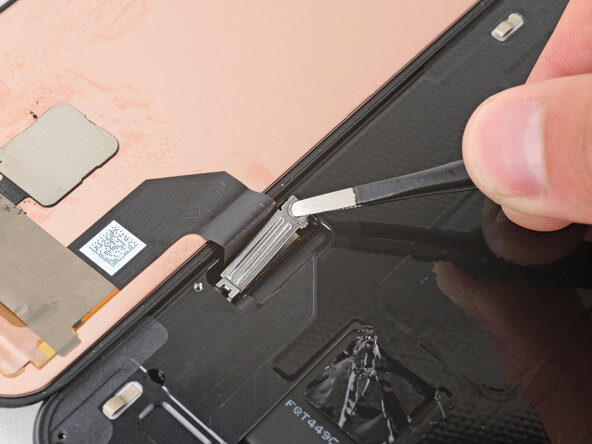
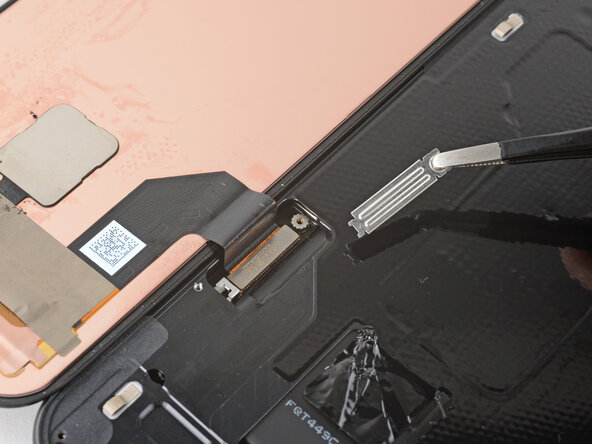
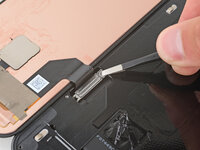
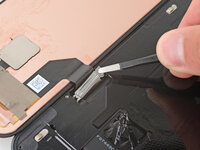
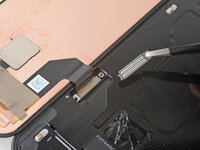
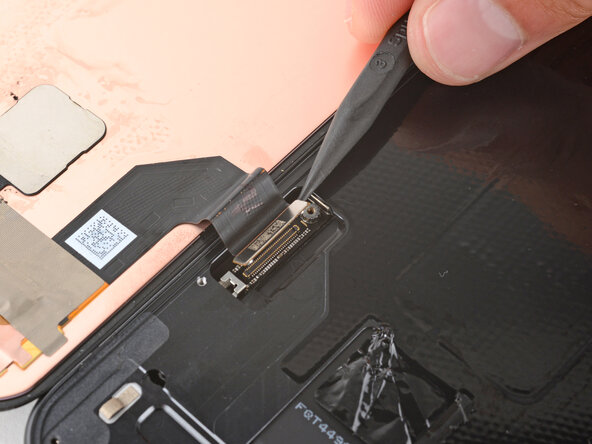
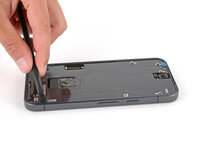
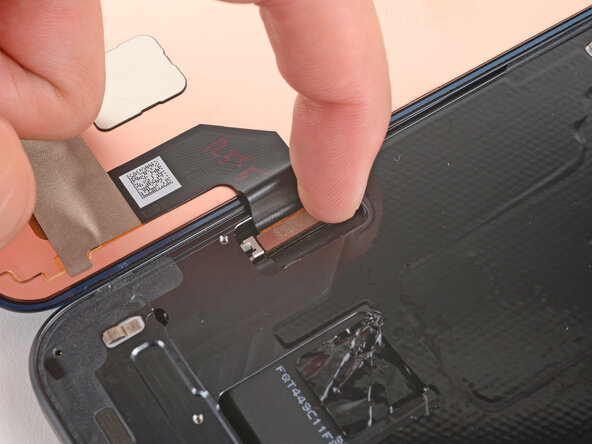
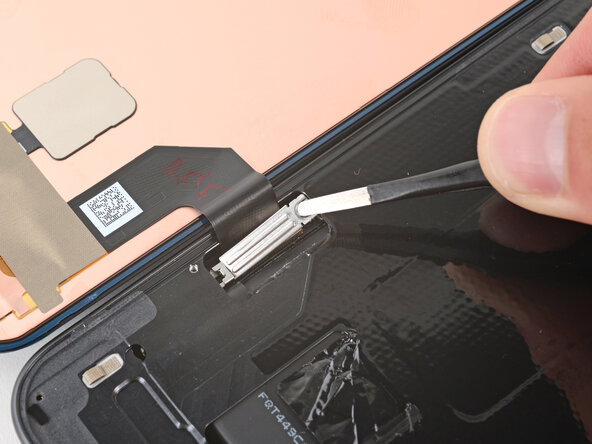
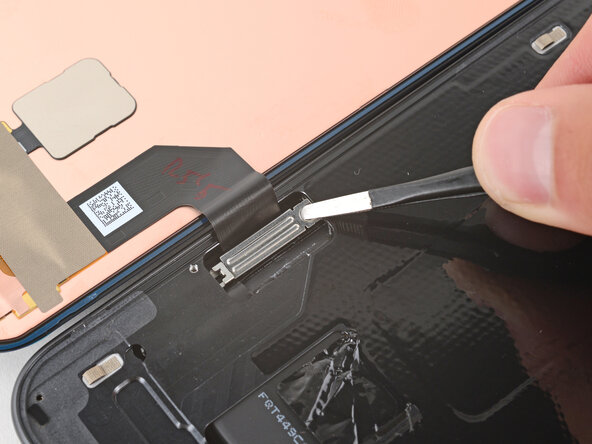
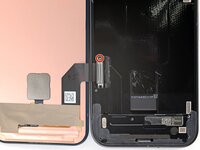
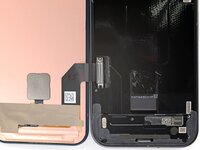
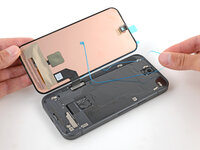
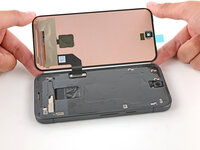
Use the point of a spudger to pry up and disconnect the screen press connector from its top left corner.
-
-
-
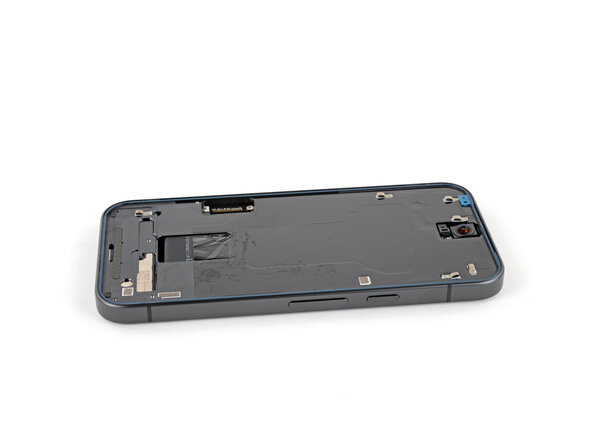
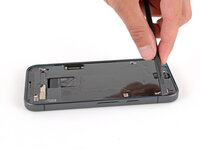
Remove the screen.
-
-
-
Congratulations on completing disassembly! The remaining steps will show how to reassemble your phone.
-
-
-
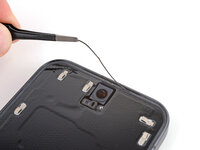
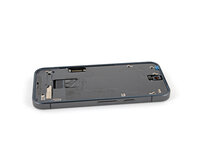
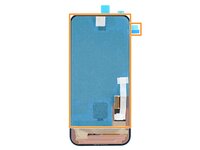
Use a spudger and tweezers to scrape up and remove any screen adhesive from the perimeter of the frame.
-
Using some high‑concentration (>90%) isopropyl alcohol and a lint‑free cloth (or coffee filter), clean the areas of the frame where the adhesive was.
-
Wait for any alcohol to dry completely before continuing.
-
-
-
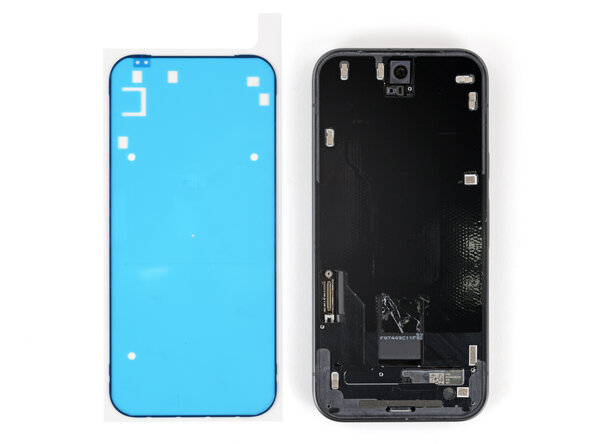
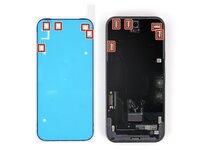
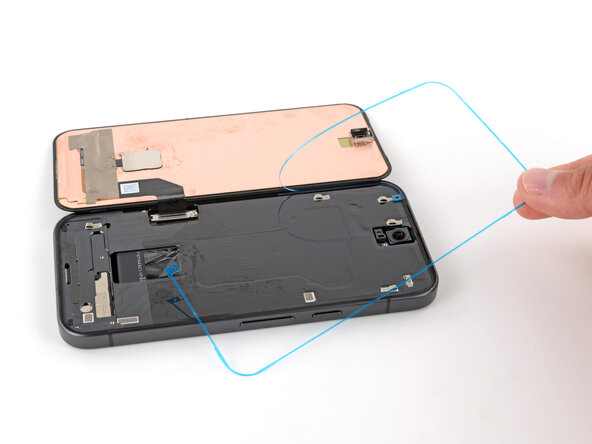
Before applying the screen adhesive, make sure you know how it will sit on the frame. If you apply the adhesive incorrectly, you'll need to restart with new adhesive.
-
Hold the adhesive above the frame to find its orientation. Use cutouts in the liner to help visualize how it will lay in the frame.
-
-
-
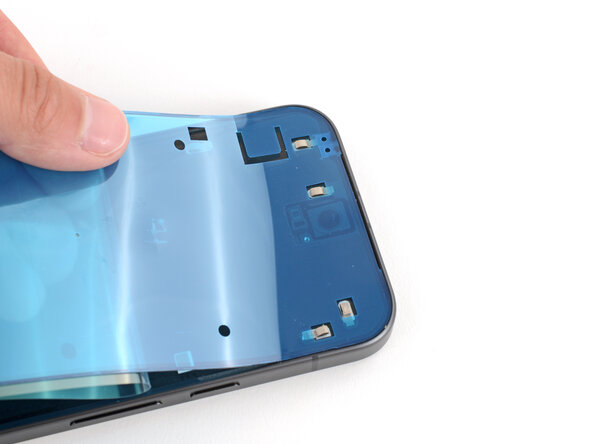
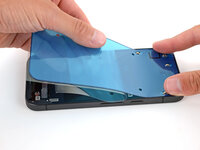
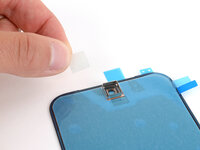
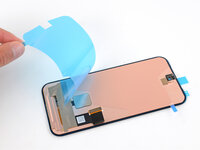
Peel down the top half of the large, clear liner to expose the adhesive—don't fully remove the liner yet.
-
-
-
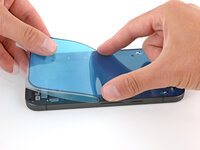
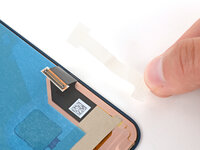
With the larger, clear liner folded towards the bottom of the phone, lay the exposed top edge of the adhesive onto the frame.
-
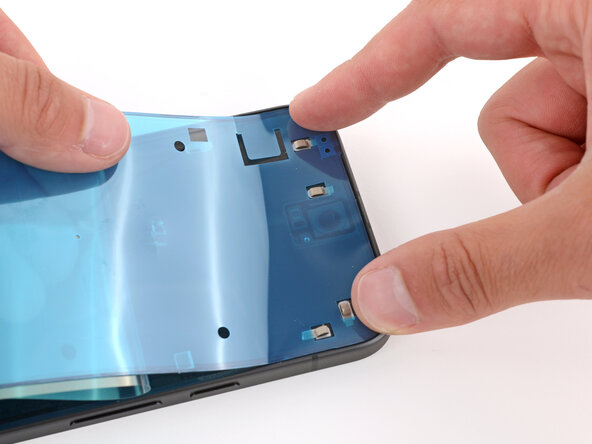
Once the top edge is properly aligned, gently press down on the top corners with your fingers to secure the adhesive.
-
-
-
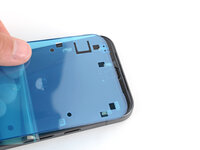
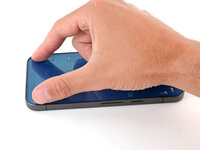
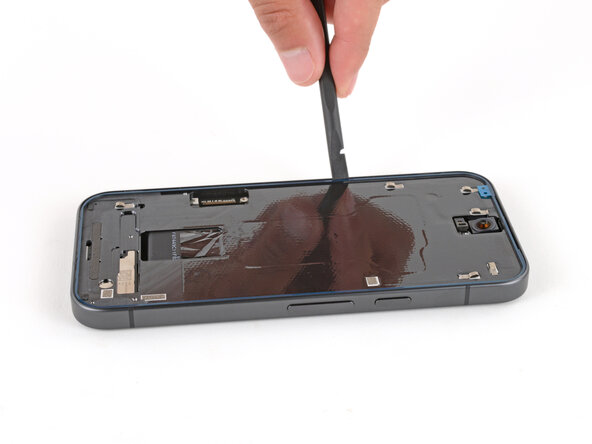
Slowly lay the rest of the adhesive onto the frame, pressing it into place and peeling away the larger liner as you go.
-
-
-
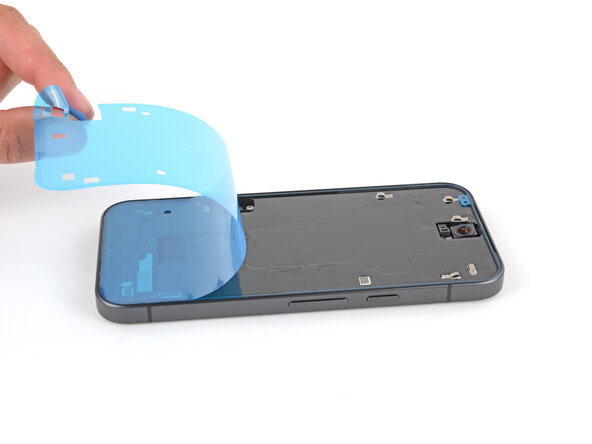
Use the pull tab to remove the large, colored liner.
-
-
-
Use a spudger to press down firmly on the screen adhesive around the perimeter of your phone to secure it to the frame.
-
-
-
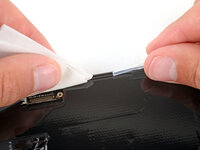
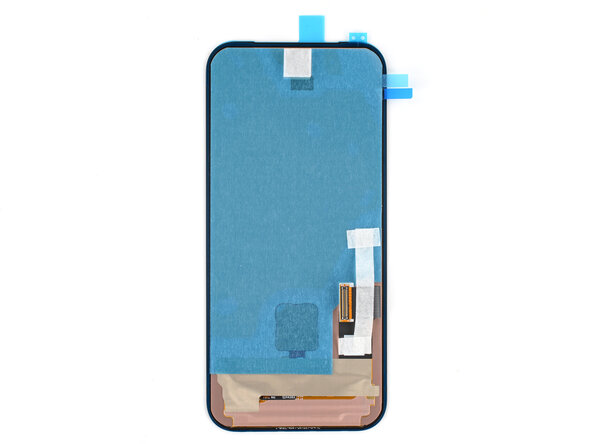
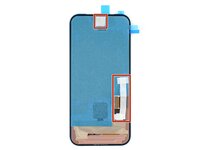
Tape may be covering the front camera and holding the screen cable in place.
-
There may be multiple protective liners covering the bottom of the screen.
-
-
-
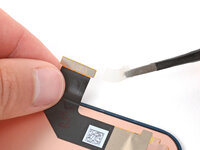
Use your fingers to carefully remove any tape from the front camera cutout and screen cable.
-
-
-
Carefully remove any liners covering the bottom of the screen.
-
-
-
Carefully lay your replacement screen display‑side‑down just to the left of your phone so you can reconnect the cable.
-
-
-
Align the screen press connector over its socket and gently press down with your finger—first on one of the short sides, then on the other—until the connector clicks into place.
-
-
-
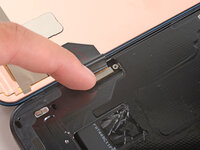
Hook the bottom edge of the screen cable cover into its cutout and lay the cover into place.
-
-
-
Use a Torx Plus 3IP screwdriver to install the 1.7 mm‑long screw securing the cover.
-
-
-
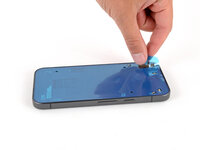
Use tweezers or your fingers to remove the final adhesive liner from the perimeter of the screen.
-
If you applied adhesive directly to the frame, remove that remaining liner, holding the screen up out of the way as necessary, without straining the cable.
-
-
-
Carefully flip the screen over and align it over the frame.
-
Once aligned, press the screen into the frame.
-
-
-
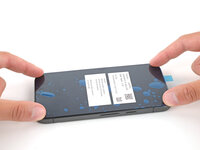
Firmly press around the perimeter of the screen to secure the adhesive.
-
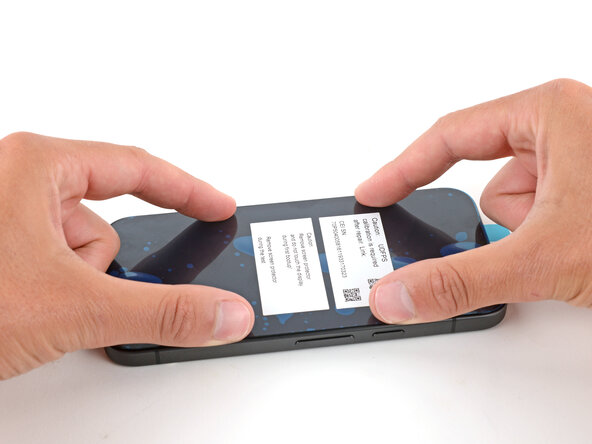
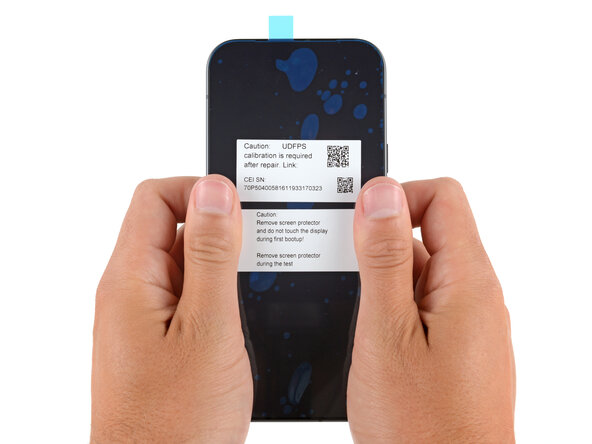
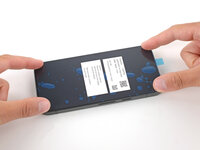
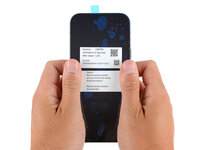
Lay the phone screen-side up on a clean, flat surface. Remove the plastic liner from the screen, making sure nothing touches the phone while you do so (fingers, screen protectors, or cases).
-
To calibrate the display’s fingerprint reader, use Google’s Pixel Update and Software Repair tool.
-


Congratulations on completing your repair!
To calibrate your display’s fingerprint reader, use Google’s Pixel Update and Software Repair tool.
Take your e-waste to an R2 or e-Stewards certified recycler.
To run a diagnostics test with the built-in Pixel Diagnostic tool, click here.
Repair didn’t go as planned? Try some basic troubleshooting, or ask our Answers community for help.
crwdns2935221:0crwdne2935221:0
crwdns2935229:011crwdne2935229:0

