crwdns2915892:0crwdne2915892:0
Follow this guide to replace the battery on a Sony DualShock 4 CUH-ZCT2 Playstation controller.
This guide will also work for the older CUH-ZCT1 model controller but be sure to order the JDM-030 battery, which has a different sized connector. You can check which model controller you have by referencing the sticker on the rear panel.
If your battery is swollen, take appropriate precautions.
crwdns2942213:0crwdne2942213:0
-
-
-
Use a Phillips screwdriver to remove the four 6.4 mm-long screws from the rear panel.
 crwdns2952109:0crwdne2952109:0
-
-
-
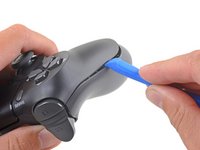
Insert an opening tool into the crease where the front and rear panel meet, starting from the outside edge of either handle.
-
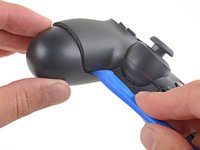
Gently pry the rear panel off of the front panel until they become partially separated.
-
-
-
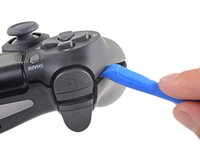
Use the opening tool to separate the panels by releasing the plastic clips around the perimeter of the controller.
-
-
-
-
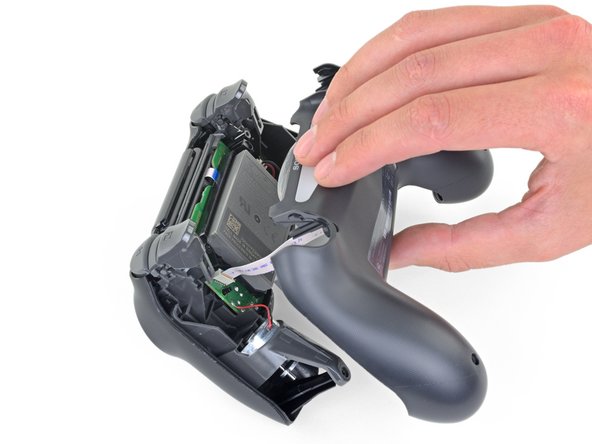
Lift the rear panel directly away from the controller.
-
-
crwdns2935267:0crwdne2935267:0Tweezers$4.99
-
Use your fingers to gently pull the ribbon cable straight out of its connector on the motherboard.
-
-
-
-
crwdns2935267:0crwdne2935267:0Tweezers$4.99
-
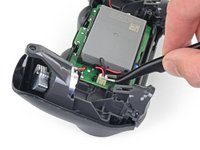
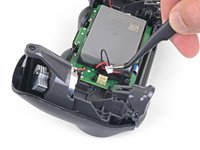
Use a pair of tweezers to pull the battery's power connector straight up from the motherboard.
-
-



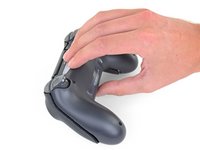
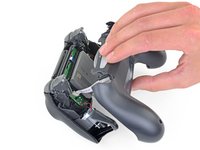


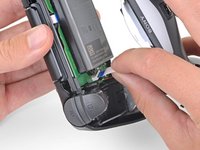
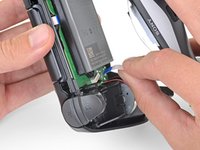




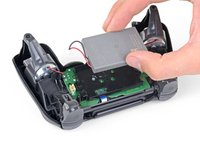
To reassemble your device, follow the above steps in reverse order.
Take your e-waste to an R2 or e-Stewards certified recycler.
Repair didn’t go as planned? Check out our Answers community for troubleshooting help.
crwdns2935221:0crwdne2935221:0
crwdns2935229:057crwdne2935229:0

crwdns2947412:07crwdne2947412:0
For this DualShock 4 CHU-ZCT2U Battery Replacement, shouldn’t the battery model be JDM-040 and not JDM-030 for this controller. I ordered the battery listed but the connector was too large. So I believe this needs to be edited to match accordingly to avoid confusion and incorrect orders. Thanks!
Tom Nguyen - crwdns2934203:0crwdne2934203:0 crwdns2950251:0crwdne2950251:0
Good catch! I just pulled apart the ZCT1U and ZCT2U models and you are right. I will fix this in the guide. Thank you!
Sam Omiotek - crwdns2934203:0crwdne2934203:0 crwdns2950251:0crwdne2950251:0
Can perhaps someone tell me what exact connector does the original battery use ?
MCQ - crwdns2934203:0crwdne2934203:0 crwdns2950251:0crwdne2950251:0
Just bought and the connector does not fit for the newer gen controllers. Dissapointing
Bukayo Saka - crwdns2934203:0crwdne2934203:0 crwdns2950251:0crwdne2950251:0
Is there a conclusion to this? I force charged two batteries from two controllers (which died within the same day) in a known good controller (which has the larger battery connector which can accommodate the smaller ones) each for about three hours (~470mA/h) until they each showed a measured 4ish volts dry test. Once plugged back in neither worked either with the ps button or usb physical connect but funny each will “share” by holding the PS+Share button for a while, idk how to have it actually pair with my station any more. Even after using the reset button on the back. Haaaalp :). I’ll likely figure it out before someone responds to this but for the sake of anyone who can’t troubleshoot please post any answer if you have one, kThanksXO
Apple AT - crwdns2934203:0crwdne2934203:0 crwdns2950251:0crwdne2950251:0
