crwdns2915892:0crwdne2915892:0
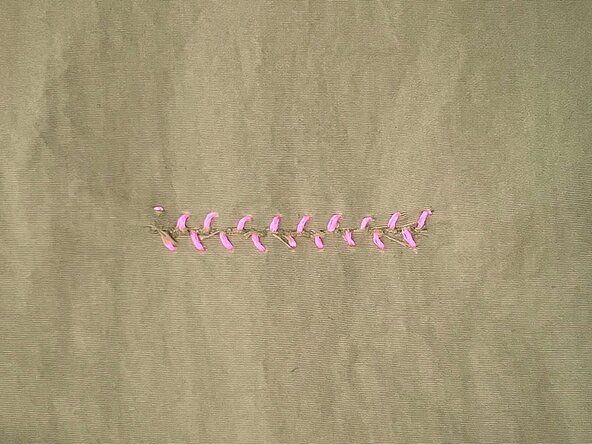
This guide demonstrates how to do a hand sewn baseball stitch to repair a tear on a pair of Patagonia® pants. The baseball stitch is a fundamental technique, ideal for mending fabric tears or sealing slits where there's no seam allowance. It's also a great way to close up a tear before sewing a patch over it.
Hand sewn repairs are a fun and effective way to extend the life of gear at home. DIY repairs won't void the Patagonia warranty—they're actually encouraged!
Patagonia items can also be taken in to a local retail store for repair evaluation or sent in to Patagonia through their mail-in repair service.
Let's get fixing!
Related Articles
crwdns2942213:0crwdne2942213:0
-
-
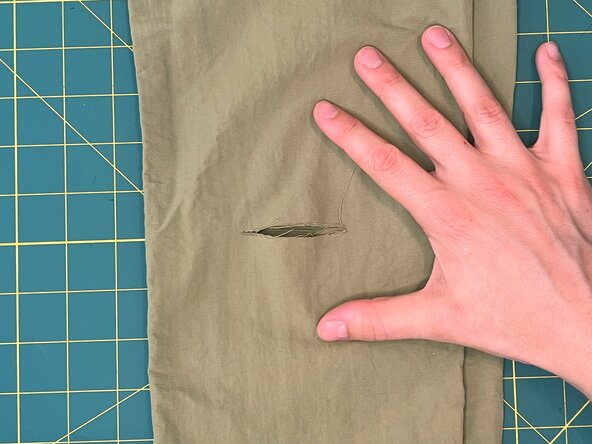
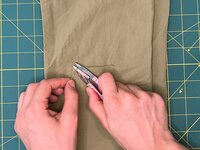
Locate the damaged area and trim away any loose or hanging threads.
-
If the fabric is distorted, gently press it flat with your fingers. You can use an iron if it's safe for the fabric.
-
Lay the fabric flat so the edges of the tear align.
-
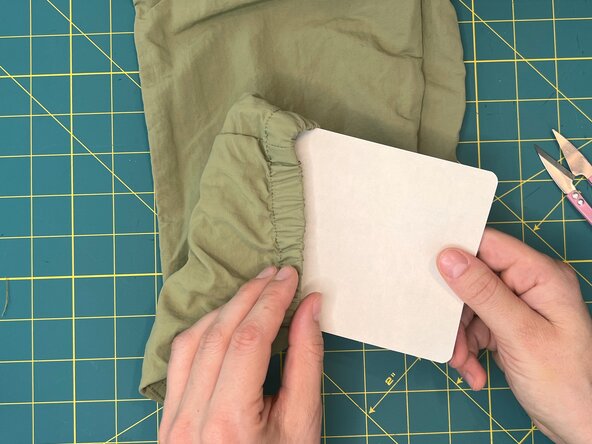
For repairs on sleeves, pant legs, or other tight sections, insert a barrier, such as cardboard, between layers to prevent stitching through both sides.
-
-
-
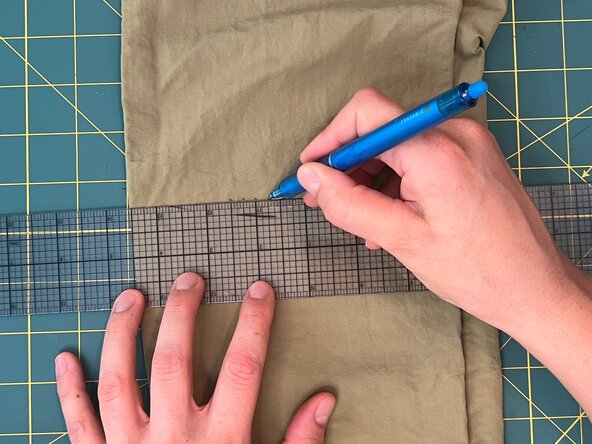
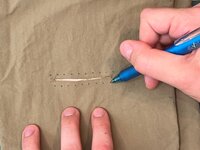
Use tailor's chalk or a heat-erasable pen to mark evenly spaced puncture points on both sides of the tear:
-
Place each puncture point about 1/8 inch – 1/4 inch (3 mm – 6 mm) from the raw edge to prevent the stitch from pulling through the fabric.
-
Stagger the points on one side from those on the opposite side to create the zigzag pattern.
-
Align the first and last puncture points with the ends of the tear for full coverage.
-
-
-
Thread the needle with about 24 inches (62 cm) of thread and tie a knot at one end. For more details, see Needles and Thread.
-
From the back side of the fabric, run the needle through the fabric just outside of one of the marked puncture points at one of the ends.
-
Pull the thread through to the front side until the knot lies flush against the back side of the fabric.
-
-
-
-
Insert the needle back into the fabric through the marked puncture point next to the thread.
-
Bring the needle up inside the tear and pull it through the tear.
-
Then insert the needle through the front side of the fabric at the next puncture point, on the opposite side of the tear, and bring it up again inside the tear.
-
Pull the thread to bring the edges together. Adjust the tension so the fabric lies flat: too tight and it will pucker; too loose and the tear will remain open.
-
-
-
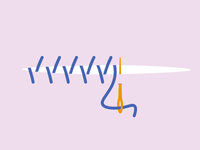
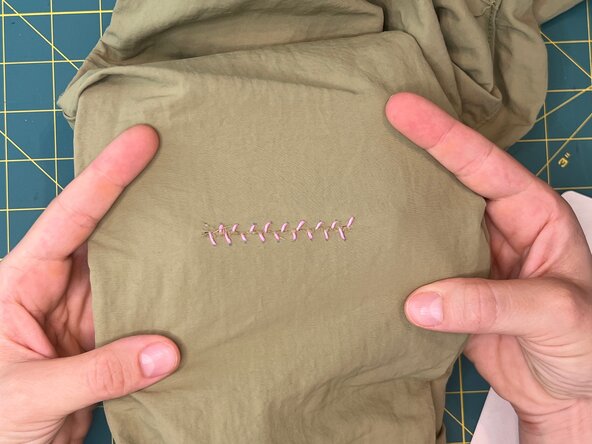
Continue the stitch, alternating sides and always bringing the needle up inside the tear.
-
After each stitch, gently pull the thread to adjust the tension before continuing.
-
Maintain even spacing for a neat finish.
-
-
-
Once you push the needle through the final puncture point, leave the needle on the back side of the fabric.
-
Pull the thread to adjust the tension of the last stitch. Make sure the stitch isn't too tight (puckered) or loose (open).
-
Flip the fabric over and make a secure knot on the back side of the fabric using one of the techniques from Knot Thread to the Fabric (2 Ways).
-
-
-
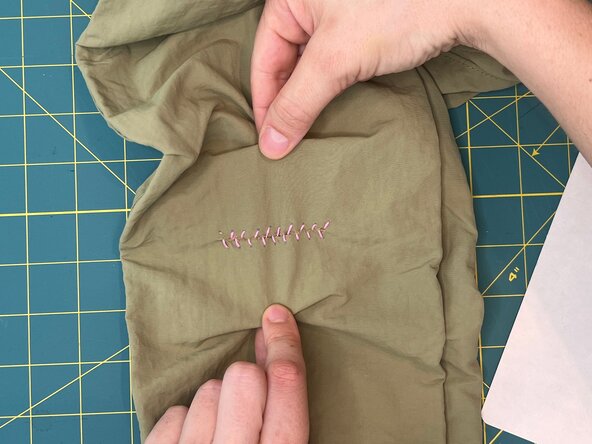
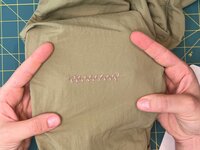
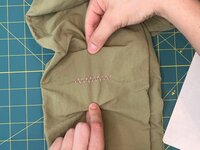
Confirm that the stitches are evenly spaced and secure.
-
Check that the fabric lies flat and the tear is fully closed.
-
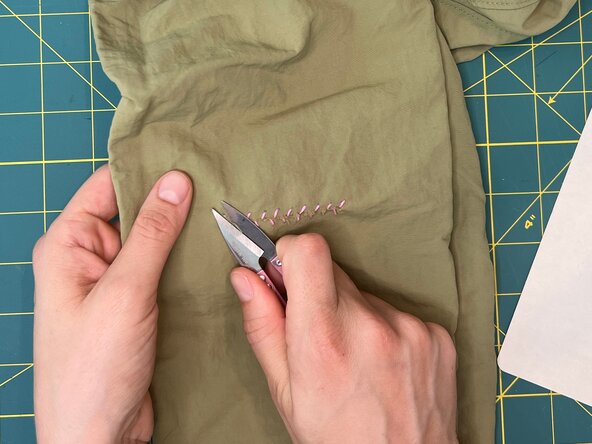
Snip any loose thread ends, either from the stitch or from the fabric.
-
For additional strength and coverage, stitch over the tear again with the new stitches staggered between the original stitches.
-
-
-
Cut a piece of thread twice as long (about 48 inches or 120 cm). Be cautious of tangling!
-
Complete a single row of baseball stitches as usual. At the end, insert the needle through the final puncture point, then bring it up from the back on the opposite side of the tear, directly across from the previous puncture point.
-
Insert the needle into the tear first, right next the original stitch, then bring it up through the back side of the fabric on the opposite side of the tear! Stitch back along the tear in reverse, placing each new stitch between the original ones.
-
Once complete, the result will resemble a shoelace-style lacing that can be manually adjusted for tension.
-
Tie off the end securely on the back side.
-
-
-
THREAD TENSION: Consistent thread tension is essential for a durable and flexible baseball stitch. If the stitches are too tight, the fabric may pucker. If the stitches are too loose, the repair may lack stability. Check the tension after every stitch to ensure good tension.
-
PATCH OVER: A baseball stitch is a great stitch for securing a tear before patching over it. If the repair needs reinforcement, consider applying a patch over the stitched area. See Make a Fabric Patch.
-


crwdns2935221:0crwdne2935221:0
crwdns2935227:0crwdne2935227:0
