crwdns2915892:0crwdne2915892:0
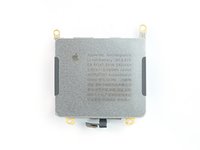
Use this guide to replace a worn-out or dead battery in your Apple Watch Series Ultra.
There is a significant chance that you may break the OLED panel during this procedure. Be sure to apply plenty of heat and be extremely careful during the prying stage.
You’ll need replacement adhesive to reattach the screen when reassembling the device. Your device will function normally, but will most likely lose its IP6X (Ingress Protection) rating.
crwdns2942213:0crwdne2942213:0
-
-
Take your watch off the charger and power it down.
-
-
-
Heat an iOpener and apply it to the screen for two minutes to loosen the adhesive underneath.
-
-
-
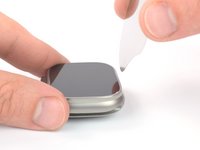
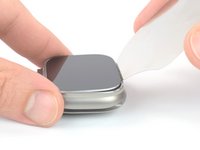
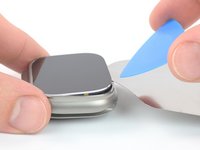
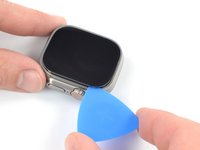
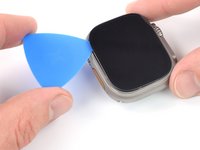
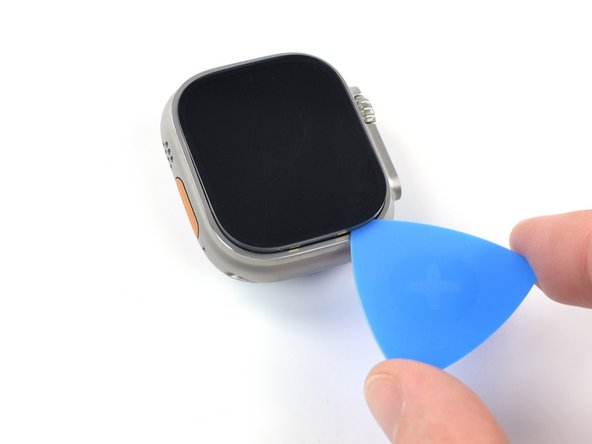
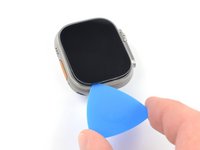
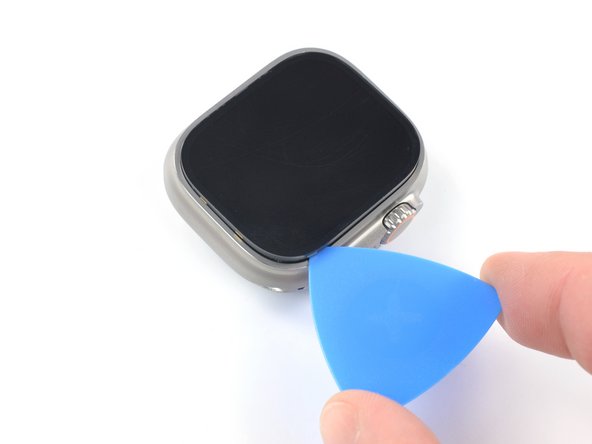
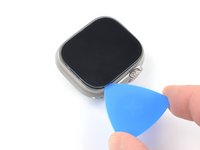
Place the tip of an iFlex along the edge opposite the Digital Crown and position it in the seam between the screen and the frame.
-
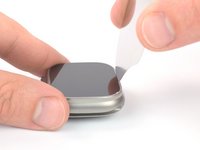
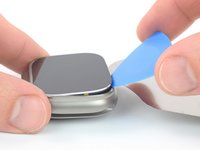
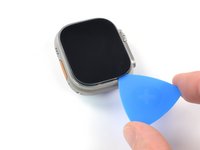
Press the iFlex firmly straight down into the gap.
-
-
-
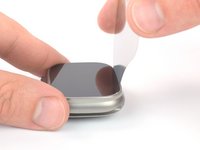
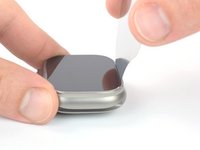
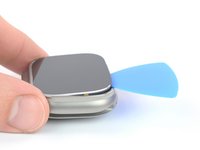
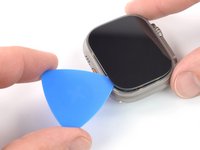
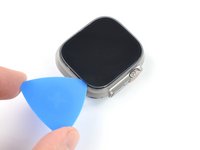
Use the iFlex to pry up the screen.
-
-
-
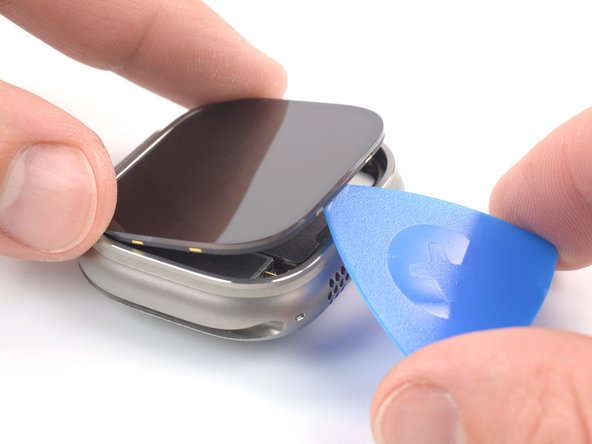
Insert an opening pick in the gap you created between the screen and the frame.
-
Remove the iFlex.
-
-
-
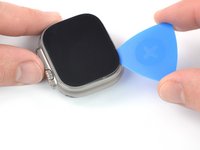
Slide the opening pick around the top left corner and along the top edge of the watch to slice the screen adhesive.
-
-
-
-
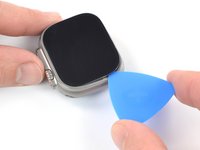
Slide the opening pick around the top right corner and stop just before the Digital Crown.
-
-
-
Insert an opening pick into the seam at the top left corner of the watch.
-
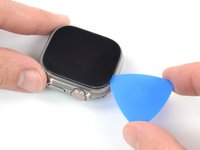
Slide the pick along the Action button edge to slice the adhesive.
-
-
-
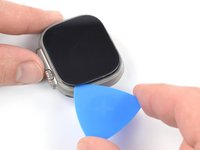
Slide the opening pick around the bottom left corner and along the bottom edge of the watch to slice the screen adhesive.
-
-
-
Slide the opening pick around the bottom right corner and stop before you reach the side button.
-
-
-
Insert the opening pick between the screen and frame at the opposite edge of the Digital Crown.
-
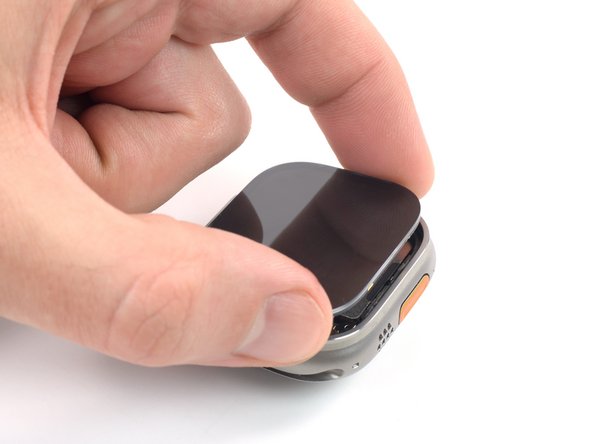
Pry up the screen until you can get a good grip with your fingers.
-
-
-
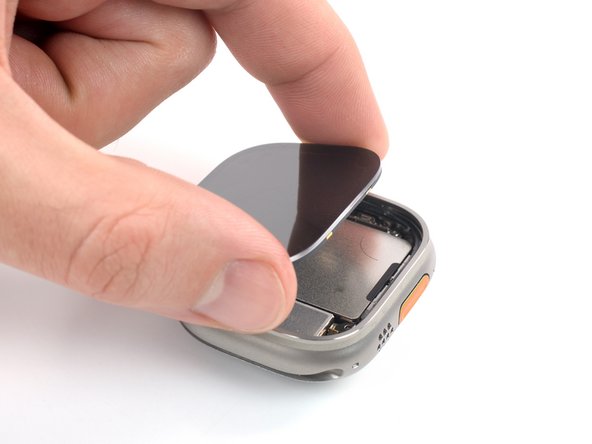
Lift the screen up and carefully pull it towards the Digital Crown.
-
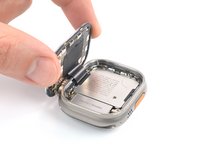
Swing the screen open to an upward position.
-
-
-
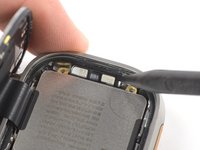
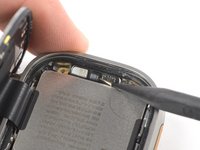
Use a Y000 driver to remove the two 2.3 mm‑long screws securing the metal connector bracket at the bottom edge of the watch.
-
-
crwdns2935267:0crwdne2935267:0Tweezers$4.99
-
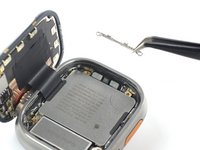
Use a pair of tweezers to remove the bottom connector bracket.
-
-
-
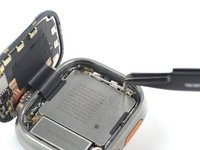
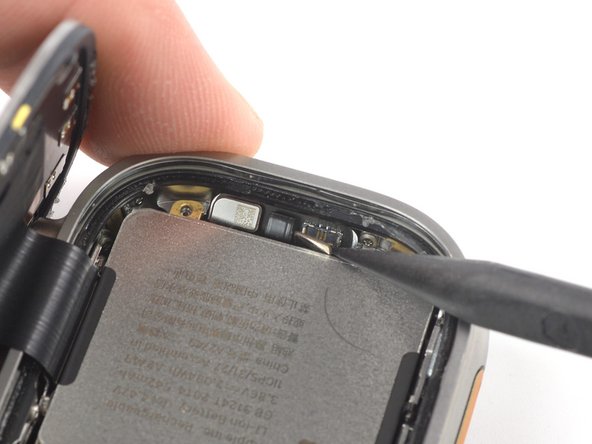
Use the point of a spudger to pry up the battery connector towards the battery.
-
-
-
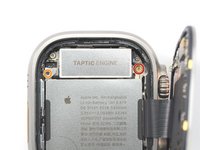
Use a Y000 driver to remove the 2.9 mm‑long screw securing the battery.
-
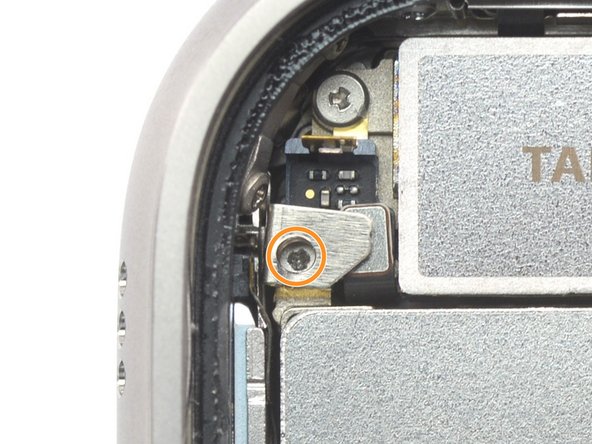
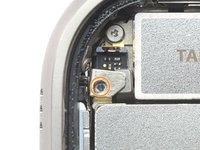
Use a Y000 driver to unscrew the 2.1 mm‑long screw that's sandwiched between the metal bracket.
-
-
-
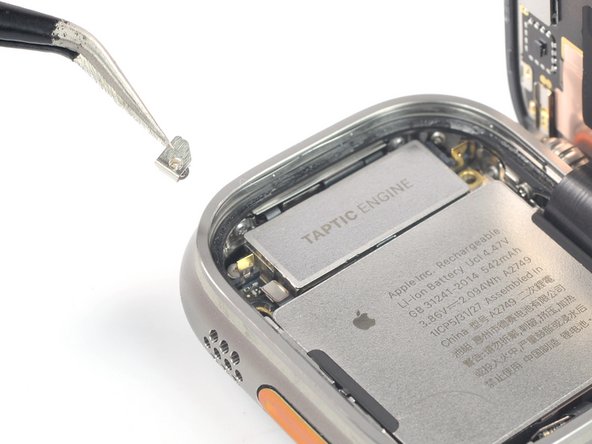
Use a pair of tweezers to remove the bracket with the screw sandwiched between it.
-
-
-
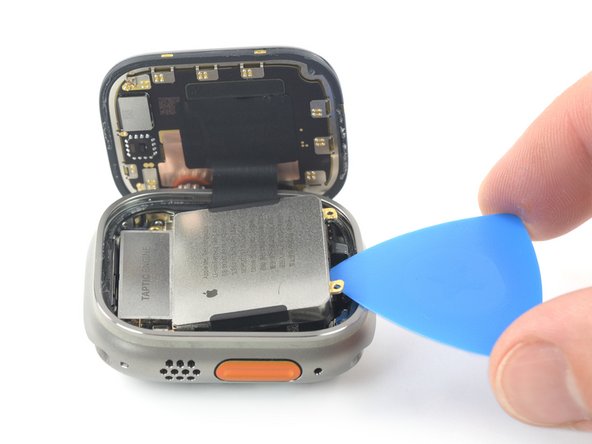
Use an opening pick to lift up the battery.
-
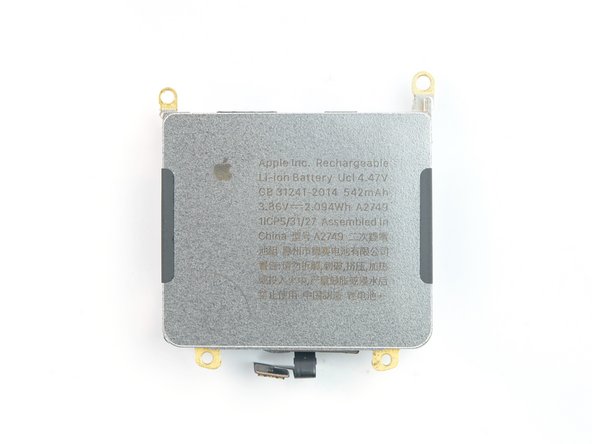
Remove the battery from the case.
-
If possible, turn on your device and test your repair before installing new adhesive and resealing.
To reassemble your Apple Watch Ultra, follow these instructions in reverse order. Apply a little bit of high isopropyl alcohol (>90%) to a Q-tip or use a cleaning pad to gently remove the leftover adhesive on the edges of the watch case and the screen before installing new adhesive.
For optimal performance, calibrate your newly installed battery after completing this guide.
Take your e-waste to an R2 or e-Stewards certified recycler.
Repair didn’t go as planned? Try some basic troubleshooting, or ask our Answers community for help.
crwdns2935221:0crwdne2935221:0
crwdns2935229:07crwdne2935229:0
crwdns2947412:03crwdne2947412:0
Is it possible to reboot the device after changing the battery so that my i cloud account is locked?
Man... i knew seeing screws on the back side of it were a false sense of security...
Completed the repair yesterday. Needed to get the display seal elsewhere since iFixit doesn't seem to have it on this site. Wished they had a complete set of thin opening tool, Display seal, Battery and screwdriver-bit.
First tried the repair with iOpener but it wouldnt get the glue loose enough so used a heatgun several times to not overheat the watch. Took an extensive amount of prying until the display came loose.
That little bracket broke when prying it open to access the screw (bit was to big) but the watch works just fine even with broken bracket.
Other than that removal of old glue took a tremendous amout of Alcohol (for the watch, not me) but reinstalling the new seal was relatively easy. Display is glued in and the watch works flawlessly. The iFixit Battery was delivered completely empty - I'd have expeted at least 25% charge to at least be able to power on the device for checking. After half an hour of charing it worked fine.
Please update the guide with display-re-sealing topic.


