crwdns2915892:0crwdne2915892:0
Use this guide to replace the Force Touch gasket in your Apple Watch Series 2. This guide shows the procedure while leaving the display connected. If you prefer to disconnect the display or are replacing the display anyway, please refer to this guide and replace the Force Touch gasket after removing the display.
If your Force Touch function works correctly and you just need new adhesive to re-seal your watch, follow the adhesive replacement guide instead.
crwdns2942213:0crwdne2942213:0
-
-
Before starting repairs, take your watch off the charger and power it down.
-
-
-
Prepare an iOpener (or grab a hair dryer or heat gun) and heat the face of the watch until it's slightly too hot to touch.
-
Leave the iOpener on the watch for at least a minute to fully heat the screen and soften the adhesive holding it to the case.
-
-
-
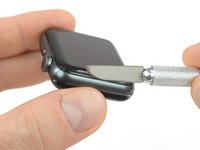
Place the edge of a curved blade into the thin gap between the display and the outer case. Start at the short side of the display, closest to the digital crown.
-
Press firmly straight down into the gap.
-
Once inserted, tilt the blade to pry the display open slightly.
-
-
-
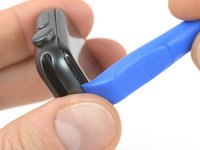
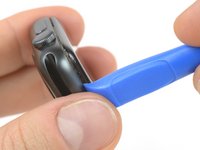
Once you've opened a small gap with the curved blade, remove the blade and insert the thinner edge of an opening tool into the gap.
-
Push the opening tool into the gap, using your thumb as a pivot to lift the display open a bit farther.
-
-
-
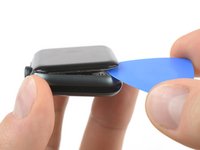
Insert an opening pick under the display and carefully separate the Force Touch gasket from the display.
-
Slide the pick around the display to separate the adhesive between the Force Touch gasket and the display.
-
-
crwdns2935267:0crwdne2935267:0Tweezers$4.99
-
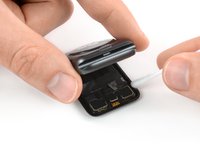
Open the display to about a 45° angle, and use tweezers to peel off the adhesive between the display and the Force Touch gasket.
-
Thread the adhesive around and behind the display cables to get it off completely.
-
-
-
-
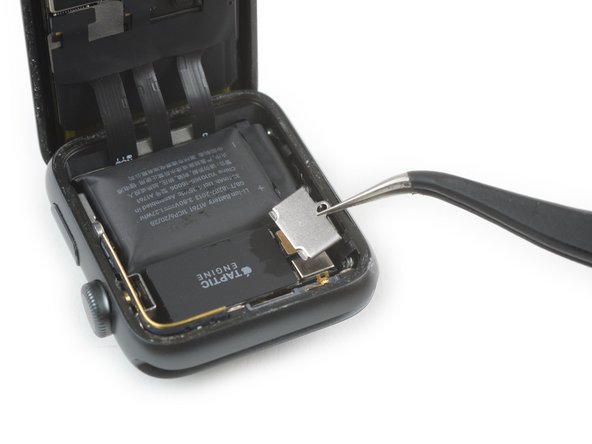
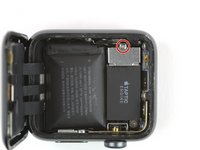
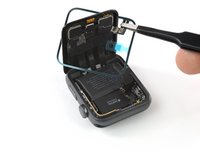
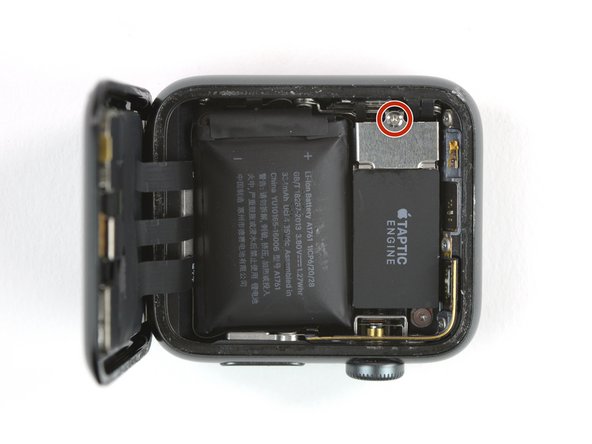
Use a Y000 driver to remove the Tri-point screw securing the metal battery connector cover.
-
Remove the cover.
-
-
-
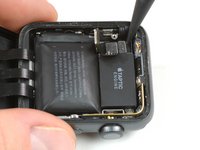
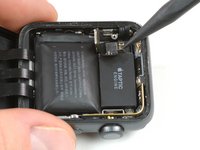
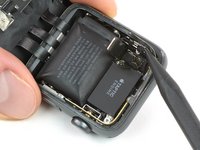
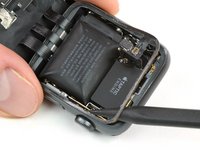
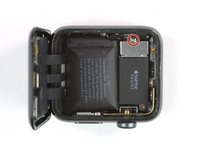
Disconnect the battery by prying its connector straight up with the edge of a pry tool.
-
Bend the connector up slightly to make sure it does not make contact by accident.
-
-
-
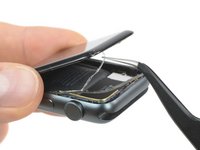
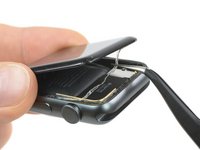
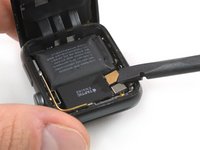
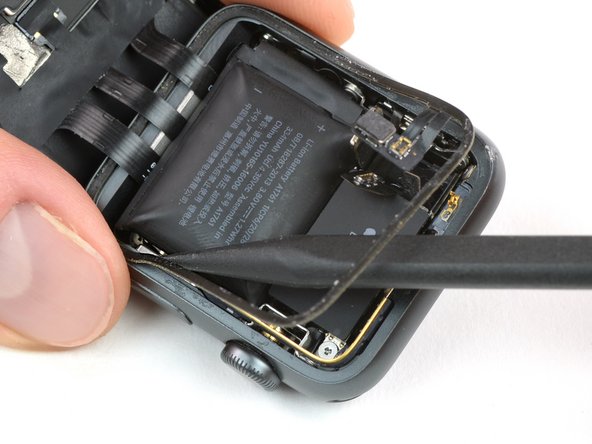
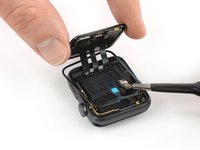
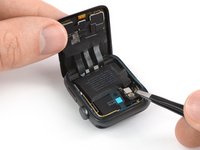
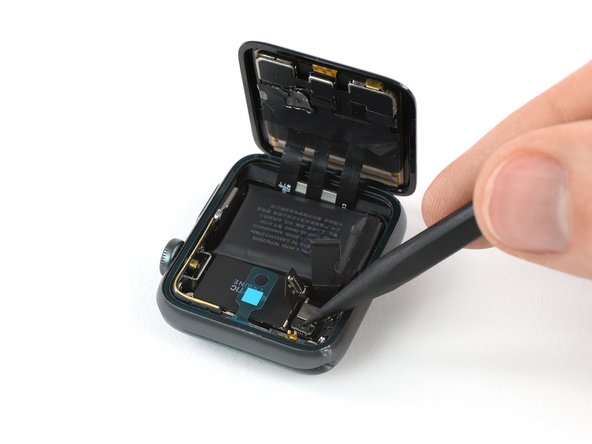
Use the tip of a pry tool to disconnect the Force Touch gasket by prying it straight up from the outside edge.
-
-
crwdns2935267:0crwdne2935267:0Tweezers$4.99
-
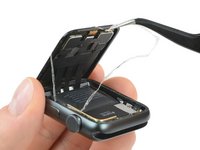
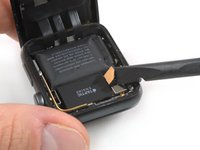
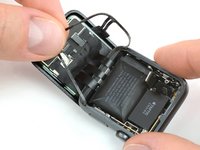
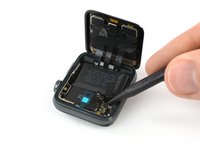
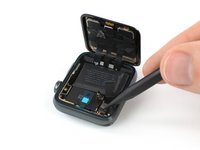
Lift up the connector plate of the Force Touch gasket.
-
Slide your tweezers or a pry tool underneath the gasket to separate the glue underneath.
-
Separate the glue all around the perimeter of the watch except the edge where the display cables lie, to avoid ripping them by accident.
-
-
-
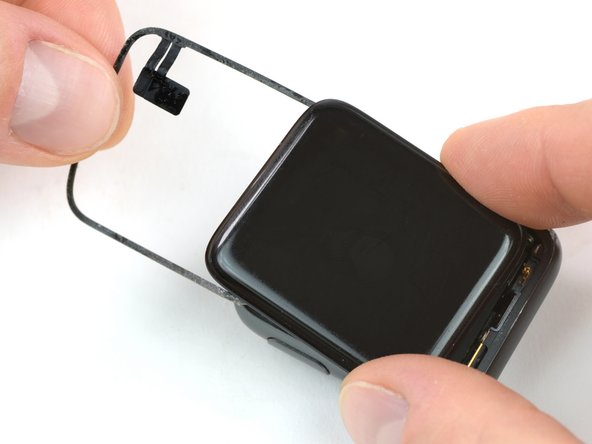
Carefully pull the Force Touch gasket over and around the display.
-
Flip the display almost shut so that you can safely peel the Force Touch gasket from the remaining edge.
-
Remove the Force Touch gasket.
-
-
crwdns2935267:0crwdne2935267:0Adhesive Cleanup Kit (Set of 12)$7.99
-
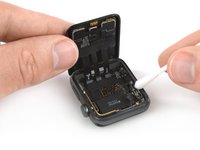
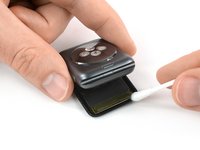
Apply a little bit of isopropyl alcohol (>90%) to a Q-tip or use a cleaning pad to gently remove any remaining adhesive from the former force touch gasket.
-
-
-
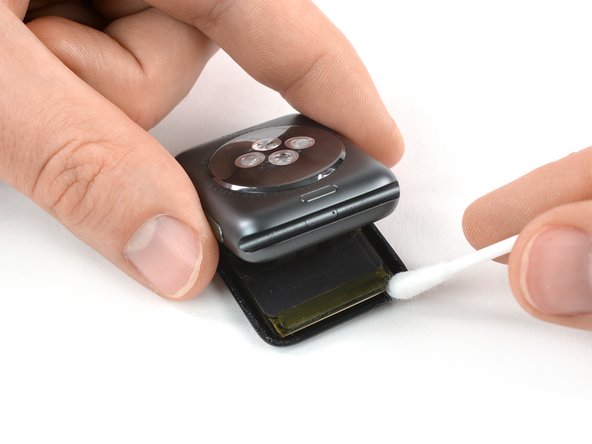
Flip the watch upside-down so the display lays flat while slightly lifting up the case.
-
Carefully remove any remaining adhesive from the back of the display.
-
-
-
Use a pair of tweezers to carefully remove the protective liner from the bottom of your new Force Touch gasket, exposing the adhesive underneath.
-
-
-
Hold the Force Touch gasket diagonally to thread it over the display.
-
Slightly tilt the display forward so you can align the Force Touch gasket with the frame.
-
Starting on the corner opposite the Force Touch gasket connector, set the gasket onto the frame, and press it down.
-
-
-
Use a pry tool to fold the connector plate of the Force Touch gasket down into its recess.
-
Reconnect the flex cable by pressing it down gently.
-
-
-
Use the point of a spudger to bend the battery connector back into its original position.
-
Gently press down to reconnect the battery flex cable.
-
-
-
Use a pair of tweezers to place the metal plate covering the battery connector back in its original position.
-
Install the Tri-point #000 screw.
-
-
-
Use a pair of tweezers to gently remove the protective film on top of the Force Touch gasket.
-
-
-
Align the display and press it down firmly onto the adhesive.
-


Take your e-waste to an R2 or e-Stewards certified recycler.
Repair didn’t go as planned? Try some basic troubleshooting, or search our Answers forum for help.
crwdns2935221:0crwdne2935221:0
crwdns2935229:050crwdne2935229:0

crwdns2935287:0crwdne2935287:0

Tobias Isakeit - Repairability Engineer crwdns2935289:0Tobias Isakeit - Repairability Engineercrwdne2935289:0
Business
crwdns2934841:01crwdne2934841:0
crwdns2935297:01.145crwdne2935297:0
crwdns2947412:07crwdne2947412:0
Hola, Me presento como nuevo y NOVATO. Me llamo Jaime, y Yo creo que os mereceis un 10. La caña de España.
Hola Jaime! Bienvenido! Muchas gracias por tu comentario. Nos alegra que te guste nuestro sitio. Cualquier duda que tengas, no dudes en consultarme. Soy la moderadora y líder de la comunidad hispanohablante.
The gasket comes with all the necessary adhesive or you need to put he the sealing adhesive separately? I need to replace my screen and I got the gasket and screen but don’t know if I need glue to waterproof it?
I bought iFixit’s battery replacement kit and the gasket which I received had adhesive on both sides, just like in this guide.
The repair kit does comes with extra gasket adhesive, which confused me at first. The extra adhesive is included in case you manage to open the watch without damaging the original gasket.
I have no idea why they include the extra adhesives. When I tried to use one the screen sat too high and it looked bad.