crwdns2915892:0crwdne2915892:0
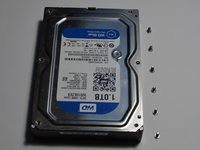
Western digital Hard drive tear down
-
-
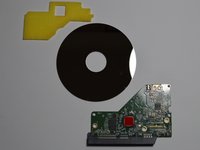
Remove four screws and circuit board lifts out
-
-
-
Motor contacts
-
Head contacts
-
-
-
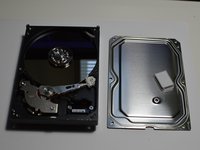
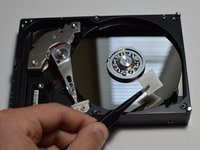
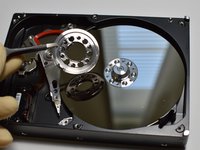
Remove 6 perimeter screws
-
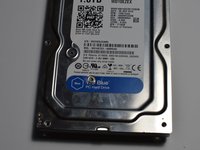
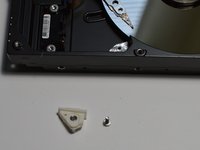
Remove screw from under sticker
-
Lift cover off
Maybe rotate 1st photo 180 degrees so the orientation matches photo 2. Also in photo 1 highlight the location of the hidden screw.
-
-
-
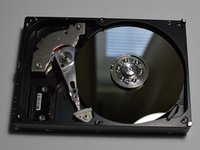
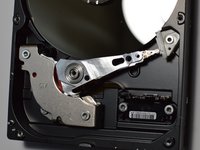
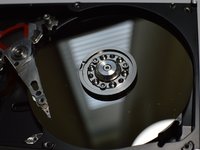
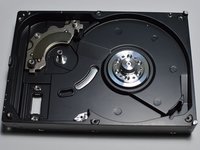
Inside of hard drive
-
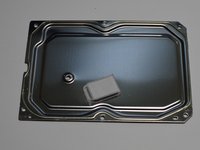
Desiccant packet removed from lower right corner
-
Inside of cover
-
-
-
-
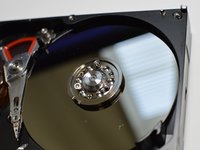
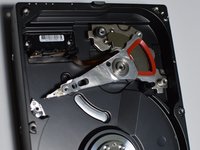
Head in dock
-
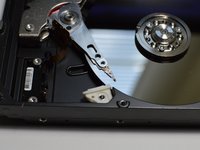
Head on disk
-
Dock removed
-
-
-
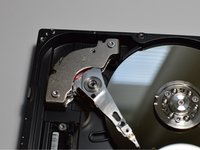
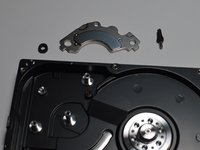
Head before bridge removed
-
Remove two screws
-
Lift bridge away
Highlight screw location in photo 1. Provide driver tip used to remove screws.
-
-
-
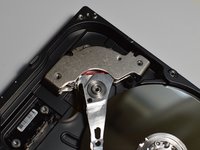
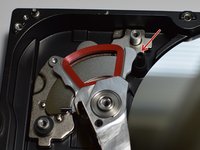
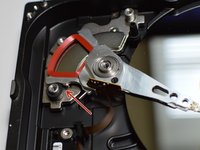
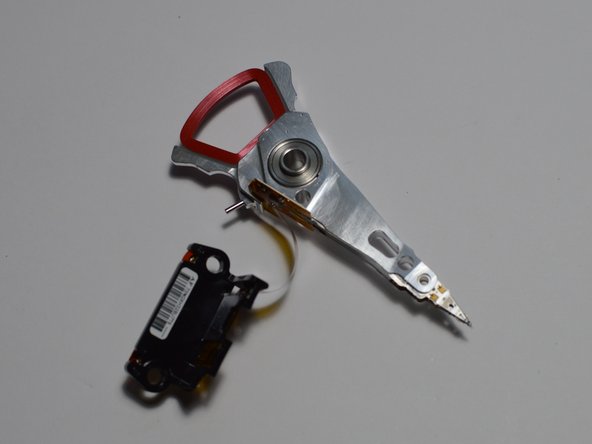
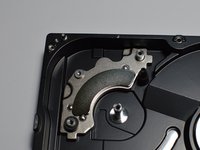
Stops to limit head travel
-
Red coil over magnet cause the head to rotate
-
-
-
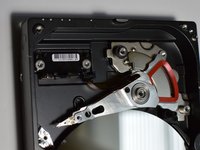
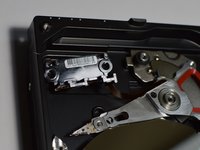
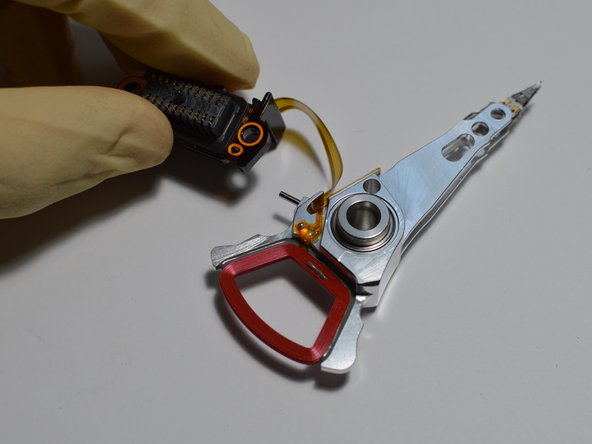
Contact block installed
-
Remove two screws, contact block is now loose but connected to head by a ribbon cable
Add driver tip size. Highlight ribbon cable as it blends in with body.
-
-
-
Disk installed
-
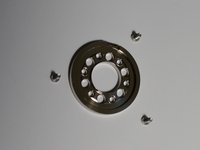
Remove 3 screws holding down collar
-
Remove collar
Highlight the screw faces please. The screw faces blend in with the collar.
-
-
-
Lift disk out of case
-
Collar after removal
-
-
-
Head installed, simply lift head out of case
-
Remove head
-
Case without head
-
-
-
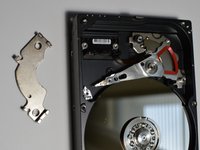
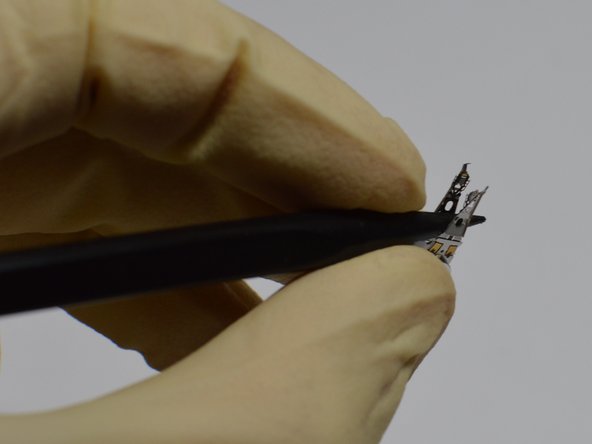
Removed head
-
Contacts for data and head control
-
Head interface to disk
-
-
-
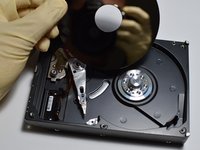
Remove magnet
-
Remove stop for head on disk
-
Remove head docked stop
What is the purpose of the black strip below where the head use to be?
-
-
-
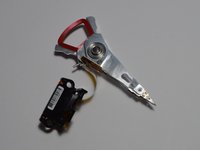
All components arranged
-


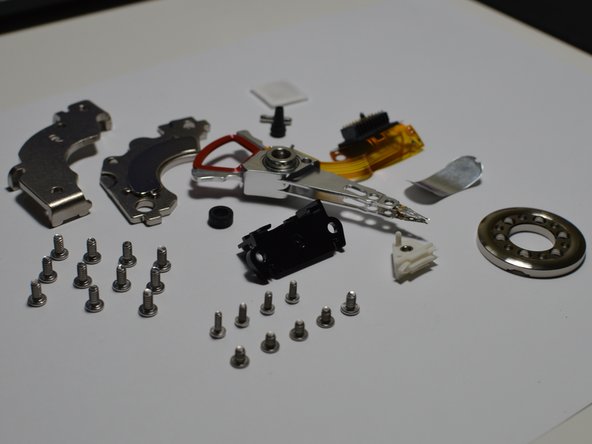

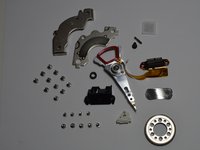
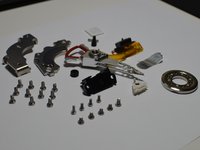

crwdns2947410:01crwdne2947410:0
Well done Wieli! Your photographs are very clear and well lighted. Should you decide to edit the guide may I suggest (1) you add what screwdriver tips you used to remove screws and (2) at step 10, highlight the three screws. The screw tips blend in with the collar.