crwdns2935425:08crwdne2935425:0
crwdns2931653:08crwdne2931653:0

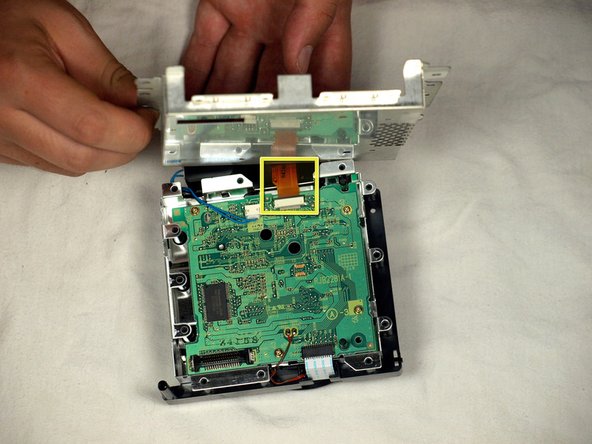


Optical drive metallic chassis
-
Underneath the now detached optical drive unit are six (6) Phillips #1 screws holding the metal chassis to the optical drive unit.
-
Remove all six screws and place the metal chassis to the side.
crwdns2944171:0crwdnd2944171:0crwdnd2944171:0crwdnd2944171:0crwdne2944171:0