crwdns2933423:0crwdne2933423:0

Nintendo GameCube Lens Recalibration

crwdns2936315:0crwdne2936315:0
crwdns2936321:0crwdne2936321:0
crwdns2931653:07crwdne2931653:0
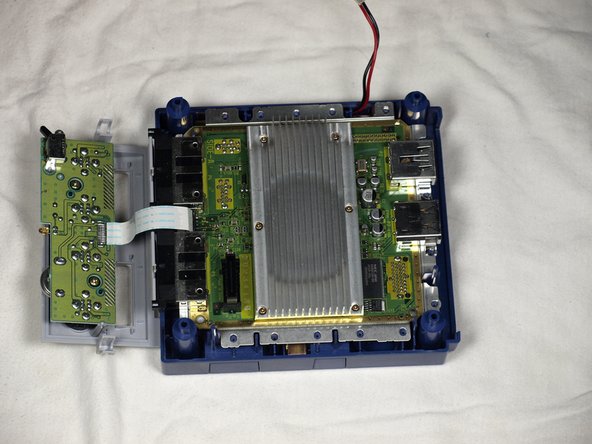
Nintendo GameCube Lens Recalibration, Removing the optical drive: crwdns2935265:00crwdnd2935265:01crwdnd2935265:03crwdne2935265:0 Nintendo GameCube Lens Recalibration, Removing the optical drive: crwdns2935265:00crwdnd2935265:02crwdnd2935265:03crwdne2935265:0 Nintendo GameCube Lens Recalibration, Removing the optical drive: crwdns2935265:00crwdnd2935265:03crwdnd2935265:03crwdne2935265:0
Removing the optical drive
  • Carefully remove the optical drive unit.

  • The optical drive unit is connected to the main motherboard via a slot, located at the front right of the unit, so some force will be needed when removing the unit.

  • Carefully place the rest of the Gamecube unit aside and focus on the optical drive. Refer to picture 3.

crwdns2935429:0crwdne2935429:0

crwdns2935429:0crwdne2935429:0

crwdns2935429:0crwdne2935429:0

crwdns2944171:0crwdnd2944171:0crwdnd2944171:0crwdnd2944171:0crwdne2944171:0