crwdns2933423:0crwdne2933423:0

Remplacement de l'ampoule Microtek ScanMaker 5900

crwdns2931527:0crwdnd2931527:0crwdnd2931527:0crwdnd2931527:0crwdne2931527:0

crwdns2935425:03crwdne2935425:0

crwdns2936315:0crwdne2936315:0
crwdns2936317:0crwdne2936317:0
crwdns2931653:03crwdne2931653:0
Microtek ScanMaker 5900 New Bulb Replacement, Remove the bulb: crwdns2935265:00crwdnd2935265:01crwdnd2935265:03crwdne2935265:0 Microtek ScanMaker 5900 New Bulb Replacement, Remove the bulb: crwdns2935265:00crwdnd2935265:02crwdnd2935265:03crwdne2935265:0 Microtek ScanMaker 5900 New Bulb Replacement, Remove the bulb: crwdns2935265:00crwdnd2935265:03crwdnd2935265:03crwdne2935265:0
Remove the bulb
  • Place the plastic housing back into the bottom lid of the scanner.

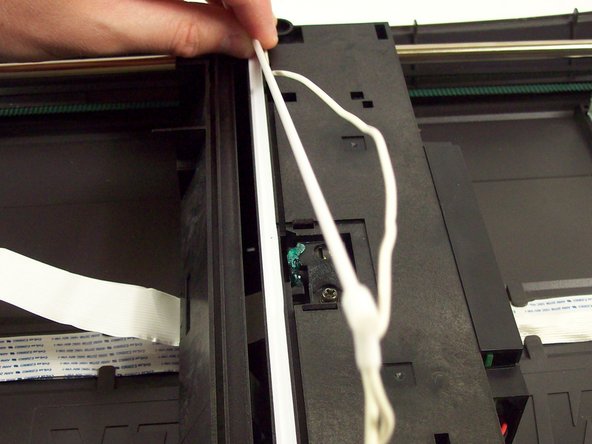
  • Remove the plastic panel by gently pushing on the plastic latches with a plastic opening tool.

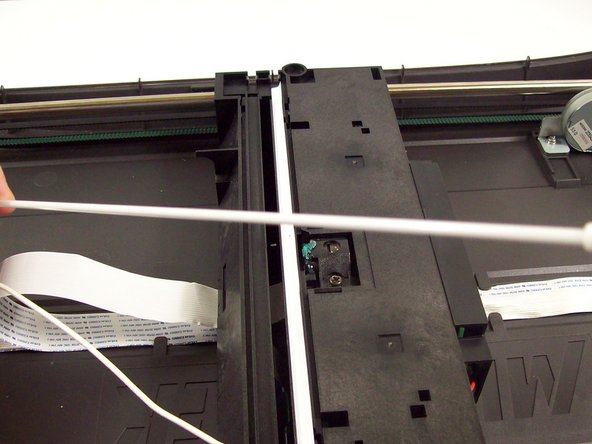
  • Pull the bulb and wire out of its plastic casing.

  • The bulb is now free to be replaced.

Replacez le boîtier en plastique dans le couvercle inférieur du scanner.

Retirez le panneau en plastique en appuyant doucement sur les loquets en plastique avec un outil d'ouverture en plastique.

Tirez l'ampoule et le fil hors de son boîtier en plastique.

L'ampoule peut maintenant être remplacée.

crwdns2944171:0crwdnd2944171:0crwdnd2944171:0crwdnd2944171:0crwdne2944171:0