crwdns2933423:0crwdne2933423:0

Elektronik-Übungsbausatz MK112

crwdns2936315:0crwdne2936315:0
crwdns2936319:0crwdne2936319:0
crwdns2931653:03crwdne2931653:0
Electronics Skills Kit 101: crwdns2935265:00crwdnd2935265:01crwdnd2935265:03crwdne2935265:0 Electronics Skills Kit 101: crwdns2935265:00crwdnd2935265:02crwdnd2935265:03crwdne2935265:0 Electronics Skills Kit 101: crwdns2935265:00crwdnd2935265:03crwdnd2935265:03crwdne2935265:0
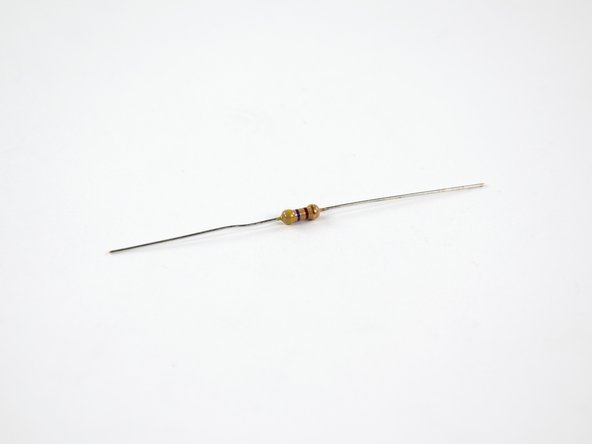
  • We'll start with resistor R1 in your kit, which has yellow, purple, brown, and gold rings on it (more on what these colored rings mean later).

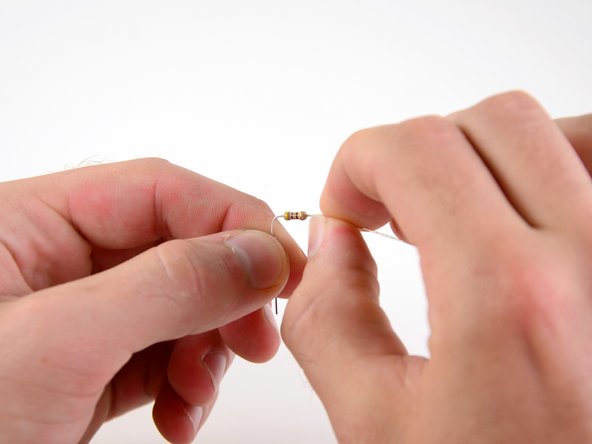
  • Bend the leads of the resistor to 90o angles about 1.5 mm away from the body of the resistor.

Wir fangen mit dem Widerstand R1 aus dem Bausatz an. Er ist mit Farbringen in gelb, violett, braun und gold markiert. (Mehr dazu später).

Biege die Drähtchen etwa 1,5 mm von den Enden des Widerstands entfernt rechtwinklig ab.

crwdns2944171:0crwdnd2944171:0crwdnd2944171:0crwdnd2944171:0crwdne2944171:0