crwdns2933423:0crwdne2933423:0

Remplacement du boîtier inférieur du Gateway Lt4004u

crwdns2931529:0crwdnd2931529:0crwdnd2931529:0crwdnd2931529:03crwdnd2931529:0crwdne2931529:0

crwdns2936315:0crwdne2936315:0
crwdns2936317:0crwdne2936317:0
crwdns2931653:02crwdne2931653:0
Gateway Lt4004u Back Panel Replacement: crwdns2935265:00crwdnd2935265:01crwdnd2935265:03crwdne2935265:0 Gateway Lt4004u Back Panel Replacement: crwdns2935265:00crwdnd2935265:02crwdnd2935265:03crwdne2935265:0 Gateway Lt4004u Back Panel Replacement: crwdns2935265:00crwdnd2935265:03crwdnd2935265:03crwdne2935265:0
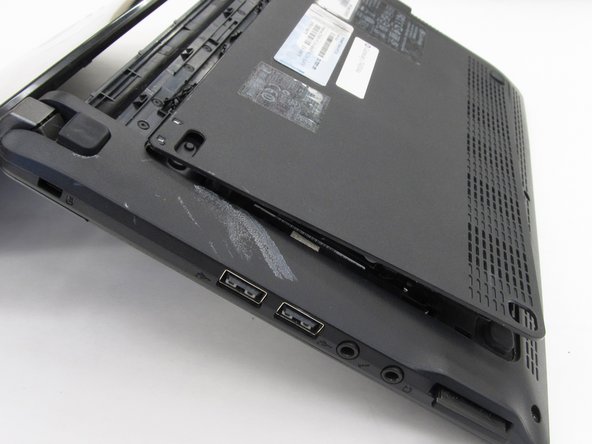
  • Hold the computer in your hands and use the tip of your screwdriver or a spudger to push through the bottom right hand hole left by the removed screw. This hole is shown in the picture within a red box.

  • The tip of the screwdriver will push against the bottom casing of the laptop and pop it away from the rest of the frame.

  • There will be a loud cracking noise as the bottom of the computer detaches. You are not breaking it!

Tenez l’ordinateur dans vos mains et utilisez la pointe de votre tournevis ou d’un spudger pour enfoncer le trou en bas à droite à gauche de la vis retirée. Ce trou est représenté sur l’image dans un rectangle rouge.

La pointe du tournevis poussera contre le boîtier inférieur de l’ordinateur portable et le détachera du reste du cadre.

Il y aura un fort bruit de craquement lorsque le bas de l’ordinateur se détachera. Ce bruit est normal, vous n’êtes pas entrain de l’endommager !

crwdns2944171:0crwdnd2944171:0crwdnd2944171:0crwdnd2944171:0crwdne2944171:0