crwdns2933423:0crwdne2933423:0

Remplacement du boîtier inférieur du Gateway Lt4004u

crwdns2931529:0crwdnd2931529:0crwdnd2931529:0crwdnd2931529:03crwdnd2931529:0crwdne2931529:0

crwdns2935425:01crwdne2935425:0

crwdns2936315:0crwdne2936315:0
crwdns2936317:0crwdne2936317:0
crwdns2931653:01crwdne2931653:0
Gateway Lt4004u Back Panel Replacement: crwdns2935265:00crwdnd2935265:01crwdnd2935265:03crwdne2935265:0 Gateway Lt4004u Back Panel Replacement: crwdns2935265:00crwdnd2935265:02crwdnd2935265:03crwdne2935265:0 Gateway Lt4004u Back Panel Replacement: crwdns2935265:00crwdnd2935265:03crwdnd2935265:03crwdne2935265:0
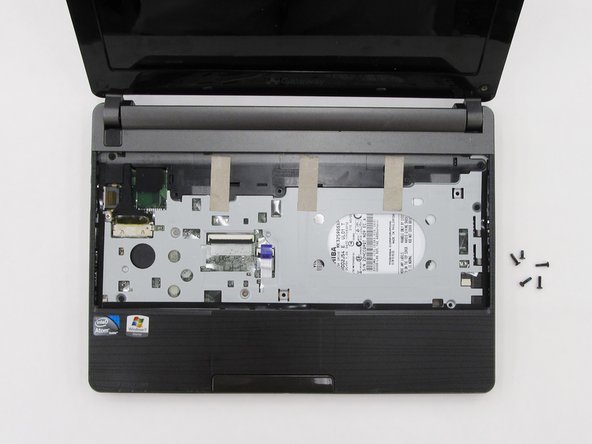
  • Locate and unscrew the five screws indicated by the red circles in the picture using a Phillip's #0 screwdriver. All of the screws are 8.0 mm, excluding the top right screw which is shorter. It should be 5.0mm.

  • Each screw should have the word "DOOR" engraved beside or above it.

Repérez et dévissez les cinq vis indiquées par un cercle rouge sur l’image avec un tournevis cruciforme n° 0. Toutes les vis font 8 mm, à l’exception de celle en haut à droite qui est plus court. Elle devrait être de 5 mm.

Chaque vis devrait avoir le mot « DOOR » gravé en dessous ou au-dessus d’elles.

crwdns2944171:0crwdnd2944171:0crwdnd2944171:0crwdnd2944171:0crwdne2944171:0