crwdns2933423:0crwdne2933423:0

Remplacement de l'écran du Gateway LT4004u

crwdns2936315:0crwdne2936315:0
crwdns2936317:0crwdne2936317:0
crwdns2931653:03crwdne2931653:0
Gateway LT4004u Screen Replacement: crwdns2935265:00crwdnd2935265:01crwdnd2935265:03crwdne2935265:0 Gateway LT4004u Screen Replacement: crwdns2935265:00crwdnd2935265:02crwdnd2935265:03crwdne2935265:0 Gateway LT4004u Screen Replacement: crwdns2935265:00crwdnd2935265:03crwdnd2935265:03crwdne2935265:0
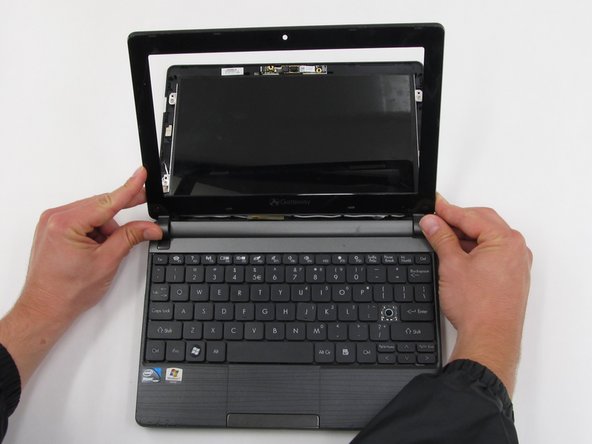
  • Once the two screws are removed, pry the screen casing away from the screen. You can use your fingernails or a tool such as tweezers to separate the screen casing from the backing.

  • Be prepared to hear cracking noises. These are expected.

  • Unhook the screen casing at the bottom of the screen from the central hinges on the left and right side connecting the screen casing to the keyboard.

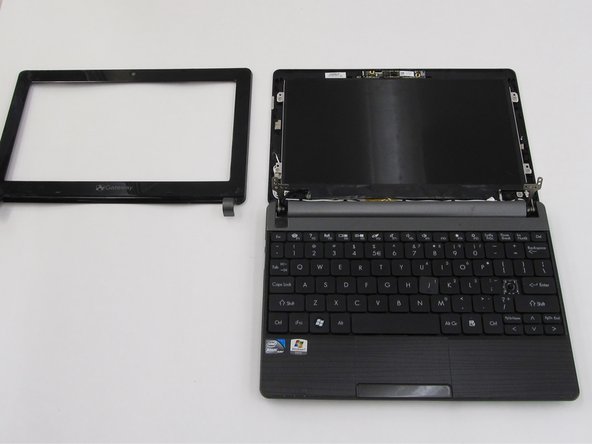
  • Remove the screen casing.

Une fois les deux vis retirées, retirez le cadre de l’écran. Vous pouvez utiliser vos ongles ou un outil d’ouverture pour séparer le cadre de l’ensemble.

Vous entendrez des craquements. Ces bruits sont normaux.

Décrochez le bas du cadre de l’écran près des charnières gauche et droite qui relient l’écran au boitier inférieur.

Retirez le cadre de l’écran.

crwdns2944171:0crwdnd2944171:0crwdnd2944171:0crwdnd2944171:0crwdne2944171:0