crwdns2935425:05crwdne2935425:0
crwdns2931653:05crwdne2931653:0


-
Remove the rest of the board by pulling it up and out.
-
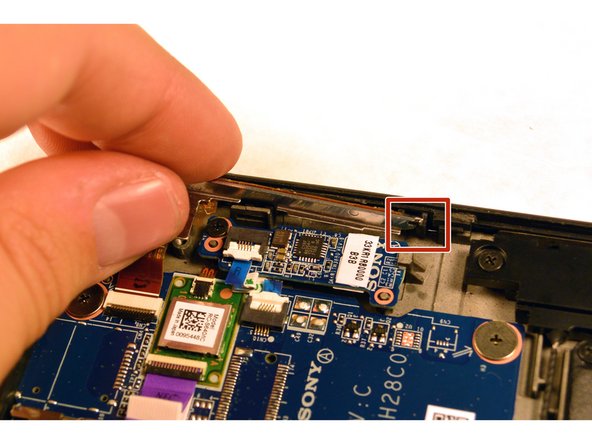
Pull the small narrow end of the board horizontally towards the corner, freeing the board from the panel with the exception of the connector.
| - | [* |
|---|---|
| - | [* |
| - | [* |
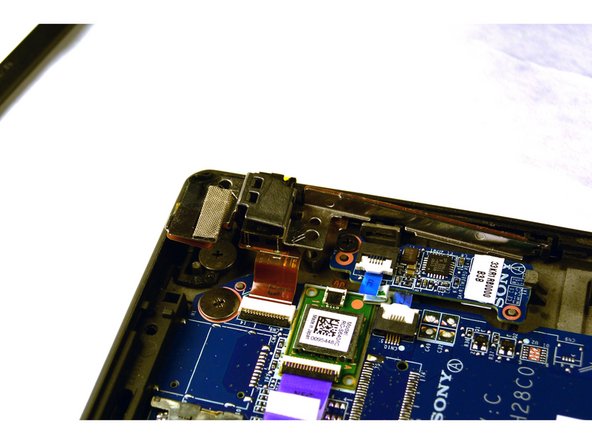
| + | [* icon_note] If Step 4 was done correctly, the board should dislodge from the corner mold. |
| + | [* black] Remove the rest of the board by pulling it up and out. |
| + | [* red] Pull the small narrow end of the board horizontally towards the corner, freeing the board from the panel with the exception of the connector. |
crwdns2944171:0crwdnd2944171:0crwdnd2944171:0crwdnd2944171:0crwdne2944171:0