crwdns2935425:04crwdne2935425:0
crwdns2931653:04crwdne2931653:0


-
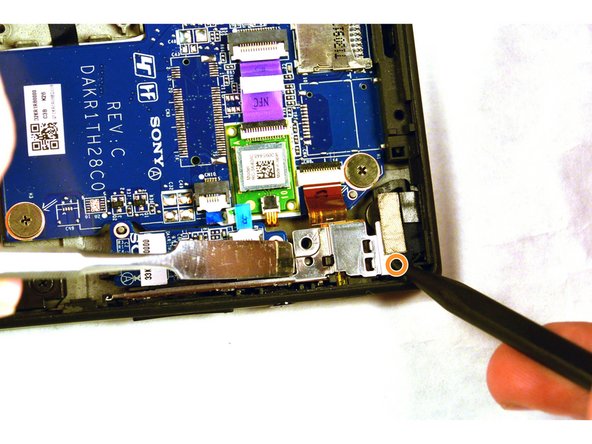
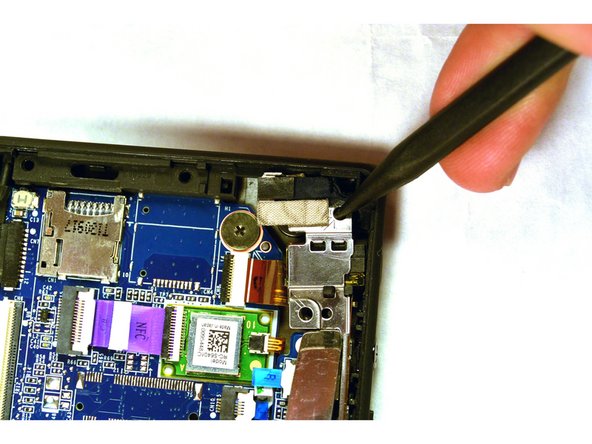
With the screws removed, use a plastic opening tool to lightly pry the board up over a plastic positioning peg.
-
Insert the tip of a spudger where the upper screw was located and push the board inward while prying up with the plastic opening tool.
-
Lightly pry with the opening tool, enough for the board to lift off the positioning peg and then push inward with the spudger. The board should begin to separate from the corner.
| - | [* red] With the screws removed, use a plastic opening tool to lightly pry the board up over a plastic positioning peg |
|---|---|
| - | [* icon_note] |
| - | [* |
| - | [* black] |
| + | [* red] With the screws removed, use a plastic opening tool to lightly pry the board up over a plastic positioning peg. |
| + | [* icon_note] Though these images show a metal spudger, you should use plastic opening tools to avoid damage. |
| + | [* orange] Insert the tip of a spudger where the upper screw was located and push the board inward while prying up with the plastic opening tool. |
| + | [* black] Lightly pry with the opening tool, enough for the board to lift off the positioning peg and then push inward with the spudger. The board should begin to separate from the corner. |
crwdns2944171:0crwdnd2944171:0crwdnd2944171:0crwdnd2944171:0crwdne2944171:0