crwdns2933423:0crwdne2933423:0

VTech Safe and Sound DM111-2 Baby Unit Motherboard replacement Guide

crwdns2935425:05crwdne2935425:0

crwdns2936315:0crwdne2936315:0
crwdns2936321:0crwdne2936321:0
crwdns2931653:05crwdne2931653:0
VTech Safe and Sound DM111-2  Baby Unit Motherboard replacement Guide: crwdns2935265:00crwdnd2935265:01crwdnd2935265:03crwdne2935265:0 VTech Safe and Sound DM111-2  Baby Unit Motherboard replacement Guide: crwdns2935265:00crwdnd2935265:02crwdnd2935265:03crwdne2935265:0 VTech Safe and Sound DM111-2  Baby Unit Motherboard replacement Guide: crwdns2935265:00crwdnd2935265:03crwdnd2935265:03crwdne2935265:0
  • Before de-soldering, check to see no scorching or broken connections appear on the wires, power supply jack or antenna.

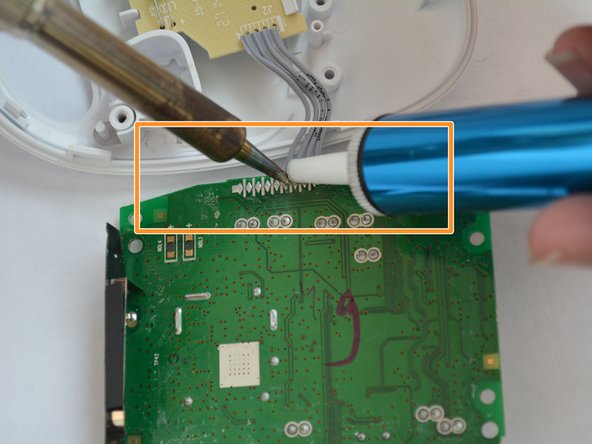
  • De-solder the connections from the motherboard using a soldering iron and a solder sucker.

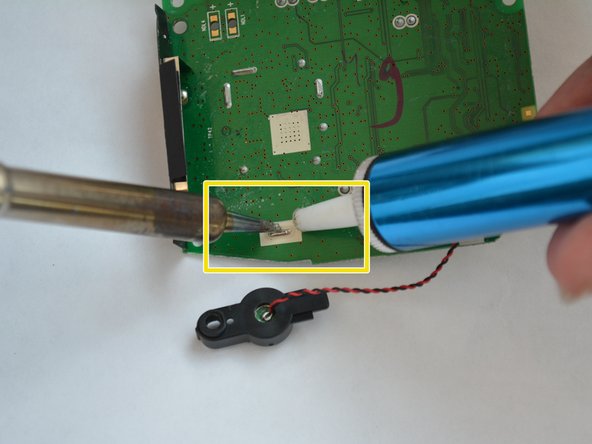
  • De-solder the connections to the microphone, located on the bottom left of the mother board.

  • De-solder the 4 wires connecting the LED board to the motherboard.

  • De-solder the antenna's solder joint, located above the microphone wire connection.

crwdns2935429:0crwdne2935429:0

crwdns2935429:0crwdne2935429:0

crwdns2935429:0crwdne2935429:0

crwdns2935429:0crwdne2935429:0

crwdns2935429:0crwdne2935429:0

crwdns2944171:0crwdnd2944171:0crwdnd2944171:0crwdnd2944171:0crwdne2944171:0