crwdns2933423:0crwdne2933423:0

Reparación de botones no funcionales en LeapFrog Hug & Learn Baby Tad

crwdns2936315:0crwdne2936315:0
crwdns2936331:0crwdne2936331:0
crwdns2931653:010crwdne2931653:0
Repairing Non-Functional Buttons on LeapFrog Hug & Learn Baby Tad: crwdns2935265:00crwdnd2935265:01crwdnd2935265:02crwdne2935265:0 Repairing Non-Functional Buttons on LeapFrog Hug & Learn Baby Tad: crwdns2935265:00crwdnd2935265:02crwdnd2935265:02crwdne2935265:0
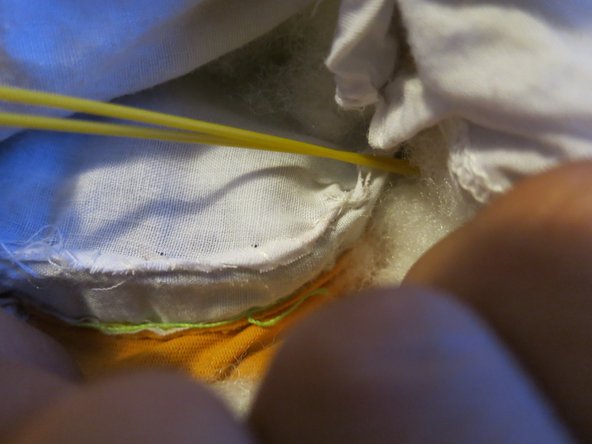
  • Once you have put the button compartment inside, sew the hole closed using your needle and thread.

  • Wet and twist the end of the thread, then hold about one centimeter between your thumb and index finger. Next, push the needle eye into the thread, rather than pushing the thread into the needle.

  • As you sew the hole, make sure that the other four pairs of colored-cables stay on top of the thread. This will prevent them from being restrained and from being ruptured.

Una vez que hayas colocado el compartimento del botón adentro, cose el orificio para cerrarlo con aguja e hilo.

Moja y retuerce el extremo del hilo, luego sostén aproximadamente un centímetro entre el pulgar y el índice. Luego, empuja el ojo de la aguja dentro del hilo, en lugar de empujar el hilo dentro de la aguja.

Mientras coses el agujero, asegúrate de que los otros cuatro pares de cables de colores permanezcan encima del hilo. Esto evitará que queden restringidos y se rompan.

crwdns2944171:0crwdnd2944171:0crwdnd2944171:0crwdnd2944171:0crwdne2944171:0