crwdns2933423:0crwdne2933423:0

Reparación de botones no funcionales en LeapFrog Hug & Learn Baby Tad

crwdns2936315:0crwdne2936315:0
crwdns2936331:0crwdne2936331:0
crwdns2931653:011crwdne2931653:0
Repairing Non-Functional Buttons on LeapFrog Hug & Learn Baby Tad: crwdns2935265:00crwdnd2935265:01crwdnd2935265:03crwdne2935265:0 Repairing Non-Functional Buttons on LeapFrog Hug & Learn Baby Tad: crwdns2935265:00crwdnd2935265:02crwdnd2935265:03crwdne2935265:0 Repairing Non-Functional Buttons on LeapFrog Hug & Learn Baby Tad: crwdns2935265:00crwdnd2935265:03crwdnd2935265:03crwdne2935265:0
  • After you have sewed the button compartment back into place, you can proceed to replacing the stuffing.

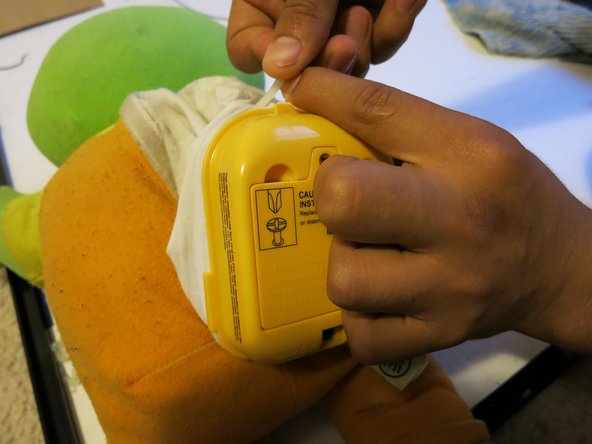
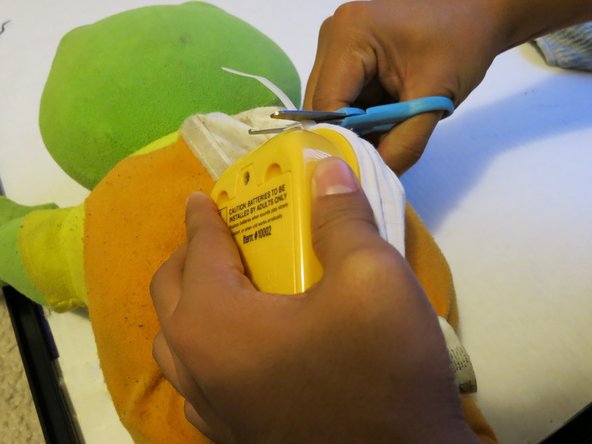
  • Put the button compartment back inside its sleeve and secure it with the 15-inch cable tie. Cut off the excess cable tie with your scissors.

  • It is easier to first put the entire battery compartment inside its sleeve, then slowly pull the cloth into place. Then you can push the cable tie through its slot and secure it.

Una vez que hayas vuelto a coser el compartimento de los botones en su lugar, puedes proceder a reemplazar el relleno.

Vuelve a colocar el compartimento del botón dentro de su funda y asegúralo con la brida para cables de 15 pulgadas. Corta el exceso de brida para cables con las tijeras.

Es más fácil colocar primero todo el compartimiento de la batería dentro de su funda y luego colocar lentamente el paño en su lugar. Luego puedes empujar la brida para cables a través de su ranura y asegurarla.

crwdns2944171:0crwdnd2944171:0crwdnd2944171:0crwdnd2944171:0crwdne2944171:0