crwdns2931529:0crwdnd2931529:0crwdnd2931529:0crwdnd2931529:04crwdnd2931529:0crwdne2931529:0
crwdns2935425:02crwdne2935425:0
crwdns2931653:02crwdne2931653:0


-
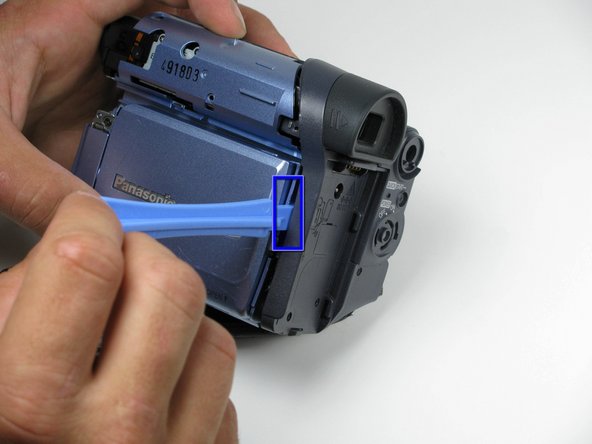
Place a plastic opening tool under the bottom of the blue panel beneath the camcorder.
-
Move the plastic opening tool up the side of the camcorder as shown. Carefully separate the LCD panel from the rest of the camcorder.
-
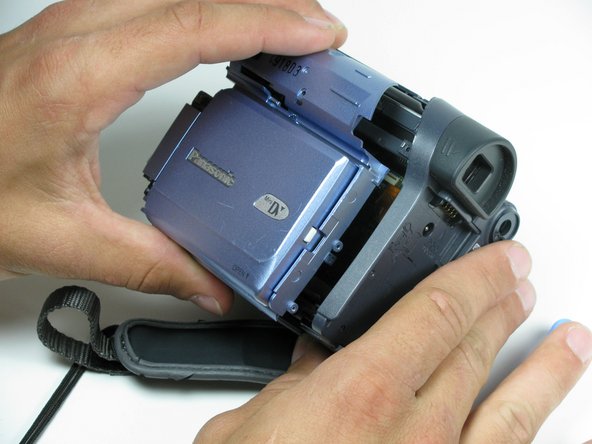
Remove the panel from the camcorder.
| [* black] Place a plastic opening tool under the bottom of the blue panel beneath the camcorder. | |
| - | [* black] Using two tools may be useful, if difficult. |
| [* black] Move the plastic opening tool up the side of the camcorder as shown. Carefully separate the LCD panel from the rest of the camcorder. | |
| [* black] Remove the panel from the camcorder. | |
| + | [* icon_note] Using two tools can help for stability. |
crwdns2944171:0crwdnd2944171:0crwdnd2944171:0crwdnd2944171:0crwdne2944171:0