crwdns2935425:06crwdne2935425:0
crwdns2931653:06crwdne2931653:0

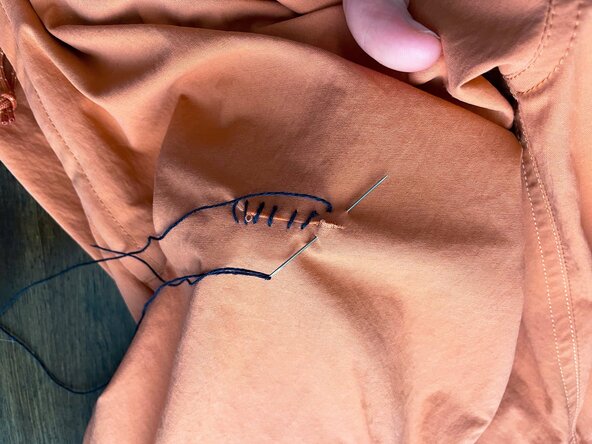


Finish the stitch
-
Continue whip stitching until you get to the opposite side of the tear.
-
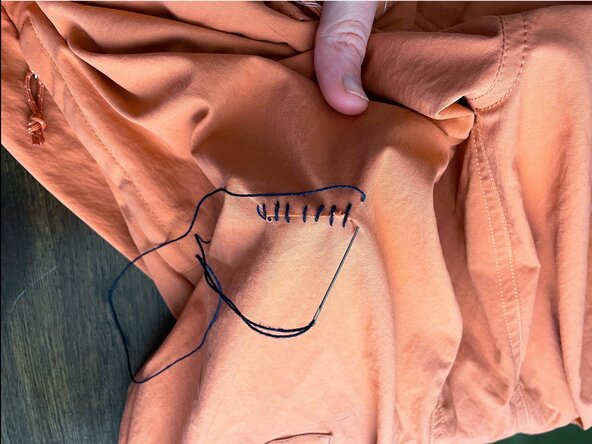
Make a final stitch beyond the end of the tear to secure the stitching, just as it was anchored at the beginning of the tear.
-
Pass the needle through to the backside of the fabric.
-
Make a secure knot on the backside of the fabric using one of the techniques from Knot Thread to the Fabric (2 Ways) and trim the extra thread.
crwdns2944171:0crwdnd2944171:0crwdnd2944171:0crwdnd2944171:0crwdne2944171:0