crwdns2933423:0crwdne2933423:0

Google Pixel 9aのインナーハウジング用接着剤の取り付け(全作業共通)

crwdns2931529:0crwdnd2931529:0crwdnd2931529:0crwdnd2931529:09crwdnd2931529:0crwdne2931529:0

crwdns2935425:01crwdne2935425:0

crwdns2936315:0crwdne2936315:0
crwdns2936323:0crwdne2936323:0
crwdns2931653:01crwdne2931653:0
Google Pixel 9a Inner Housing Adhesive Application (All Repairs), Remove the old adhesive: crwdns2935265:00crwdnd2935265:01crwdnd2935265:02crwdne2935265:0 Google Pixel 9a Inner Housing Adhesive Application (All Repairs), Remove the old adhesive: crwdns2935265:00crwdnd2935265:02crwdnd2935265:02crwdne2935265:0
Remove the old adhesive
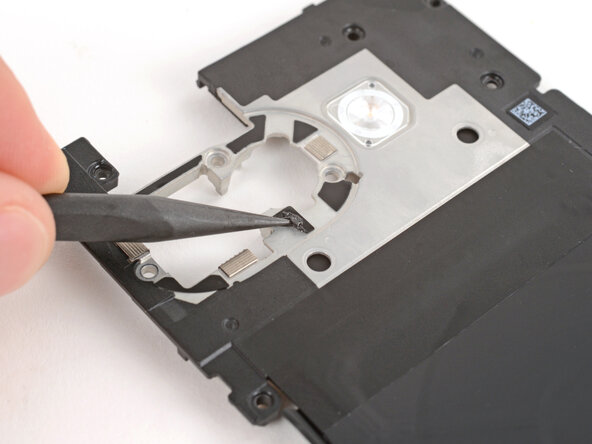
  • Use a spudger to scrape up and remove the six small pieces of adhesive around the rear cameras.

  • Use high‑concentration (>90%) isopropyl alcohol and a lint‑free cloth (or coffee filter) to clean up and remove any residue from the adhesives that were removed.

スパッジャーを使って、背面カメラの近くにある6枚の小さな接着剤片をこすり落として取り除いて下さい。

高純度(90%以上)のイソプロピルアルコールと無塵布(もしくはコーヒーフィルター)を使って、取り除いた接着剤の残留物を全て掃除して取り除いて下さい。

crwdns2944171:0crwdnd2944171:0crwdnd2944171:0crwdnd2944171:0crwdne2944171:0