crwdns2935425:021crwdne2935425:0
crwdns2931653:021crwdne2931653:0

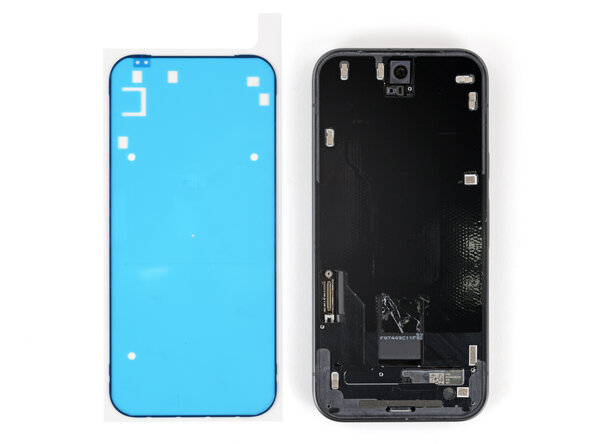


Find the adhesive orientation
-
Before applying the screen adhesive, make sure you know how it will sit on the frame. If you apply the adhesive incorrectly, you'll need to restart with new adhesive.
-
Hold the adhesive above the frame to find its orientation. Use cutouts in the liner to help visualize how it will lay in the frame.
crwdns2944171:0crwdnd2944171:0crwdnd2944171:0crwdnd2944171:0crwdne2944171:0